How to Draw Cinderella: Easy 10-Step Guide for Kids
Bring your favorite princess to life with this easy-to-follow guide, perfect for young artists ages 6 and up. You will only need a pencil, an eraser, and a sheet of paper to master this iconic character. Follow along to build confidence in your sketching skills while creating a beautiful portrait of Cinderella.
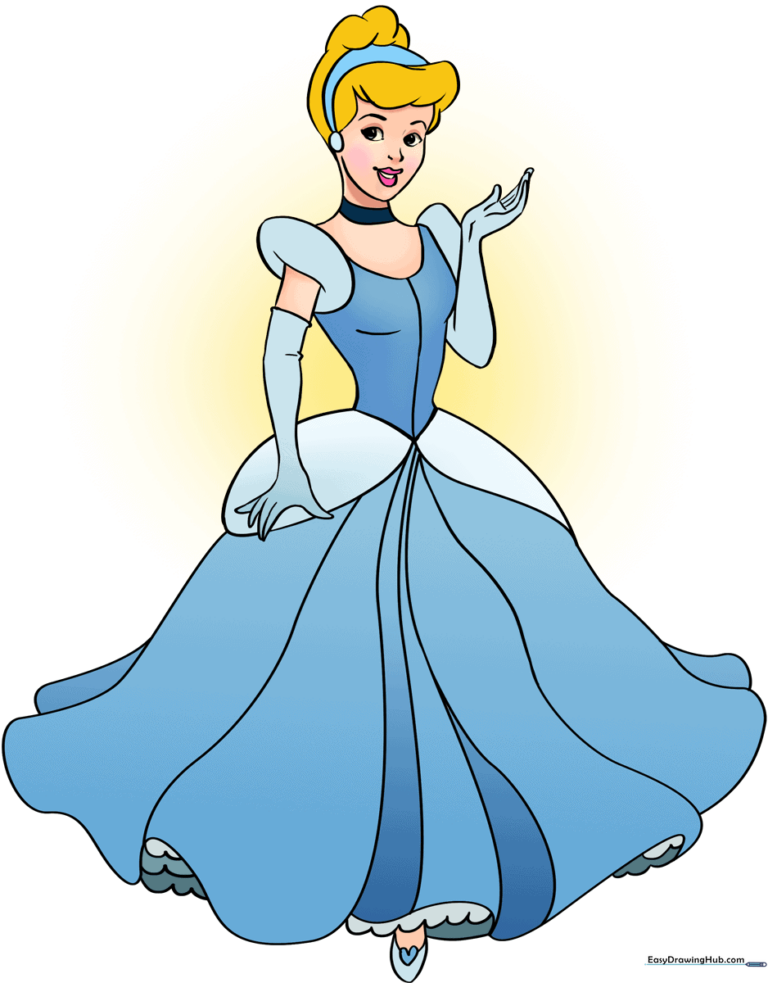
🎯 Final Result
Step-by-Step Instructions
Step 1: Sketching the Head and Neck

Start by sketching a soft, rounded shape for the face and two gentle lines for the neck. Add a small circle for the headband and light, overlapping lines for the hairline. Teacher's Tip: Keep your pencil strokes very light so you can easily erase any guidelines later!
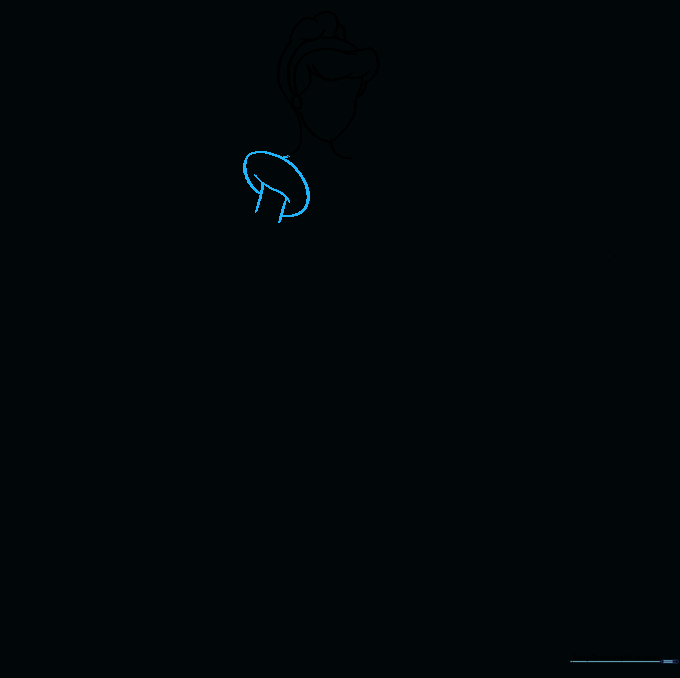
Step 2: Defining the Hair

Use smooth, curved lines to enclose the hair and the headband. Teacher's Tip: Think of the hair as large, flowing shapes rather than individual strands to keep your drawing looking clean and cartoon-style.
Step 3: Sketching the Puff Sleeve
Draw a partial oval at the base of the neck to create the puff sleeve, then extend two lines to form the arm. Teacher's Tip: Use a 'C' shape for the sleeve to give it that classic royal volume.
Step 4: Outlining the Bodice

Draw the bodice of the gown using curved lines for the neckline and sides, closing the bottom with two straight lines. Add a center line for detail. Teacher's Tip: Symmetry is key here—try to keep the sides of the bodice balanced.
Step 5: Drawing the Gloved Arm
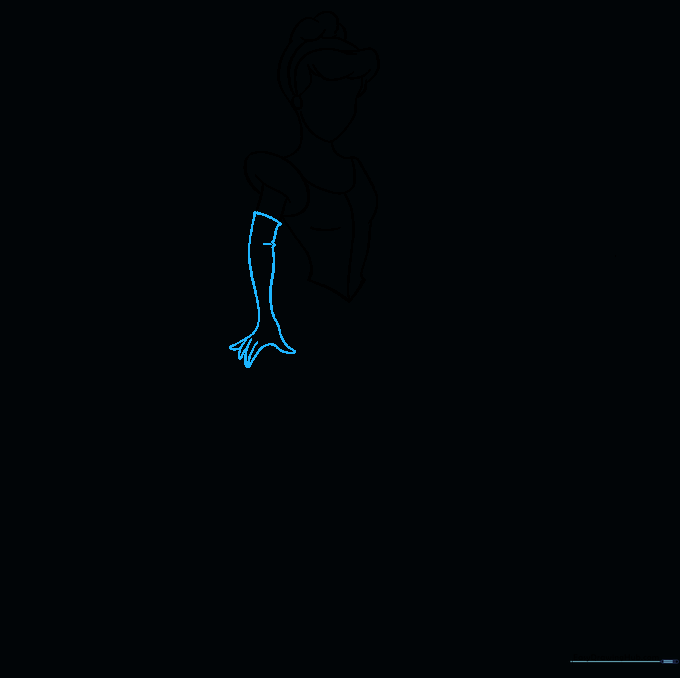
Use curved lines to enclose the arm and hand, doubling back on the lines to create fingers. Add small lines at the elbow to show the bend. Teacher's Tip: Keep the fingers rounded to maintain the soft, cartoon aesthetic.
Step 6: Adding the Opposite Arm

Outline the second puff sleeve and arm using curved lines, mirroring the first side. Teacher's Tip: Don't forget the small line at the wrist to show the glove's edge.
Step 7: The Necklace and Skirt Base
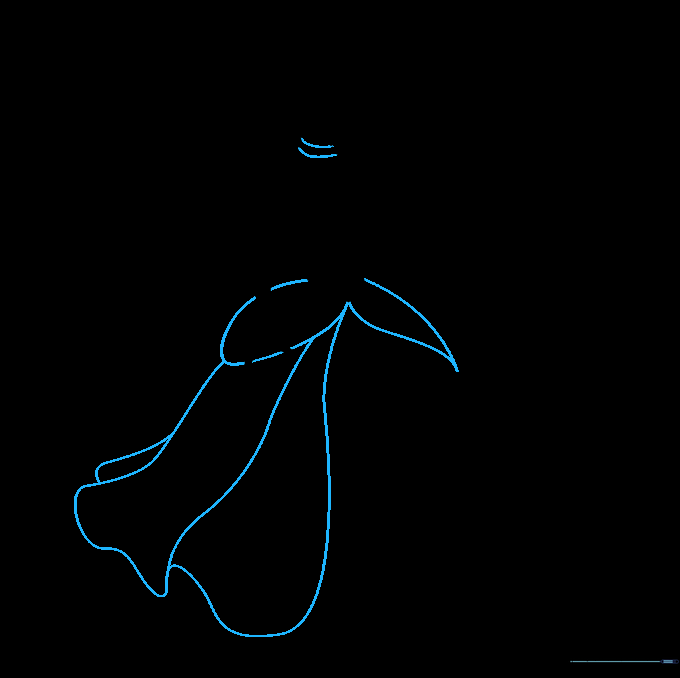
Draw a necklace with curved lines, then add teardrop shapes below the bodice to start the skirt. Extend long, flowing lines downward. Teacher's Tip: The longer your skirt lines, the more elegant the gown will look!
Step 8: Completing the Gown
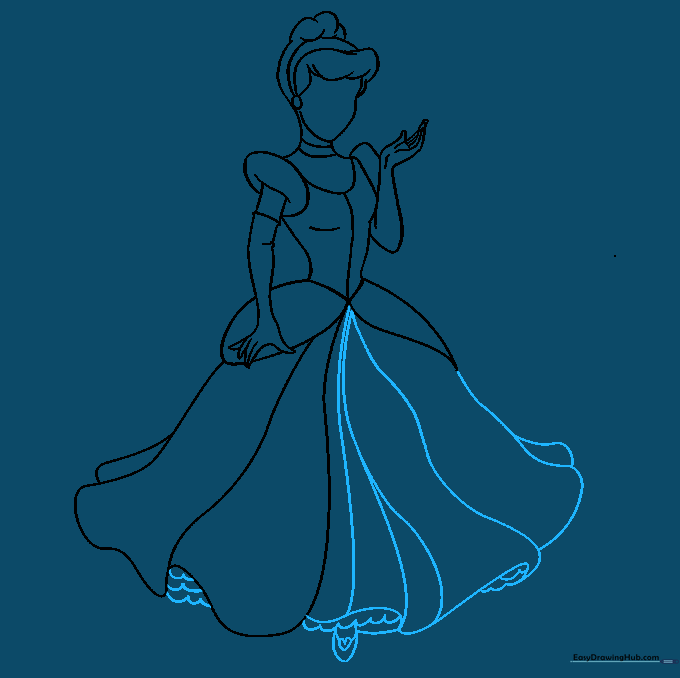
Add scalloped lines for the underskirt and finish the main skirt shape. Draw a small foot peeking out with a glass slipper. Teacher's Tip: Use short, quick strokes for the scalloped edges to create a ruffled fabric effect.
Step 9: Facial Features
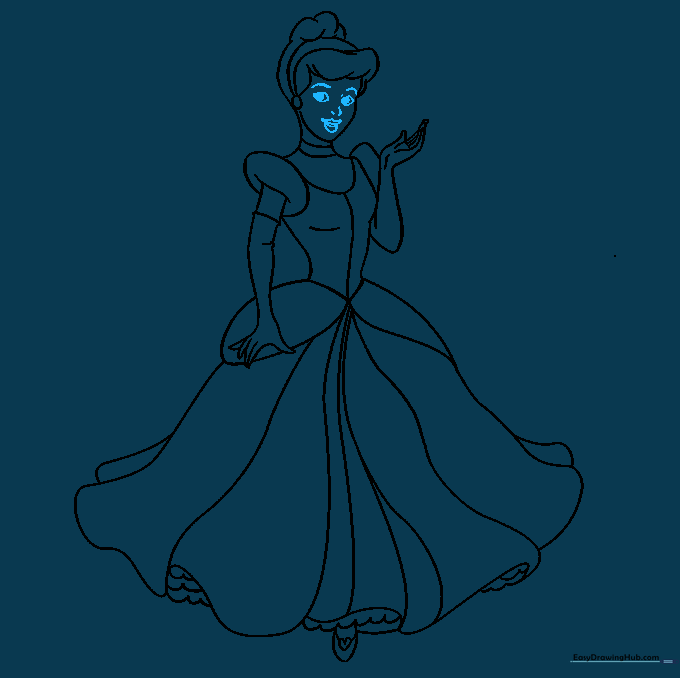
Carefully draw the eyes, eyebrows, nose, and mouth using short, gentle curves. Teacher's Tip: Start with the eyes—they are the window to the character's expression. Keep them small and simple.
Step 10: Adding Color
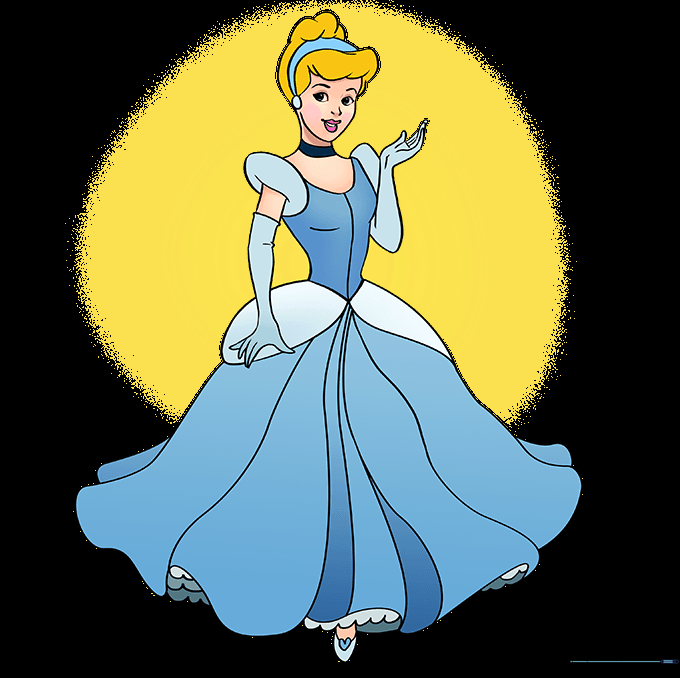
Bring your Cinderella to life with color! Use a soft blonde for her hair and a classic light blue for her gown. Teacher's Tip: Use light pressure with your colored pencils to create a soft, magical glow on the dress.
More Tutorials


