How to Draw a Christmas Wreath: Easy 10-Step Guide
Bring holiday cheer to your sketchbook with this simple, step-by-step wreath tutorial. Designed for ages 5 and up, this screen-free activity helps young artists practice circular shapes and symmetrical details. Grab your pencil, eraser, and markers to create a festive masterpiece today.
🎯 Final Result

Step-by-Step Instructions
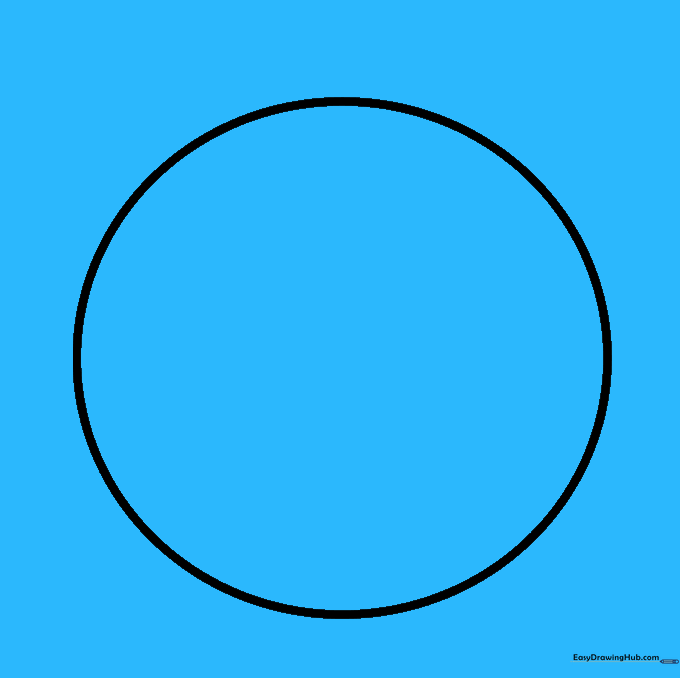
Sketch the Outer Circle

Draw a large, light circle to serve as the outer boundary of your wreath. Tip: Use a circular object like a cup to trace if you need help getting a perfect shape!
Define the Inner Edge
Draw a smaller circle inside the first one. This creates the 'donut' shape of the wreath. Tip: Try to keep the space between the two circles even all the way around.
Add Ribbon Guides

Draw pairs of parallel, curved lines across the wreath ring. These represent the ribbon wrapped around the greenery. Tip: Space them out evenly to make the wreath look balanced.
Create Evergreen Texture
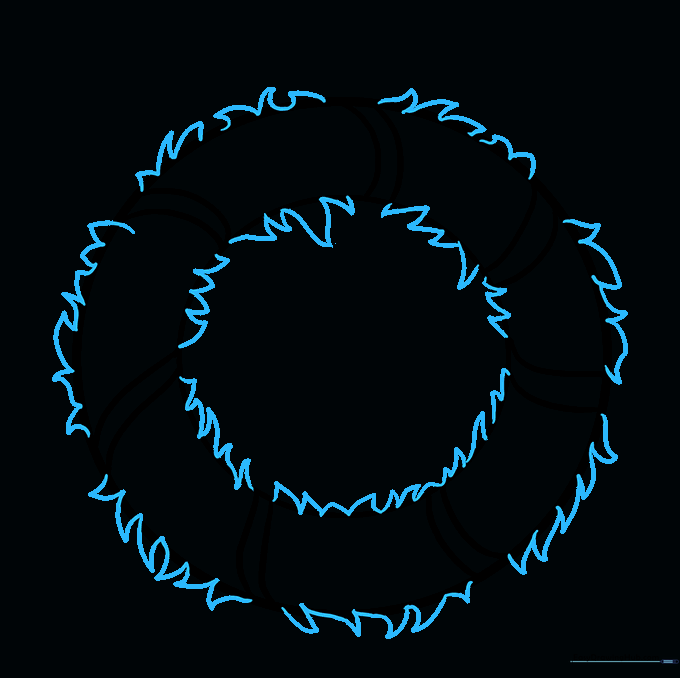
Use short, jagged, curved lines to draw the prickly pine needles along the inner and outer edges. Tip: Don't worry about making them perfect; real pine needles are messy and wild!
Clean Up Your Sketch

Gently erase the original circle guide lines. Tip: Use a soft eraser and brush away the crumbs so you don't smudge your drawing.
Draw the Bow
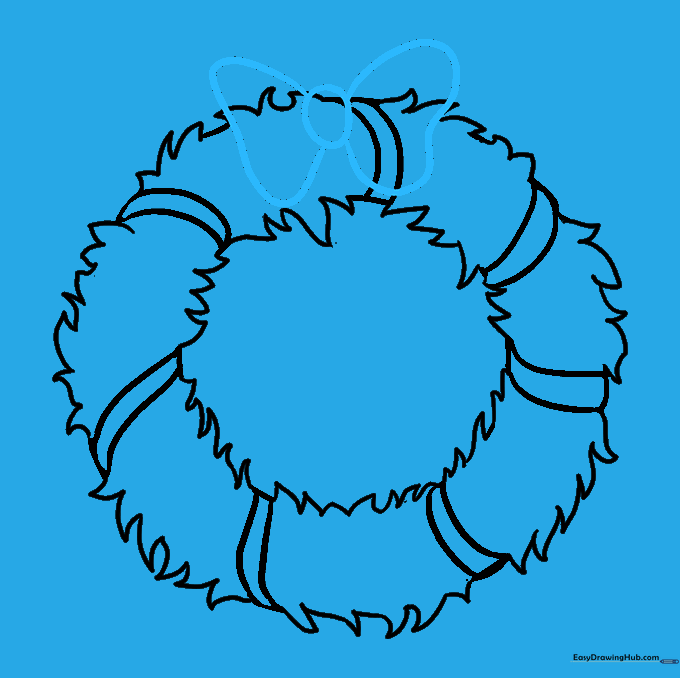
Sketch an irregular circle at the top, then extend curved lines outward to form the loops of the bow. Tip: Make the loops look 'puffy' by curving the lines outward.
Refine the Bow
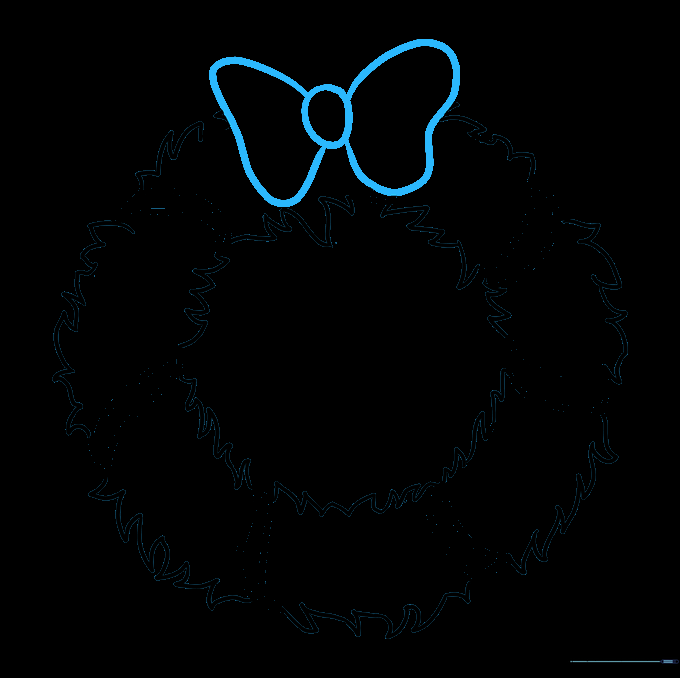
Erase any lines hidden behind the bow to make it look like it's sitting on top of the wreath. Tip: This creates depth and makes your drawing look more professional.
Add Ribbon Tails and Ornaments
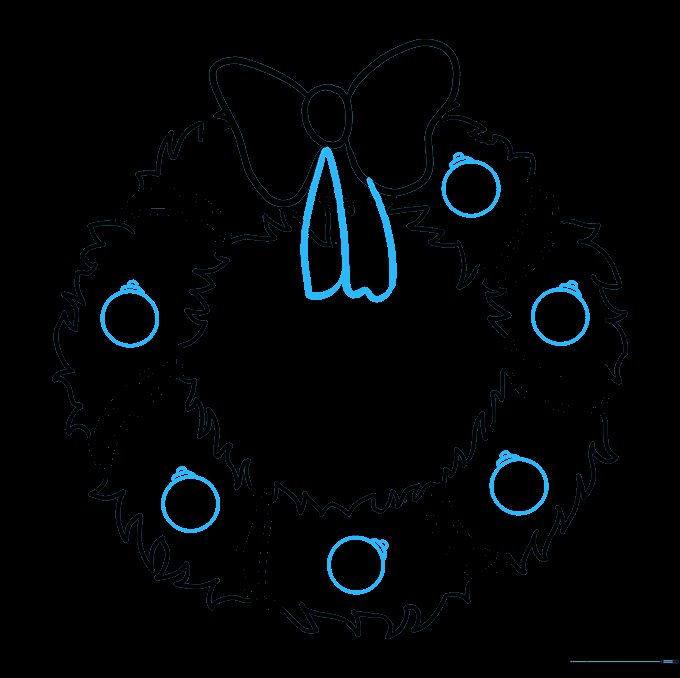
Draw two ribbon tails hanging down from the bow. Add small circular ornaments around the wreath. Tip: Vary the direction of the ornament tops to make them look like they are hanging naturally.
Final Details
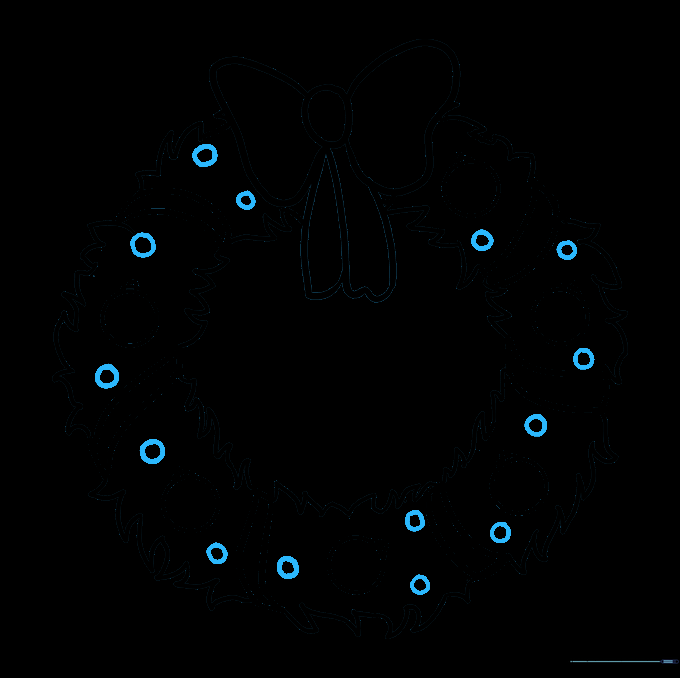
Add tiny circles all around the wreath to represent holly berries or extra decorations. Tip: Grouping them in threes makes them look more realistic.
Add Color
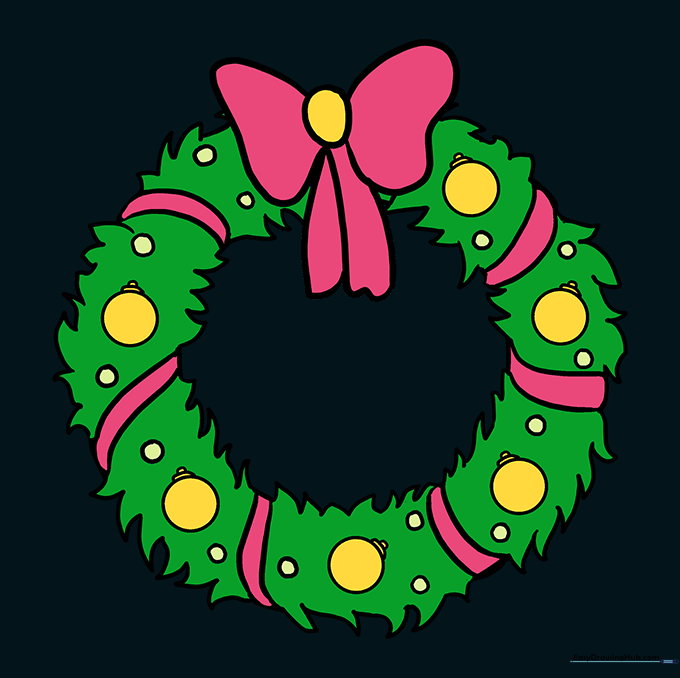
Bring your wreath to life with color! Use deep greens for the needles and bright reds for the bow and berries. Tip: Use a darker green for shadows to give your wreath a 3D effect.
More Tutorials


