How to Draw Christ the Redeemer: Easy Step-by-Step Guide
Capture the majesty of Rio de Janeiro’s most famous landmark with this approachable drawing guide. Designed for artists ages 6 and up, this project uses basic geometric shapes to build the statue’s iconic silhouette. Grab a pencil, eraser, and paper to start creating your own masterpiece today.
🎯 Final Result

Step-by-Step Instructions
Step 1: Sketching the Face

Draw a long, gentle curve to outline the face. Add smaller curved lines for the eyebrows, eyes, nose, and mouth. Teacher's Tip: Keep the eyes small and simple; a tiny dot for the pupil is all you need to give the face character.
Step 2: Defining the Hair and Neck

Use soft, flowing curved lines to sketch the hair and beard, then add two short lines for the neck. Teacher's Tip: Use short, rhythmic strokes to make the hair look natural rather than stiff.
Step 3: Shoulders and Garments

Draw long, sweeping curves for the shoulders and the scarf-like garment. Add short lines to suggest the collar bones. Teacher's Tip: Think of the garment as a wide, soft ribbon draped over the shoulders.
Step 4: The First Arm
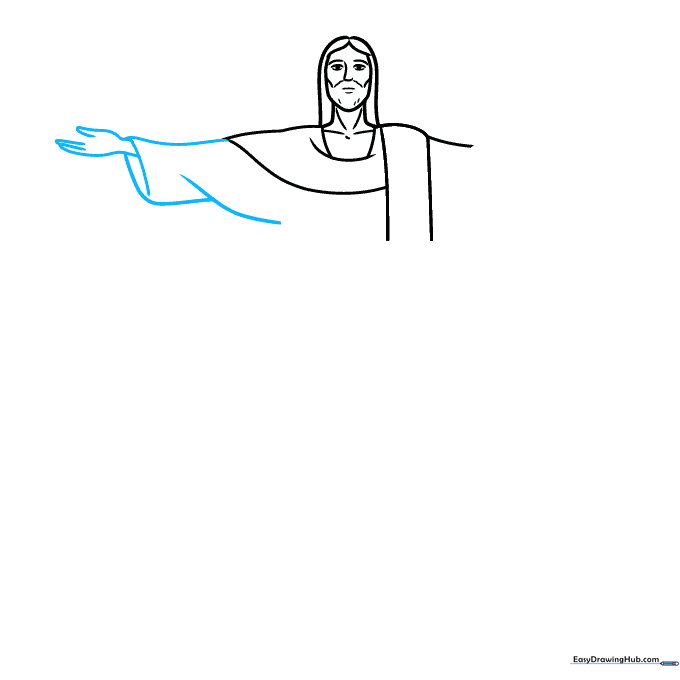
Use overlapping curved lines to create the sleeve and the outstretched hand. Teacher's Tip: Keep the arm horizontal to maintain the statue's iconic 'T' shape.
Step 5: The Second Arm

Detail the fingers with small curves and repeat the process for the opposite arm. Teacher's Tip: Ensure both arms are roughly the same length to keep the drawing balanced.
Step 6: Refining the Robes
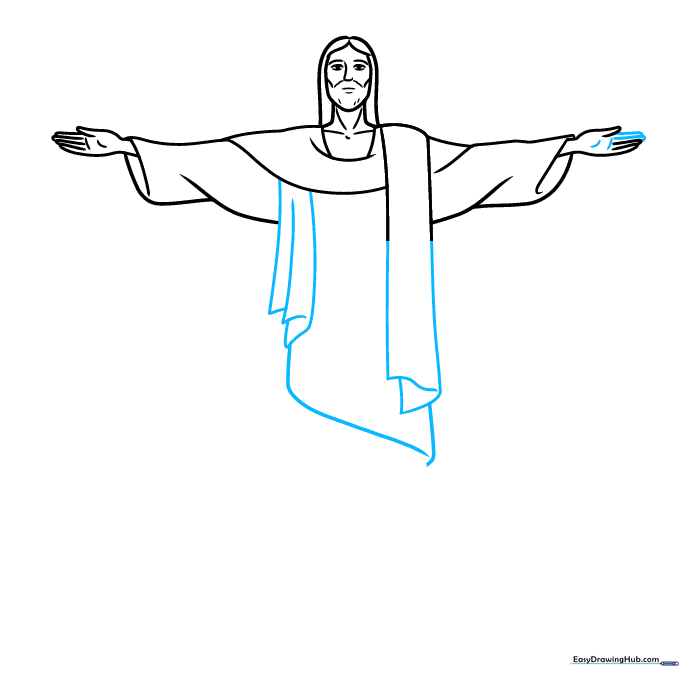
Continue the robes downward using long, overlapping curves. Add small triangles at the bottom to suggest folds. Teacher's Tip: The triangles create a sense of depth and weight in the fabric.
Step 7: Finalizing the Robes
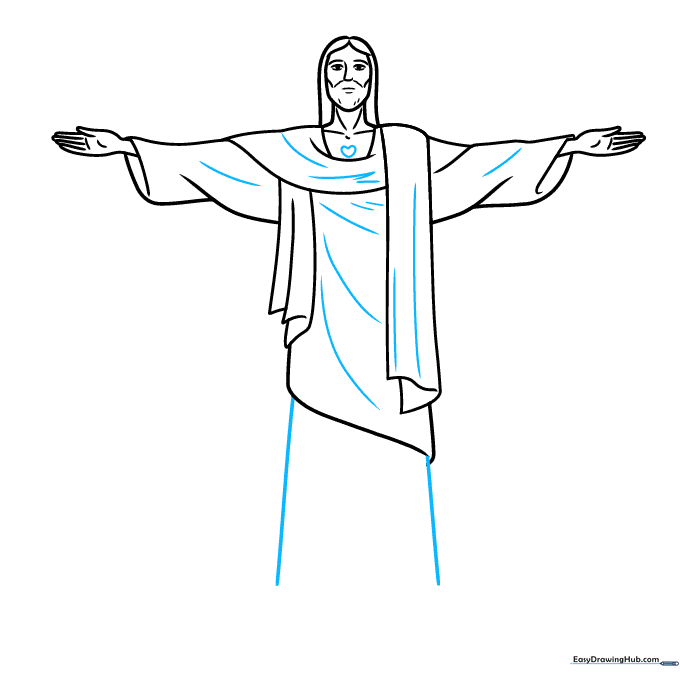
Extend the robes to the base and add a small heart on the chest. Teacher's Tip: Use a light touch for the heart so it looks like a subtle detail rather than a heavy outline.
Step 8: Drawing the Base

Enclose an irregular hexagon at the bottom for the pedestal. Use cross-hatching for texture. Teacher's Tip: Cross-hatching is just a series of criss-crossing lines—it's a great way to show stone texture!
Step 9: Adding the Landscape

Draw mountains in the background and fluffy clouds in the sky. Teacher's Tip: Keep the background lines lighter than the statue to make the statue stand out.
Step 10: Adding Color

Bring your drawing to life with color! Use grays for the statue and deep greens for the mountains. Teacher's Tip: Use light pressure with your colored pencils to create a smooth, stone-like finish.
More Tutorials


