How to Draw Chip and Dale: Easy Step-by-Step Guide
Bring Disney’s most mischievous chipmunks to life with this beginner-friendly drawing guide. Designed for young artists, this activity requires only a pencil, paper, and an eraser to master these iconic characters. Follow along to build confidence in your sketching skills while creating a fun, classic cartoon duo.
🎯 Final Result

Step-by-Step Instructions
Step 1: Sketching Dale's Face
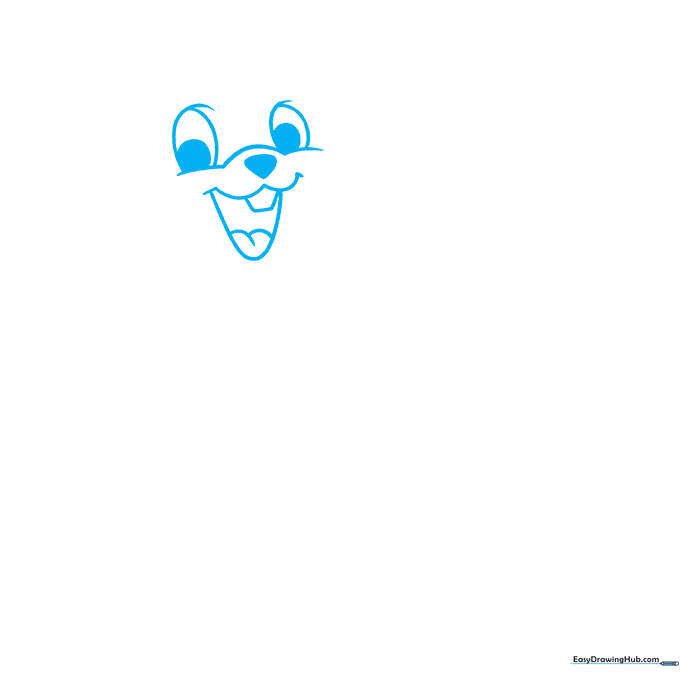
Start by drawing Dale’s nose as a small, rounded triangle. Add a curved line above it for the bridge of the snout, then sketch two oval eyes. Teacher's Tip: Keep the eyes symmetrical by drawing two light guidelines first; this helps ensure they look balanced before you add the pupils.
Step 2: Defining the Cheeks
Draw a long, gentle curve over each eye to create the brow line. Use a series of connected, scalloped lines to sketch the signature fluffy cheeks. Teacher's Tip: Use short, quick strokes for the fur to make it look soft and textured rather than stiff.
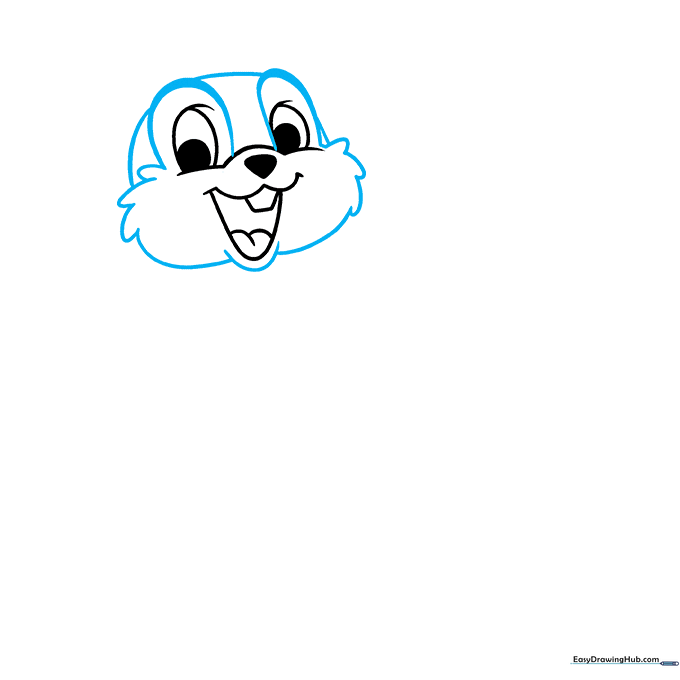
Step 3: Ears and Arms
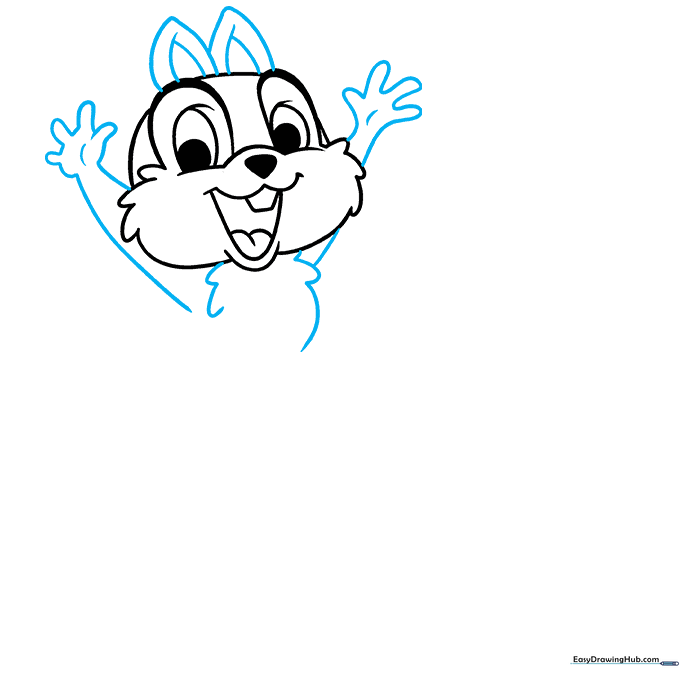
Add two triangles on top of the head for the ears, placing smaller triangles inside for depth. Sketch the furry chest and arms using fluid, curved lines. Teacher's Tip: When drawing the hands, think of them as simple mittens first, then add the finger details once you're happy with the placement.
Step 4: Torso and Legs
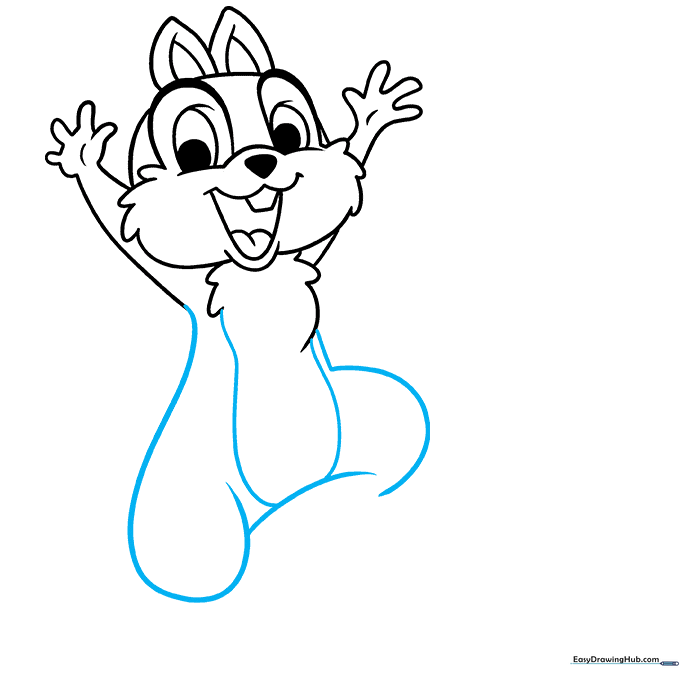
Use long, sweeping curved lines to connect the torso to the upper legs. Teacher's Tip: Keep your pencil pressure light here; these lines define the character's posture, and you may need to adjust them to make the characters look like they are standing close together.
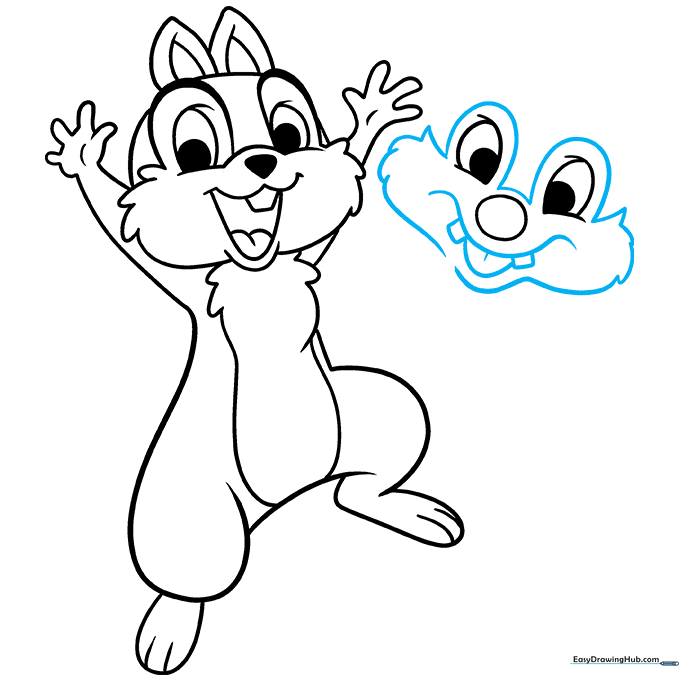
Step 5: Starting Chip's Face

Now, begin Chip's face next to Dale. Draw a small circle for his nose and oval eyes. Teacher's Tip: Notice how Chip's features are slightly different from Dale's; pay attention to the spacing to give each character their unique look.
Step 6: Chip's Mouth and Cheeks
Draw a curved line for Chip's mouth and add his two rectangular teeth. Outline his face with fluffy, rounded lines. Teacher's Tip: Ensure the teeth are centered under the nose to keep the character looking friendly and expressive.
Step 7: Head and Fur Details
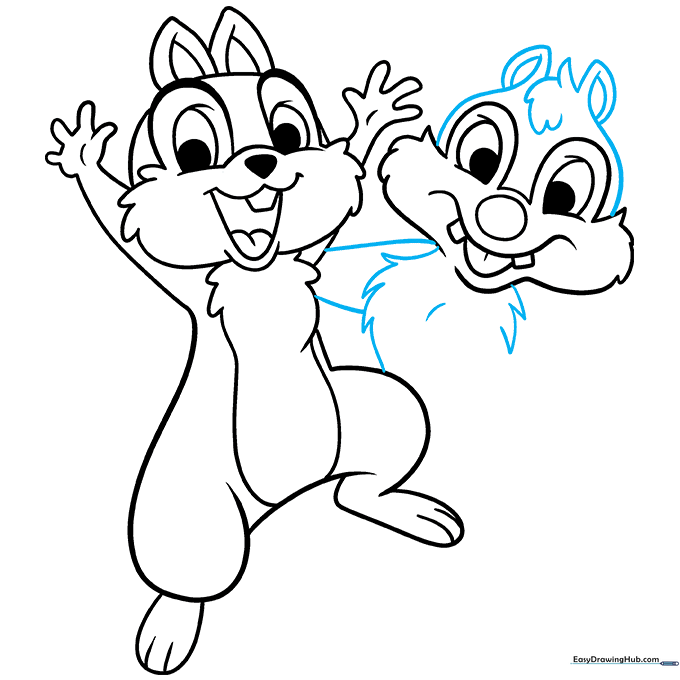
Sketch the top of Chip's head, ears, and a small tuft of fur. Connect the two characters with an arm. Teacher's Tip: Use jagged, short lines for the fur to create a natural, fluffy appearance.
Step 8: Completing the Body
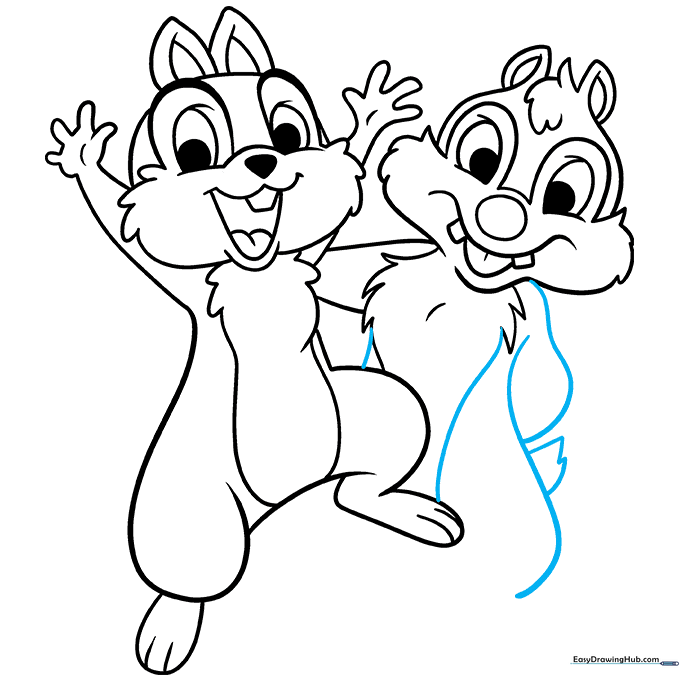
Add the belly, torso, and tail using overlapping curved lines. Teacher's Tip: The tail should be bushy; use quick, outward strokes to give it volume.
Step 9: Feet and Final Details
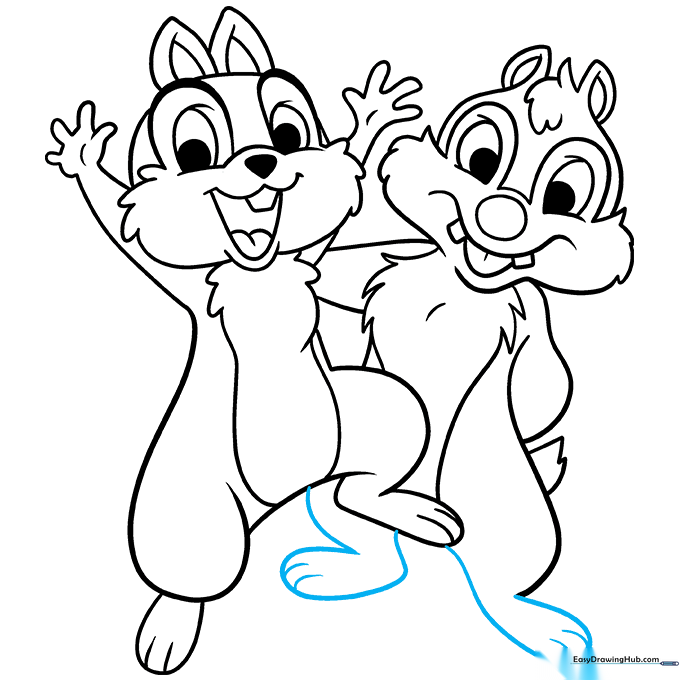
Finish the legs and feet with curved lines, adding small marks for the toes. Teacher's Tip: Erase any overlapping guidelines from the previous steps to clean up your drawing before coloring.
Step 10: Bringing Them to Life with Color

Color your drawing! Use brown for the fur, tan for the faces and bellies, and remember: Dale has a black nose, while Chip has a small red one. Teacher's Tip: Use light, circular motions with your colored pencils to get an even, smooth look.
More Tutorials


