How to Draw Chibi Rey: Easy 10-Step Star Wars Art Guide
Bring the galaxy's favorite scavenger to life with this fun, chibi-style drawing tutorial. Designed for ages 6 and up, this project requires only a pencil, paper, and an eraser to master Rey's iconic look. Follow along to build confidence in your character design skills while creating a cute, stylized version of this legendary hero.
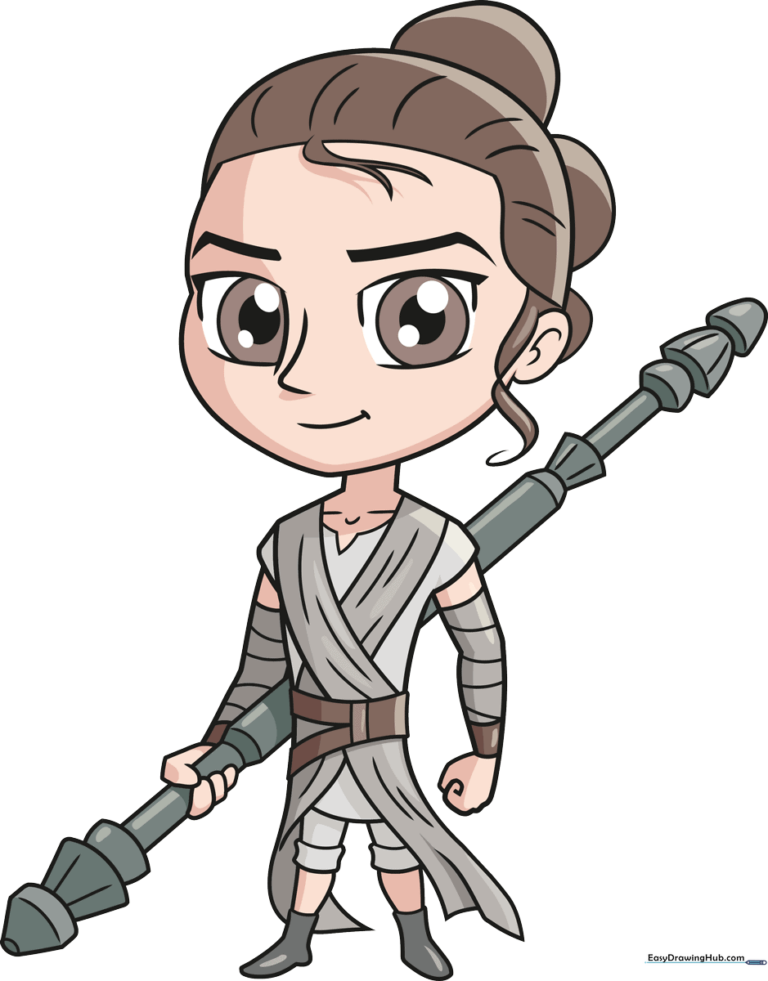
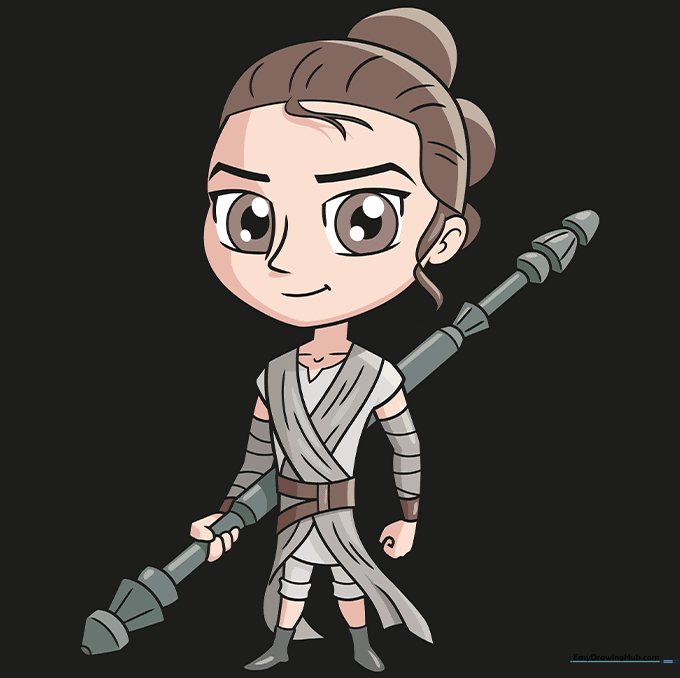
🎯 Final Result
Step-by-Step Instructions
Step 1: Sketching the Expressive Eyes

Draw two squared-off anime eyes using thick, curved lines. Teacher's Tip: Keep the lines slightly disconnected to give the eyes a softer, cartoonish feel. Add the pupils and pointed eyebrows to give Rey her determined look.
Step 2: Defining the Face and Hairline
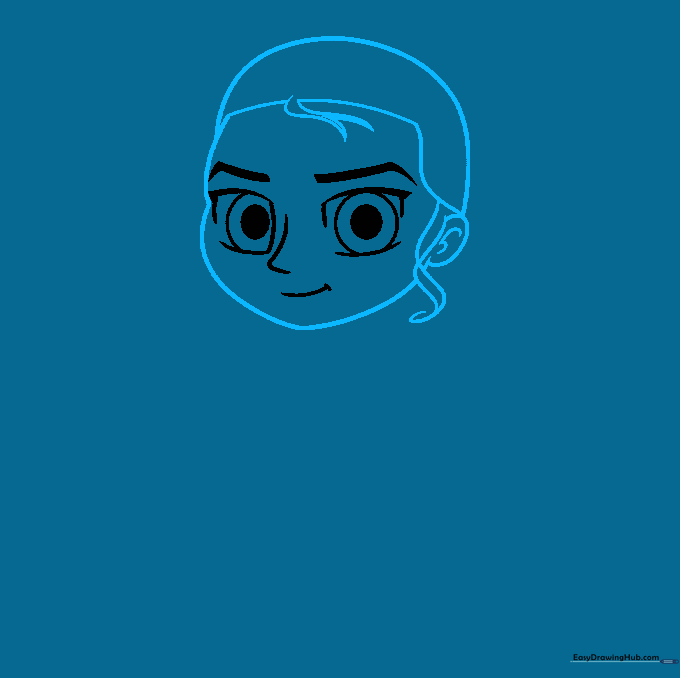
Outline the head with a soft, rounded chin and a 'C' shaped ear. Add the wisps of hair spiraling near the ear and forehead. Teacher's Tip: Use light, flicking motions with your pencil to make the hair wisps look natural and pointed.
Step 3: Adding Neck and Shoulders
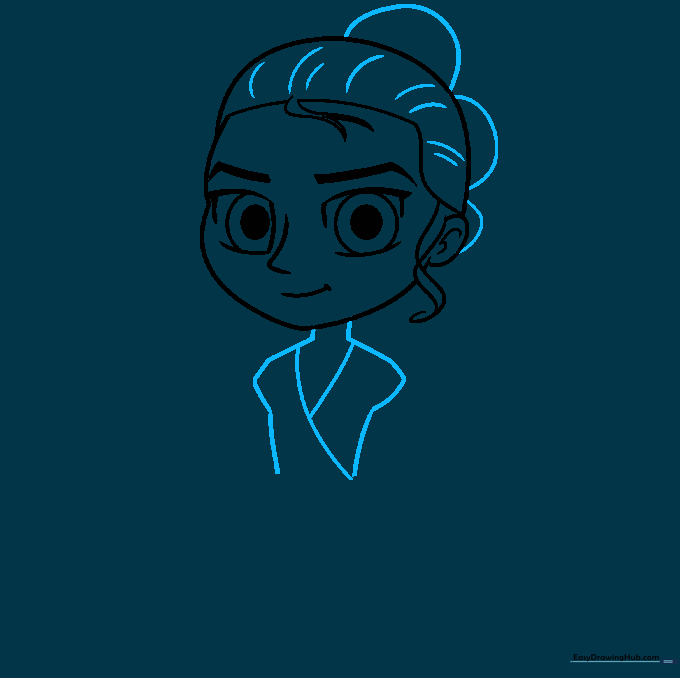
Draw the neck and shoulders using smooth, curved lines. Add a 'Y' shape on the chest to represent the tunic folds. Teacher's Tip: Keep the neck narrow to maintain the cute 'chibi' proportions.
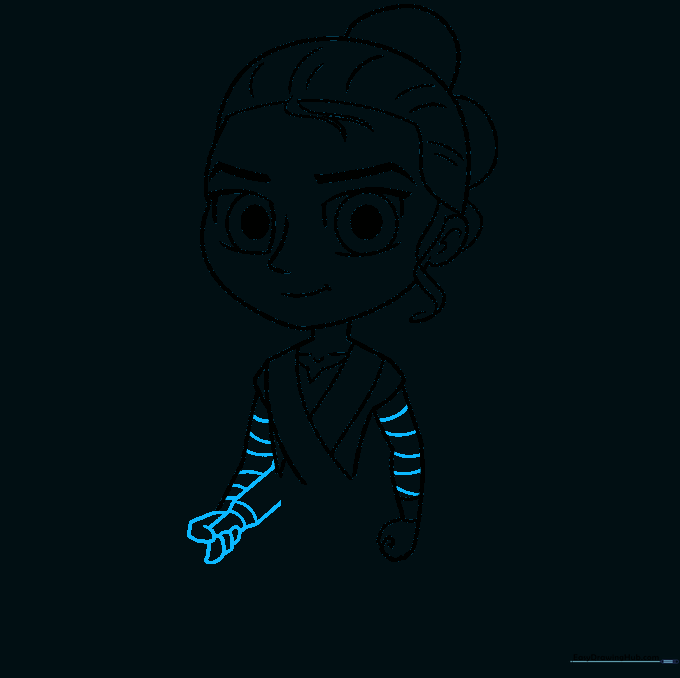
Step 4: Detailing the Tunic and Arms
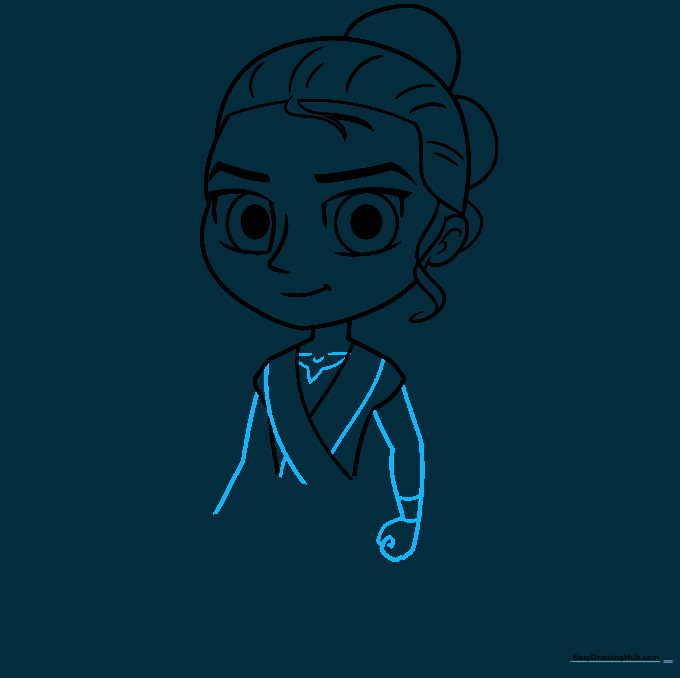
Add the collarbone details and draw the arms with a spiral at the fist. Teacher's Tip: The spiral is a simple way to show a clenched hand without needing to draw individual fingers.
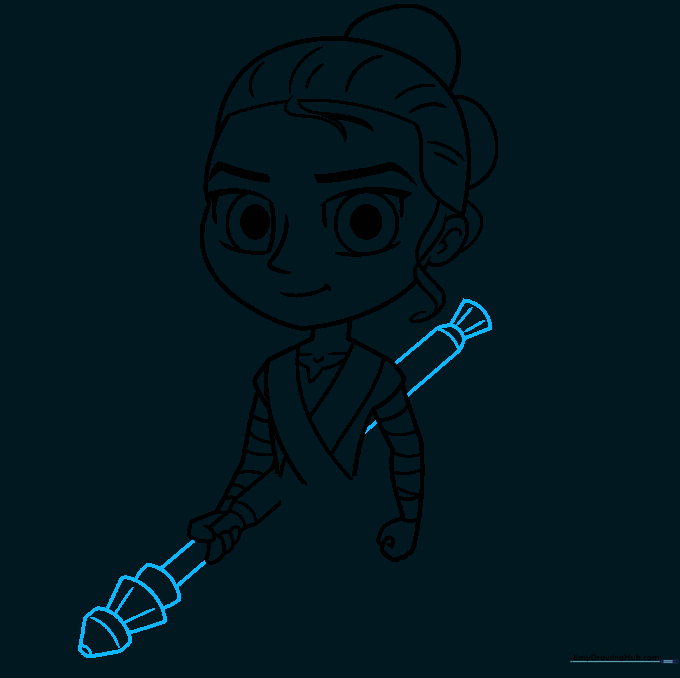
Step 5: Starting the Staff
Use straight lines to outline the staff held in her hands. Teacher's Tip: Use a ruler if you want the staff to look perfectly straight, or keep it freehand for a more organic, hand-drawn look.
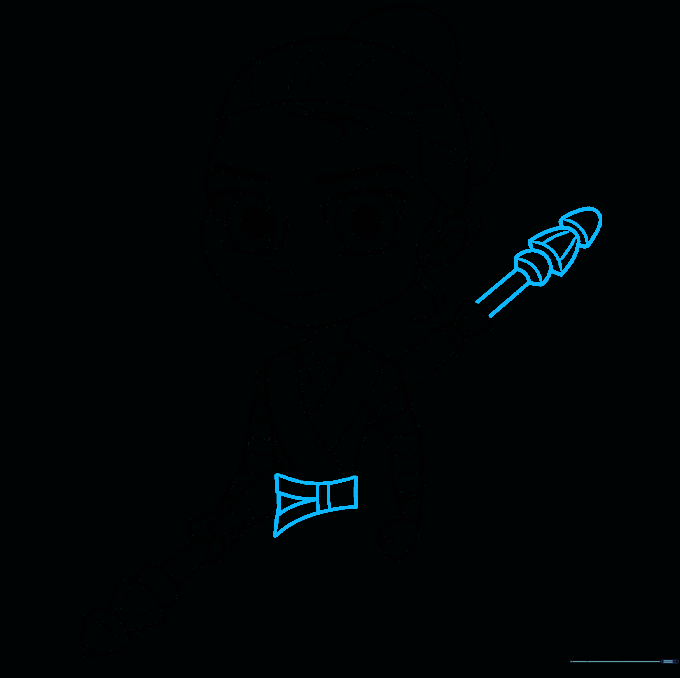
Step 6: Adding Texture to the Staff
Add trapezoid shapes to the ends of the staff to give it weight and detail. Teacher's Tip: Vary the size of these shapes to make the staff look like it has interesting mechanical parts.
Step 7: Completing the Staff
Extend the staff behind her back and add final details with short, curved lines. Teacher's Tip: Ensure the lines are parallel so the staff doesn't look bent.
Step 8: Drawing the Tunic and Legs
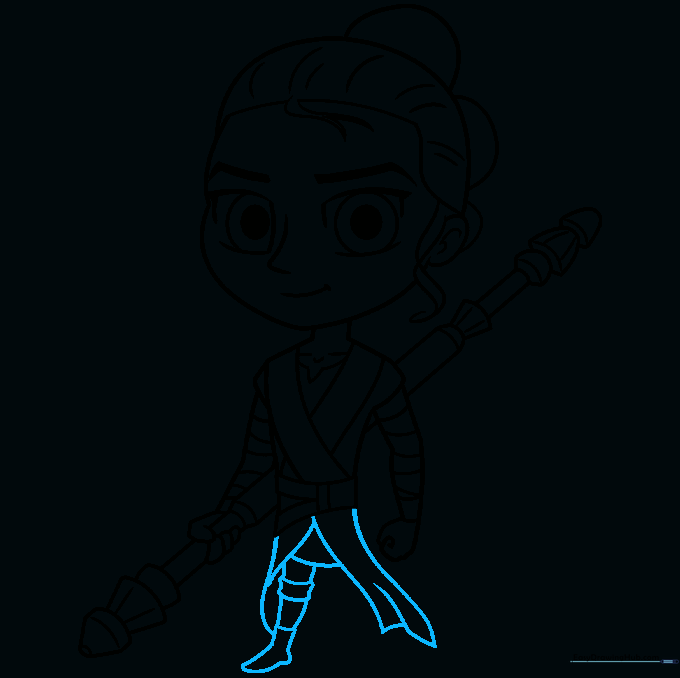
Draw the flowing ends of the tunic and start the legs using curved rectangles. Teacher's Tip: Overlapping your lines at the bottom of the tunic creates a nice sense of movement.
Step 9: Finalizing the Outline

Complete the second leg and boot. Add texture lines to the tunic to show fabric folds. Teacher's Tip: Use a darker pencil to go over your final lines before erasing your light construction marks.
Step 10: Adding Color
Bring your drawing to life with color! Use earthy browns for her hair and soft beiges for her tunic. Teacher's Tip: Try coloring in one direction to keep the texture smooth and professional-looking.
More Tutorials


