How to Draw Chase from PAW Patrol: Easy 10-Step Guide
Ready to bring the leader of the PAW Patrol to life? This tutorial is designed for young artists and beginners, requiring only a pencil, paper, and an eraser. Follow these simple steps to master Chase’s iconic police uniform and friendly expression while building your drawing confidence.
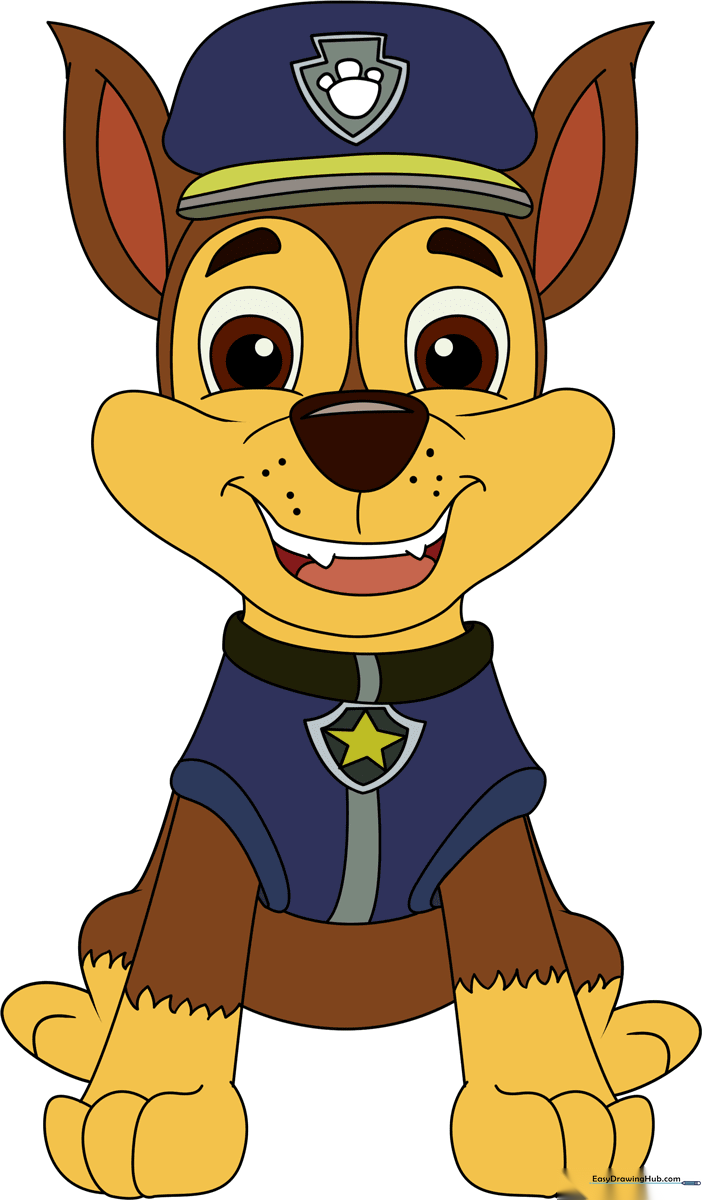
🎯 Final Result
Step-by-Step Instructions
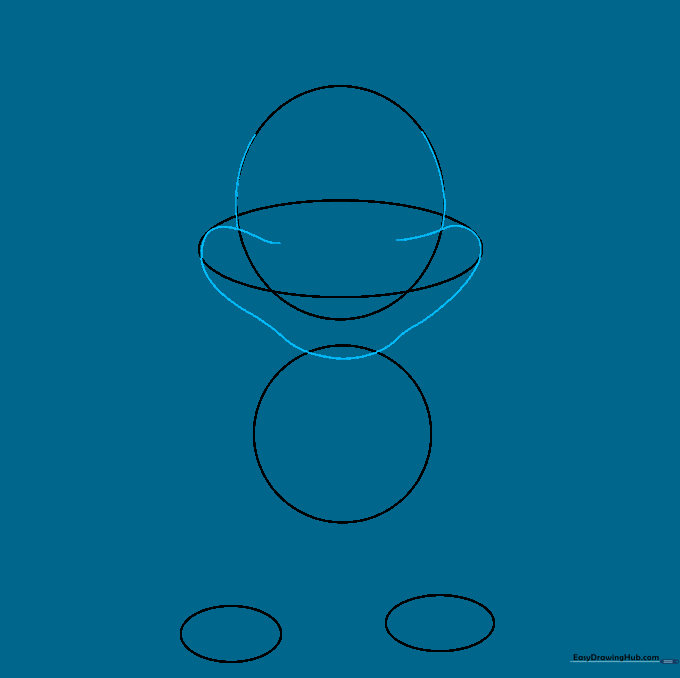
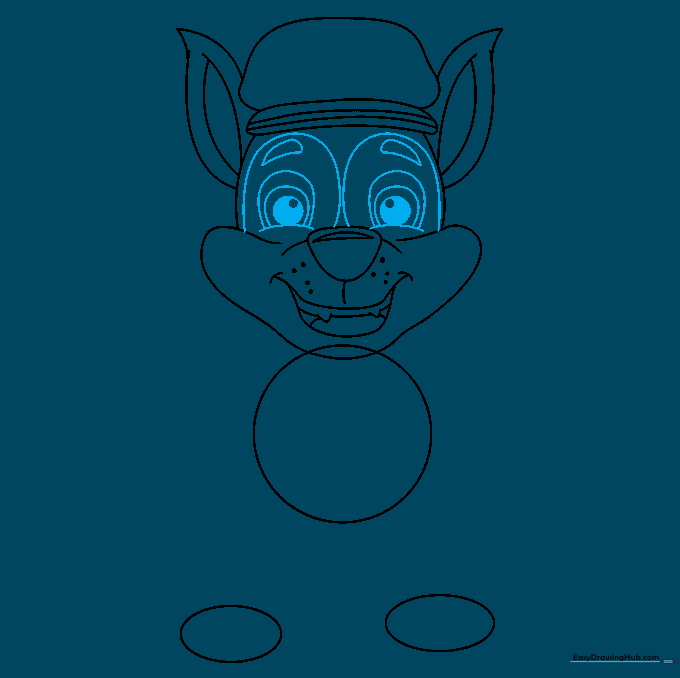
Step 1: Sketching the Basic Shapes

Start by drawing two light circles for the head and body. Add a horizontal oval across the bottom of the head circle to define the snout, and two small ovals below for the paws. Teacher's Tip: Keep your pencil pressure very light here so these construction lines are easy to erase later!
Step 2: Defining the Snout
Inside the horizontal oval, draw a long, curved line that dips down to meet the top of the body circle. This creates the structure of Chase's muzzle. Tip: Focus on making this curve smooth to give him that friendly, cartoon character look.
Step 3: Drawing the Police Hat
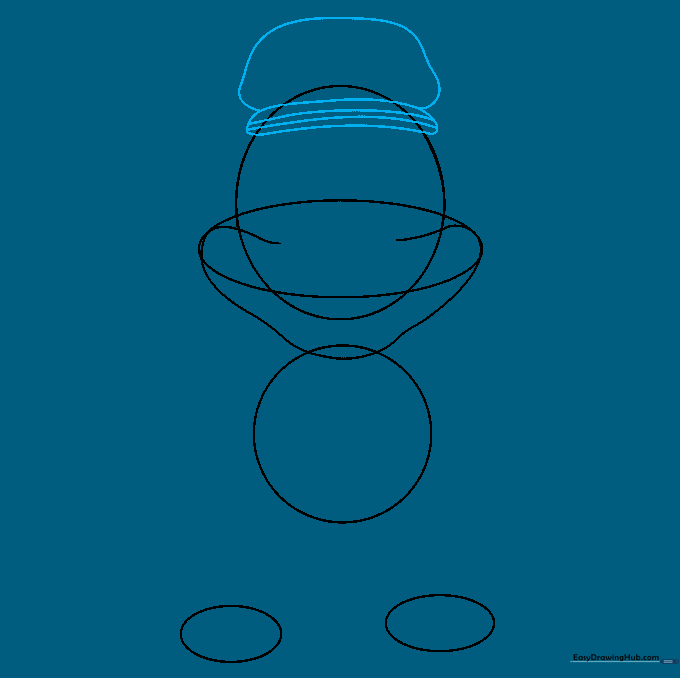
Sketch the police hat by drawing an irregular shape on top of the head circle. Add a second shape below it for the brim and include horizontal curved lines for detail. Tip: Use short, quick strokes to keep the hat looking structured and firm.
Step 4: Ears and Facial Features
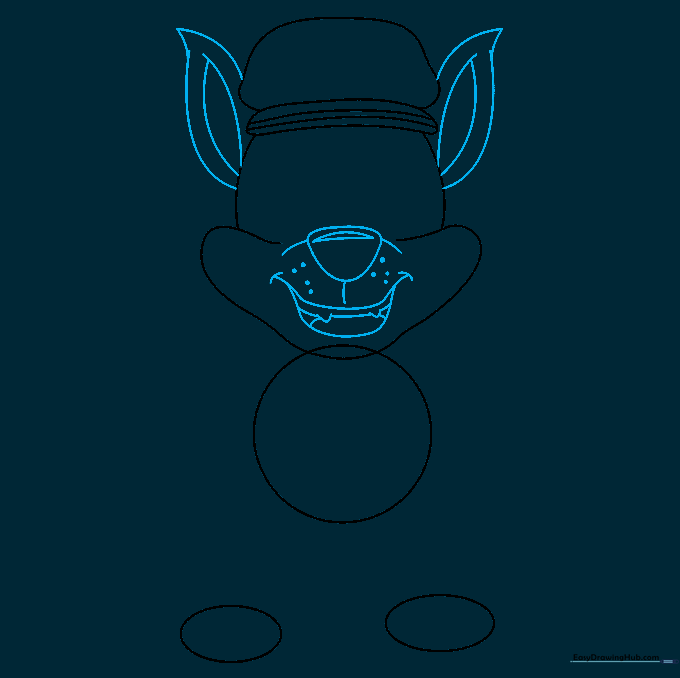
Erase your initial guide lines. Add the pointed ears on the sides of the head. For the nose, draw an upside-down triangle with rounded corners, adding a small highlight. Sketch the mouth and tongue using gentle curves. Tip: A little highlight on the nose makes the drawing look more professional!
Step 5: Adding the Eyes
Draw two partial ovals for the eyes, then add smaller circles inside for the pupils. Shade the pupils, leaving a tiny white dot for a 'sparkle' effect. Add the eyebrows above to give him his signature alert expression. Tip: Ensure the eyes are symmetrical to keep his face looking balanced.
Step 6: Uniform and Badges
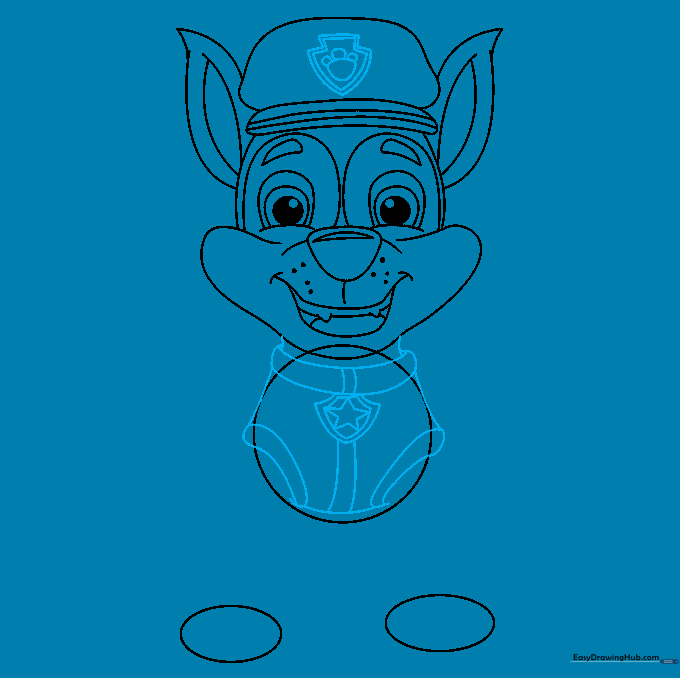
Draw the collar and uniform lines. Add the pup tag and the logo on the hat. Draw a small paw print inside the hat logo and a star inside the tag. Tip: Take your time with the small details—these are what make the character instantly recognizable!
Step 7: Drawing the Front Legs

Use pairs of curved lines to connect the uniform to the paw ovals you drew earlier. Add small lines to define the toes. Tip: Make sure the legs look sturdy to match Chase's brave personality.
Step 8: Completing the Body
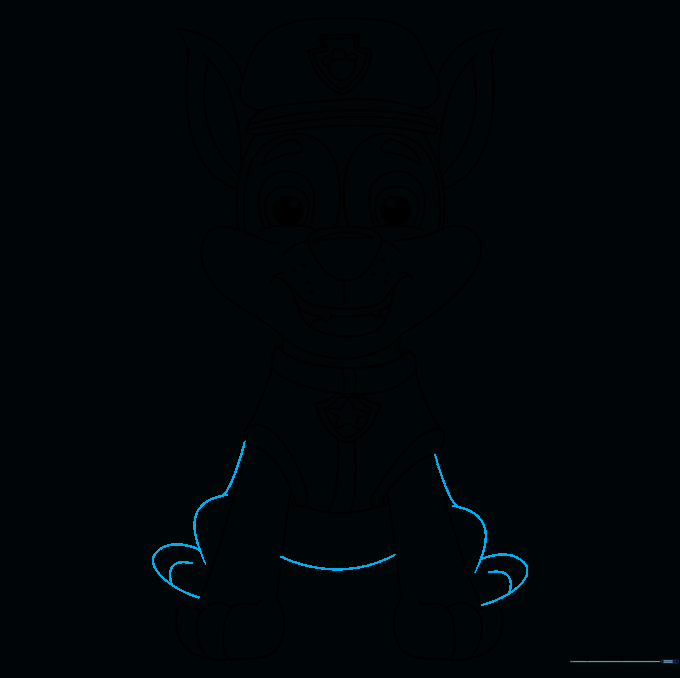
Draw a curved line for the belly between the front legs. Then, add the rear legs and paws. Tip: Keep the lines flowing naturally to show the curve of his body.
Step 9: Final Touches
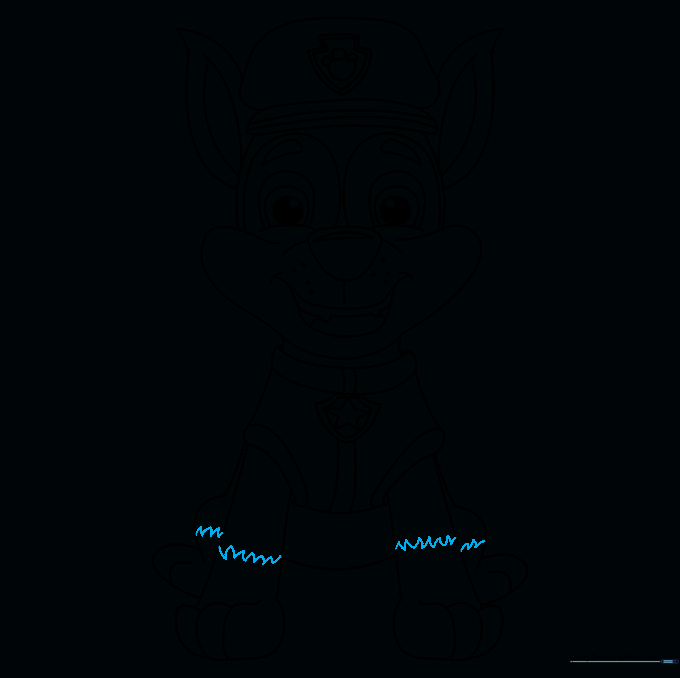
Add a small zig-zag line above each paw to represent fur texture. This adds a nice touch of realism to your cartoon drawing. Tip: Use a slightly darker pencil stroke for these final details to make them pop.
Step 10: Color Your Masterpiece
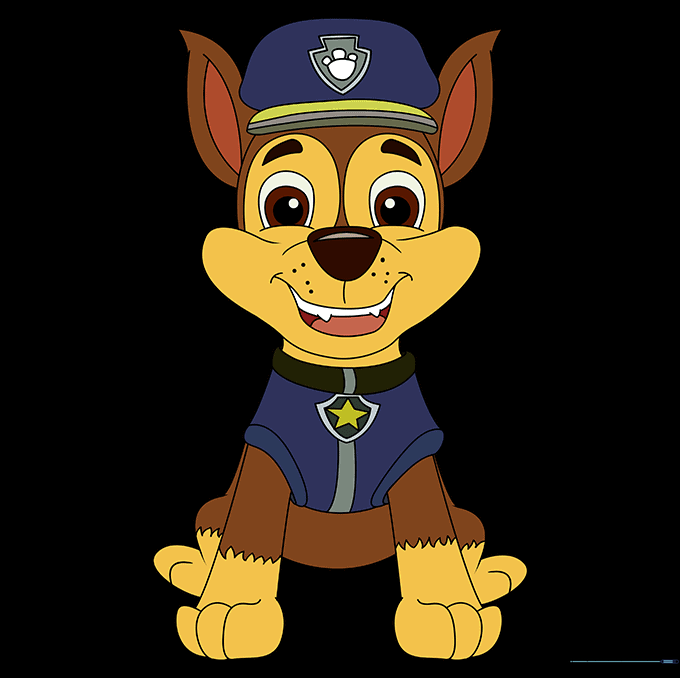
Bring Chase to life with his signature blue uniform and brown fur. Use bold colors to make him look like he's ready for duty! Tip: If you're using markers, color in one direction to keep the finish smooth and even.
More Tutorials


