How to Draw Charmander: Easy 10-Step Pokémon Guide
Bring your favorite fire-type Pokémon to life with this beginner-friendly drawing tutorial. Designed for ages 5 and up, all you need is a pencil, eraser, and paper to get started. Follow these steps to build confidence in your character sketching and fine motor control.
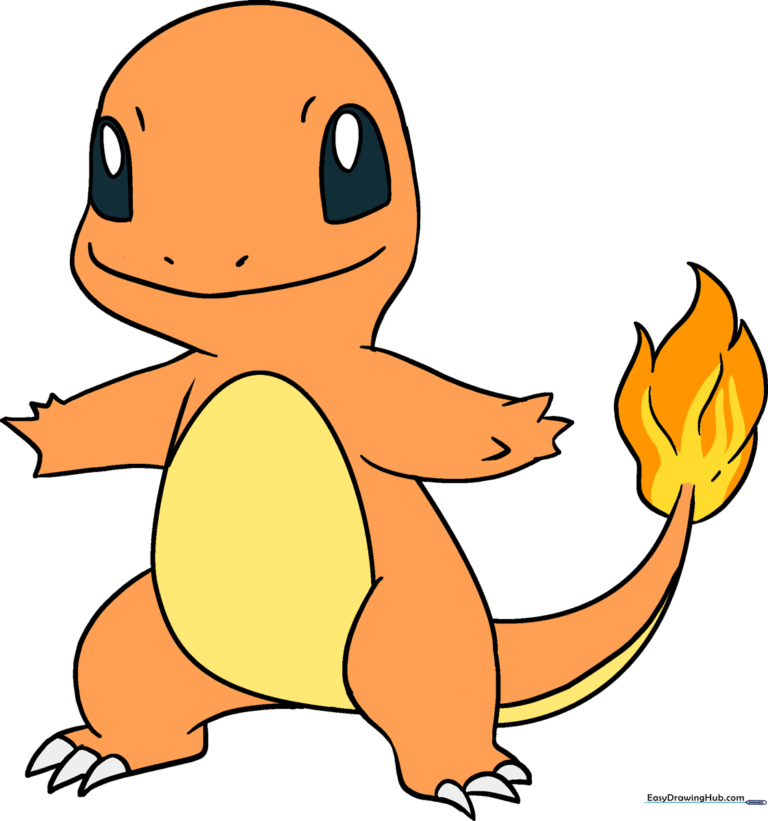
🎯 Final Result
Step-by-Step Instructions
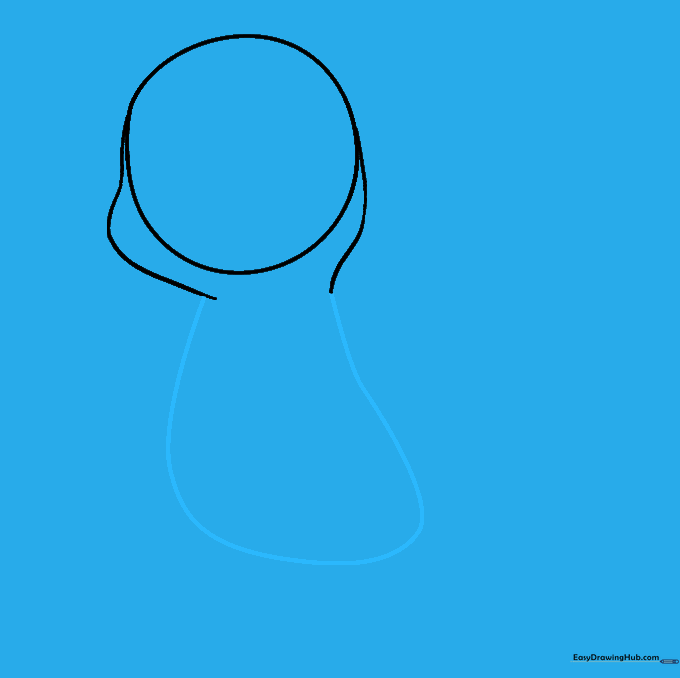
Step 1: Sketching the Head

Draw a light circle to serve as the base for the head. Teacher's Tip: Keep your pencil pressure very light so you can easily erase the construction lines later.
Step 2: Defining the Jawline

Extend two curved lines downward from the circle to create the jaw and neck. Tip: Make sure these lines curve gently to give Charmander his friendly, rounded appearance.
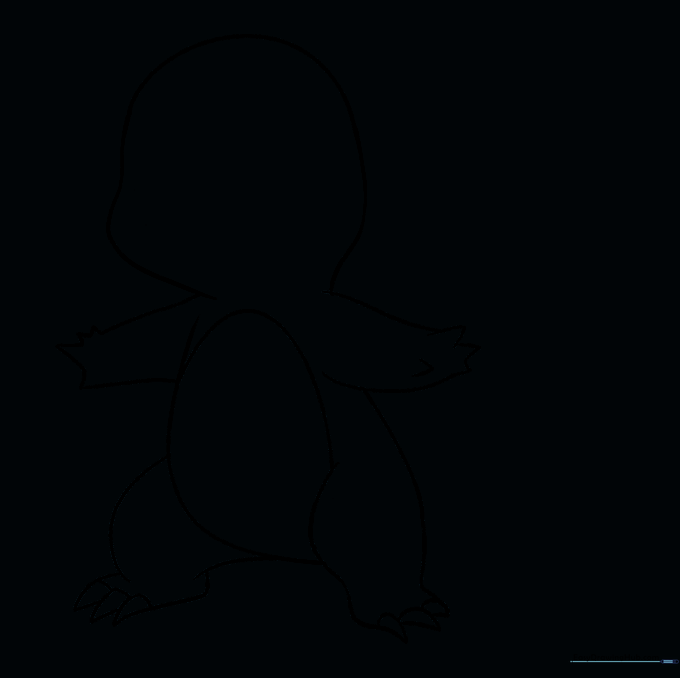
Step 3: Outlining the Body
Draw a long, continuous curved line to enclose the body shape. Tip: Imagine you are drawing a bean shape; keep the lines smooth to ensure the body looks proportional.
Step 4: Adding Arms and Belly
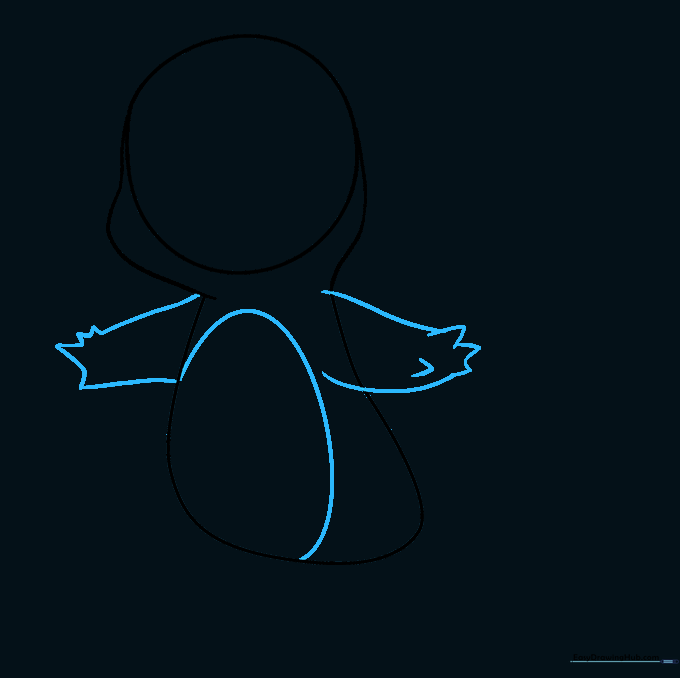
Sketch the arms using two curved lines and add 'V' shapes for the fingers and thumb. Draw an egg-shaped oval on the belly. Tip: Use short, quick strokes for the fingers to make them look sharp.
Step 5: Drawing the First Leg

Outline the leg with curved lines and add triangular claws at the bottom. Tip: Ensure the leg overlaps the belly line slightly to create depth.
Step 6: Drawing the Second Leg
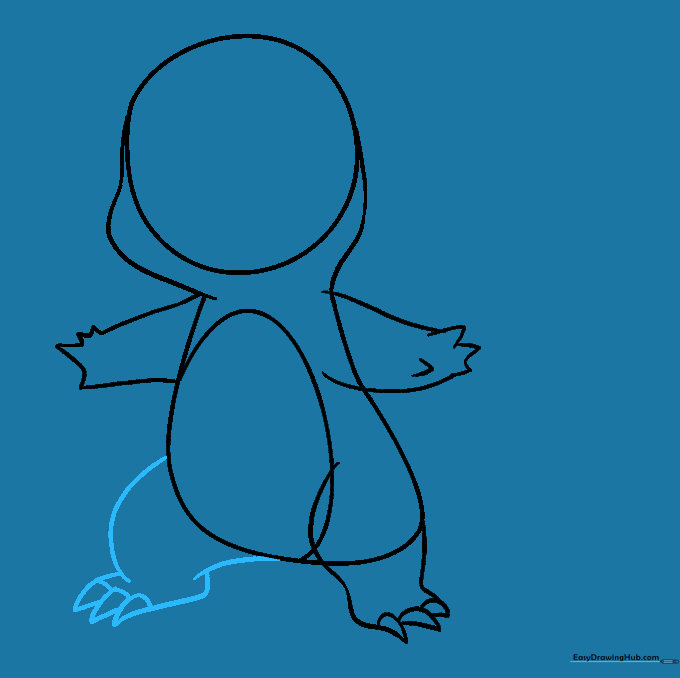
Repeat the process for the second leg, ensuring the claws match the first one. Tip: Keep the legs symmetrical to help Charmander look balanced.
Step 7: Cleaning Up
Carefully erase the overlapping guide lines from the head and body. Tip: Use a kneaded eraser if you have one; it's gentler on the paper and picks up graphite cleanly.
Step 8: Adding the Tail and Flame
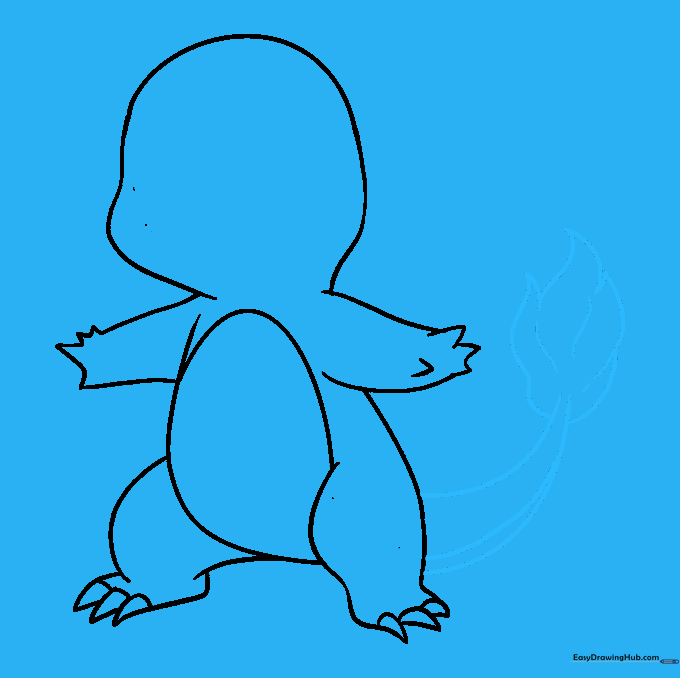
Draw the tail with a stripe and add a jagged, flame-like shape at the tip. Tip: Use quick, flicking motions with your pencil to make the flame look energetic and hot.
Step 9: Facial Features
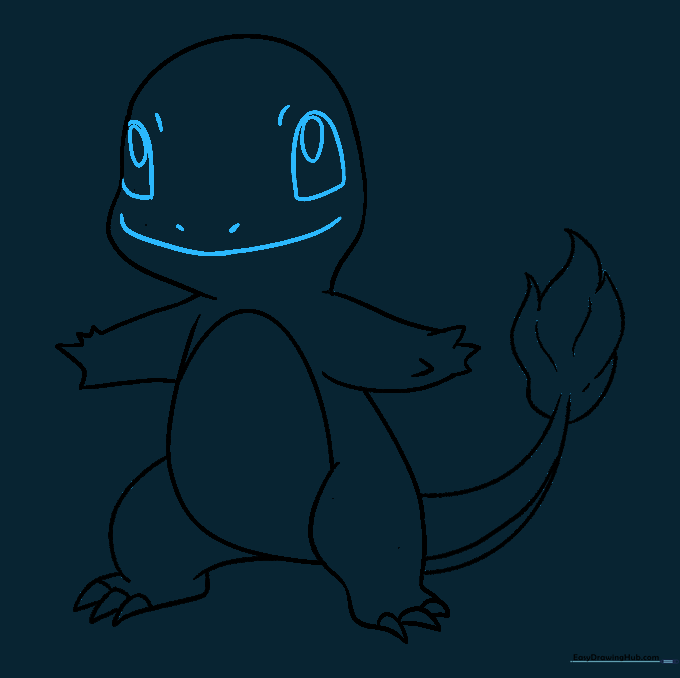
Add the eyes, pupils, eyebrows, nostrils, and a wide, happy smile. Tip: Draw the pupils slightly off-center to give Charmander a curious, lively expression.
Step 10: Bringing it to Life with Color
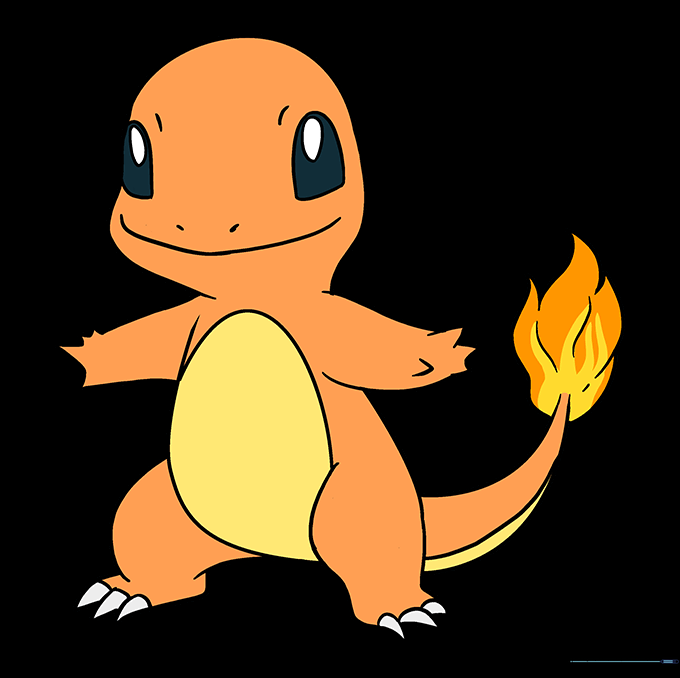
Color your Charmander using bright orange for the body and yellow for the belly and flame. Tip: Use a darker orange or red near the base of the flame to create a realistic 'hot' effect.
More Tutorials


