How to Draw Cat Paw Prints: Simple 9-Step Guide
Create a playful trail of cat paw prints with this simple, beginner-friendly tutorial. Designed for young artists ages 5 and up, this activity requires only a pencil, paper, and an eraser. Follow these steps to master the anatomy of a feline paw and add a touch of whimsy to your animal drawings.
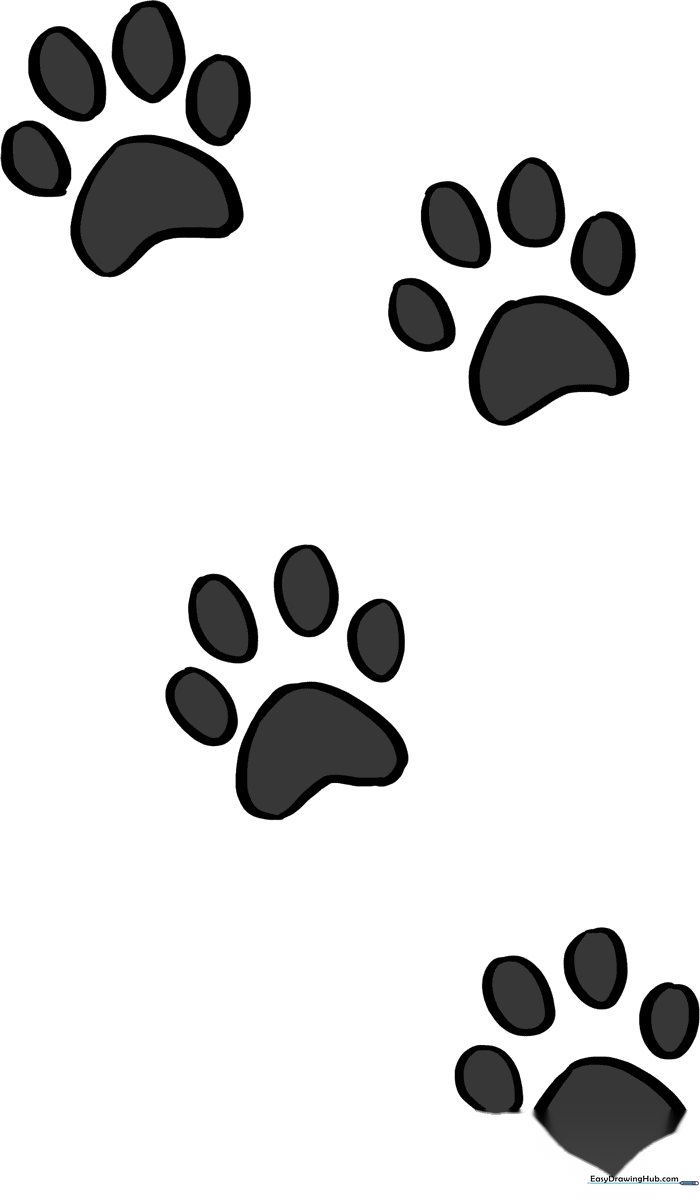
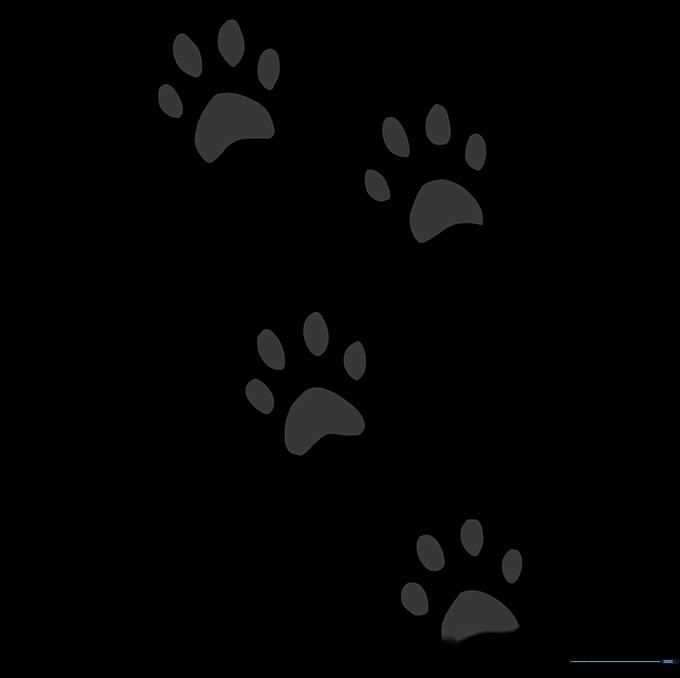
🎯 Final Result
Step-by-Step Instructions
Step 1: Sketching the Main Pad

Draw a soft, curved shape that looks like a rounded crescent or a cookie with a small bite taken out of it. Teacher's Tip: Keep your pencil pressure light so you can easily adjust the shape if it looks a bit lopsided.
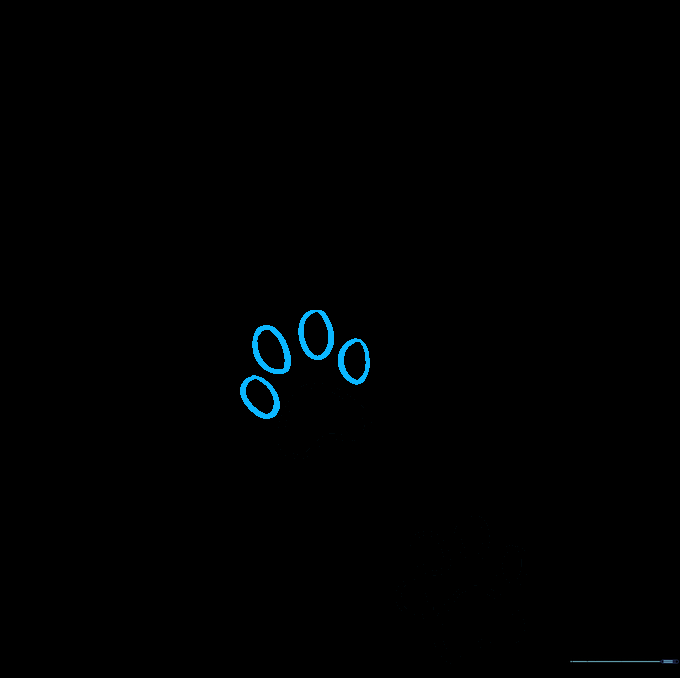
Step 2: Adding the Toe Pads

Add four small, rounded ovals just above the main pad to represent the toes. Teacher's Tip: Try to vary the sizes slightly—the middle two toes are usually a bit taller than the outer ones.
Step 3: Starting the Second Print

Draw another irregular crescent shape nearby to start your second paw print. Teacher's Tip: Placing it at a slight angle makes your drawing look more natural, as if a cat is walking across the page.
Step 4: Completing the Second Print
Add four small ovals above your second crescent shape. Teacher's Tip: Keep the spacing between the toes consistent with your first print for a professional look.
Step 5: Sketching the Third Print
Draw a third crescent shape to continue your cat's path. Teacher's Tip: Don't worry about making them identical; real paw prints vary in shape based on how the cat is moving.
Step 6: Adding Toes to the Third Print

Add the small ovals for the toes on your third print. Teacher's Tip: Use short, quick strokes to keep the ovals looking rounded and soft.
Step 7: Refining the Third Print

Ensure all four toes are clearly defined on the third print. Teacher's Tip: If you make a mistake, use your eraser to gently lift the graphite before moving on.
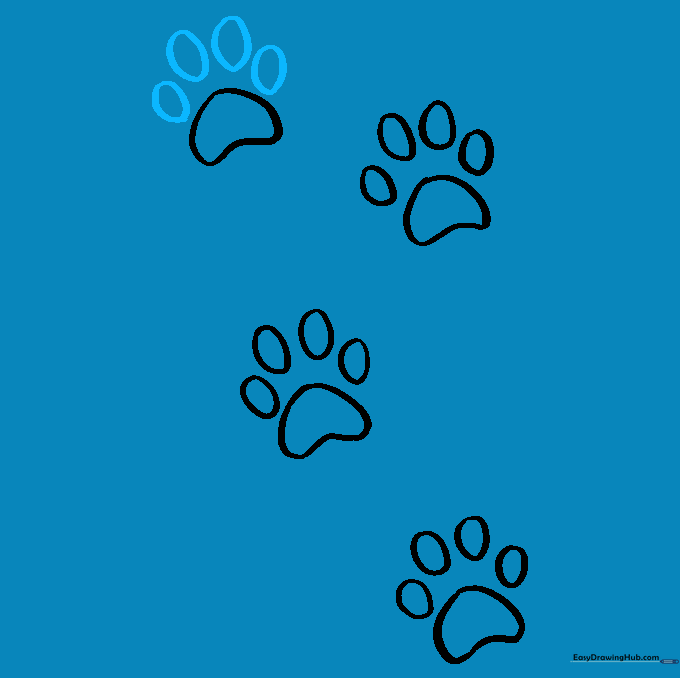
Step 8: Adding the Final Print

Draw one last crescent shape to complete your trackway. Teacher's Tip: You can place this one further away to show the cat is running or jumping!
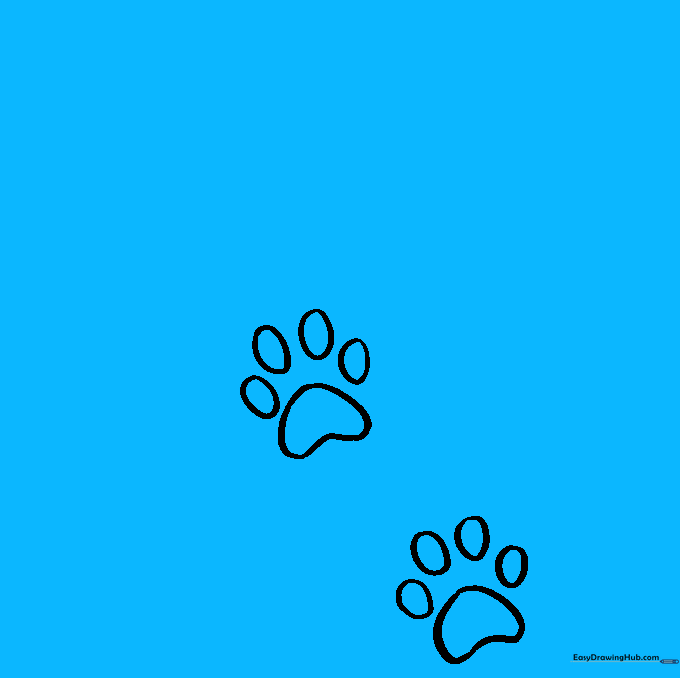
Step 9: Finalizing the Outline
Add the final set of toe ovals to your last print. Teacher's Tip: Once you are happy with your shapes, go over your lines with a darker pencil or a fine-liner pen to make them pop.
Step 10: Adding Color and Character
Bring your paw prints to life with color! Use soft pinks or browns for the pads. Teacher's Tip: Try adding a little 'shadow' underneath each print to make them look like they are sitting on the ground.
More Tutorials


