How to Draw Cat Noir: Easy Step-by-Step Guide
Ready to bring the hero of Paris to life? This tutorial is perfect for young fans and budding artists looking to practice character proportions. Grab your pencil, an eraser, and a piece of paper, and let's capture Cat Noir's iconic look together.
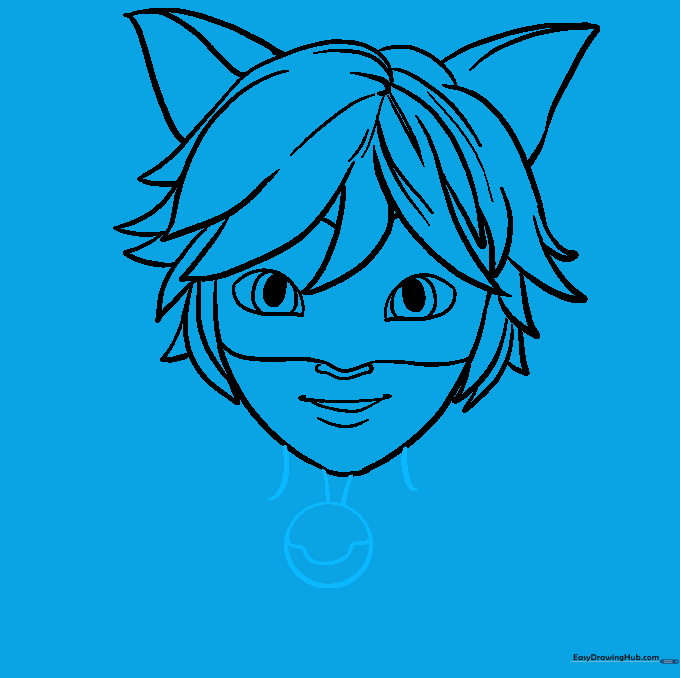
🎯 Final Result

Step-by-Step Instructions
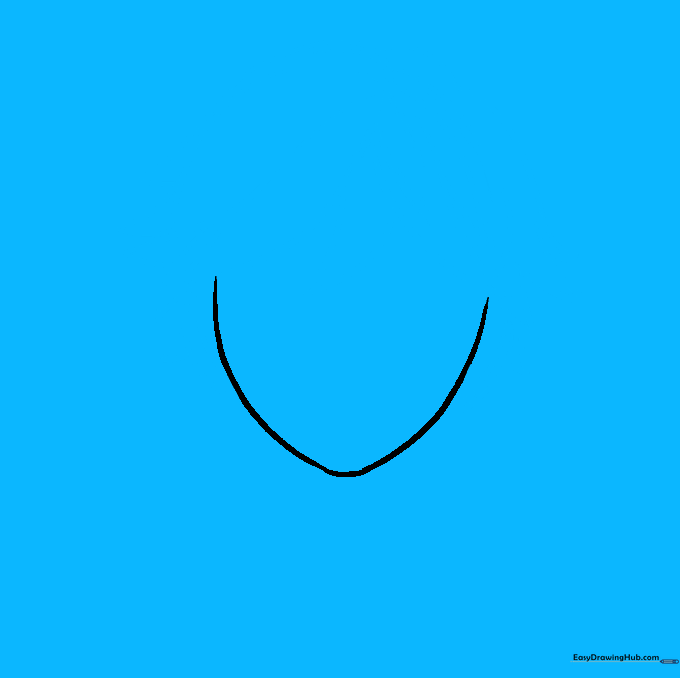
Step 1: Sketching the Face Shape

Start by drawing a soft, curved line to outline the face. Focus on creating a slightly flat point for the chin. Teacher's Tip: Keep your pencil pressure light so you can easily adjust the jawline later if it looks too sharp.
Step 2: Adding the Messy Hair
Draw Cat Noir's signature messy hair using curved lines that meet at sharp points. Use long, wide locks for the forehead and shorter, choppy ones along the sides. Teacher's Tip: Don't worry about making the locks identical; his hair is meant to look wild and layered!
Step 3: Drawing the Cat Ears
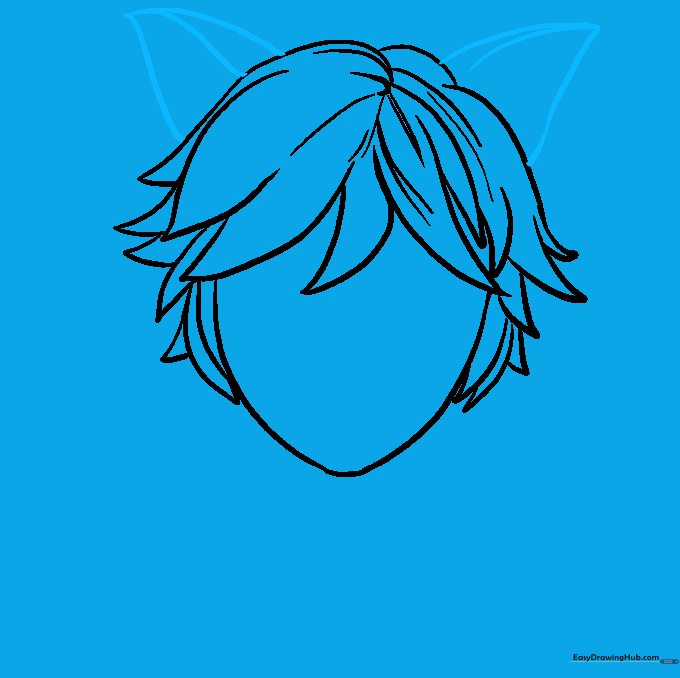
Add two curved triangles on top of the head for his ears. Add a smaller curved line inside each to give them depth. Teacher's Tip: Ensure the ears are placed slightly toward the sides of the head to keep his proportions balanced.
Step 4: Defining the Mask and Features
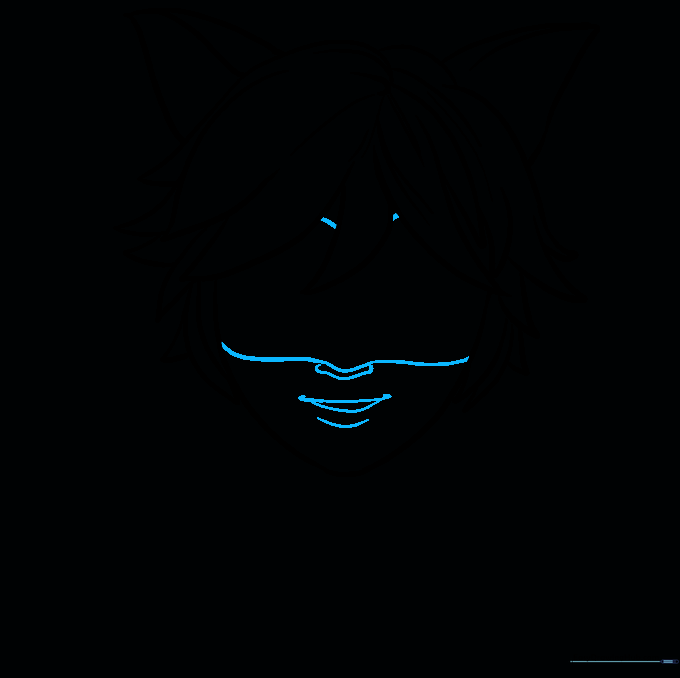
Sketch the outline of his mask using smooth, curved lines that wrap around the eye area. Add simple curves for the nose and mouth. Teacher's Tip: The mask should sit right across the bridge of the nose to give him that mysterious superhero look.
Step 5: Adding the Eyes
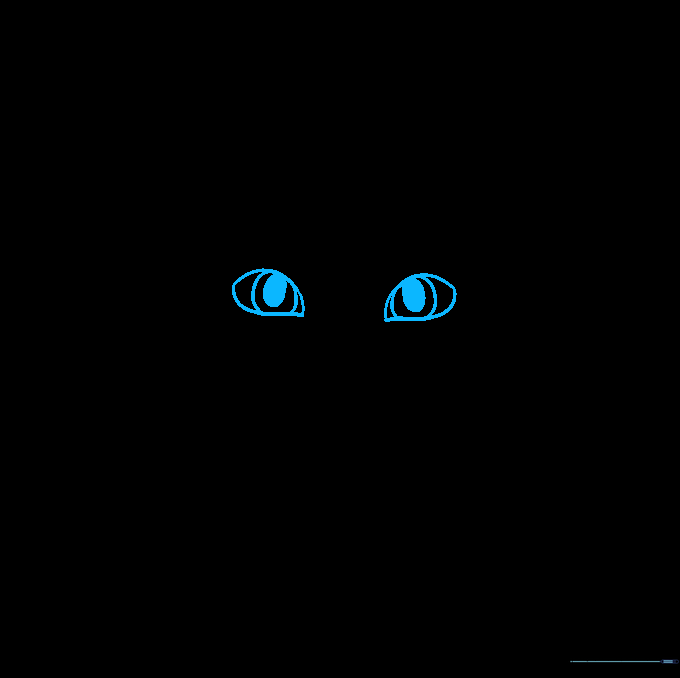
Draw two almond-shaped eyes, pointed at the outer corners. Add a circle inside each for the iris and a smaller, shaded circle for the pupil. Teacher's Tip: Leave a tiny white dot unshaded in the pupil to create a 'sparkle' effect, making the eyes look alive.
Step 6: Drawing the Neck and Suit Detail
Draw two short lines for the neck, and add the collar detail below. Include a small circle for the bell on his suit. Teacher's Tip: Keep the bell centered to maintain symmetry in his costume.
Step 7: Sketching the First Shoulder
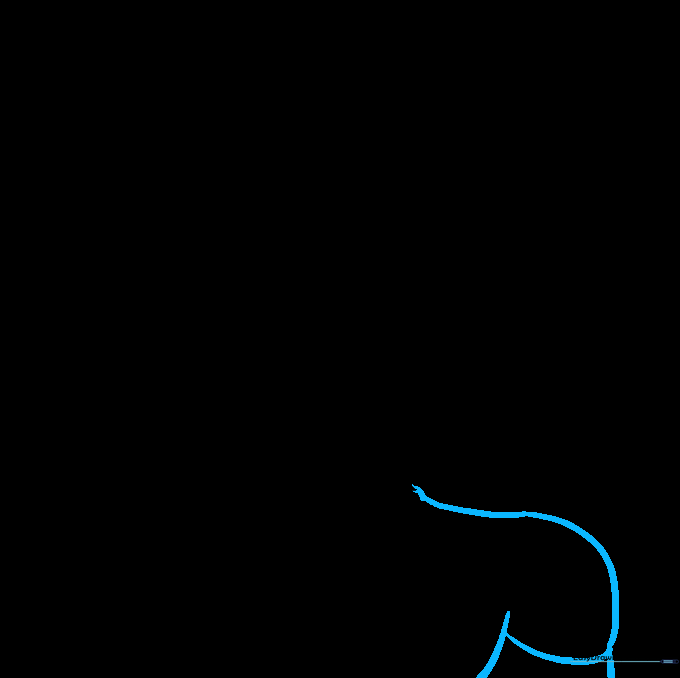
Draw a long, sweeping curved line for the shoulder. Use overlapping curves to define the sleeve. Teacher's Tip: Use smooth, fluid motions to make the fabric look sleek and tight-fitting.
Step 8: Adding the Second Shoulder
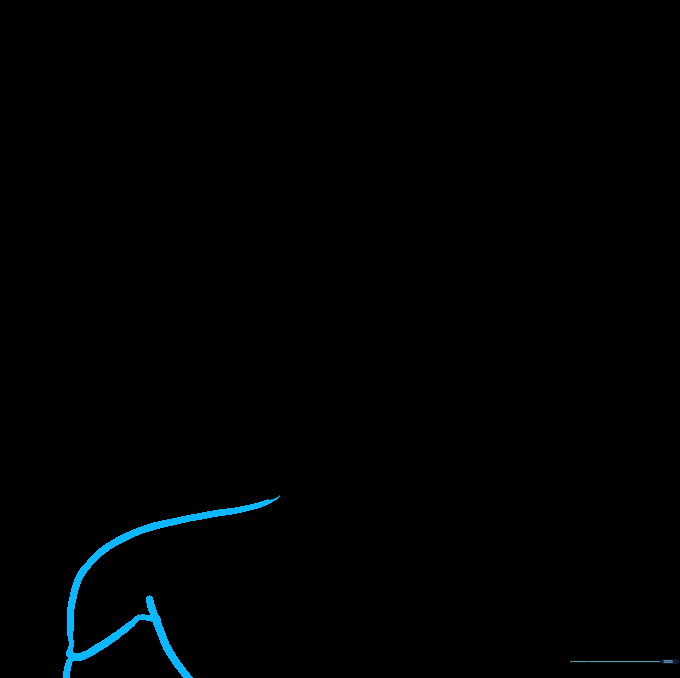
Repeat the process for the opposite shoulder, ensuring the arm and sleeve match the angle of the first. Teacher's Tip: Check that both shoulders are roughly the same height so he doesn't look lopsided.
Step 9: Finalizing the Torso
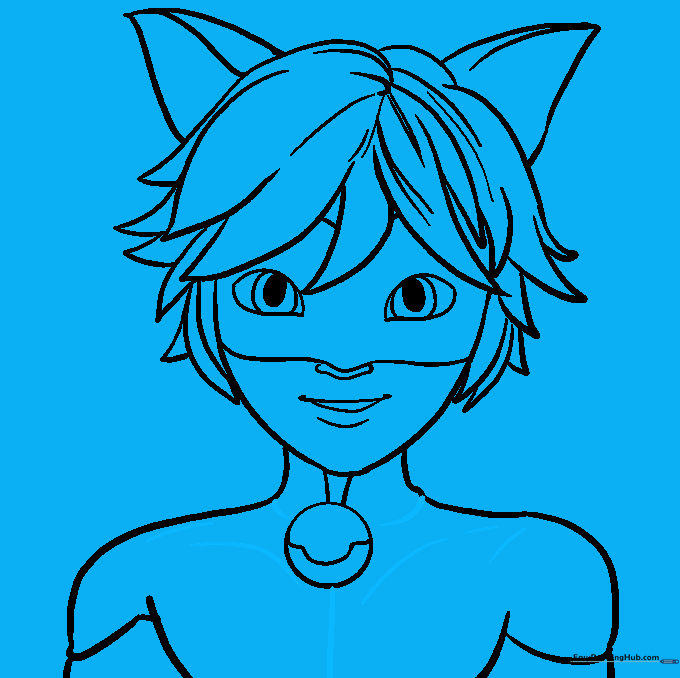
Add a center line down the torso and extra curves on the shoulders to show the suit's texture. Teacher's Tip: These small lines help define the form of the body under the suit.
Step 10: Bringing Him to Life with Color
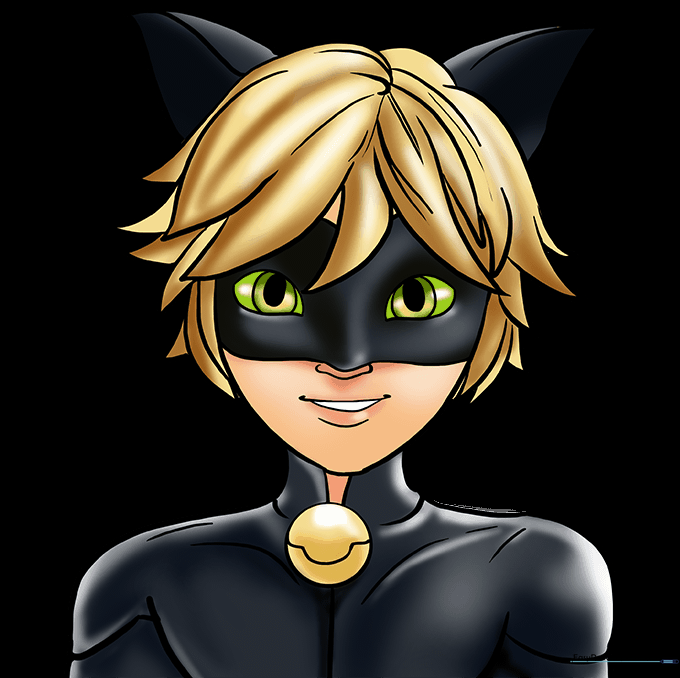
Time to color! Use bright yellow for his hair and deep black for his suit. Teacher's Tip: Use a light gray to add highlights on the black suit to show where the light hits the fabric.
More Tutorials


