How to Draw Cartoon Sunglasses: Easy 5-Minute Guide
Ready to add some summer style to your sketchbook? This tutorial is perfect for artists ages 5 and up. You only need a pencil, an eraser, and a piece of paper to create these trendy shades, helping you practice drawing symmetrical shapes and smooth curves.
🎯 Final Result

Step-by-Step Instructions
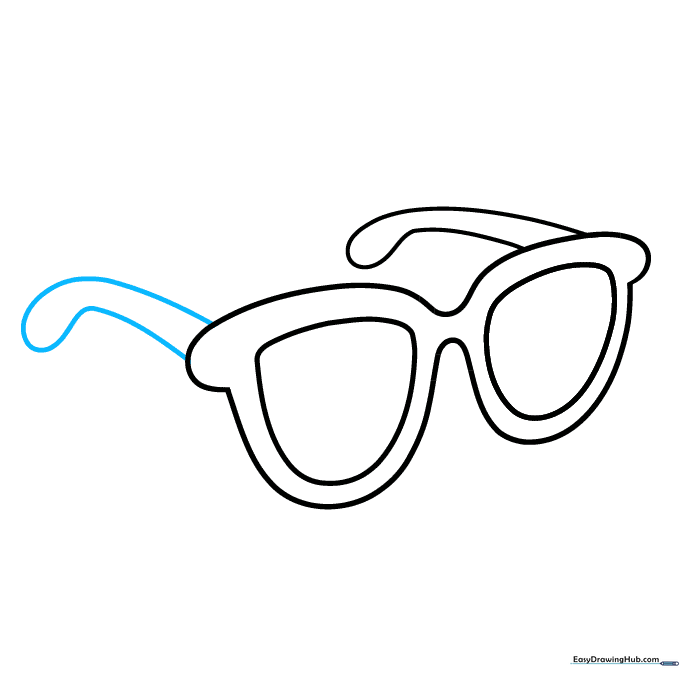
Step 1: Sketching the Top Frame
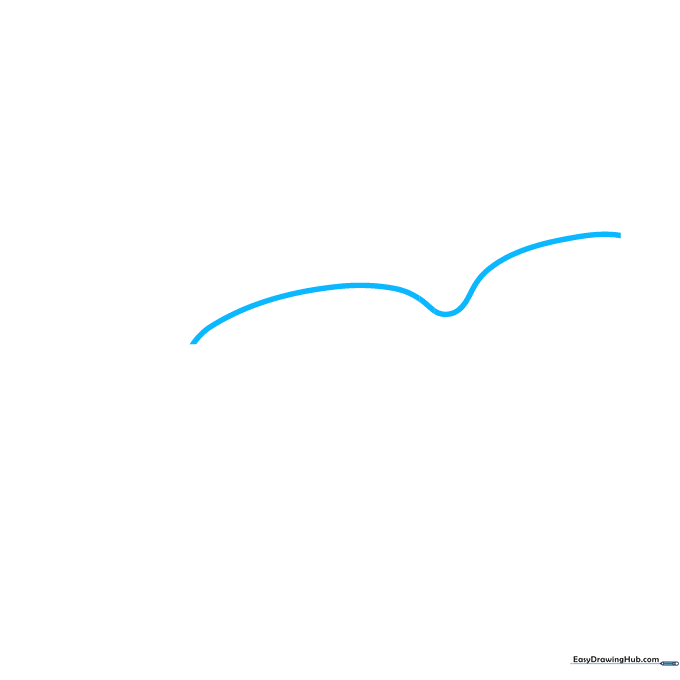
Draw a long, gentle curved line that dips slightly in the center. Teacher's Tip: Keep your pencil pressure light here; this dip is your nose bridge, and you'll want it centered so your glasses look balanced.
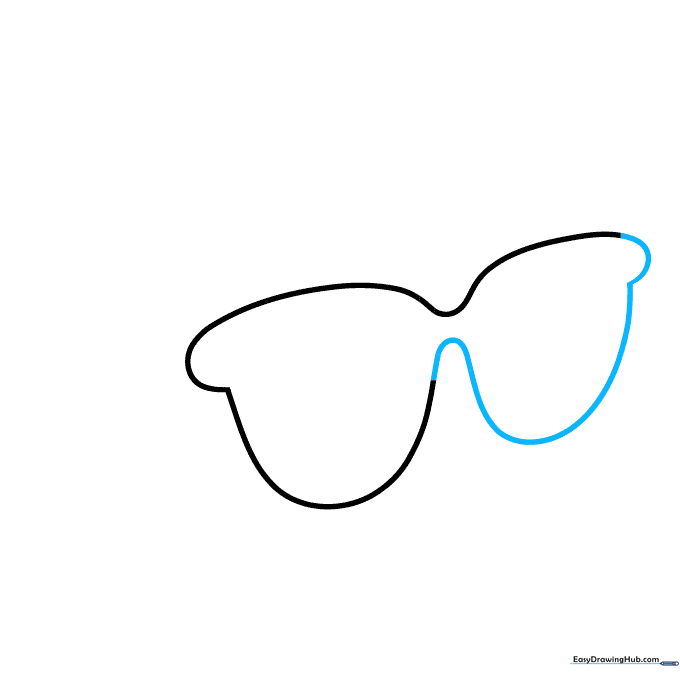
Step 2: Defining the Outer Frame

From the ends of your top line, draw two 'C' shapes facing outward. Connect these with a large, sweeping curve underneath to form the bottom of the frames. Tip: Try to make both sides match in size for a professional look.
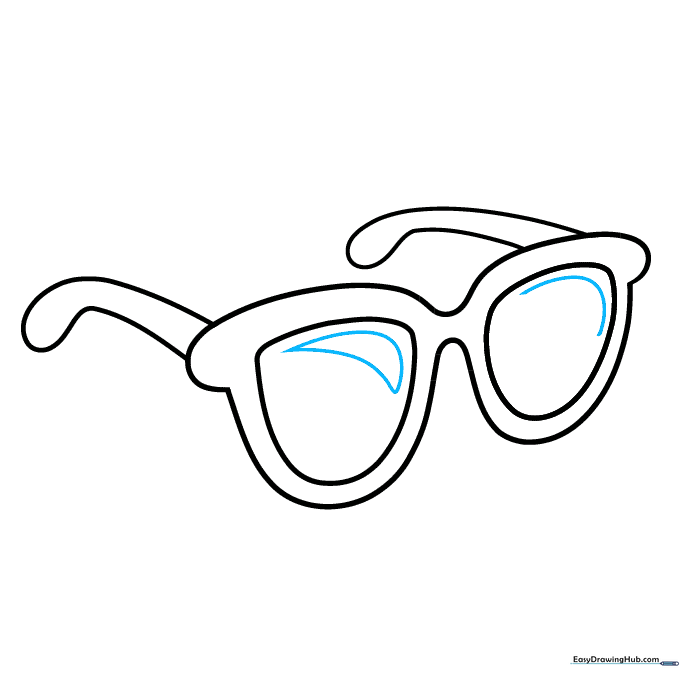
Step 3: Refining the Frame Structure
Smooth out your lines to ensure the frame looks solid. Add a small bump on the outer edges where the earpieces will eventually connect. Tip: Use a fluid motion with your wrist to keep the curves looking natural rather than jagged.
Step 4: Drawing the First Lens
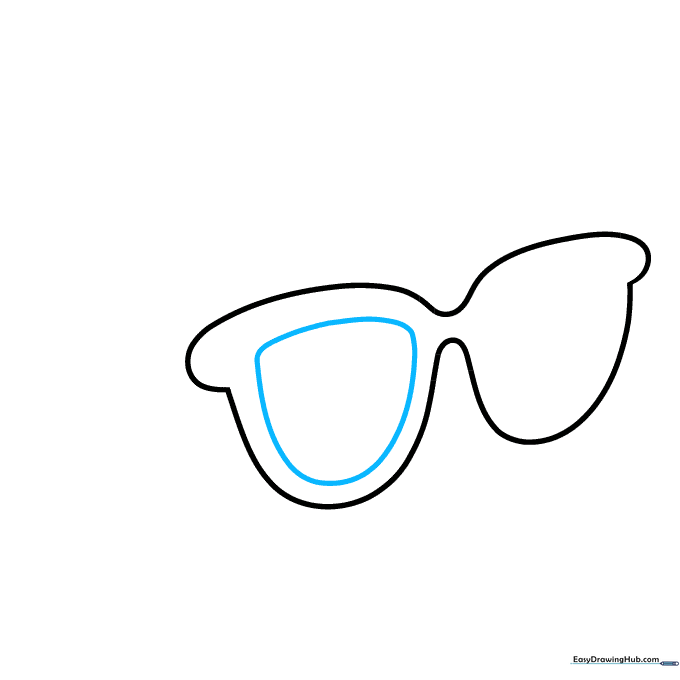
Inside the left side of the frame, draw a half-oval shape. This creates the lens. Tip: Leave a tiny gap between the lens line and the frame edge to make it look like the glass is set inside the plastic.
Step 5: Drawing the Second Lens

Repeat the process on the right side by drawing a matching half-oval. Tip: Check that both lenses are roughly the same size so your sunglasses don't look lopsided!
Step 6: Adding the First Earpiece
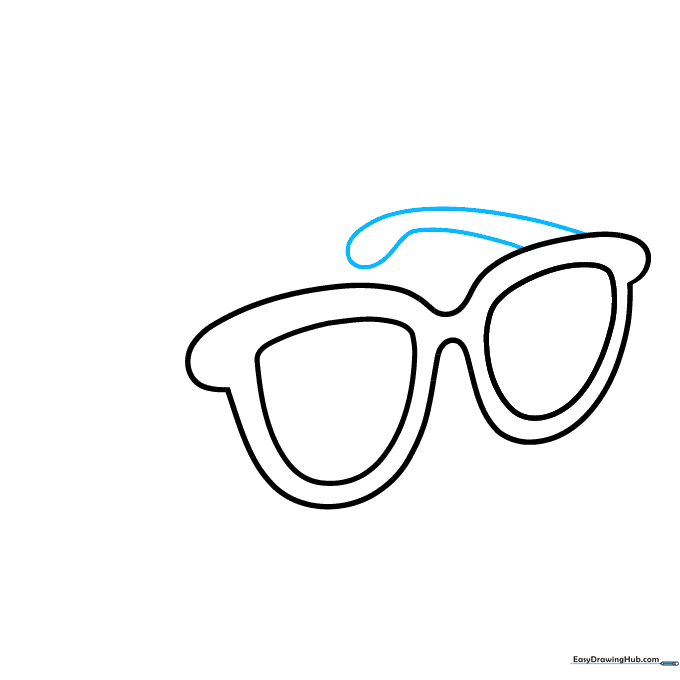
Extend two curved lines from the side of the frame, meeting at a point to create a teardrop-shaped earpiece. Tip: Imagine the earpiece is resting on an ear; keep the curve gentle so it looks comfortable.
Step 7: Adding the Second Earpiece
Draw the second earpiece on the opposite side, mirroring the first one. Tip: If you're struggling with symmetry, turn your paper upside down to see if the shapes look balanced from a different angle.
Step 8: Adding Lens Reflections
Draw a small, curved shape inside each lens to represent light reflection. Tip: Keep these shapes near the top corner of the lenses to make the glasses look shiny and realistic.
Step 9: Adding Hinge Details
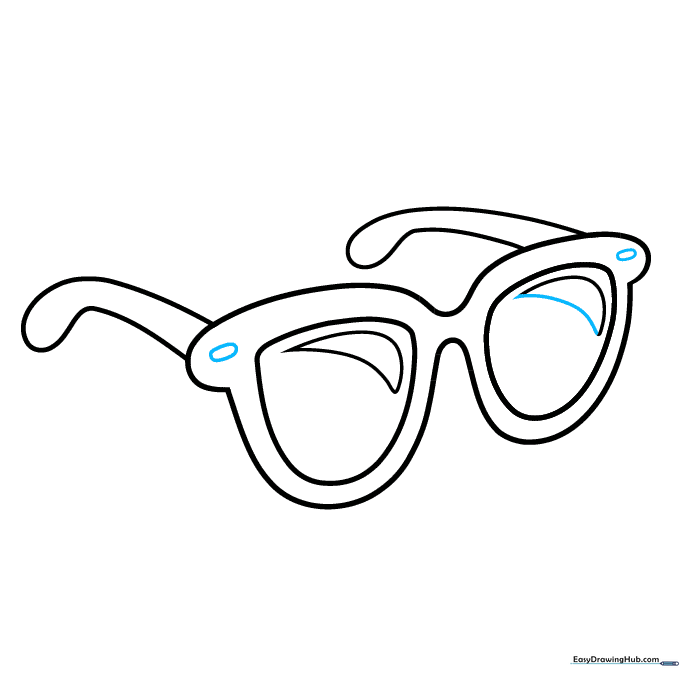
Draw small, flat ovals on the hinges where the earpieces meet the frame. These represent the screws. Tip: Keep these very small so they don't distract from the main shape of the glasses.
Step 10: Final Touches and Coloring
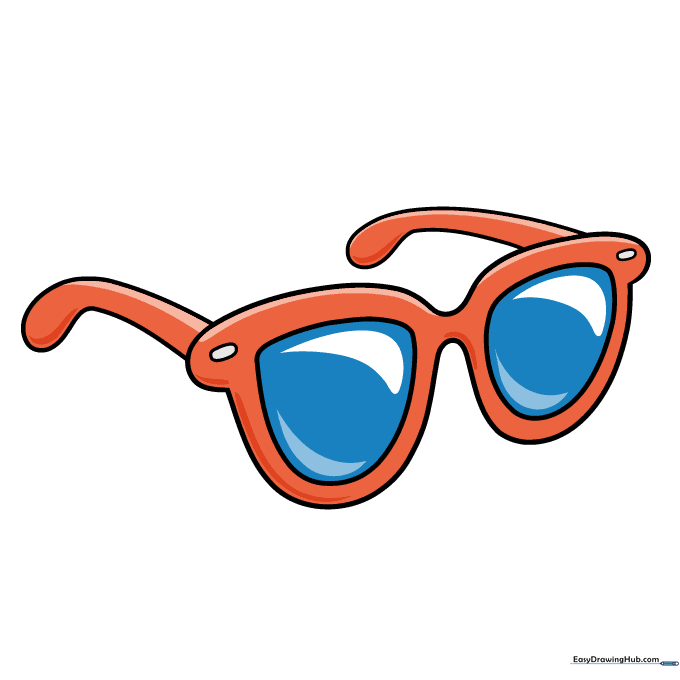
Your outline is finished! Now, use a black marker to trace your lines. For coloring, try classic black lenses or go bold with neon colors to match your personal style.
More Tutorials


