How to Draw a Cute Cartoon Star: Easy 5-Step Guide
Looking for a fun, screen-free activity? This guide is perfect for children ages 5+ to practice basic shapes and line control. All you need is a pencil, an eraser, and a piece of paper to bring your own happy little star to life.
🎯 Final Result

Step-by-Step Instructions
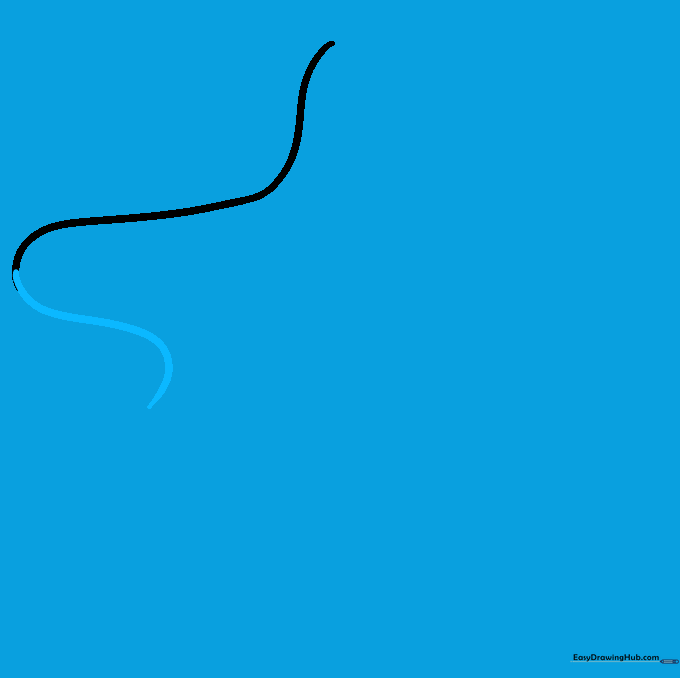
Step 1: Sketching the First Curve

Start by drawing a soft, curved line that dips inward. Teacher's Tip: Think of this as the 'valley' between two of the star's points. Keep your pencil pressure light!
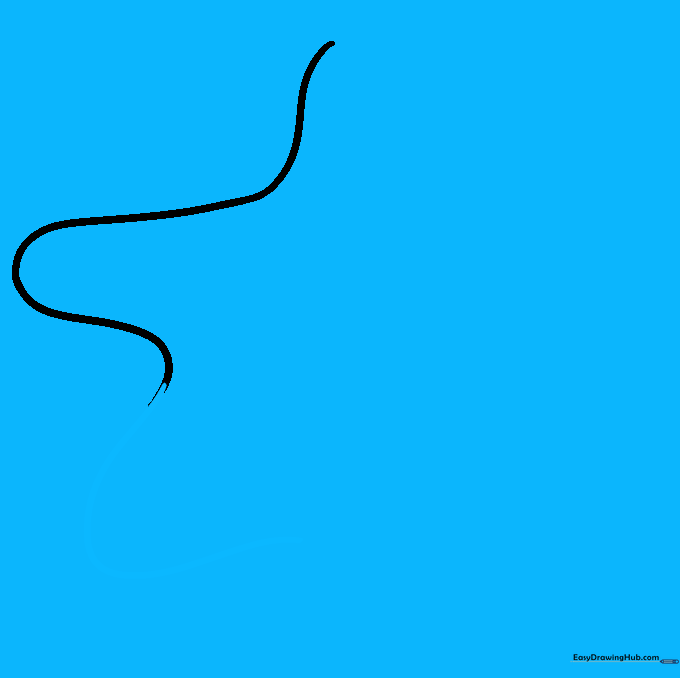
Step 2: Forming the First Point
Extend your line upward and back down to create the first star arm. Teacher's Tip: Try to make the point sharp by lifting your pencil slightly as you reach the tip.
Step 3: Adding the Second Arm
Continue the pattern by drawing another curved line to form the second arm. Teacher's Tip: Keep your rhythm consistent so the arms look balanced.
Step 4: Drawing the Third Point
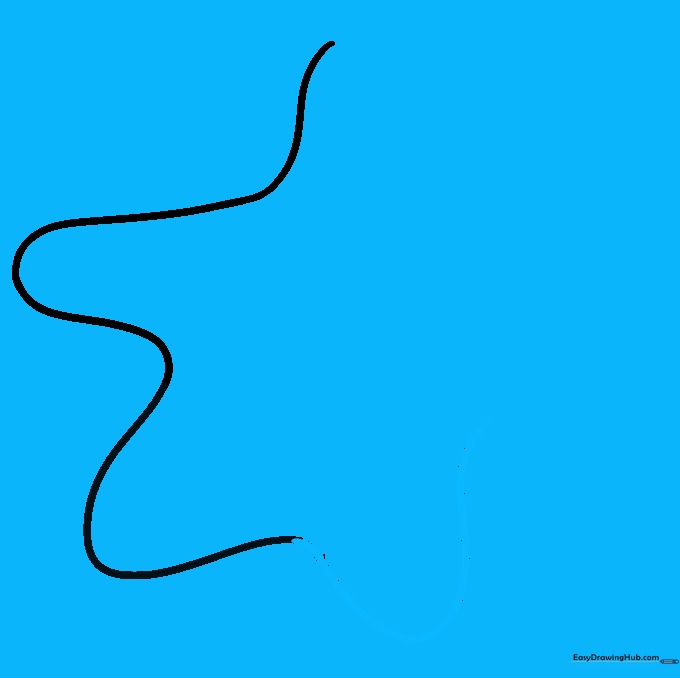
Repeat the process to create the third arm. Teacher's Tip: If the lines aren't perfect, don't worry! Stars in nature aren't perfectly symmetrical, and that's okay.
Step 5: Closing the Star Shape

Finish the remaining two arms and connect the lines back to the start. Teacher's Tip: Ensure the final point meets the first line smoothly to close the shape.
Step 6: Adding Expressive Eyebrows

Draw two short, thick curved lines above the center. Teacher's Tip: Angling them slightly toward each other makes the star look happy and curious.
Step 7: Drawing the Eyes
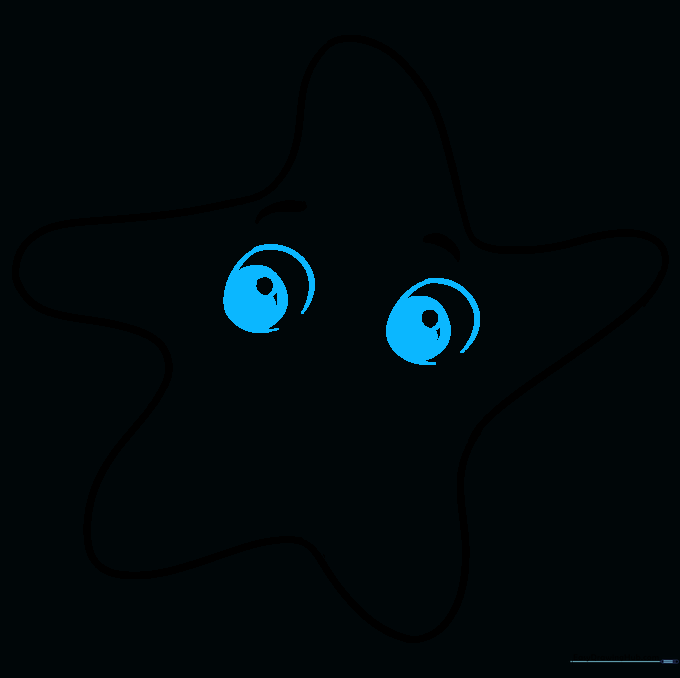
Create two sets of nested circles for the eyes, shading the inner circle to create a pupil. Teacher's Tip: Leave a tiny white dot unshaded to give the eyes a 'sparkle' effect.
Step 8: Adding a Cute Nose
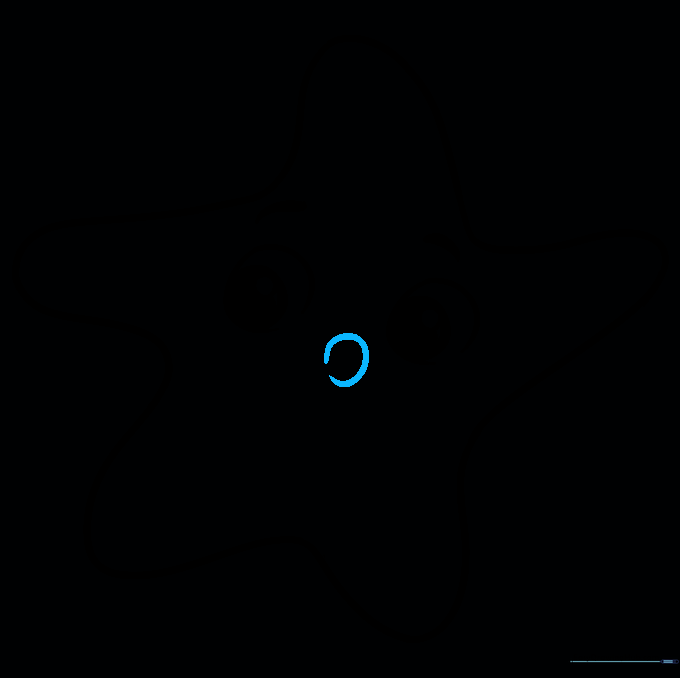
Draw a small, nearly complete circle in the center for the nose. Teacher's Tip: Keep it small and centered between the eyes to maintain the 'cute' proportion.
Step 9: Drawing the Smile

Draw a wide 'U' shaped line for the mouth, adding small curves at the ends. Teacher's Tip: A wider mouth makes the character look extra friendly!
Step 10: Bringing Your Star to Life with Color

Color your star! While yellow is traditional, feel free to use any color. Teacher's Tip: Use a darker shade of your main color to add a little shadow on one side for depth.
More Tutorials


