How to Draw Cartoon Lips: Easy 10-Step Guide for Beginners
Bring your character designs to life with expressive cartoon lips. This tutorial is perfect for young artists and beginners looking to practice facial features using just a pencil and paper. By following these steps, you will learn how to create balanced, stylized lips while building essential fine motor control.
🎯 Final Result

Step-by-Step Instructions
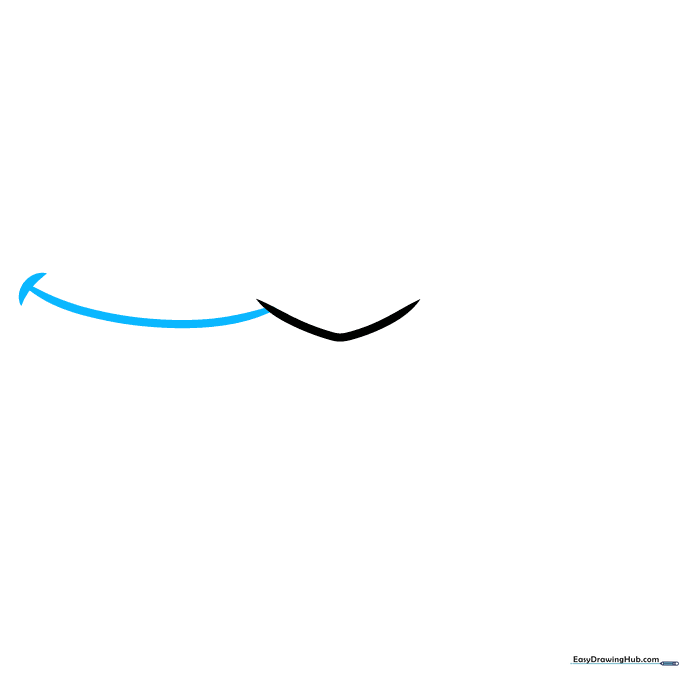
Step 1: Sketching the Tubercula

Start by drawing a wide, rounded 'V' shaped line. This is the center of the upper lip, known as the tubercula. Teacher's Tip: Keep this small and centered; it acts as the anchor for the rest of your drawing.
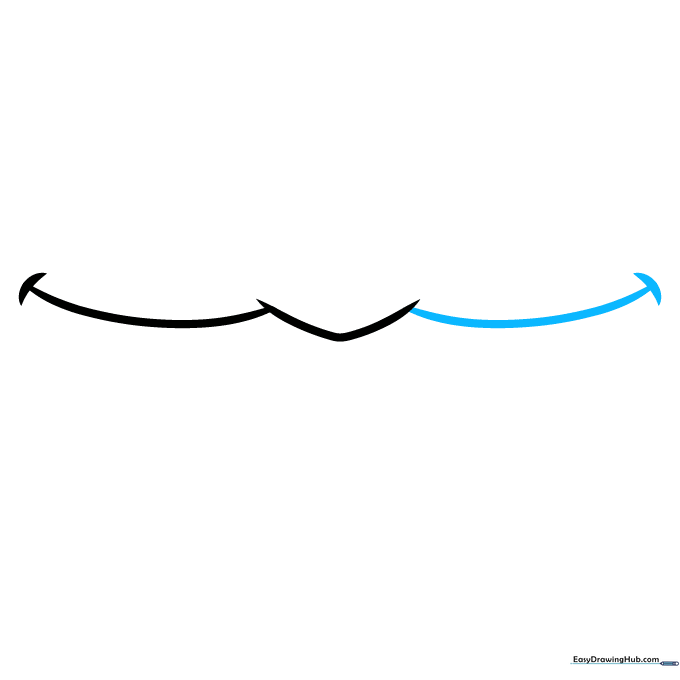
Step 2: Defining the Upper Lip Curve
Extend a curved line outward from the 'V' on one side. At the very corner, add a short, soft curve. Tip: Use a light touch here—you want the line to look like a gentle wave, not a sharp angle.
Step 3: Balancing the Upper Lip
Mirror the curve on the opposite side of the tubercula. Tip: Try to keep the height of both curves even so the lips look symmetrical.
Step 4: Sketching the Cupid's Bow
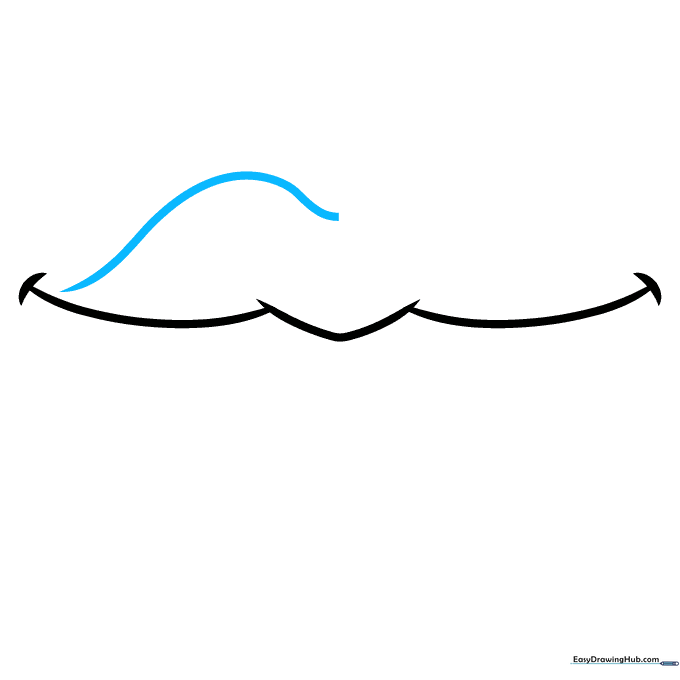
Draw a long, gentle curve above the upper lip. This forms the top of the 'Cupid's bow.' Tip: Leave a small gap between this line and the lip; this creates a professional, stylized look.
Step 5: Completing the Cupid's Bow
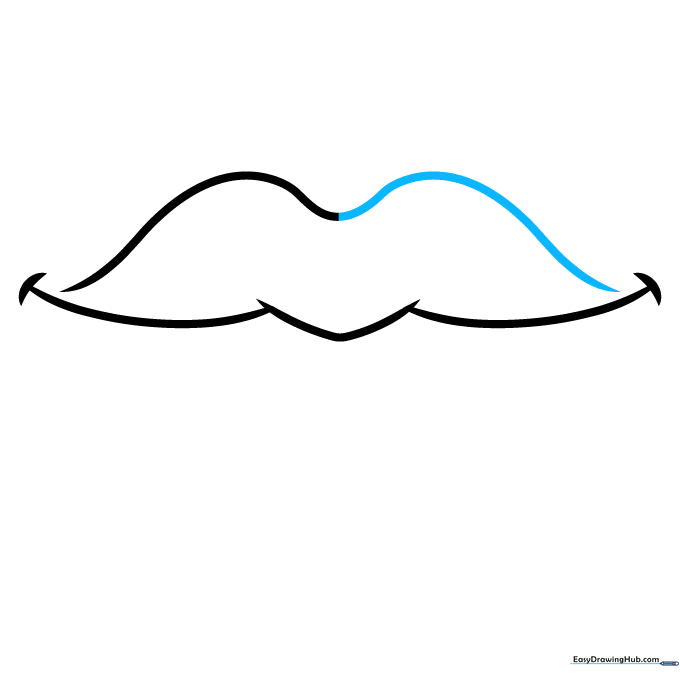
Extend the curve to finish the other side of the Cupid's bow. Tip: Ensure the two sides meet at the center point to keep the shape balanced.
Step 6: Drawing the Mouth Opening

Draw a 'V' shaped line across the bottom to define the mouth opening and the top edge of the lower lip. Tip: This line should be slightly wider than the upper lip to give the mouth a relaxed, natural shape.
Step 7: Outlining the Lower Lip
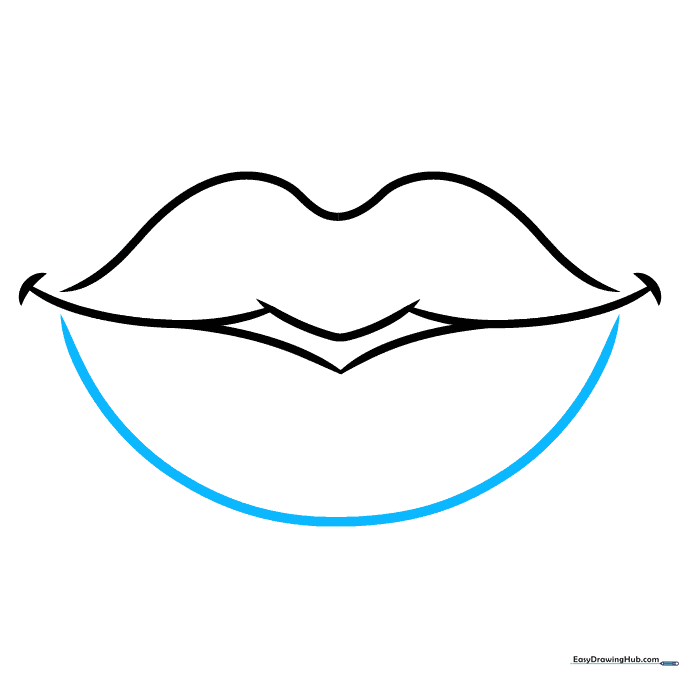
Use a wide 'U' shaped line to form the bottom of the lower lip. Tip: Leave a tiny space between the ends of this line and the upper lip to keep the drawing clean and readable.
Step 8: Adding Texture to the Upper Lip
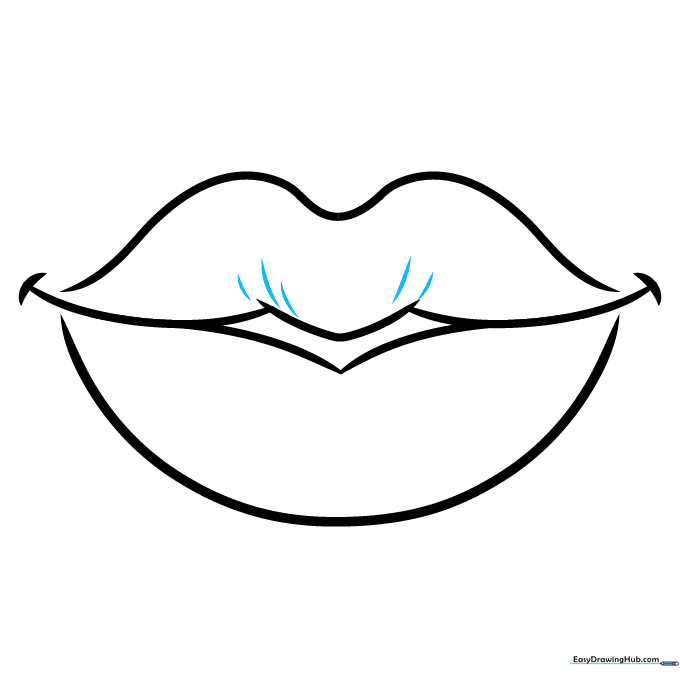
Add short, vertical curved lines on the upper lip to suggest texture. Tip: Focus these lines near the center where the lip curves inward.
Step 9: Adding Texture to the Lower Lip
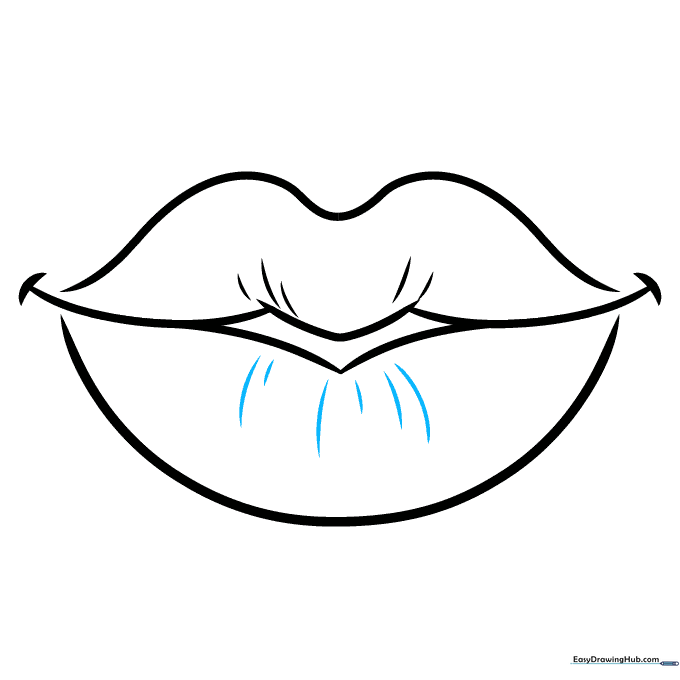
Add similar curved lines to the lower lip, varying their lengths. Tip: Keep the lines centered to create a highlight effect in the middle of the lip.
Step 10: Coloring Your Drawing

Bring your lips to life with color! Use soft pinks for a natural look or bold reds for a classic cartoon style. Tip: Leave a small white space in the center of the lower lip to represent a highlight—it makes the lips look shiny!
More Tutorials


