How to Draw Captain Underpants: Easy 10-Step Guide
Ready to bring the world's favorite superhero to life? This tutorial is perfect for young artists ages 6+ looking to master cartoon proportions. Grab a pencil, an eraser, and a piece of paper to follow along as we break down this iconic character into simple, manageable shapes.
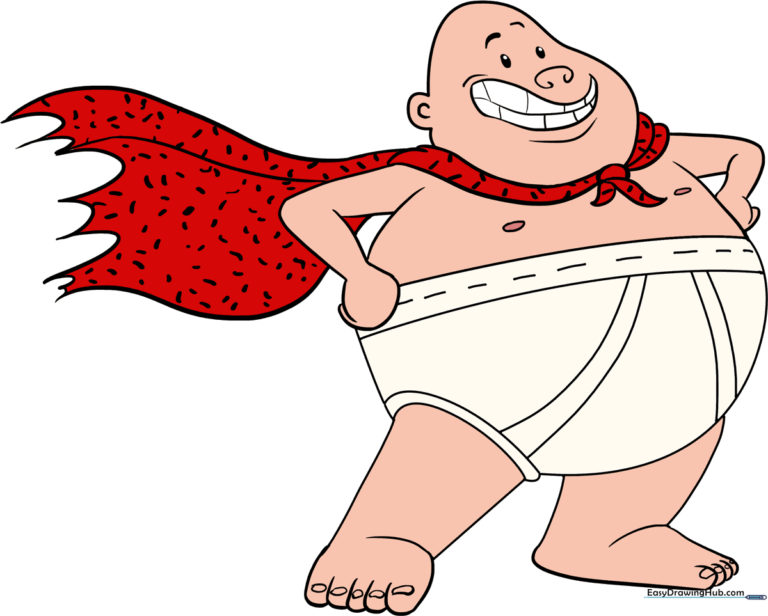
🎯 Final Result
Step-by-Step Instructions
Step 1: Sketching the Head

Draw a light, irregular rounded shape for the head. Teacher's Tip: Keep your pencil strokes very faint so you can easily erase any overlapping lines later. Add a small 'C' shape on the side for the ear.
Step 2: Adding the Cape Knot
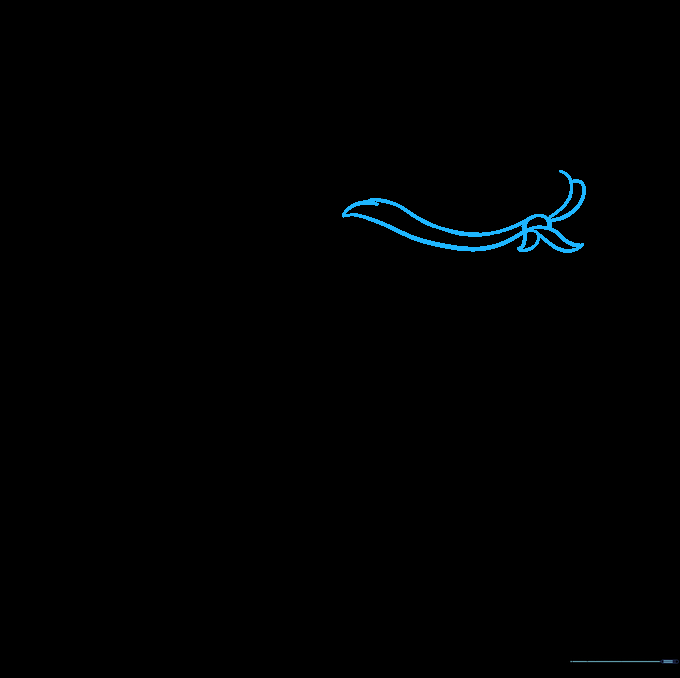
Draw a small circle under the chin for the cape's knot. Connect it to the head with curved lines that taper to a point. Teacher's Tip: Think of the cape as a flowing fabric; keep your lines smooth and fluid rather than jagged.
Step 3: Sketching Arms and Torso
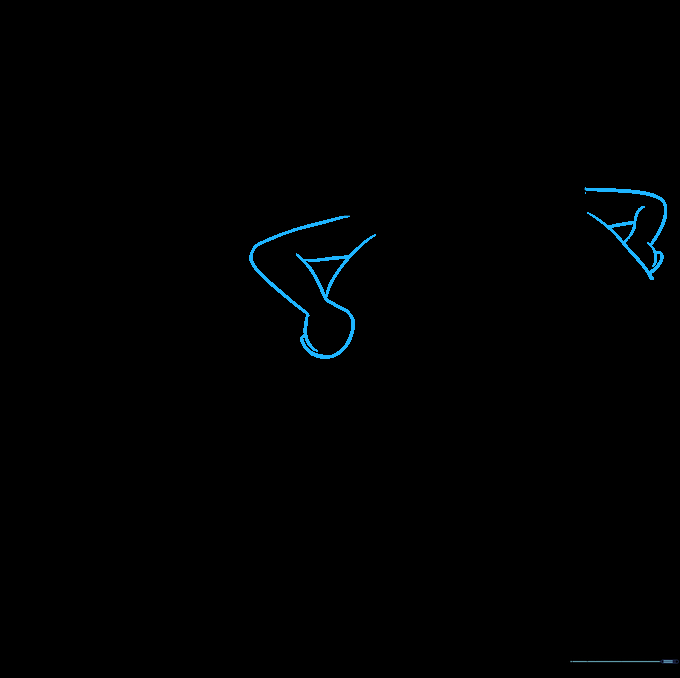
Extend two 'V' shaped lines from the shoulders to form the arms, then add circular shapes for the hands. Teacher's Tip: Don't worry about perfect circles for the hands; cartoon hands are often simplified, so focus on keeping them balanced.
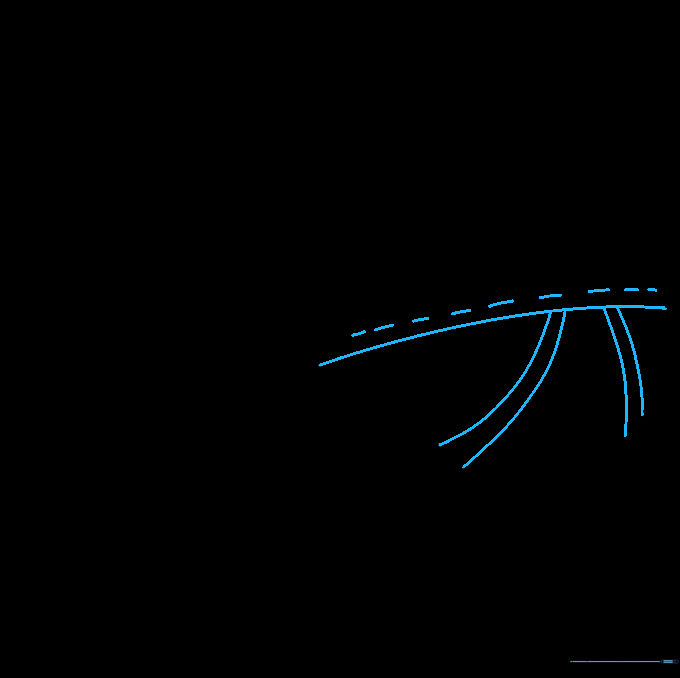
Step 4: Drawing the Underpants
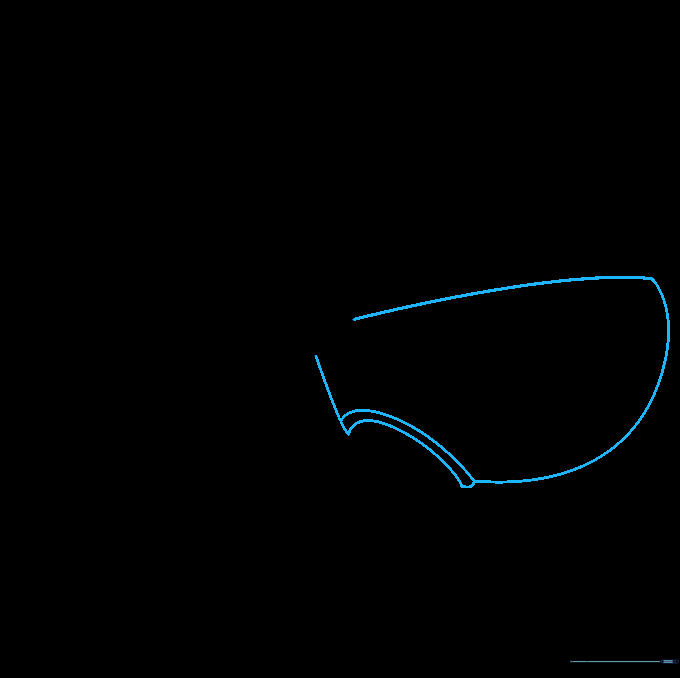
Draw a long, curved line across the stomach, followed by a half-circle below it. Use double 'C' shapes to define the leg openings. Teacher's Tip: This is the most important part of the character, so take your time to get the curve of the waistband right.
Step 5: Adding Elastic Details
Add a parallel line for the elastic band and draw small horizontal dashes to represent stitching. Teacher's Tip: Use a slightly darker pencil pressure here to make the stitching stand out.
Step 6: Drawing the Legs
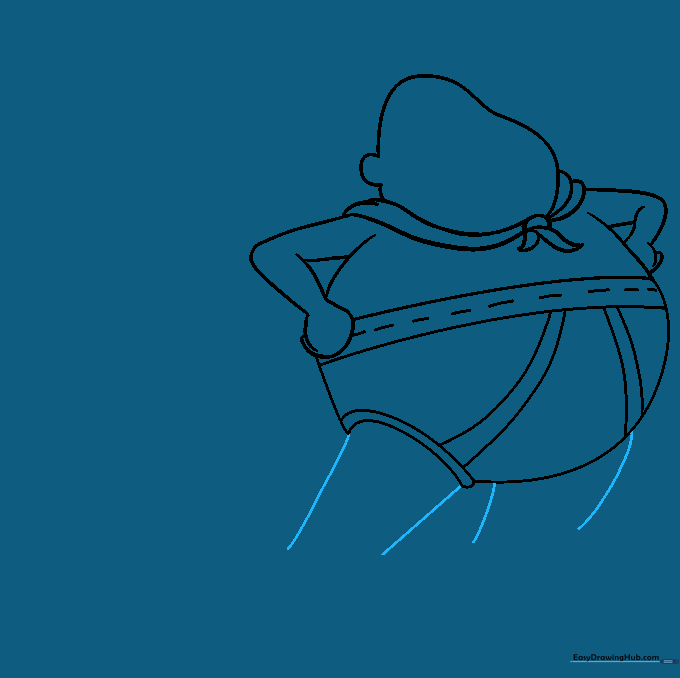
Extend two pairs of lines downward from the underpants to create the legs. Teacher's Tip: Keep these lines relatively straight to give the character his sturdy, cartoonish stance.
Step 7: Adding Feet and Toes

Use 'U' shaped lines to enclose the feet and add small circles for the toenails. Teacher's Tip: Drawing toes can be tricky—keep them rounded to maintain the fun, simple style of the character.
Step 8: Completing the Cape

Extend long, curved lines from the neck and connect them with 'U' shapes. Add dots across the cape for texture. Teacher's Tip: Vary the spacing of your dots to make the cape look more dynamic and natural.
Step 9: Adding Facial Features
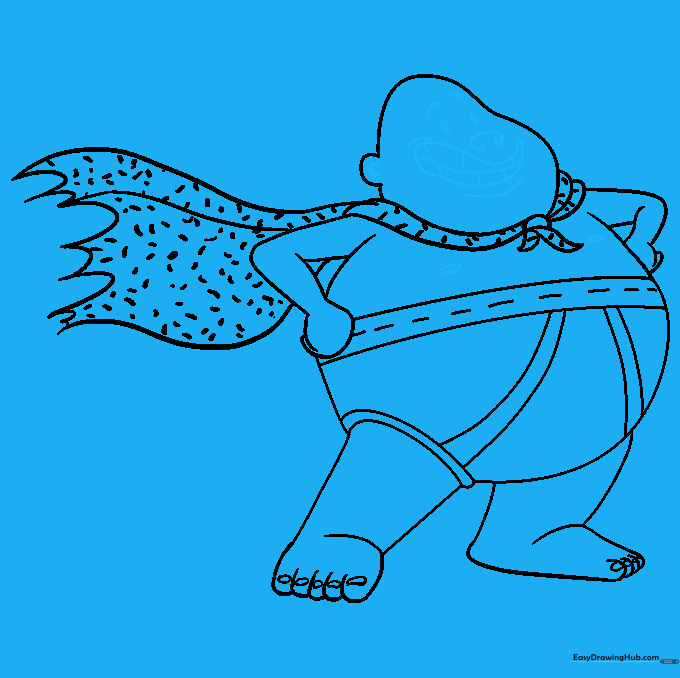
Draw the eyes, nose, and a wide, toothy grin. Use curved lines to add expression to the mouth. Teacher's Tip: The eyes are just shaded ovals—keep them simple to capture that classic comic book look.
Step 10: Final Touches and Color
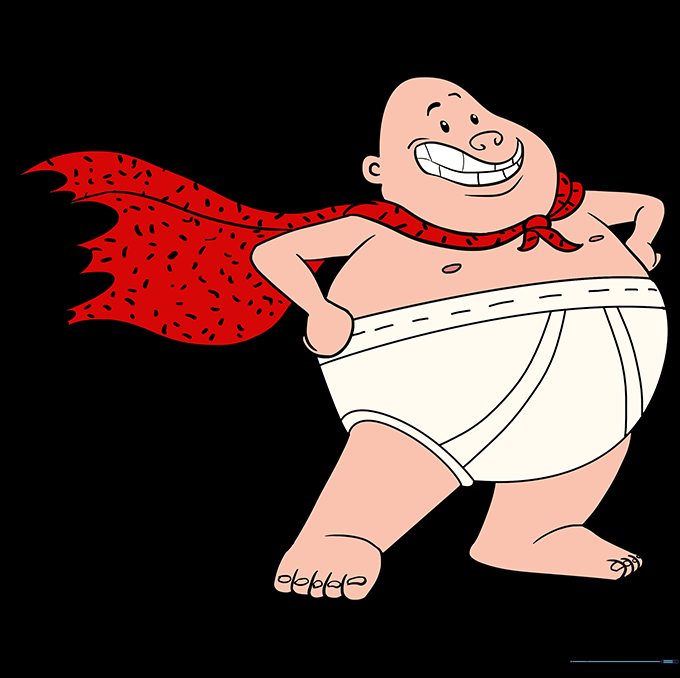
Erase your guide lines and add color! Use bright red for the cape and skin tones for the body. Teacher's Tip: Use markers or colored pencils to fill in the shapes, and don't be afraid to go over your outlines with a black pen for a bold, finished look.
More Tutorials


