How to Draw Captain America’s Shield: Easy 9-Step Guide
Ready to draw a legendary superhero icon? This tutorial is perfect for young artists ages 5+ looking to practice their circle-drawing skills. You’ll only need a pencil, an eraser, and a steady hand to create Captain America’s famous shield from scratch.
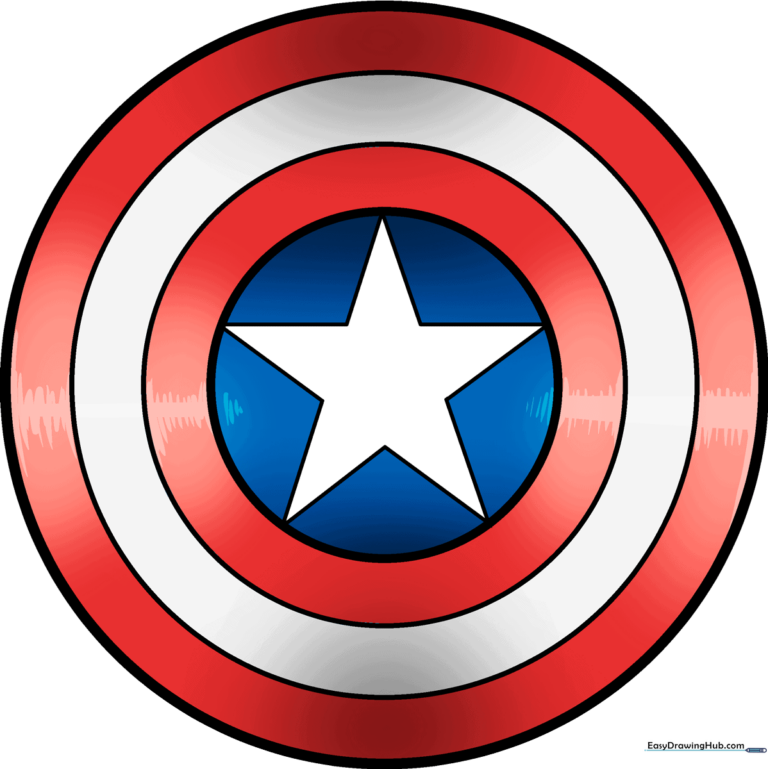
🎯 Final Result
Step-by-Step Instructions
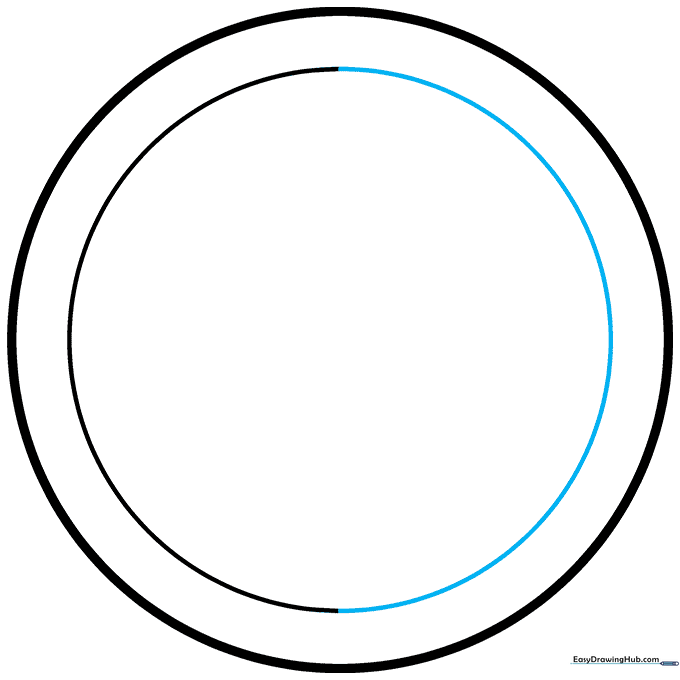
Step 1: Sketching the Outer Rim
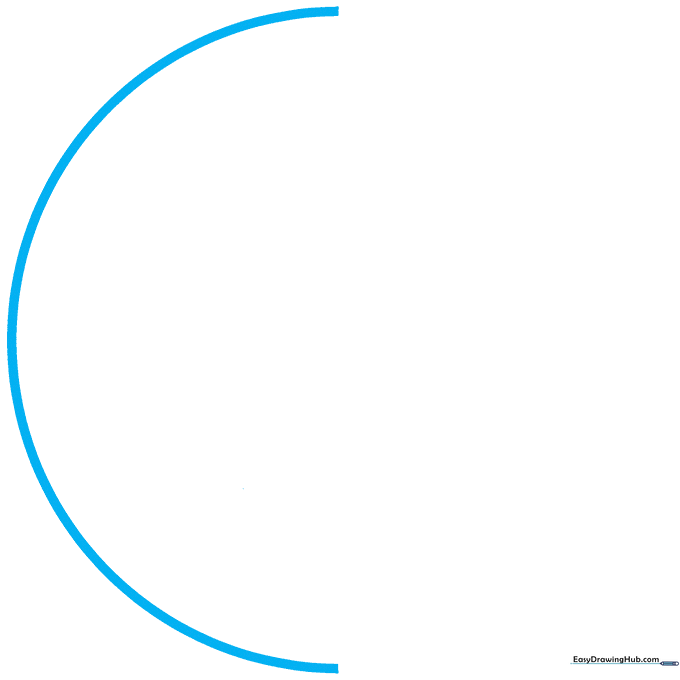
Start by drawing a large, light half-circle. Tip: Keep your wrist loose and rotate your paper to make the curve smoother.
Step 2: Closing the Outer Circle
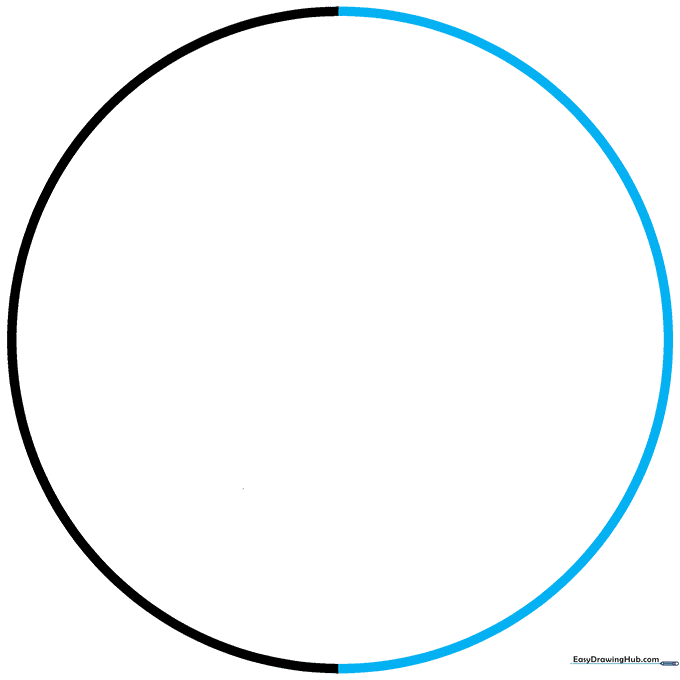
Complete the circle by drawing the matching bottom half. Tip: Don't press too hard; light lines are the mark of a confident artist.
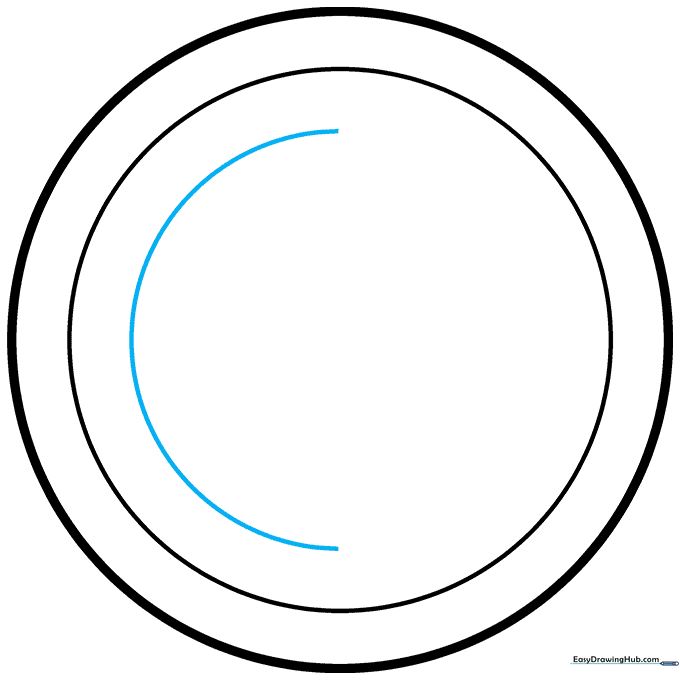
Step 3: Creating the First Inner Ring
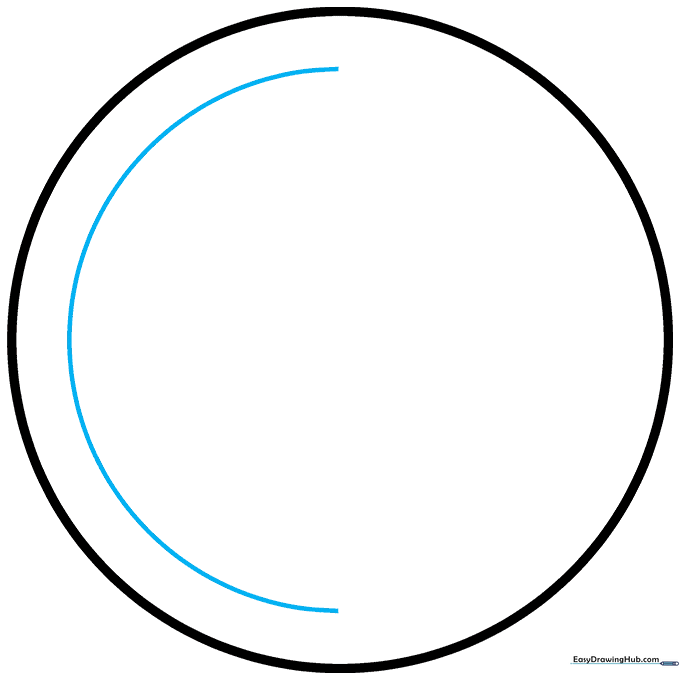
Draw a smaller 'C' shape inside the main circle. Tip: Try to keep the distance between the outer and inner lines consistent for a balanced look.
Step 4: Completing the First Ring
Close the inner circle to form the first stripe. Tip: If your circle looks a bit wobbly, just erase and try again—even pros use erasers!
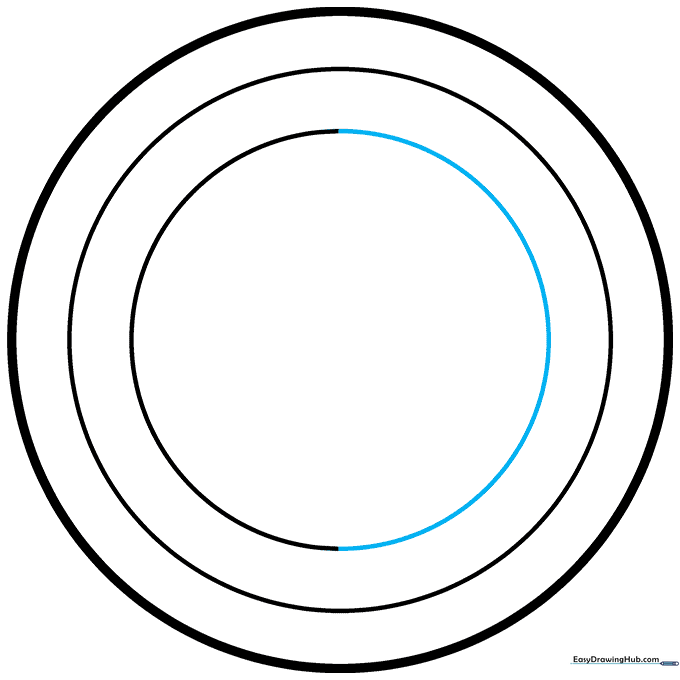
Step 5: Adding the Second Inner Ring
Draw another smaller 'C' shape inside the previous one. Tip: This creates the space for the blue section of the shield.
Step 6: Closing the Second Ring
Complete this circle to define the second stripe. Tip: Check that your circles are centered; it makes the final shield look much more realistic.
Step 7: The Center Circle
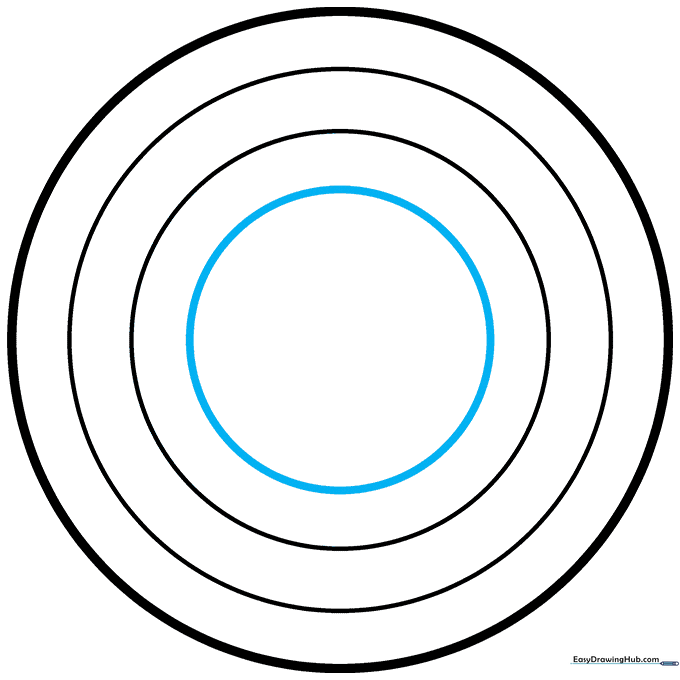
Draw the final, smallest circle in the very center. Tip: This is where the star will sit, so make sure it's nice and round.
Step 8: Starting the Star
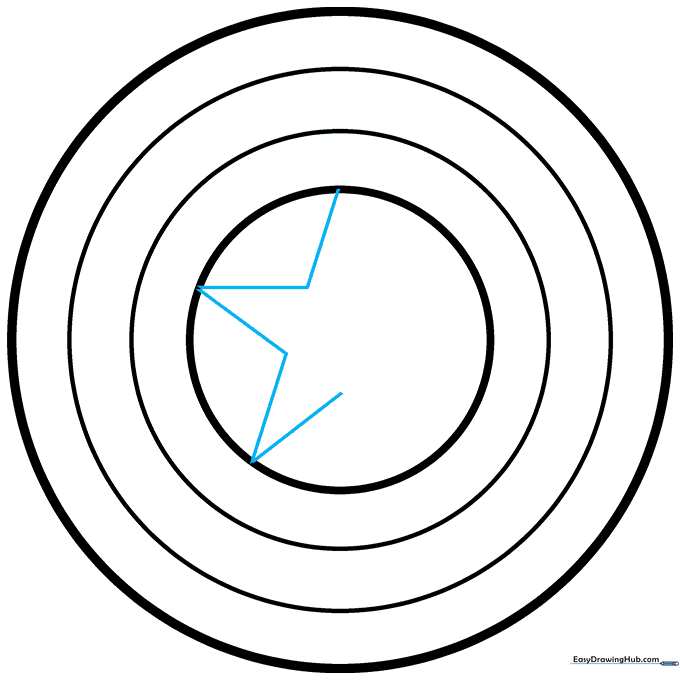
Begin sketching the star using short, straight lines to form the points. Tip: Start with a small 'V' shape at the top to get the angle right.
Step 9: Completing the Star
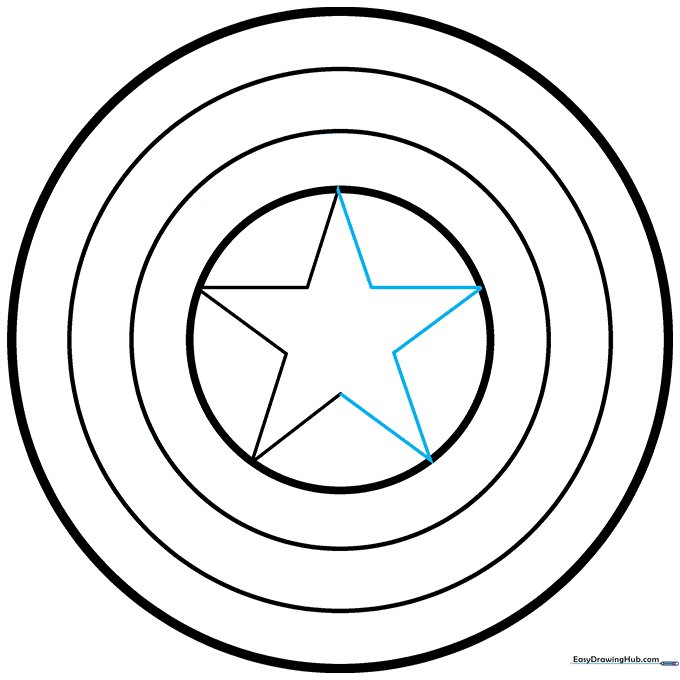
Finish the five points of the star. Tip: Connect the lines firmly to create a bold, heroic look for your shield.
Step 10: Adding Color
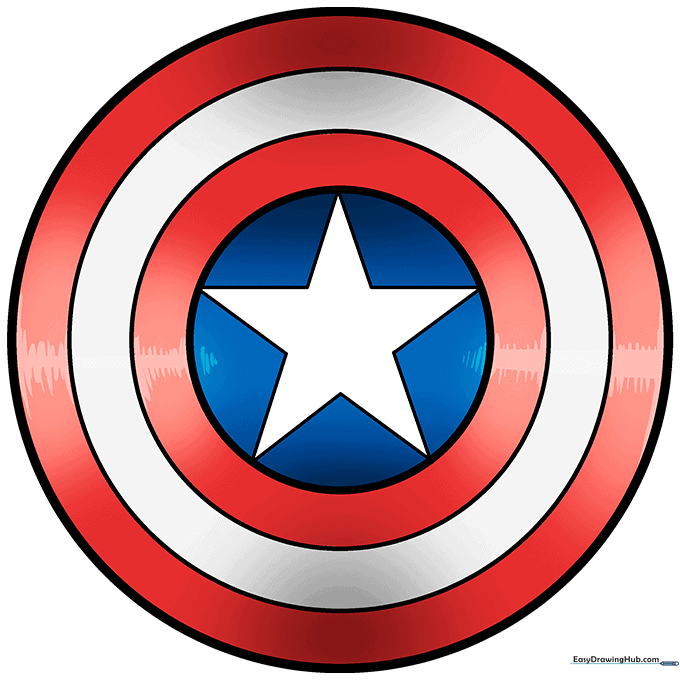
Bring your shield to life! Color the outer ring and the inner-most ring red, leave the middle ring white, and color the circle behind the star blue. Tip: Use bold, vibrant colors to make your shield pop!
More Tutorials


