How to Draw Candy: Easy 9-Step Drawing Guide for Kids
Ready to create your own sweet treats? This drawing guide is perfect for artists ages 5 and up. All you need is a pencil, an eraser, and your favorite markers or crayons to bring these candies to life.
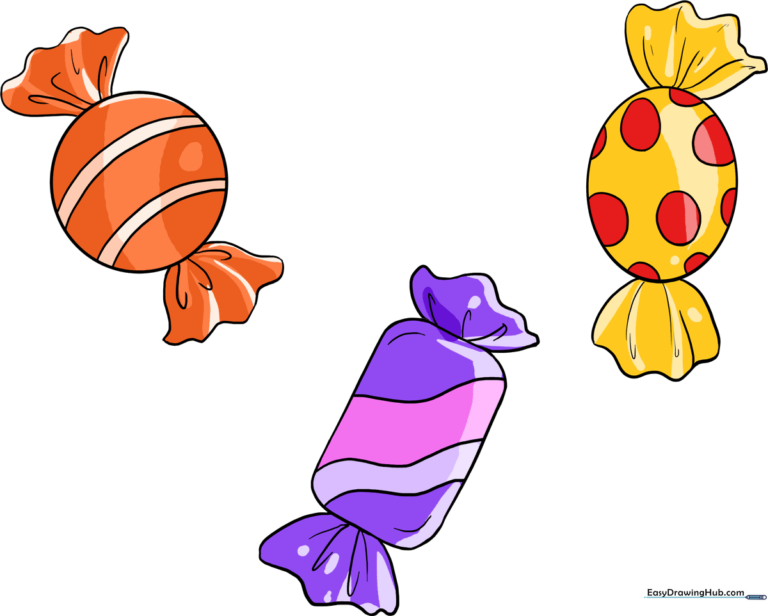
🎯 Final Result
Step-by-Step Instructions
Step 1: Sketching the First Candy Base
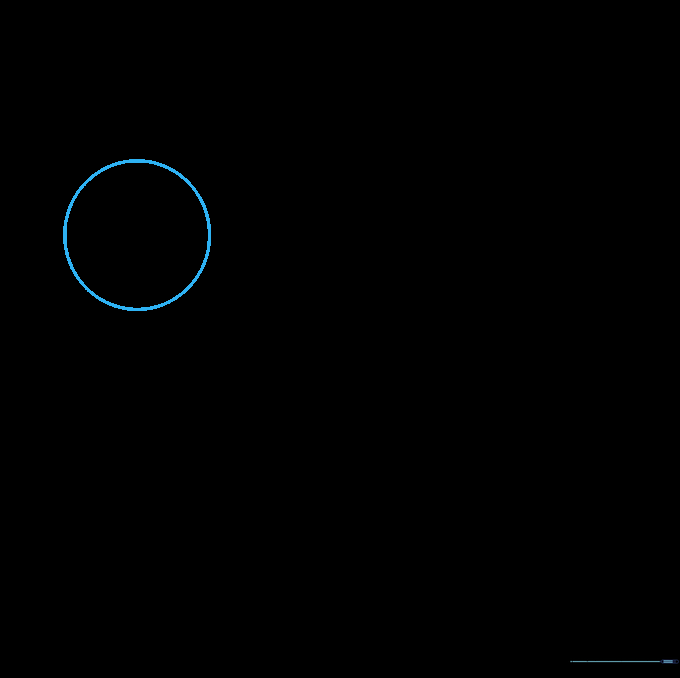
Draw a simple circle in the center of your page. Teacher's Tip: Don't worry about making it perfect; a slightly imperfect circle looks more natural for a wrapped candy.
Step 2: Adding the Wrapper Ends
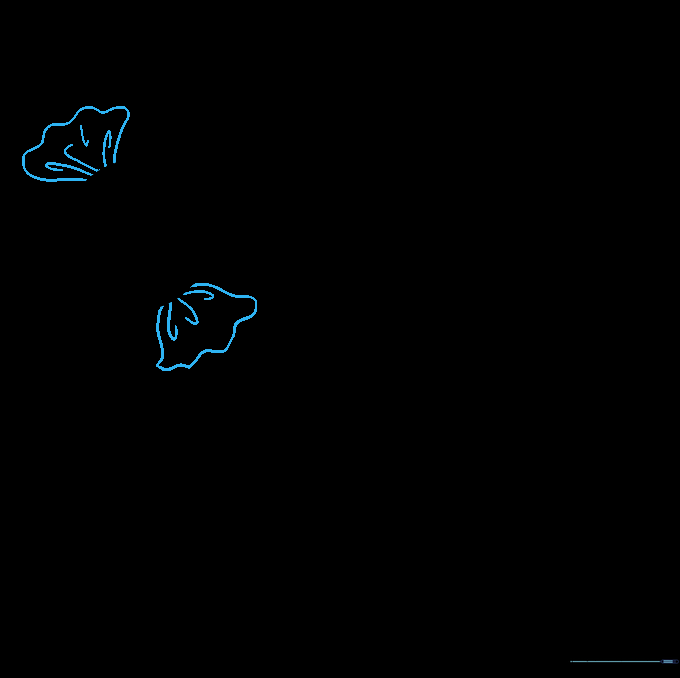
Extend two curved, diagonal lines from each side of your circle. Connect them with a wavy line to form the twisted ends. Teacher's Tip: Use 'J' shaped lines near the center to show where the wrapper is cinched tight.
Step 3: Adding Wrapper Stripes
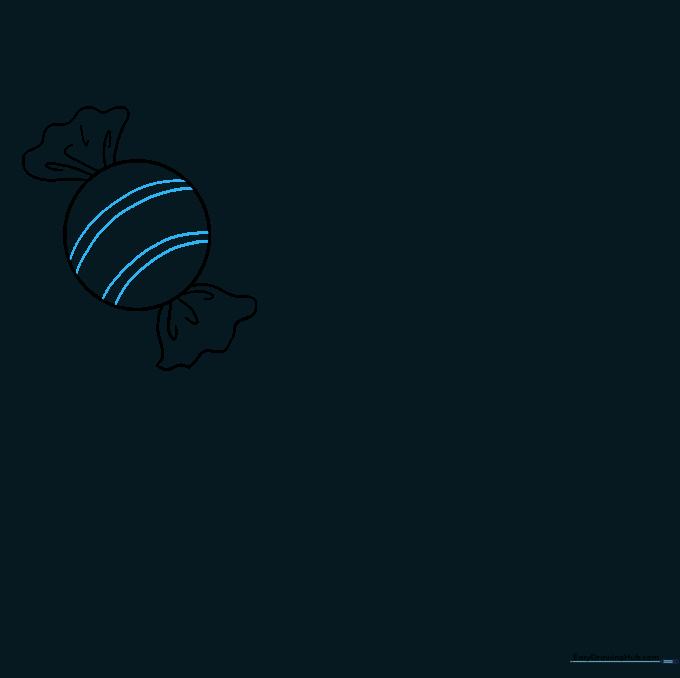
Draw sets of parallel, curved lines across the candy body. Teacher's Tip: Keep your lines evenly spaced to make the candy look like it has a professional, striped wrapper.
Step 4: Drawing the Rectangular Candy
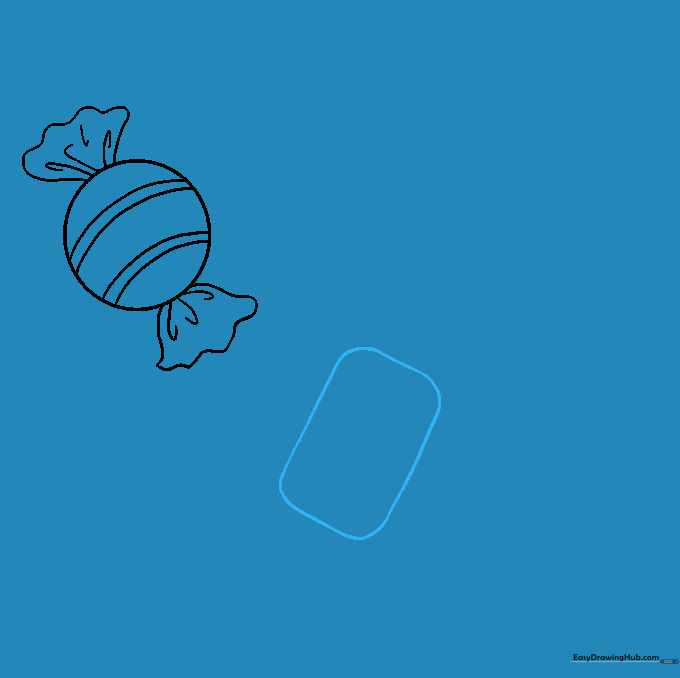
Draw a rectangle with rounded corners near your first candy. Teacher's Tip: Rounded corners make the candy look softer and more like a real treat.
Step 5: Detailing the Second Wrapper
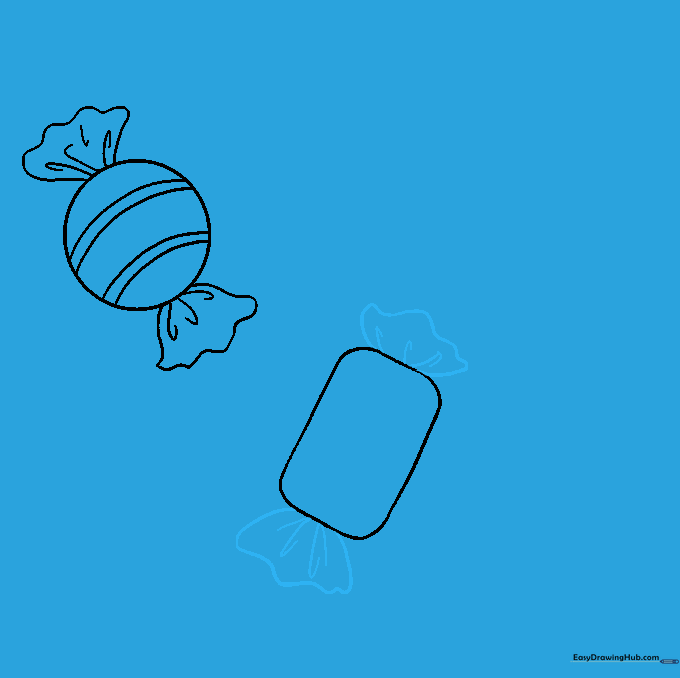
Repeat the process from Step 2 by adding twisted ends to your rectangle. Teacher's Tip: Vary the length of your 'J' lines to give the wrapper a more realistic, crinkled texture.
Step 6: Decorating the Second Candy
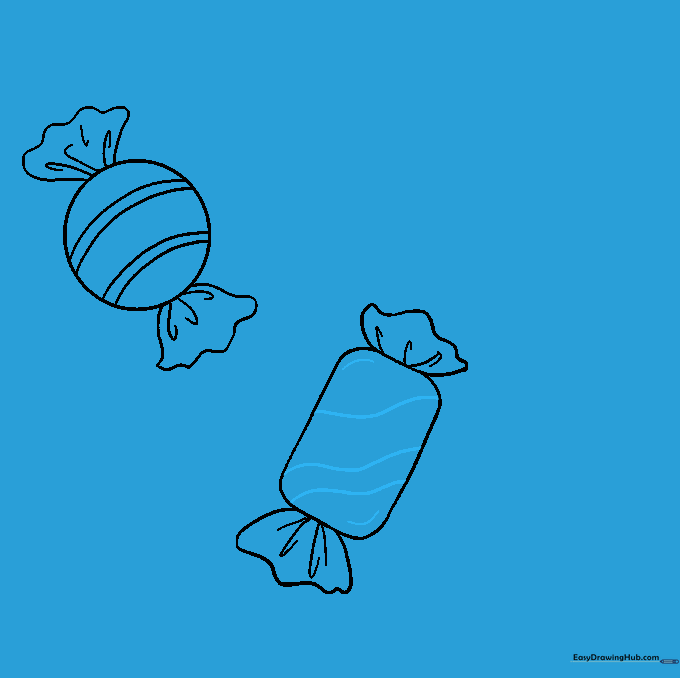
Add wavy, diagonal lines across the rectangle and a small curved line in the corners. Teacher's Tip: These corner lines help create the illusion of a 3D shape.
Step 7: Sketching the Oval Candy
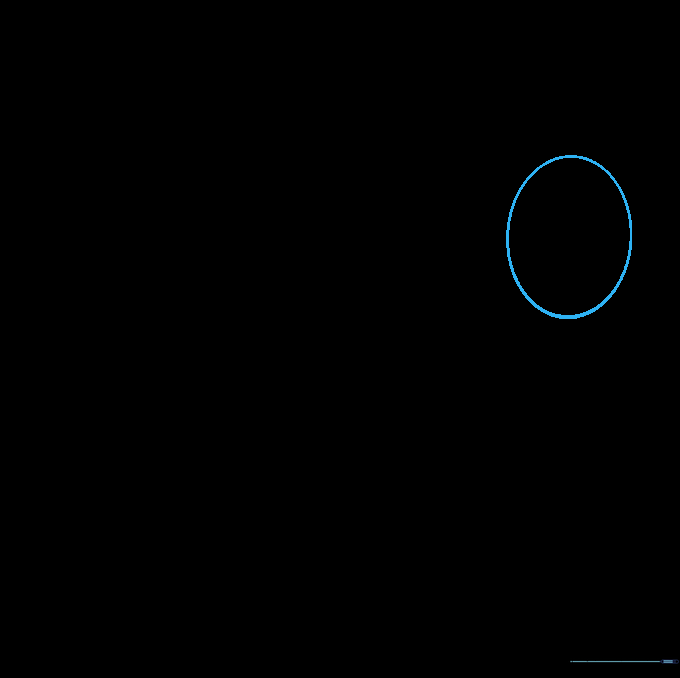
Draw a smooth oval shape for your third piece of candy. Teacher's Tip: Try drawing this one at a slight angle to make your composition more dynamic.
Step 8: Finalizing the Third Wrapper
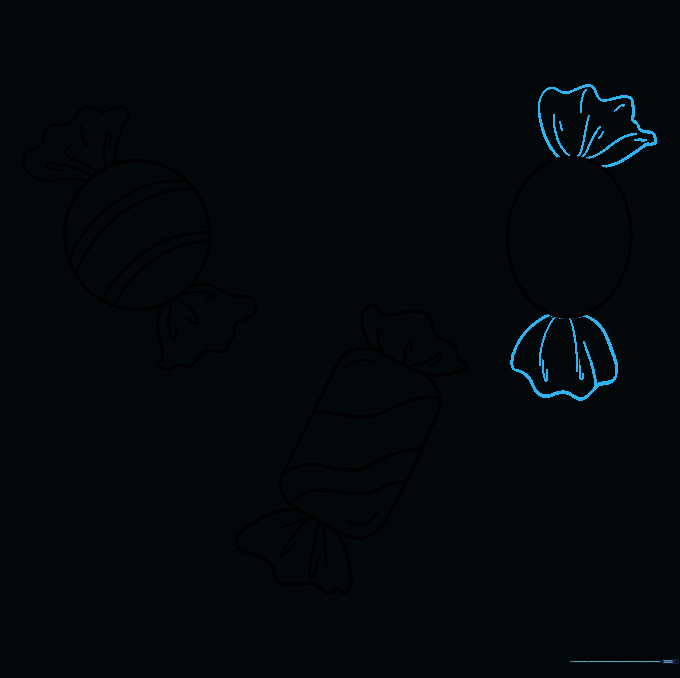
Add the twisted ends to the oval candy using the same technique as before. Teacher's Tip: Ensure the wavy lines connect smoothly to the oval body.
Step 9: Adding Final Details
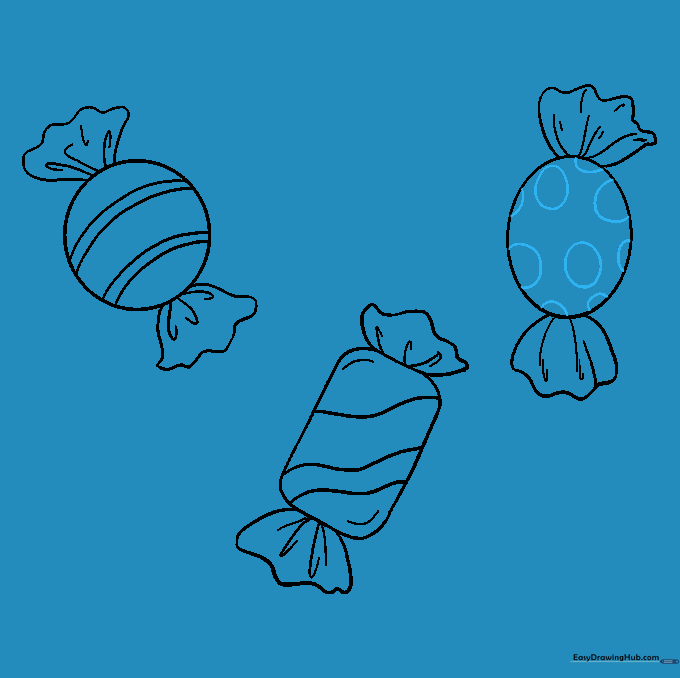
Decorate the final wrapper with small circles to create a polka-dot pattern. Teacher's Tip: Varying the size of the dots makes the pattern look more interesting.
Step 10: Bringing Your Candy to Life with Color
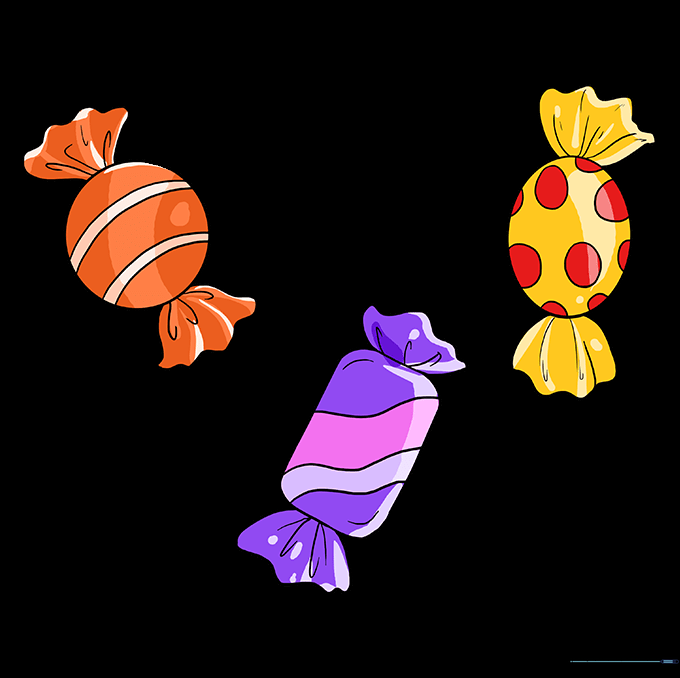
Color your candies with bright, vibrant shades. Teacher's Tip: Use a darker shade of your chosen color on the edges to give your candy a 3D, rounded look.
More Tutorials


