How to Draw a Candy Cane: Easy 10-Step Guide for Kids
Bring some holiday cheer to your sketchbook with this fun, beginner-friendly candy cane tutorial. Designed for artists ages 5 and up, this activity requires only a pencil, eraser, and paper to create a festive masterpiece. Follow along to practice your curved lines and symmetry while building confidence in your drawing skills.
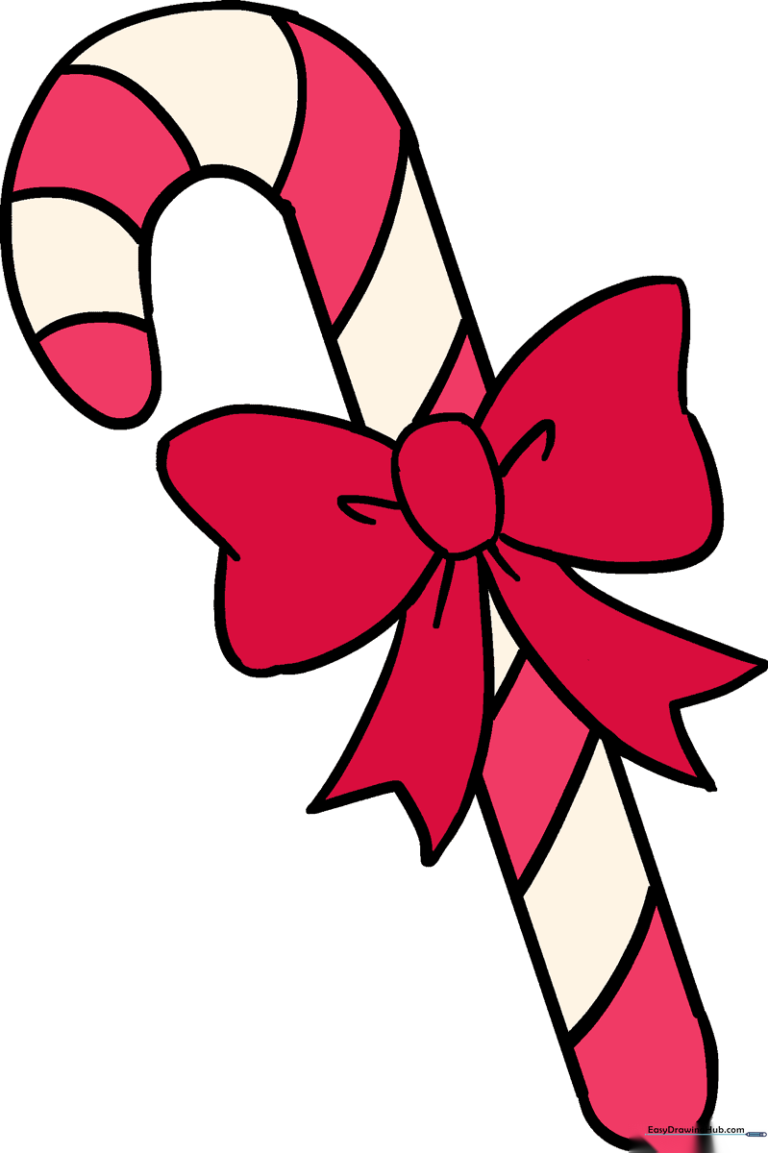
🎯 Final Result
Step-by-Step Instructions
Sketching the Parallel Base
Begin by drawing two straight, parallel lines slanted diagonally. Teacher's Tip: Keep your pencil pressure light here so you can easily adjust the angle if the cane looks a bit too wobbly!
Forming the Hook

Connect the tops of your lines with a smooth 'U' shape to create the hook, and close the bottom with a small curved line. Teacher's Tip: Imagine you are drawing the handle of an umbrella to get that perfect candy cane curve.
Placing the Bow Knot
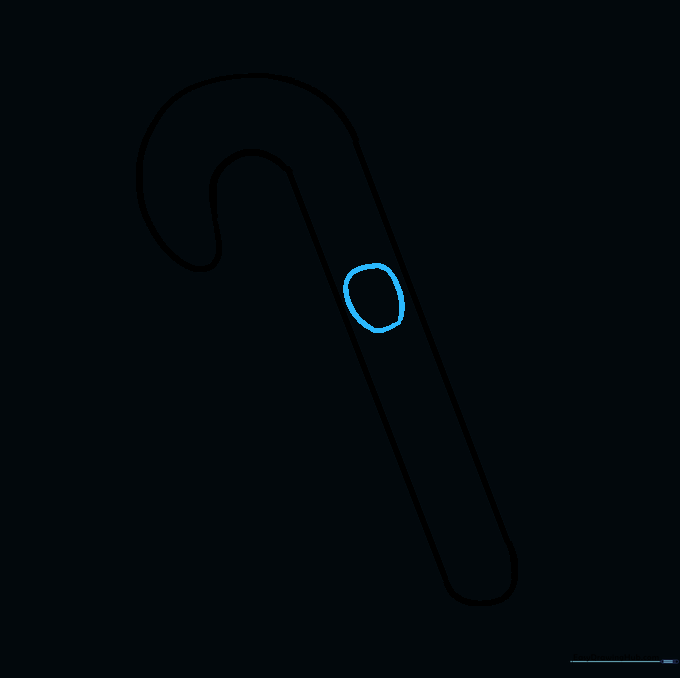
Draw a small, irregular circle in the center of the cane. This is the anchor point for your bow. Teacher's Tip: Don't worry about making it a perfect circle; a slightly squashed shape looks more natural for fabric.
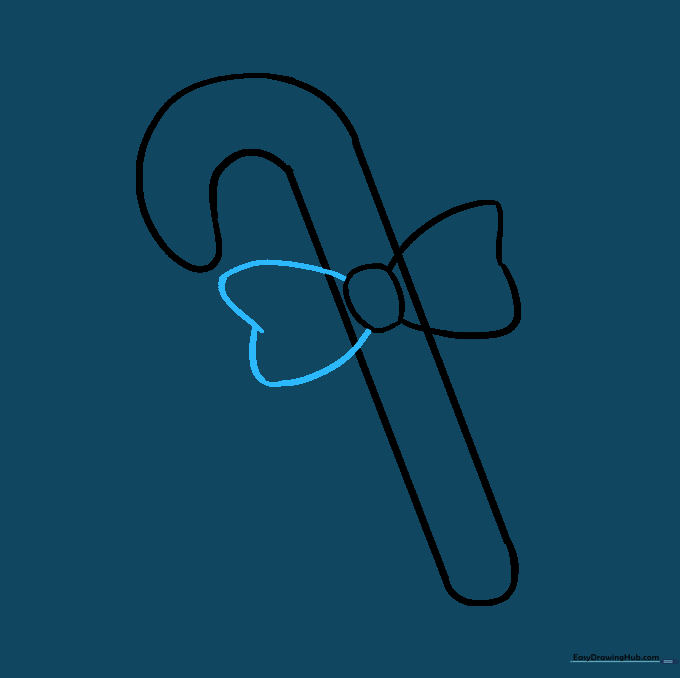
Drawing the First Bow Loop
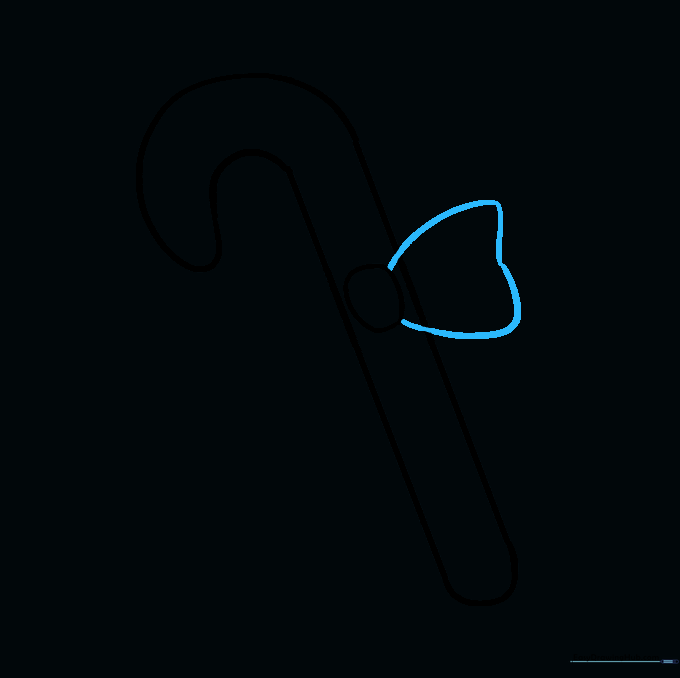
Extend a curved line from the knot to create one side of the bow, looping it back to the center. Teacher's Tip: Think of this as drawing two rounded 'C' shapes back-to-back.
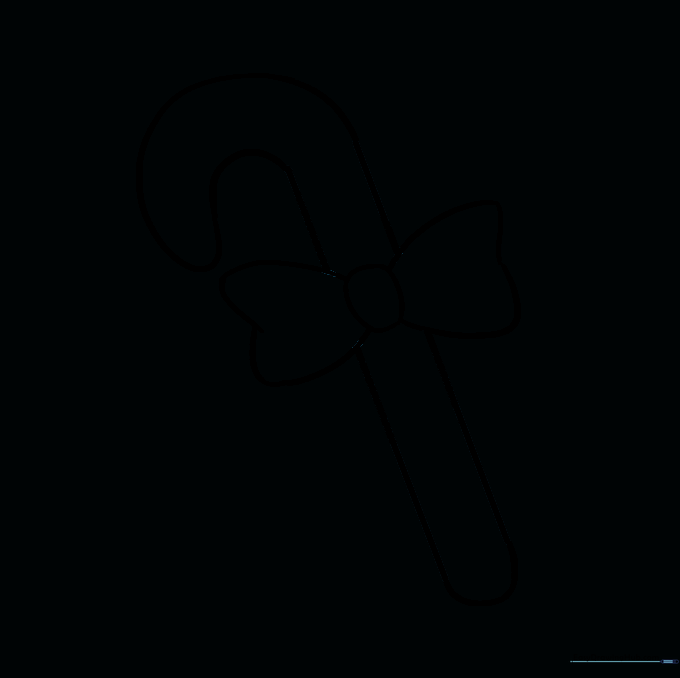
Completing the Bow
Mirror your previous step on the opposite side to finish the bow loops. Teacher's Tip: Try to keep the size of both loops similar so your bow looks balanced and symmetrical.
Cleaning Up the Lines
Use your eraser to remove any overlapping lines inside the bow. Teacher's Tip: Clean lines make coloring much easier later on, so take your time to ensure the bow looks like it's sitting on top of the cane.
Adding Ribbon Tails
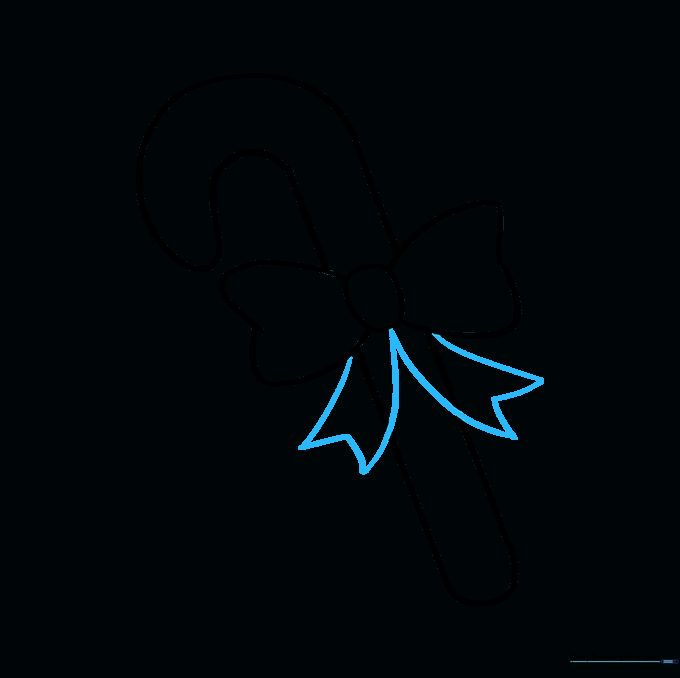
Draw two sets of lines hanging down from the knot, ending in an upside-down 'V' shape. Teacher's Tip: Make these lines slightly wavy to give the ribbon a sense of movement.
Finalizing the Ribbon
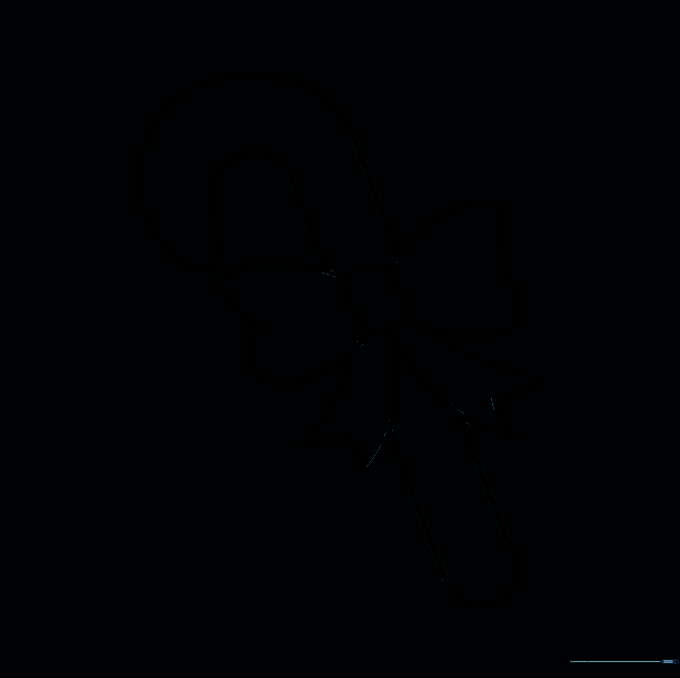
Erase any extra guide lines from the ribbon tails. Teacher's Tip: Check that your ribbon ends look sharp and pointed for a professional finish.
Adding Texture and Stripes
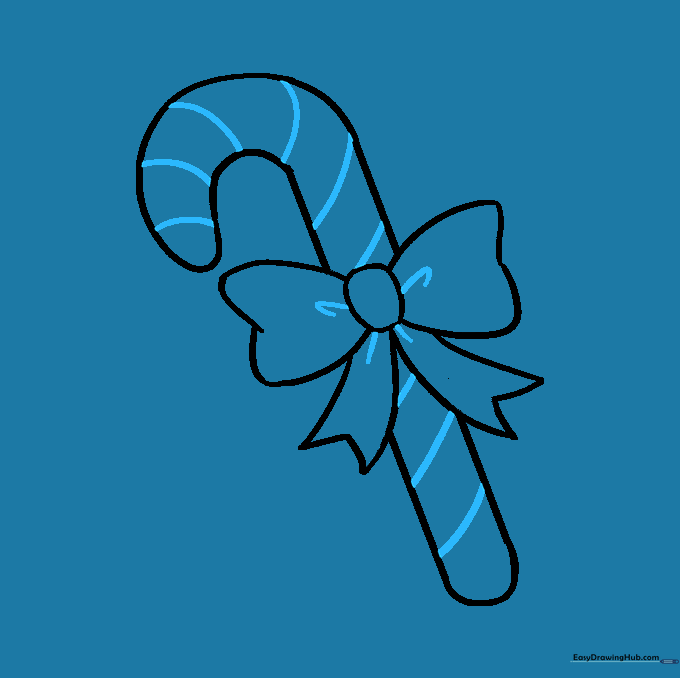
Add curved lines to the bow for fabric folds and diagonal lines across the candy cane for stripes. Teacher's Tip: Keep the stripes evenly spaced to make the candy cane look realistic.
Adding Color
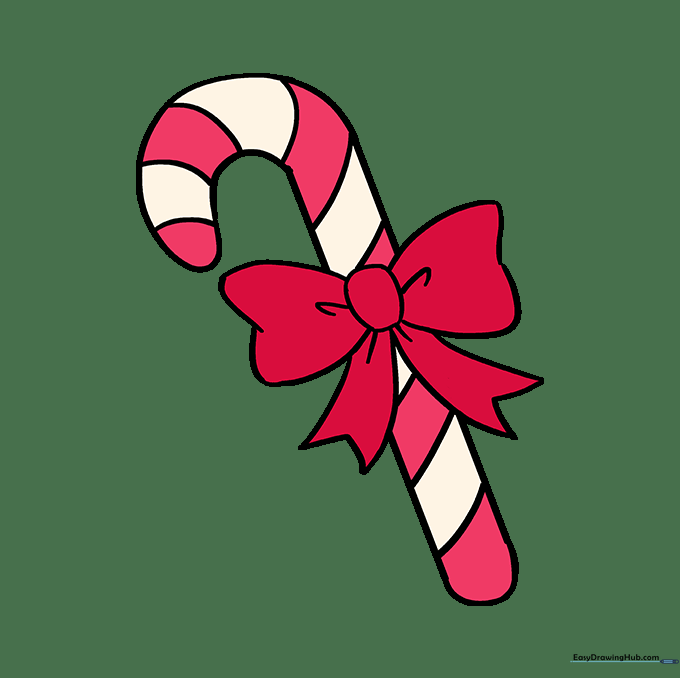
Bring your drawing to life with color! Use traditional red and white, or get creative with your favorite flavor-inspired colors. Teacher's Tip: Use a light touch with your red marker or pencil to keep the white stripes bright and clean.
More Tutorials


