How to Draw Camilo from Encanto: Easy 9-Step Guide
Bring the magic of the Madrigal family to life! This tutorial is designed for young artists ages 7+ who want to capture Camilo’s playful personality. You will need a pencil, an eraser, and your favorite coloring markers to complete this character study.
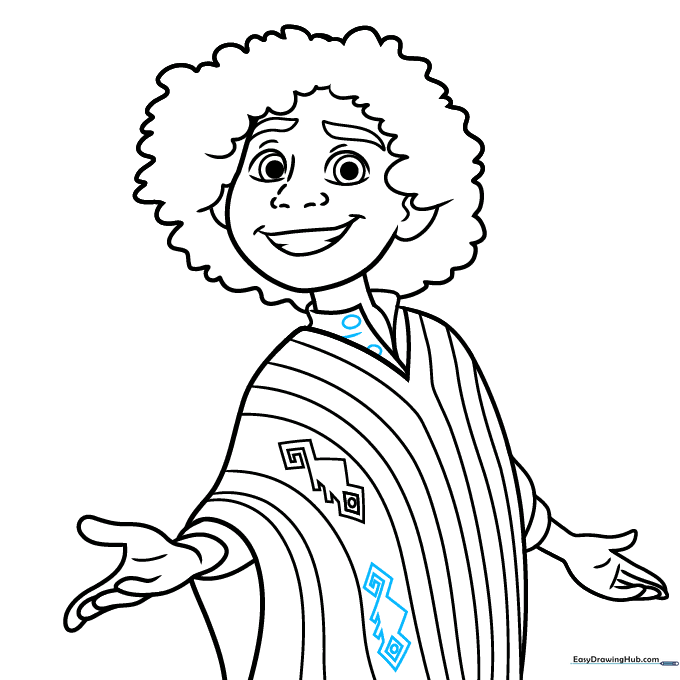
🎯 Final Result

Step-by-Step Instructions
Step 1: Sketching the Eyes
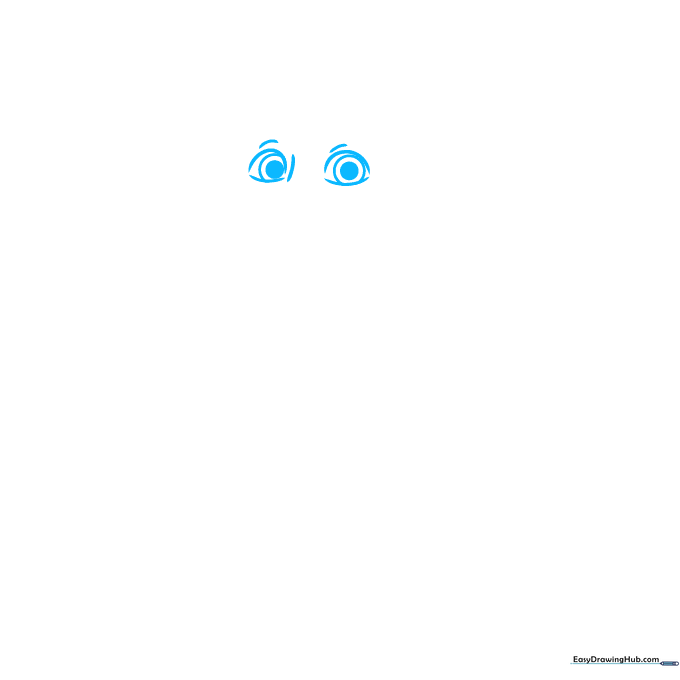
Start by drawing the eyes using curved lines for the lids and a simple circle-within-a-circle for the pupils. Teacher's Tip: Keep your pencil pressure light so you can easily adjust the symmetry before committing to darker lines.
Step 2: Adding Facial Expressions
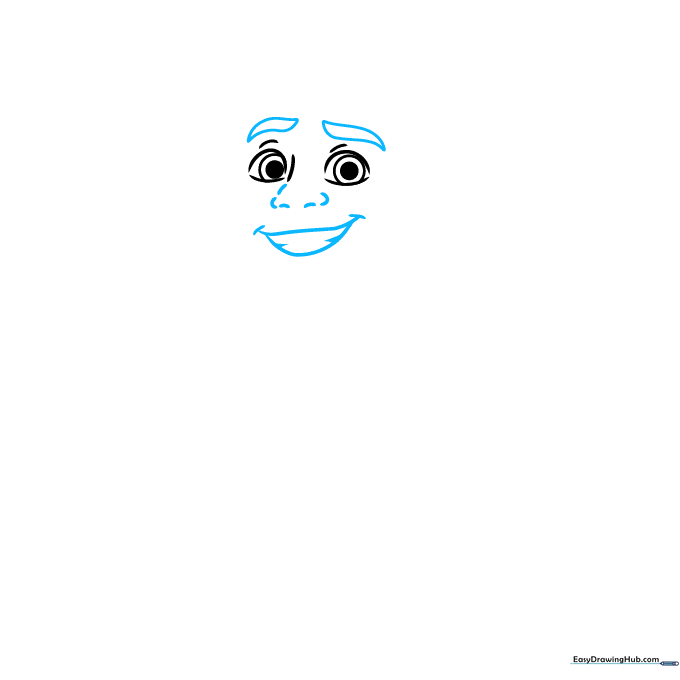
Draw his signature pointed eyebrows, a small nose, and a wide, joyful smile. Add tiny lines at the corners of the mouth for dimples. Teacher's Tip: Use a quick, flicking motion for the eyebrows to give them that sharp, expressive look.
Step 3: Defining the Face and Hair
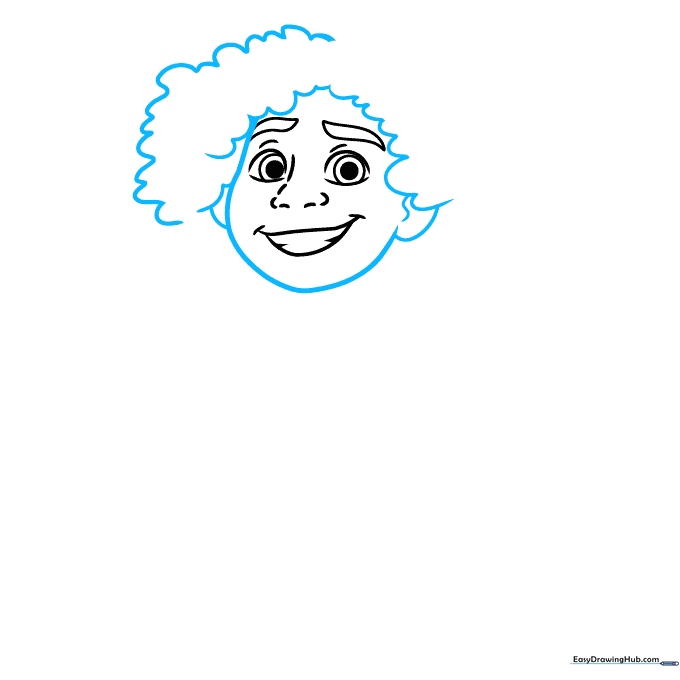
Outline the face with a smooth, curved line and add his curly hair using a series of connected 'U' shapes. Teacher's Tip: Don't worry about making the hair perfectly uniform; Camilo’s hair is naturally bouncy and textured!
Step 4: Neck and Poncho Collar
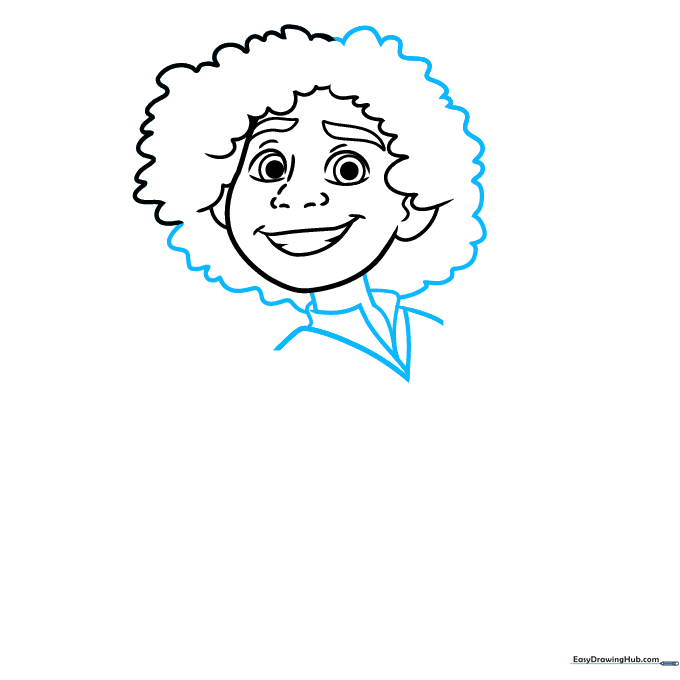
Extend two lines downward for the neck and draw the collar of his iconic poncho. Teacher's Tip: Keep the collar lines slightly overlapping to show the fabric folding around his shoulders.
Step 5: Drawing the Poncho Sleeves
Use long, sweeping curves to outline the sides of the poncho and the sleeves. Teacher's Tip: Make the sleeves look loose and flowy to capture the movement of the fabric.
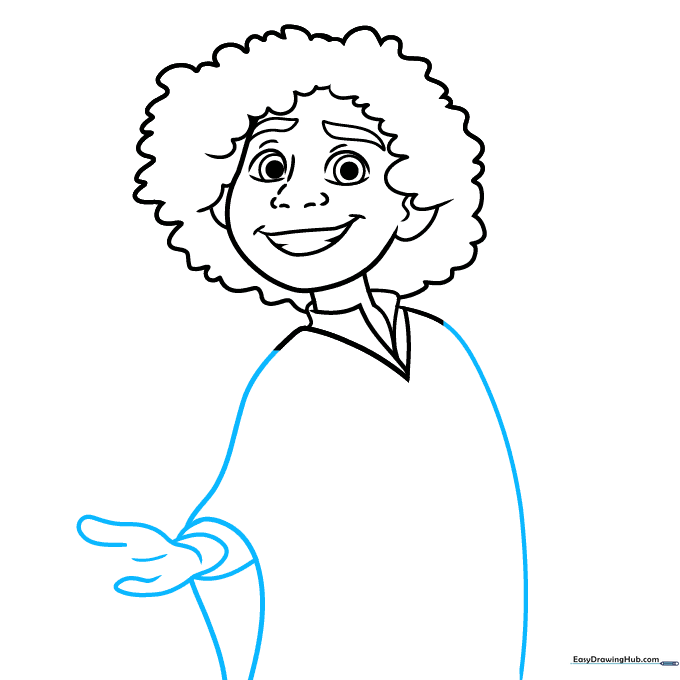
Step 6: Sketching the Hands
Draw the hands using overlapping curved lines for the fingers. Teacher's Tip: If drawing fingers feels tricky, start with a mitten shape first, then add small lines to divide the fingers later.
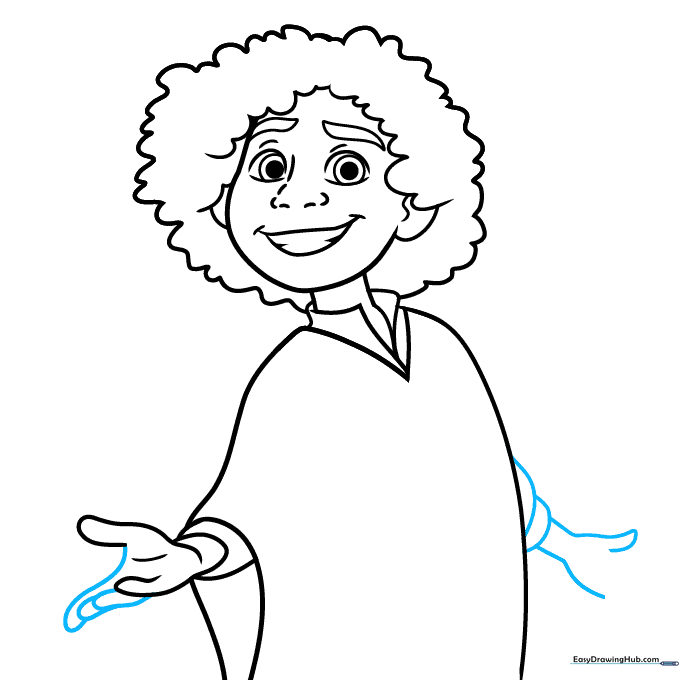
Step 7: Adding Poncho Details
Finish the hands and add long, vertical lines to the poncho to represent the fabric folds. Teacher's Tip: Vary the length of your lines to make the poncho look more realistic and draped.
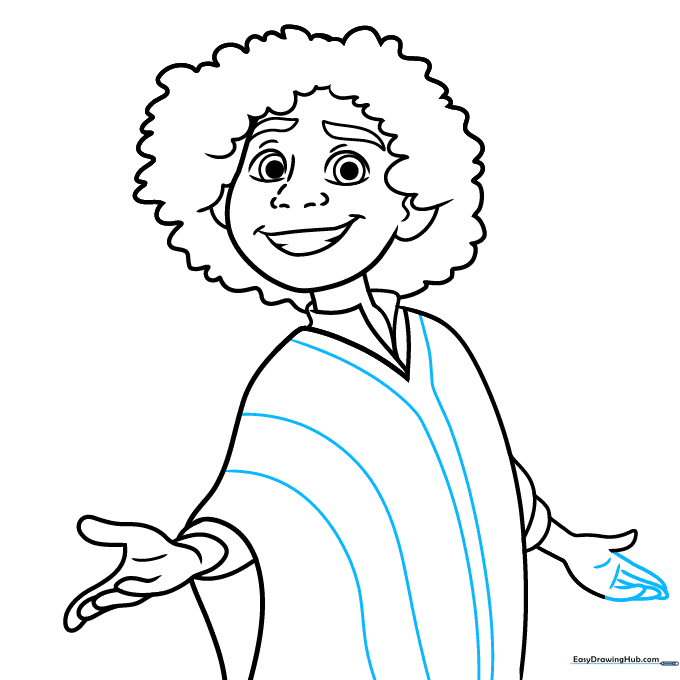
Step 8: The Chameleon Motif
Draw a small, geometric chameleon on the poncho stripe and a button on the collar. Teacher's Tip: Use short, straight lines to build the chameleon shape—it’s like a fun puzzle!
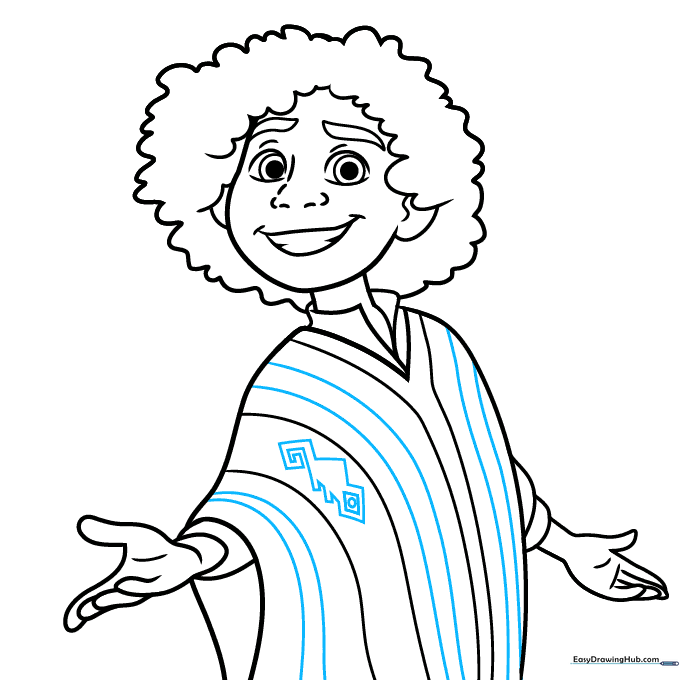
Step 9: Final Touches
Complete the poncho pattern with more lines and a second chameleon. Teacher's Tip: Once you're happy with your sketch, go over your main lines with a darker pencil or fine-liner to make the character pop.
Coloring Your Masterpiece
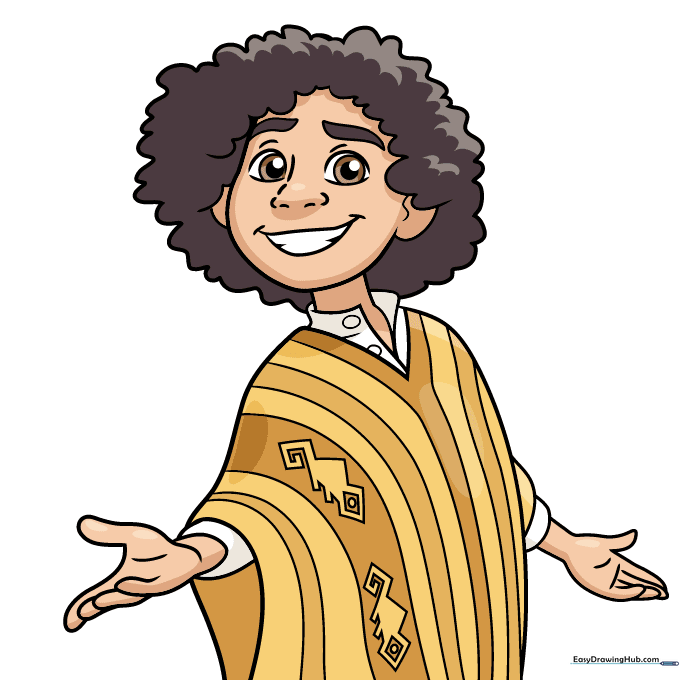
Bring Camilo to life! Use warm golden-yellows for his tunic, and deep browns for his hair and eyes. Teacher's Tip: Use light, circular strokes when coloring to keep the texture smooth and vibrant.
More Tutorials


