How to Draw Bubbles: Easy 10-Step Guide for Kids
Looking for a fun way to practice circular shapes? This bubble-drawing tutorial is perfect for young artists ages 5 and up. All you need is a pencil, an eraser, and some colored pencils to bring these floating spheres to life.
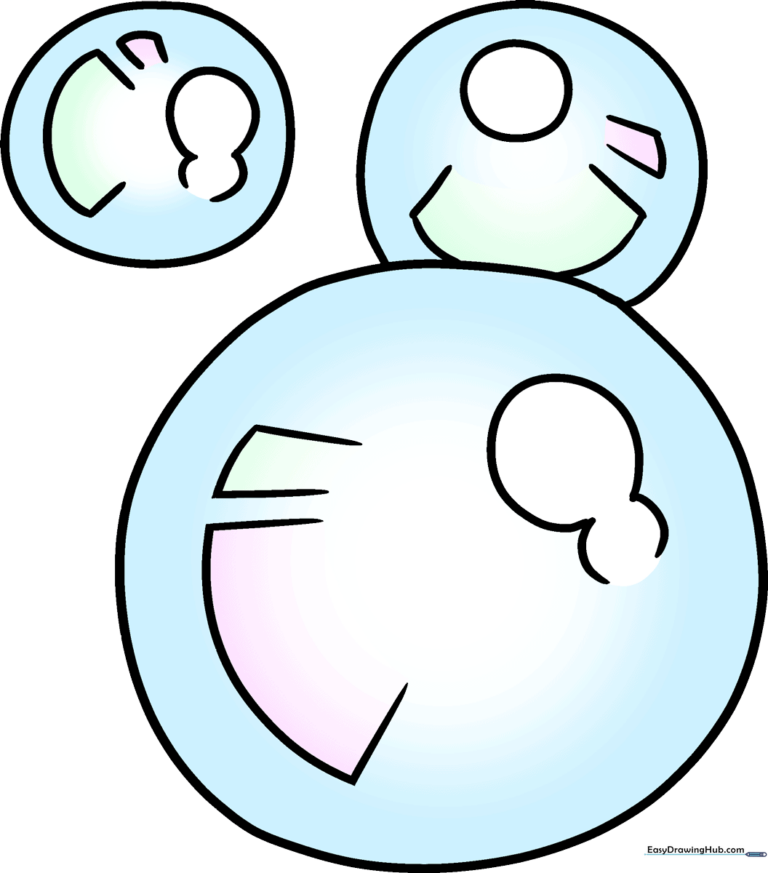
🎯 Final Result
Step-by-Step Instructions
Step 1: Sketching the First Bubble
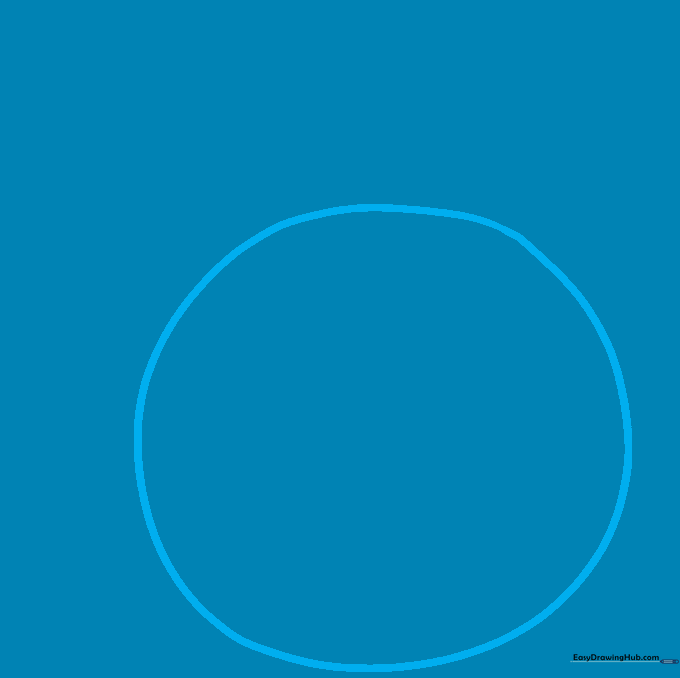
Draw a large, light circle to outline your first bubble. Teacher's Tip: Use a circular object like a coin as a stencil if you're having trouble getting a perfect round shape!
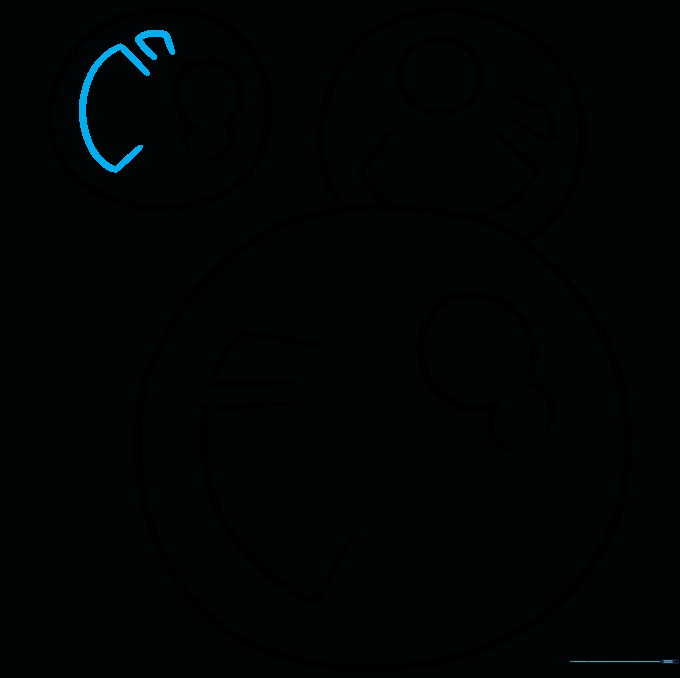
Step 2: Adding Surface Reflections

Use a curved line to draw a partial circle inside, leaving one side open. Add two smaller curved lines near the opening to suggest light hitting the surface. Tip: Keep these lines thin; they represent the 'shine' on the bubble.
Step 3: Refining the Highlights
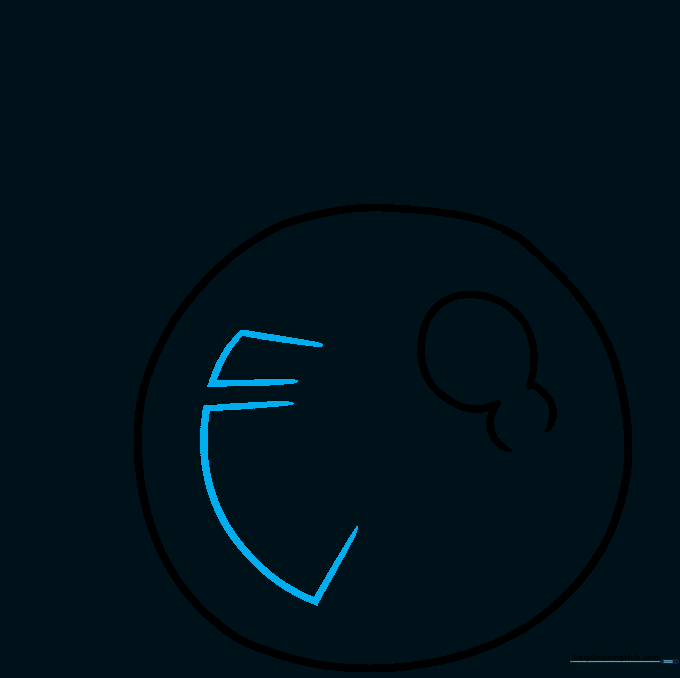
Draw two sets of straight lines, one wider than the other, and connect them with a curve. These details add depth to your bubble. Tip: Think of these as little windows reflecting light.
Step 4: Drawing the Second Bubble
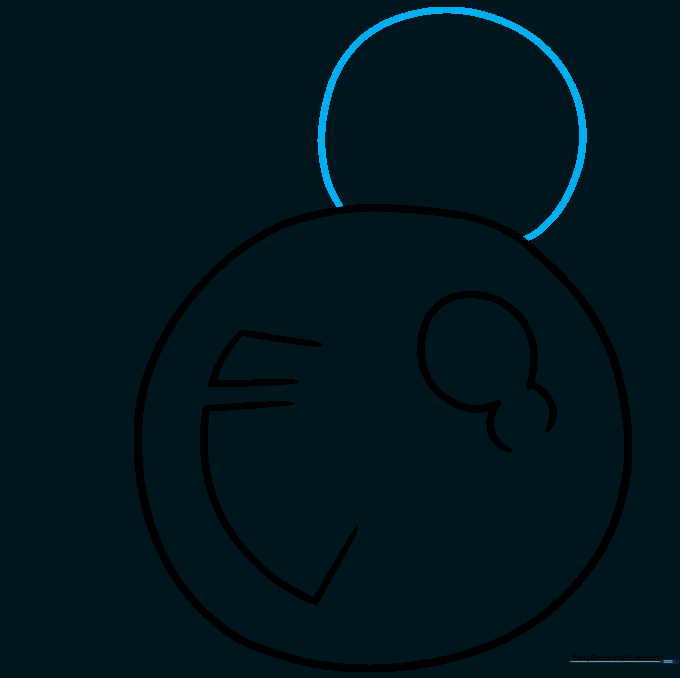
Draw a long, curved line to create a second bubble that overlaps the first. Tip: Overlapping shapes is a great way to make your drawing look more dynamic and 3D.
Step 5: Adding Shine to Bubble Two
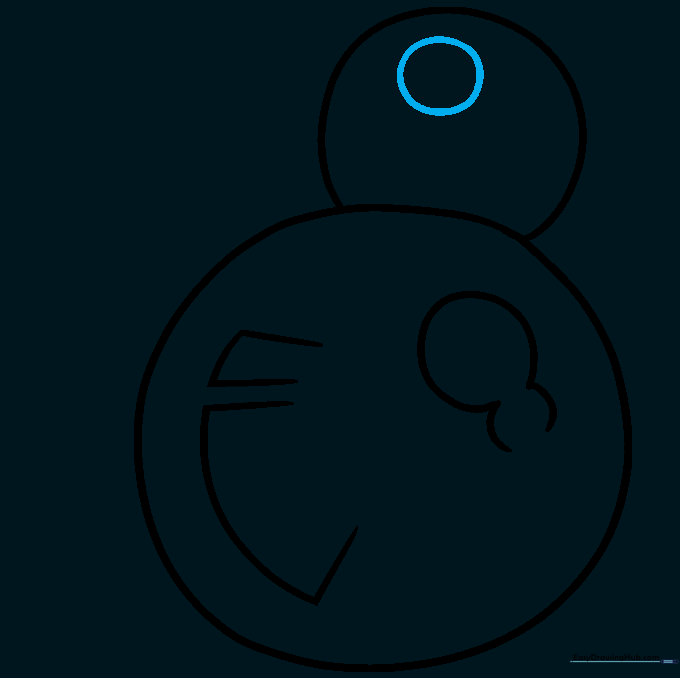
Draw a small circle inside the second bubble. This is your primary highlight. Tip: Don't color this circle in later—keep it white to make the bubble look truly transparent!
Step 6: Detailing the Second Bubble
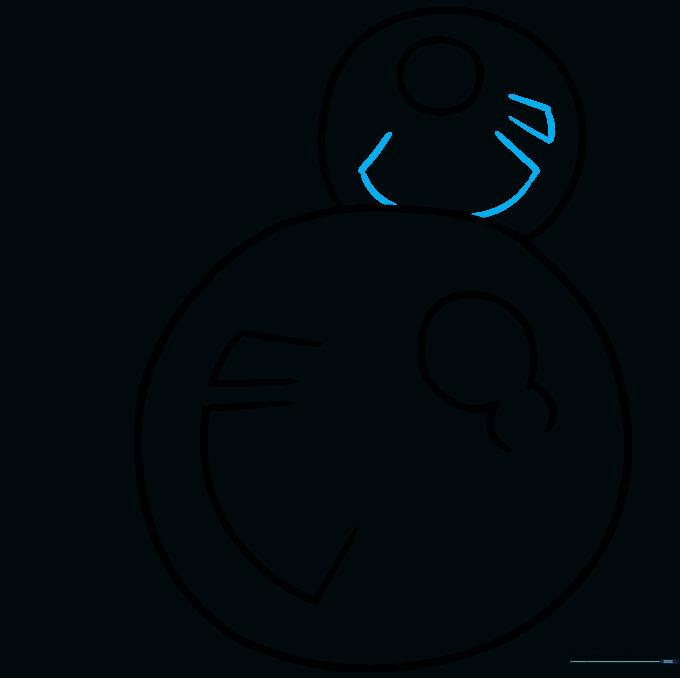
Add two sets of diagonal lines on the surface of the second bubble, connecting them with curves. Tip: Keep these lines light so they don't overpower the shape of the bubble.
Step 7: Adding the Third Bubble
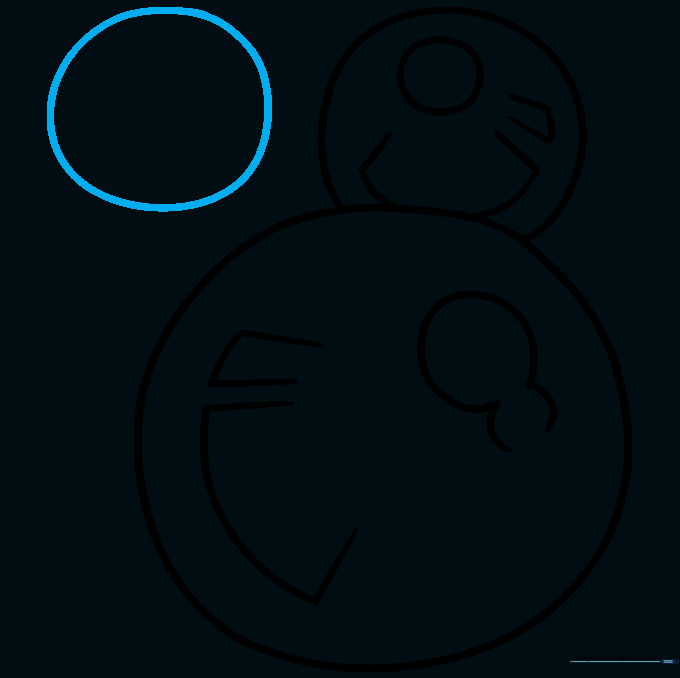
Sketch a third circle to complete your cluster. Tip: Vary the size of your bubbles to make the composition look more natural and playful.
Step 8: Detailing the Third Bubble
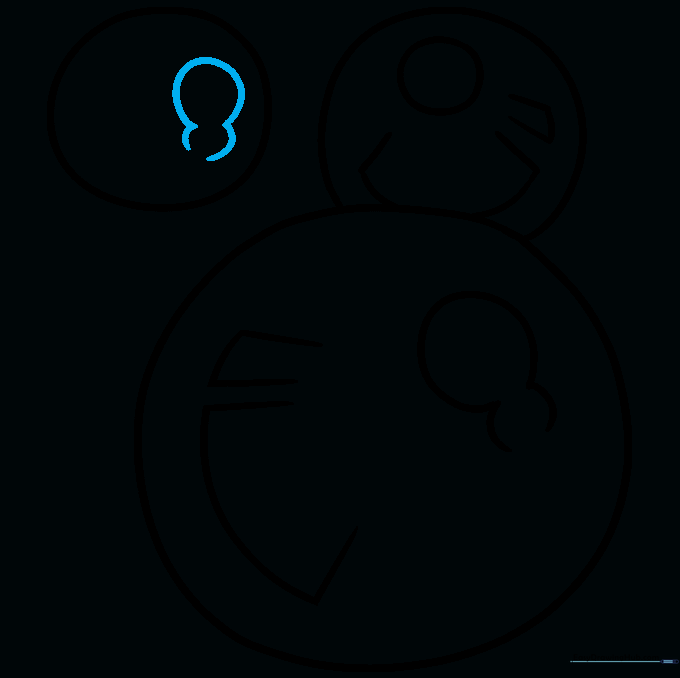
Draw an open, partial circle on the third bubble, then add curved lines from the opening to create an incomplete circle. Tip: This creates a sense of movement and light refraction.
Step 9: Finalizing the Outline
Add the final set of diagonal lines to the third bubble and connect them with curves. Tip: Check your work—if any lines look too dark, gently dab them with your eraser to soften them.
Step 10: Adding Color and Rainbow Effects
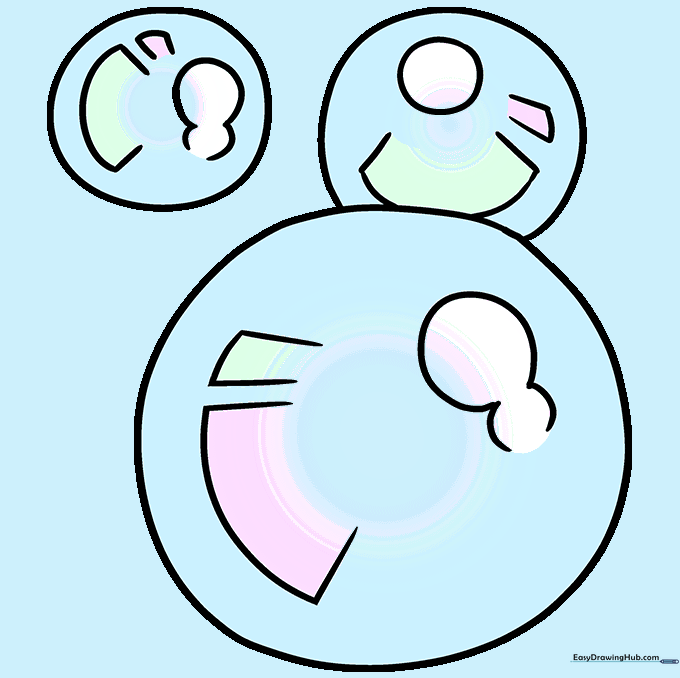
Color your bubbles using soft blues, pinks, and greens. Blend the colors to create a rainbow effect. Tip: Leave the white highlights empty to make the bubbles look like they are reflecting light!
More Tutorials


