How to Draw Broken Glass: Easy 10-Step Guide
Looking to add a dramatic touch to your sketches? This tutorial is perfect for artists ages 7+ who want to practice geometric precision and light reflection. All you need is a pencil, an eraser, and a steady hand to create a convincing shattered glass effect.
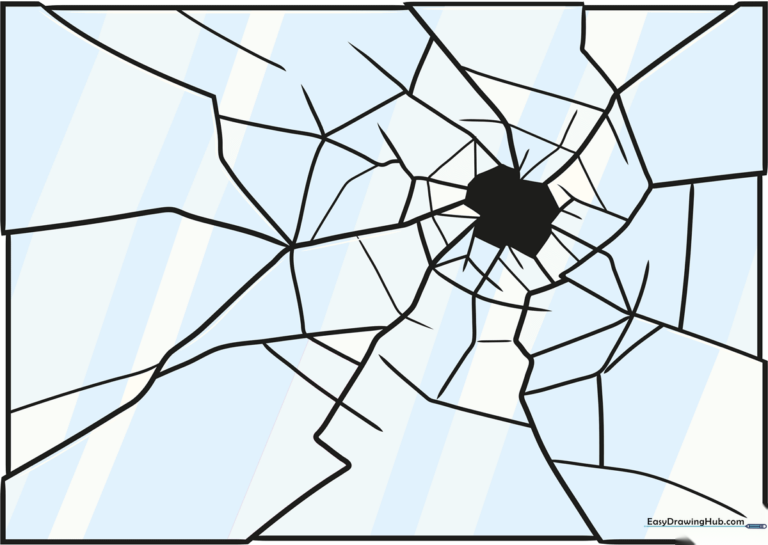
🎯 Final Result
Step-by-Step Instructions
Step 1: Establishing the Epicenter

Use light, irregular lines to enclose a small, jagged shape in the center of your page. Teacher's Tip: Think of this as the point of impact where the glass first hit; keep your lines sharp and angular to mimic real shards.
Step 2: Creating Primary Fracture Lines

Extend long, radiating lines from your center shape toward the edges of your canvas. Teacher's Tip: Vary between straight lines and slight zigzags to make the cracks look more natural and less like a perfect spiderweb.
Step 3: Branching the Cracks
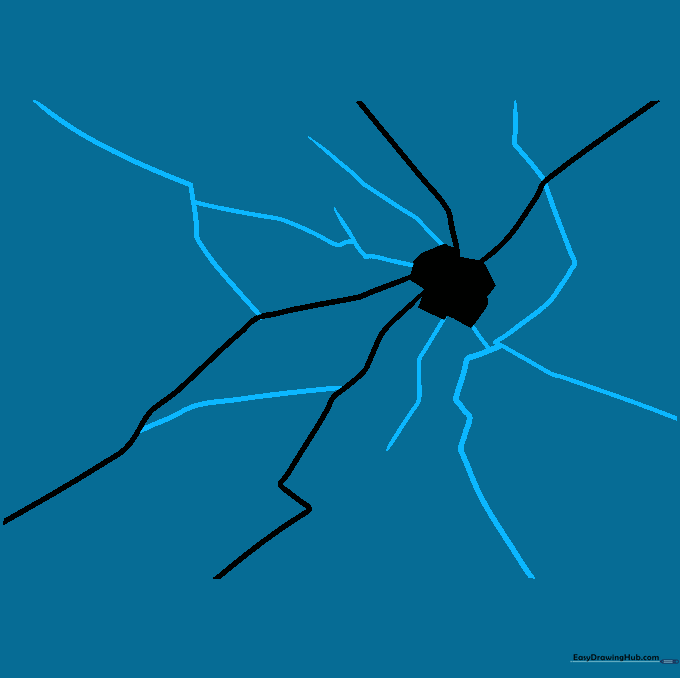
Add secondary lines that branch off your primary cracks. Teacher's Tip: Don't worry about symmetry! Real glass breaks unpredictably, so let some lines intersect while others stop abruptly.
Step 4: Connecting the Fragments
Draw straight lines connecting your existing cracks to form a rough circular pattern around the center. Teacher's Tip: Keep your pencil pressure light here so you can easily adjust the shape of the shards.
Step 5: Adding Depth with L-Shapes

Incorporate small 'L' shaped lines at the corners of your shards. Teacher's Tip: These little details suggest that some pieces of glass have shifted or tilted, giving your drawing a 3D effect.
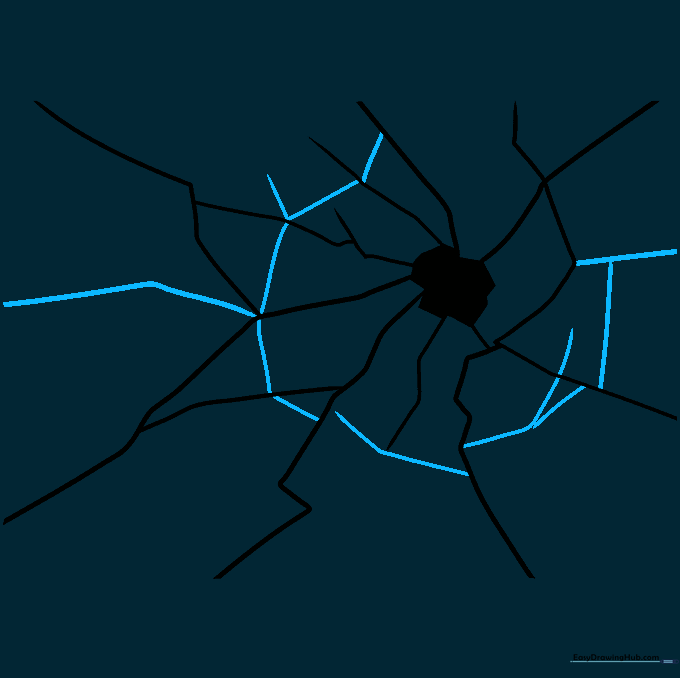
Step 6: Refining the Outer Edges

Draw additional straight lines inset slightly from the previous edges to create smaller, more detailed fragments. Teacher's Tip: Focus on keeping the lines clean and sharp to represent the hard surface of glass.
Step 7: Expanding the Pattern
Continue adding lines in a circular motion around the epicenter to fill out the rest of the window. Teacher's Tip: If you feel like you've added too many lines, use your eraser to 'clean up' the intersections.
Step 8: Detailing the Center
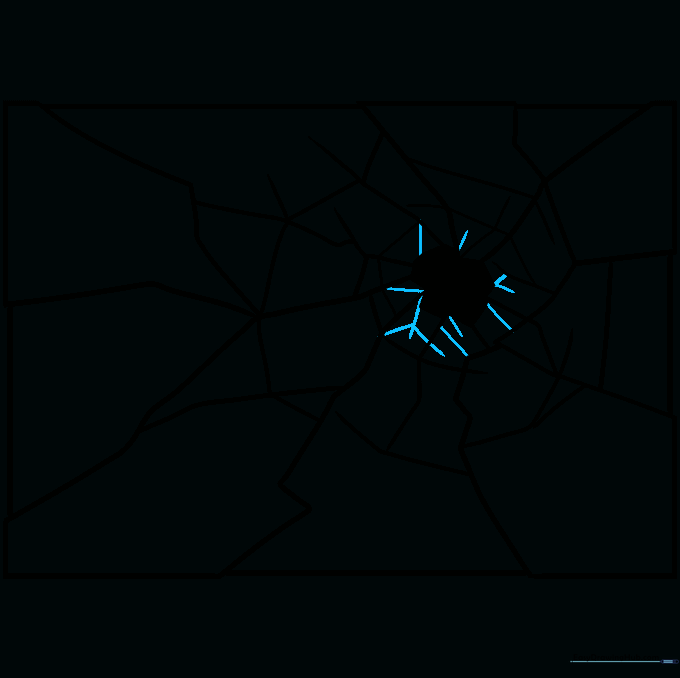
Add short, sharp lines near the epicenter to make the break look more intense. Teacher's Tip: These small marks act as the 'fine dust' of the shattered glass.
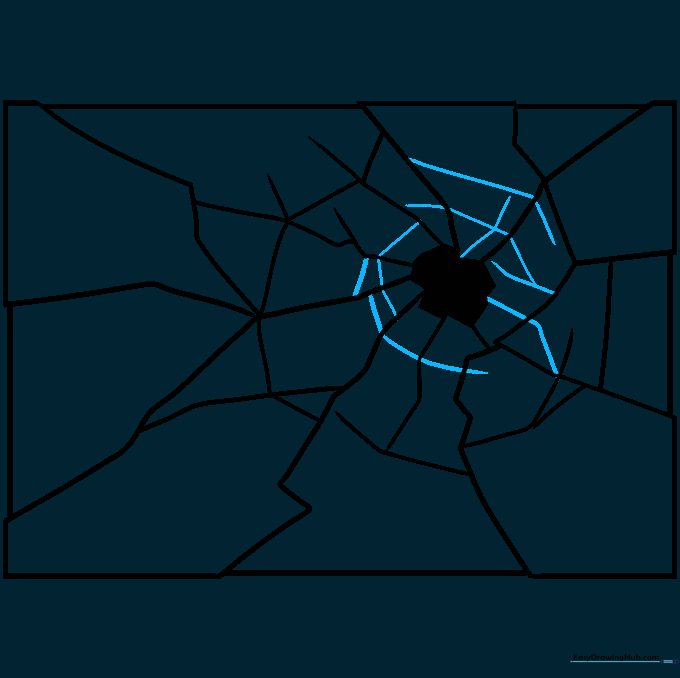
Step 9: Finalizing the Outline
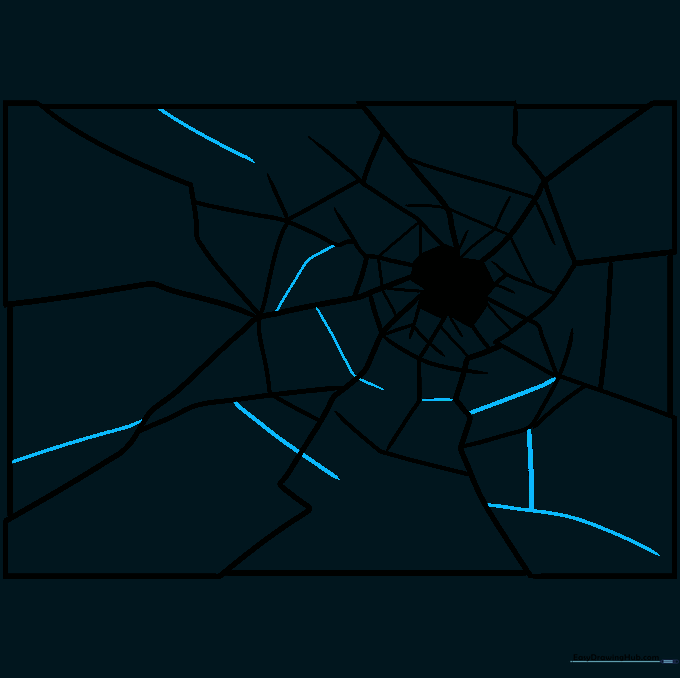
Connect any remaining loose ends to the edges of your frame. Teacher's Tip: Ensure every line feels intentional—glass breaks in straight, rigid paths, so avoid wobbly lines.
Step 10: Adding Light and Color

Color your glass using light blue and white to simulate reflections. Teacher's Tip: Use a white gel pen or leave small white gaps to create a 'glint' effect, which makes the glass look shiny and realistic.
More Tutorials


