How to Draw Broccoli: Easy 10-Step Guide for Kids
This friendly broccoli character is a fantastic project for young artists ages 5 and up to practice basic shapes. You will only need a pencil, an eraser, and your favorite green markers to bring this veggie to life. Follow along to develop your hand-eye coordination while creating a fun, healthy-themed masterpiece.
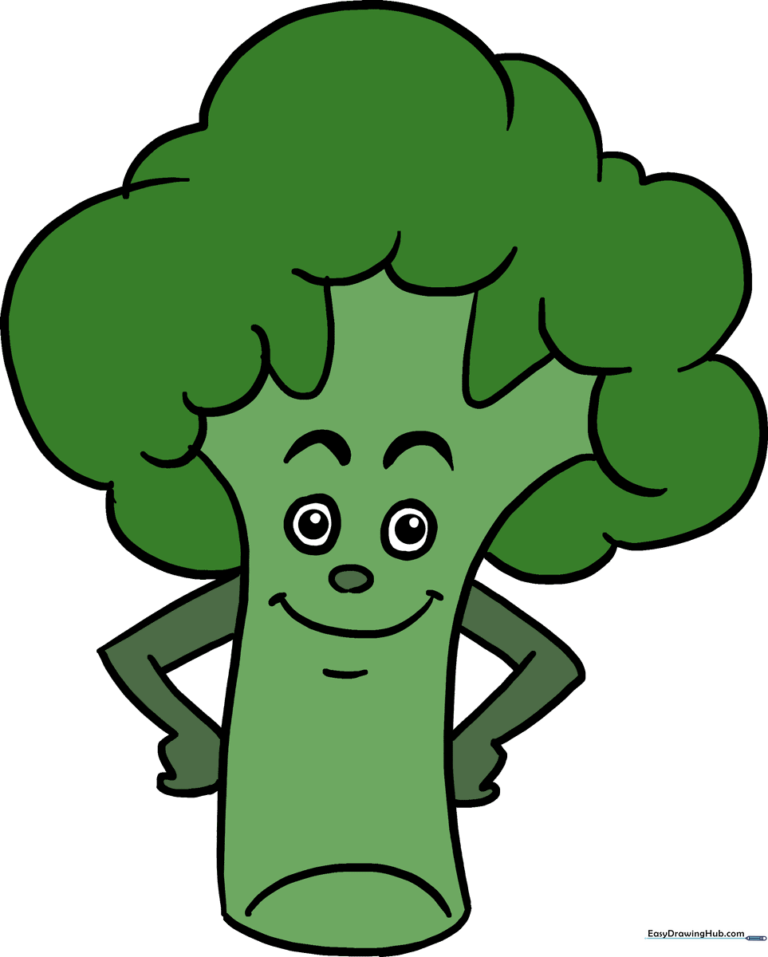
🎯 Final Result
Step-by-Step Instructions
Step 1: Sketching the Stalk

Draw two slightly curved vertical lines that widen at the top. Teacher's Tip: Think of this as the trunk of a tree; keeping the lines light helps you adjust the width if needed.
Step 2: Creating the Branching Base

Add two 'U' shaped lines at the top of your stalk to create the base for the florets. Tip: Imagine you are drawing the start of a tree canopy to help visualize the growth.
Step 3: Defining the Bottom Edge

Close the bottom of the stalk with a curved line, then add a second, opposite curve just above it. Tip: This creates the 'cut' look where the broccoli was harvested from the soil.
Step 4: Closing the Stalk

Draw rounded 'U' shapes at the top of each branch to finalize the stalk structure. Tip: Keep these curves soft and rounded to make the vegetable look organic rather than mechanical.
Step 5: Drawing the Fluffy Crown

Use a series of connected, wavy curved lines to create the broccoli's crown. Tip: Don't worry about perfection here—broccoli is naturally bumpy and cloud-like, so irregular lines look more realistic!
Step 6: Adding the First Arm

Extend parallel lines from the side of the stalk and finish with a rounded hand shape. Tip: Use short, connected curves for the fingers to give your broccoli character.
Step 7: Adding the Second Arm

Repeat the process on the opposite side to create a matching arm. Tip: Try to keep the arms at a similar height so your character looks balanced.
Step 8: Drawing the Eyes

Draw three concentric circles for each eye and shade the center for the pupil. Add a curved line above each for eyebrows. Tip: Placing the eyes slightly closer together makes the character look cuter.
Step 9: Completing the Face

Draw a small oval for the nose and a wide 'U' shape for a happy smile. Tip: Add tiny lines at the corners of the mouth to make the smile look wider and more joyful.
Step 10: Adding Color
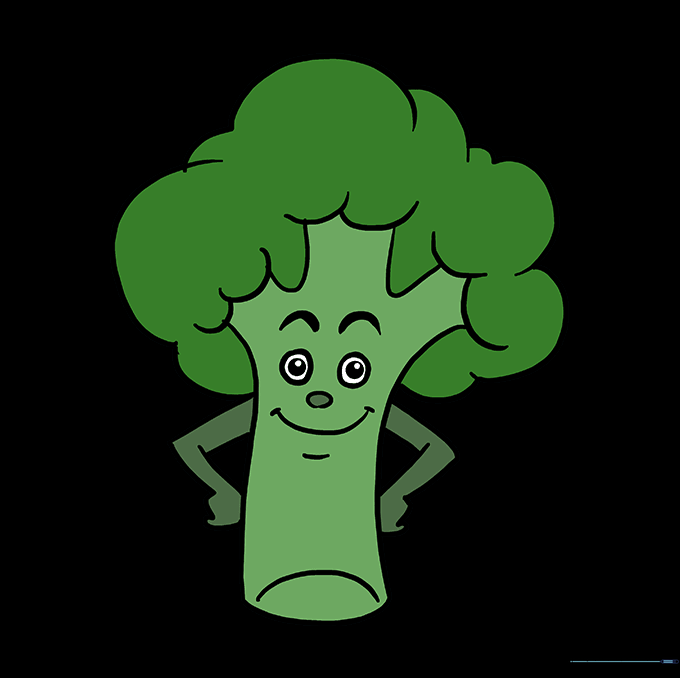
Color your broccoli using shades of dark green for the crown and lighter green for the stalk. Tip: Use a darker green around the edges of the crown to give it a sense of depth and volume.
More Tutorials


