How to Draw Bread: Easy 10-Step Guide for Beginners
This tutorial is perfect for young artists ages 5+ looking to practice their shape-building skills. You only need a pencil, an eraser, and some paper to bring this cozy loaf to life. Follow these steps to master basic perspective and texture while creating a delicious-looking cartoon snack.
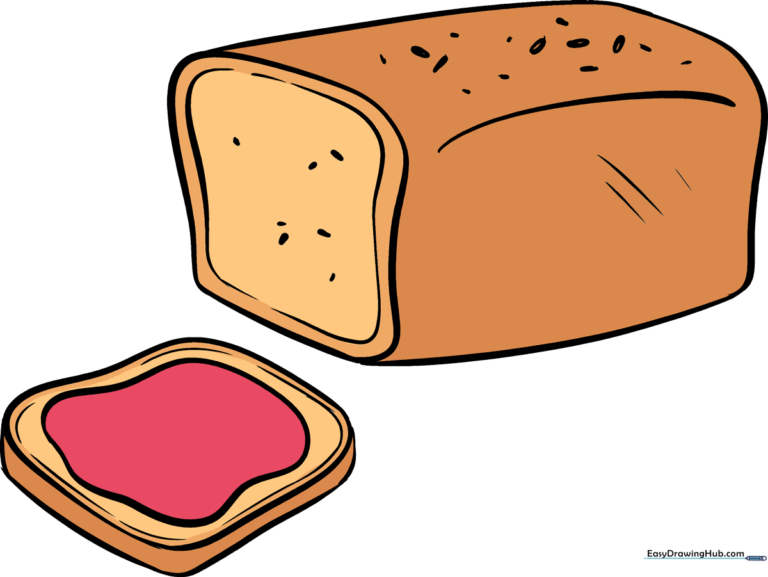
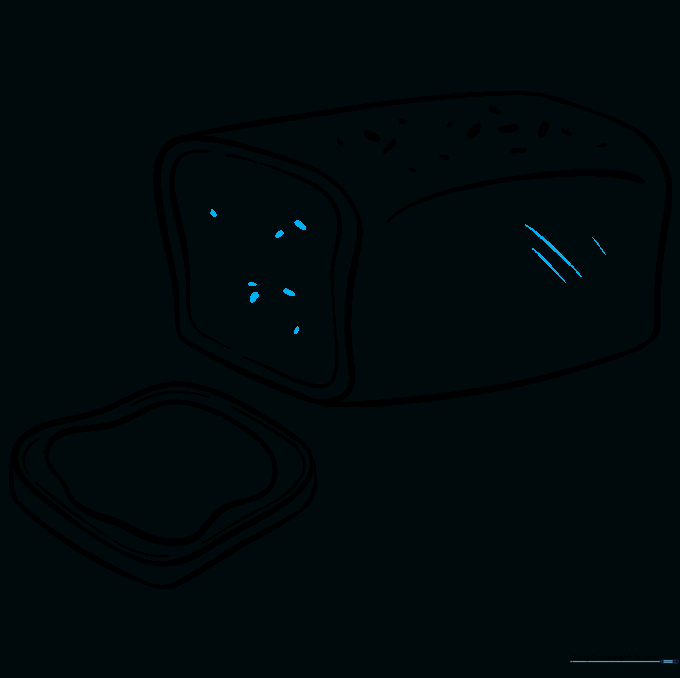
🎯 Final Result
Step-by-Step Instructions
Step 1: Sketching the Cut End

Use a long, wavy curved line to create an irregular square shape. Teacher's Tip: Keep your pencil pressure light here so you can easily adjust the shape if it looks too wobbly!
Step 2: Defining the Loaf Body
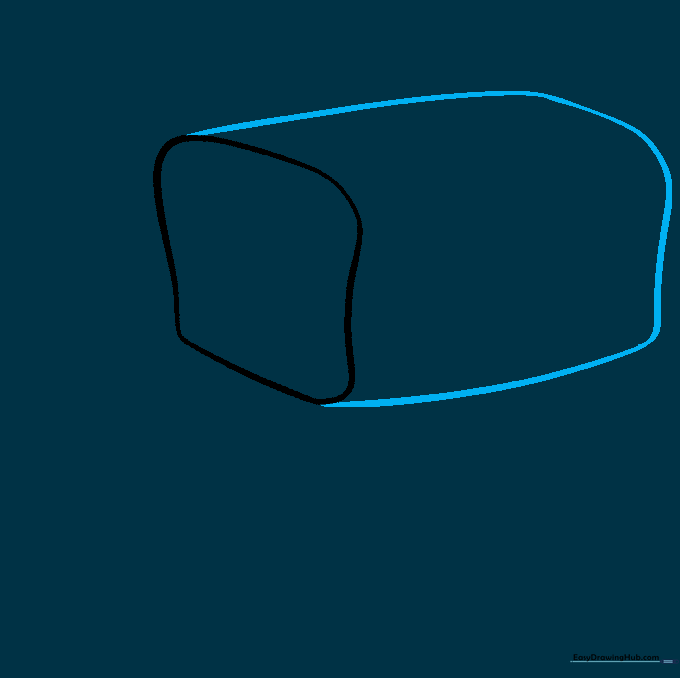
Extend a long, smooth curved line from the top corner to create the rounded rectangular body of the loaf. Tip: Imagine you are drawing a soft pillow; keep the lines rounded, not sharp.
Step 3: Creating 3D Perspective
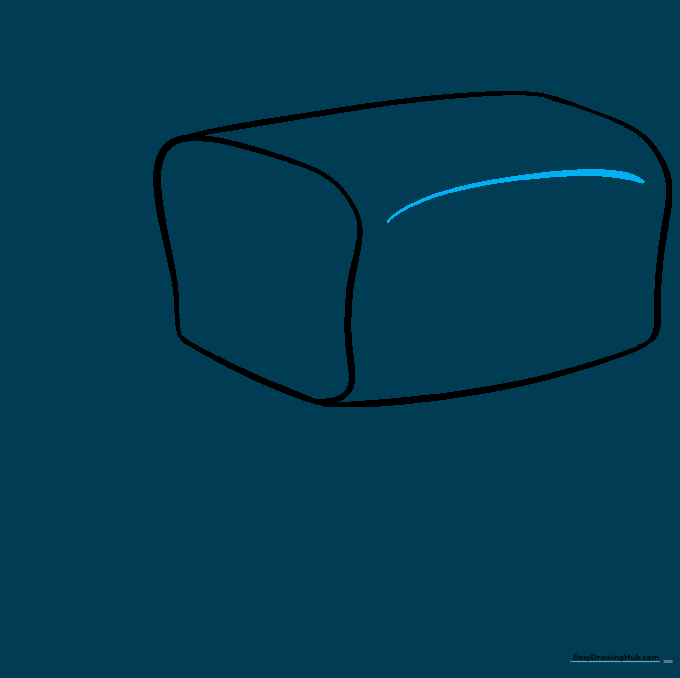
Draw a curved line connecting the top corners of the loaf. This simple stroke adds immediate dimension. Tip: Make sure the curve mimics the arch of the loaf's top.
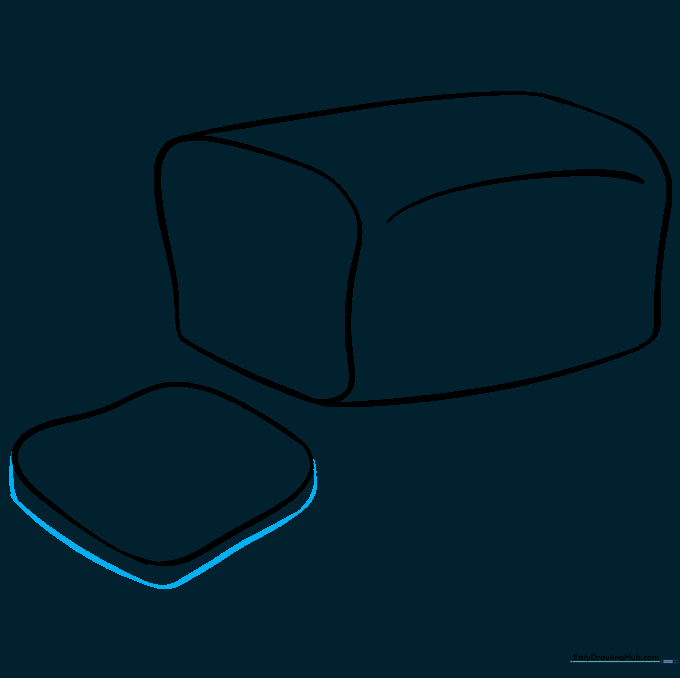
Step 4: Sketching the Bread Slice
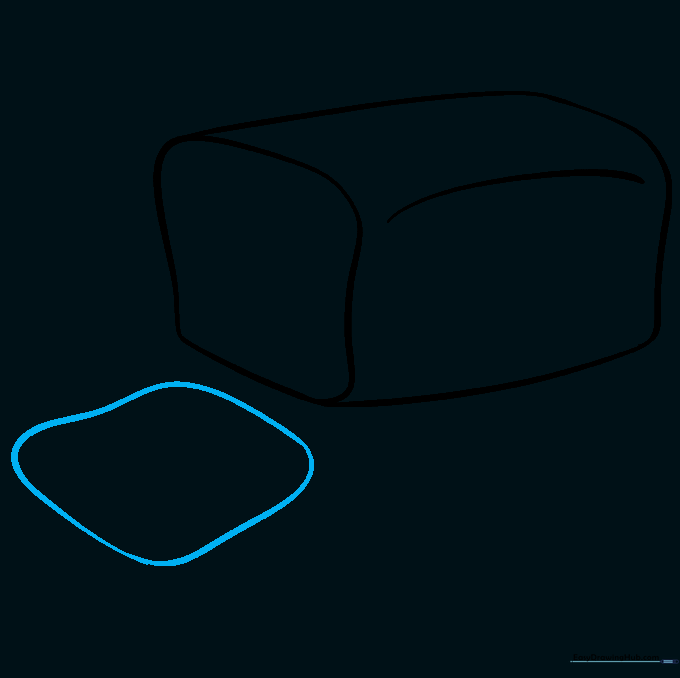
Draw another wavy square shape just below the main loaf. This will be your slice of bread. Tip: Try to make the slice slightly smaller than the loaf face for a natural look.
Step 5: Adding the Crust
Draw a curved line connecting the corners of the slice to define the crust. Tip: Follow the edge of your shape closely to keep the crust looking consistent.
Step 6: Adding Toppings
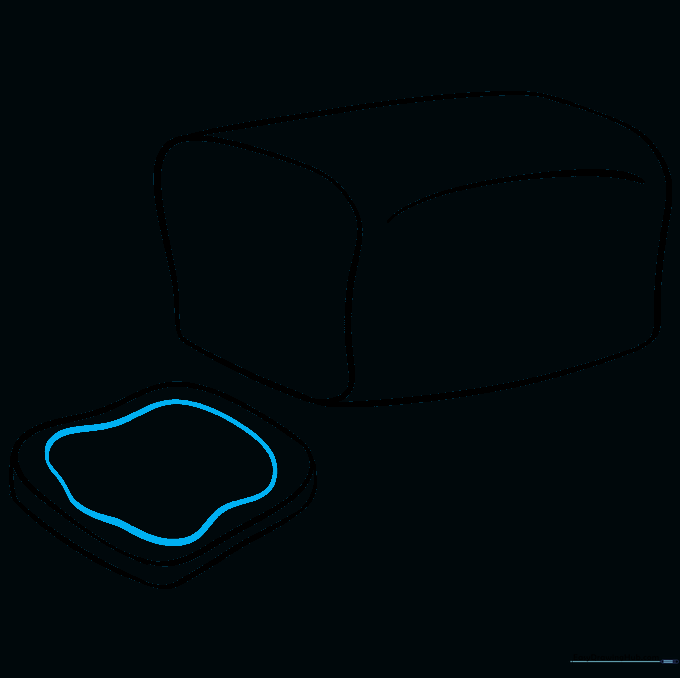
Draw an irregular, wavy shape inside the slice to represent butter or jam. Tip: Don't worry about making it perfect; butter is never a perfect shape!
Step 7: Refining the Crust
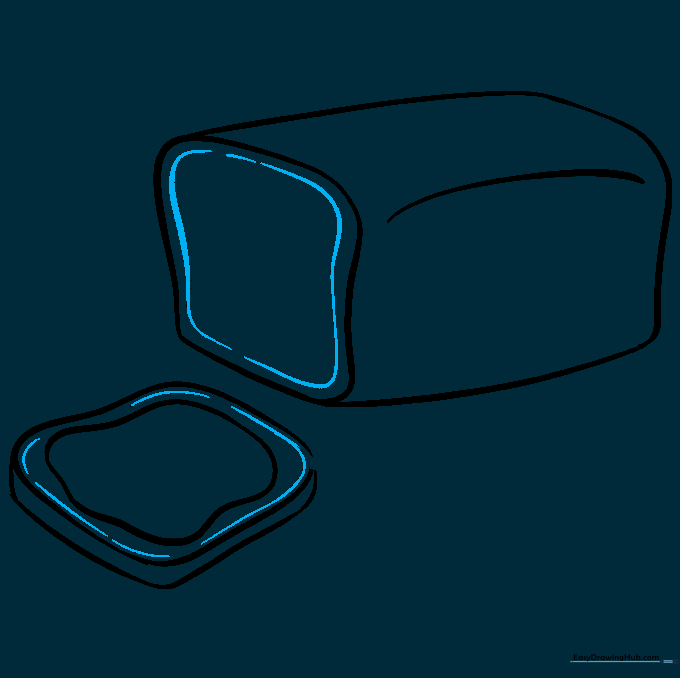
Add a second curved line just inside the crust of both the loaf and the slice. Tip: This creates a 'double-line' effect that makes your drawing look more professional and defined.
Step 8: Adding Texture
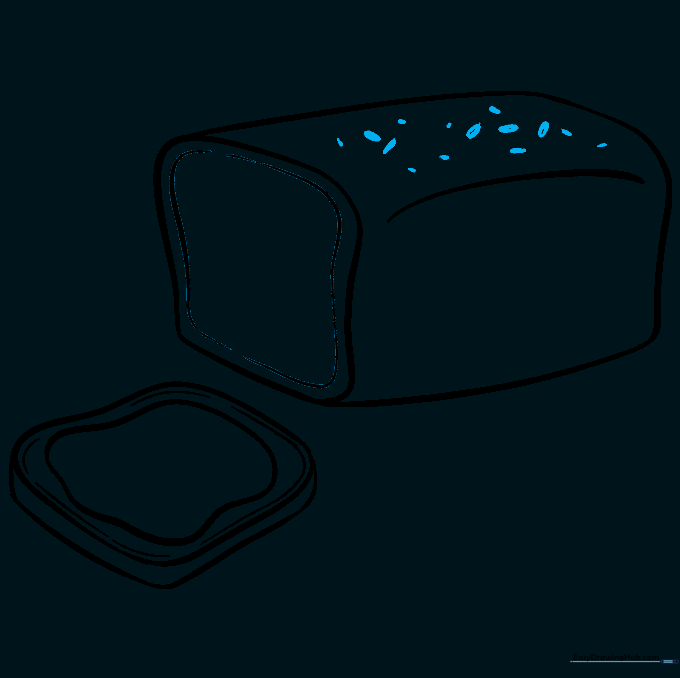
Add small ovals and dots to the top of the loaf to represent seeds or grains. Tip: Vary the size of your dots to make the bread look more realistic and textured.
Step 9: Final Details
Add small circles on the cut end and curved hatch marks on the side of the loaf. Tip: Use short, quick strokes for the hatch marks to give the crust a crunchy appearance.
Step 10: Bring It to Life with Color

Time to color! Use warm browns for the crust and golden yellows for the butter. Tip: Use a lighter shade of brown for the inside of the bread to contrast with the darker crust.
More Tutorials


