How to Draw Bob the Minion: Easy 20-Step Guide
Bring everyone's favorite Minion to life with this fun, kid-friendly drawing tutorial. Designed for ages 5 and up, this activity requires only a pencil, paper, and an eraser to help your child build confidence and fine motor skills. Follow along as we break Bob down into simple, manageable shapes.
🎯 Final Result
Step-by-Step Instructions
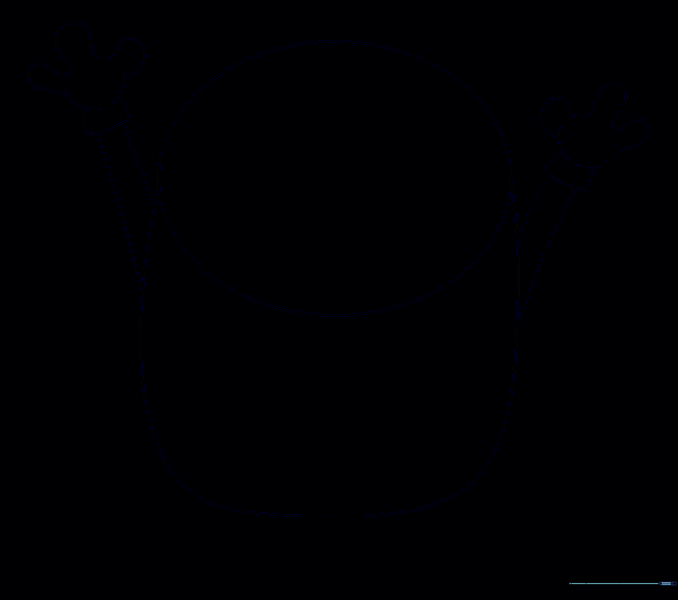
Step 1: Sketching the Head

Draw a large, rounded oval in the center of your page. Teacher’s Tip: Keep your pencil strokes light so you can easily erase any extra lines later!
Step 2: Defining the Body
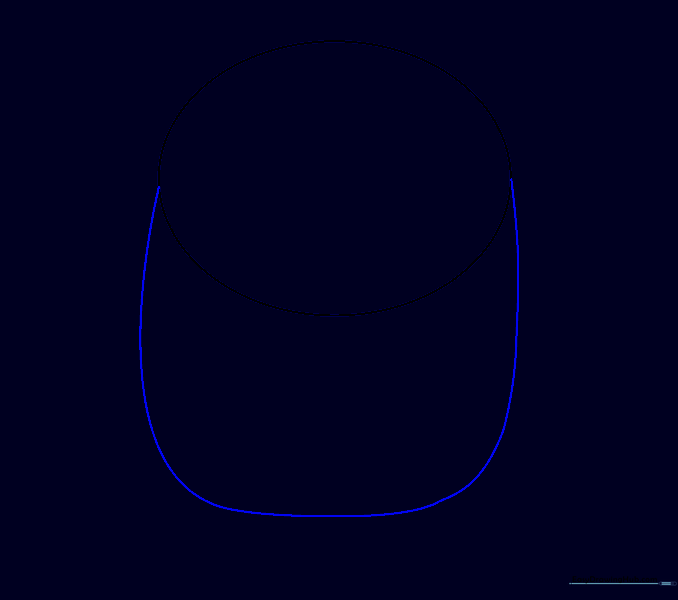
Draw a long, curved line across the middle of the oval to start shaping the body. Tip: Imagine you are drawing the top of a jellybean.
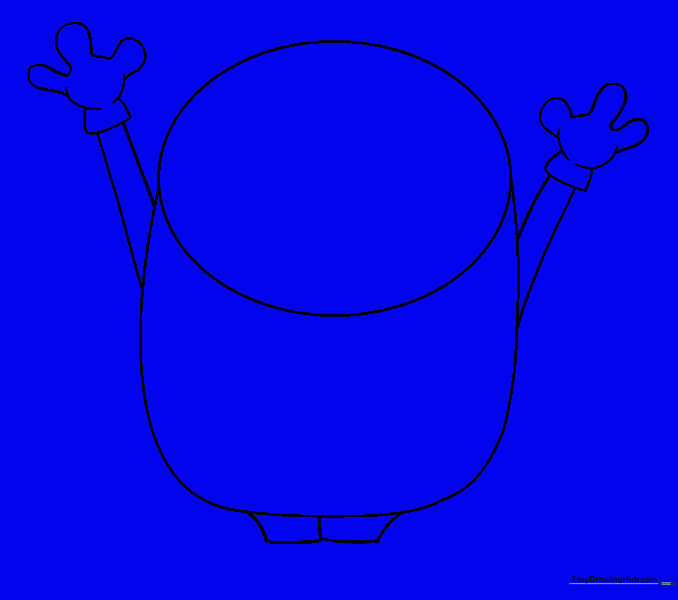
Step 3: Sketching the Arms
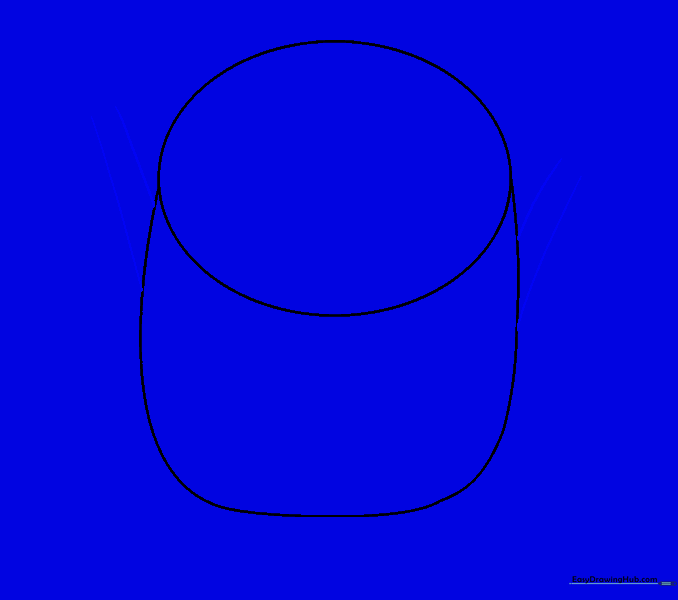
Extend two slightly curved, parallel lines from the sides of the body. Tip: Keep these lines close together to make the arms look natural and thin.
Step 4: Creating the Hands

Draw a small circle at the end of each arm. Add two short, curved lines at the bottom and connect them. Tip: These circles act as a guide for the fingers.
Step 5: Adding Fingers
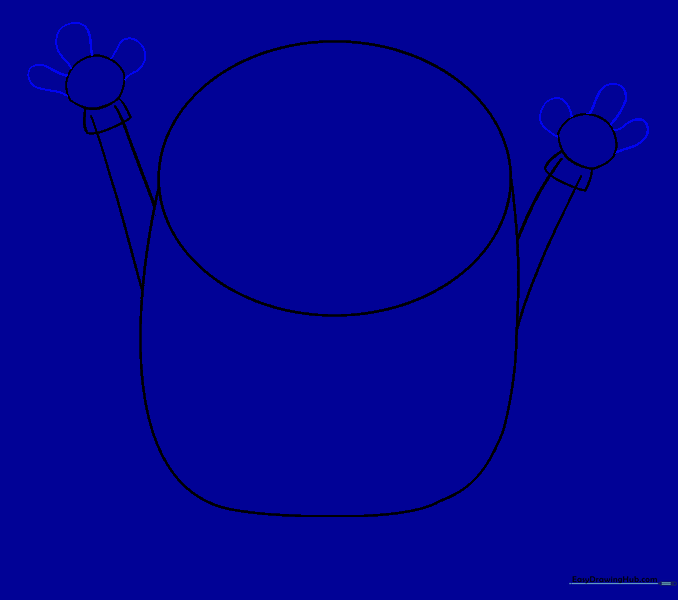
Draw three 'U' shaped curves on each hand circle. Tip: Make sure they are evenly spaced so the hand looks balanced.
Step 6: Cleaning Up
Carefully erase the guide lines inside the hands. Tip: Use a soft eraser to avoid smudging your drawing.
Step 7: Starting the Feet

Extend three short, curved lines from the bottom of the body. Connect them with two smooth, curved lines. Tip: Think of these as the base for the shoes.
Step 8: Drawing the Shoes
Extend two curved lines from the base shapes to form the feet. Connect them with a curved line and add a parallel line for depth. Tip: Adding that extra parallel line makes the shoes look 3D!
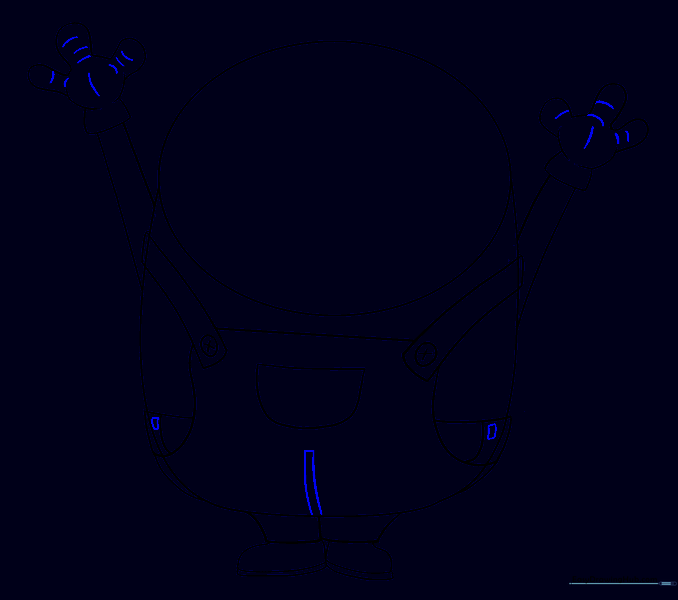
Step 9: Adding Suspenders
Draw two parallel lines from the arms toward the center. Add a small circle at the end of each for buttons. Tip: Keep the lines straight to make the overalls look sturdy.
Step 10: Drawing the Overalls
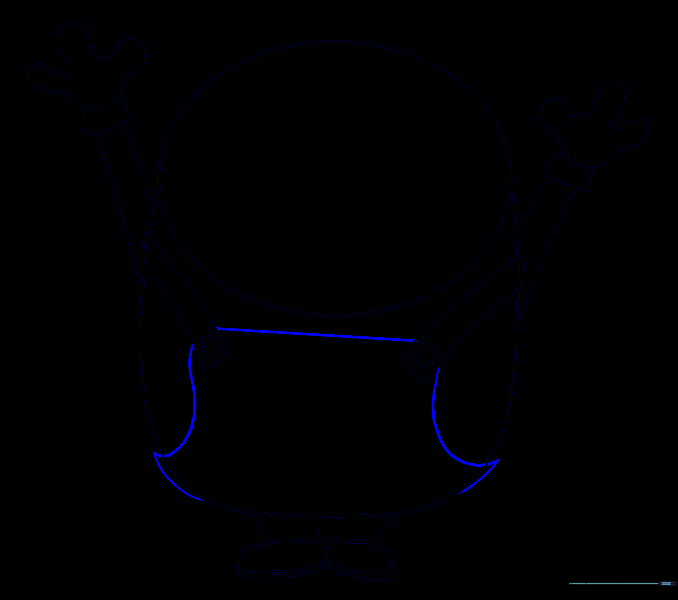
Connect the suspenders with a line and extend lines downward to form the pants. Tip: Let the lines curve slightly to match the shape of the body.
Step 11: Adding Pockets

Draw an 'X' on the buttons and a 'U' shape for the front pocket. Add side pockets by extending lines outward. Tip: Use a ruler if you want the pocket lines to be perfectly straight!
Step 12: Adding Final Clothing Details
Add small squares to the pockets and draw lines across the palms and fingers for detail. Tip: Small details like these make your drawing look professional.
Step 13: Final Cleanup
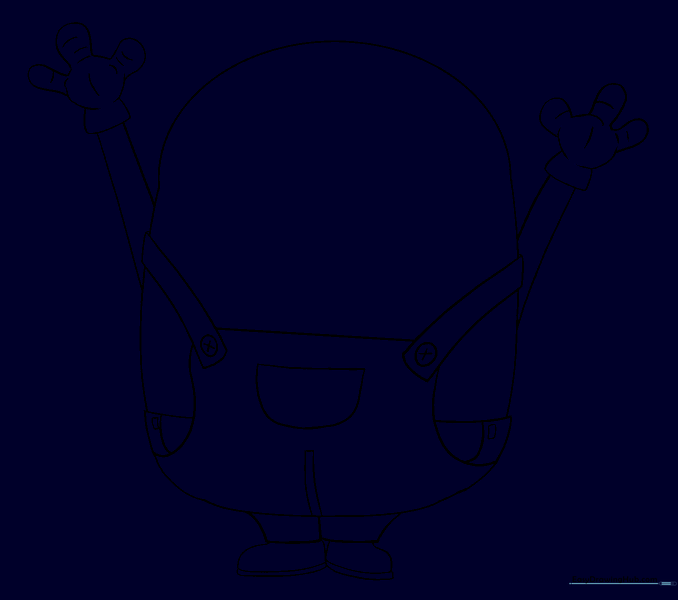
Erase any remaining guide lines on the body. Tip: Take your time here to ensure the outline is clean.
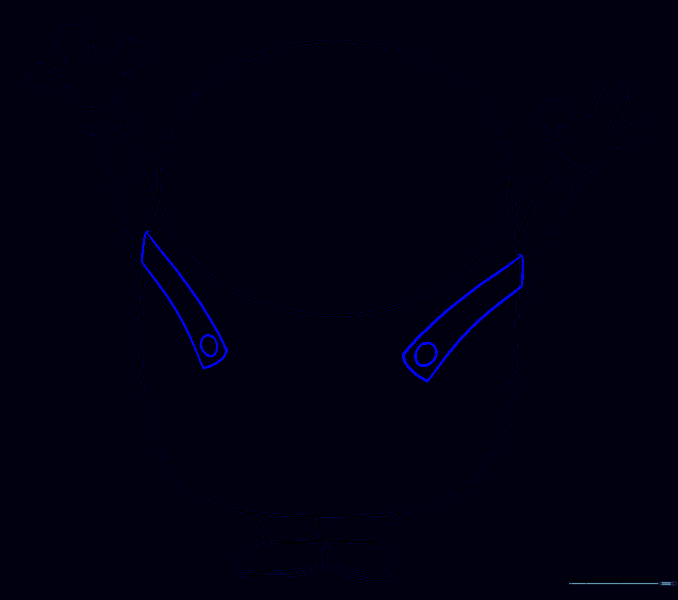
Step 14: Drawing the Eyes
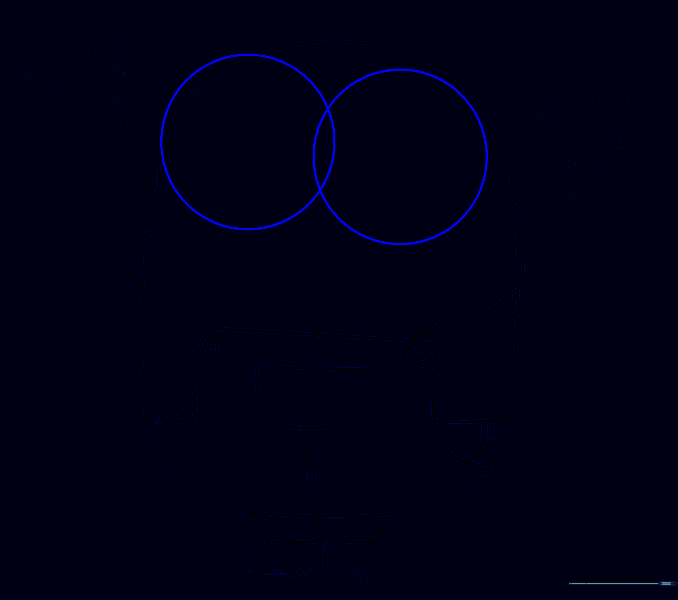
Draw two overlapping circles in the center of the head. Tip: Make them large to give Bob his signature look.
Step 15: Refining the Eyes
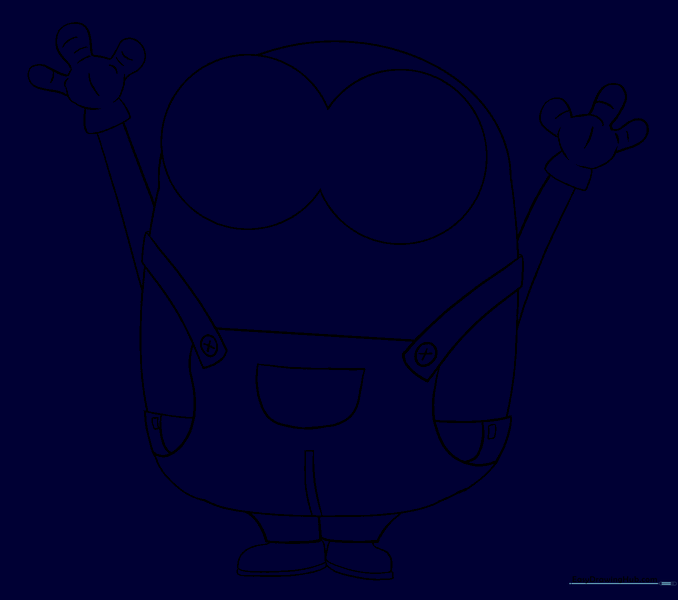
Erase the overlapping lines where the circles meet. Tip: This creates the illusion of one large goggle frame.
Step 16: Adding Lenses
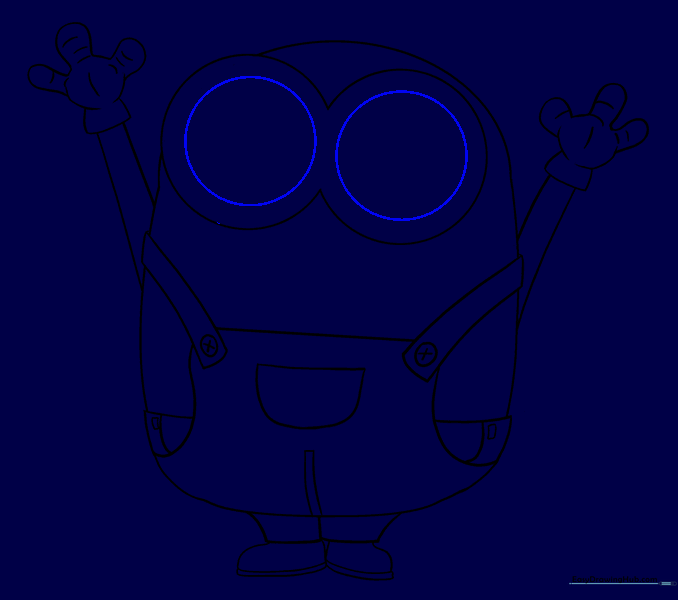
Draw a smaller circle inside each eye circle. Tip: Keep the space between the circles even for a neat look.
Step 17: Pupils and Mouth
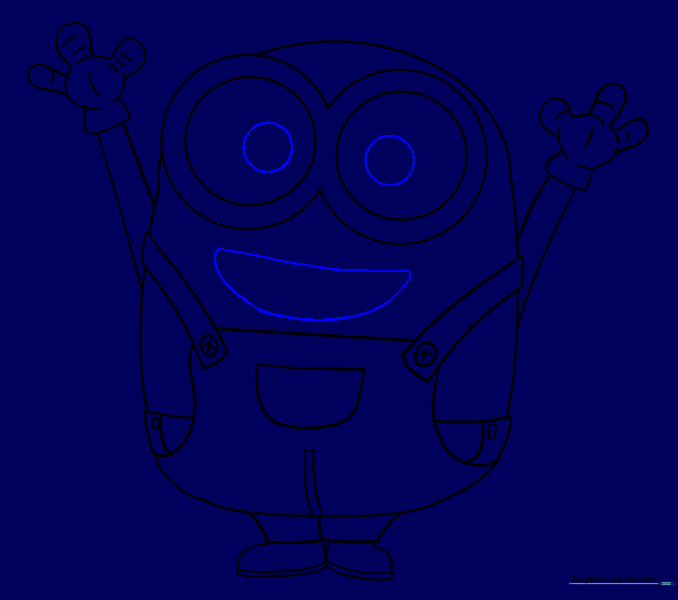
Draw tiny circles for pupils and a wide 'U' shape for the mouth. Tip: A wide mouth makes Bob look happy and friendly!
Step 18: Teeth and Tongue
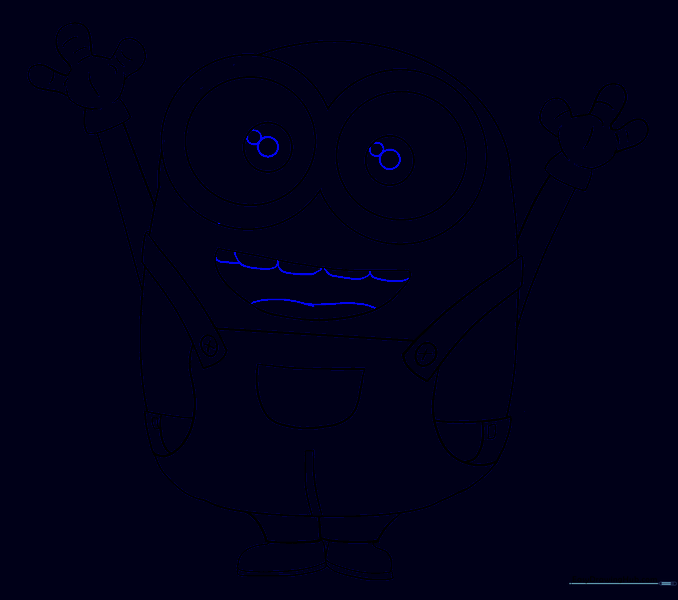
Add small lines for teeth and a wavy line for the tongue. Tip: Keep the teeth small so they don't look too crowded.
Step 19: Goggle Straps
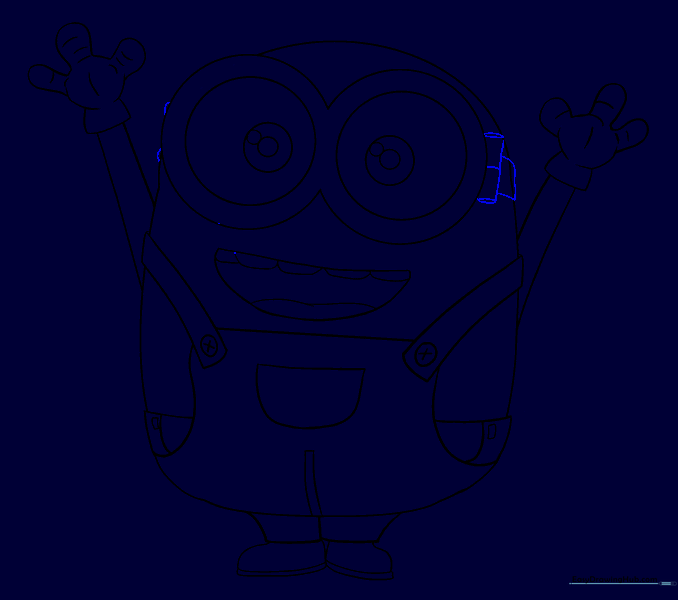
Draw small circles and rectangles on the sides of the glasses to represent the straps. Tip: These small details add character to your drawing.
Step 20: Adding Color
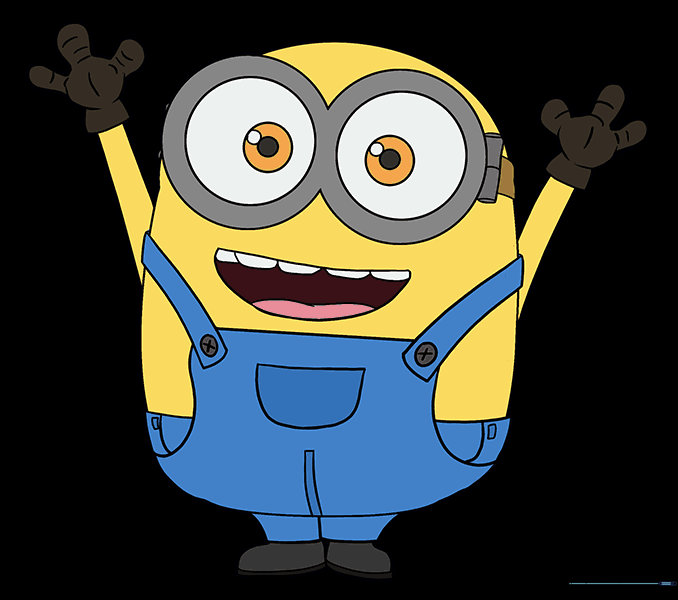
Color your Bob! Use bright yellow for his skin and blue for his overalls. Tip: Use markers or colored pencils to make the colors pop!
More Tutorials


