How to Draw Blippi: Easy 10-Step Guide for Kids
Bring your favorite curious explorer to life with this simple, 10-step drawing guide. Designed for young artists ages 5 and up, this activity requires only a pencil, paper, and your favorite markers. Follow along to practice basic shapes and character proportions while creating a colorful Blippi portrait.
🎯 Final Result

Step-by-Step Instructions
Step 1: Sketching the Eyes
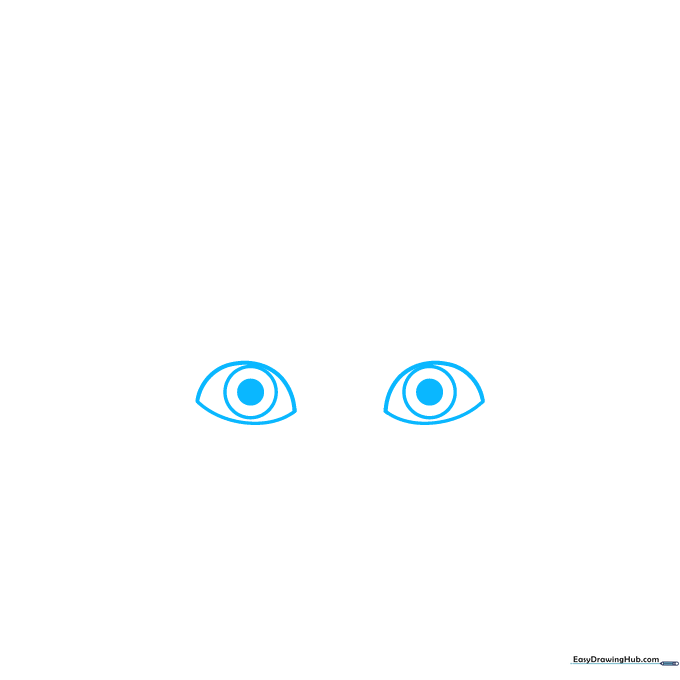
Start by drawing two curved, double-pointed shapes for the eyes. Add two smaller circles inside each to create the pupils and shade them in. Teacher's Tip: Keep your pencil pressure light here so you can easily adjust the spacing if the eyes look a bit too far apart.
Step 2: Framing the Glasses
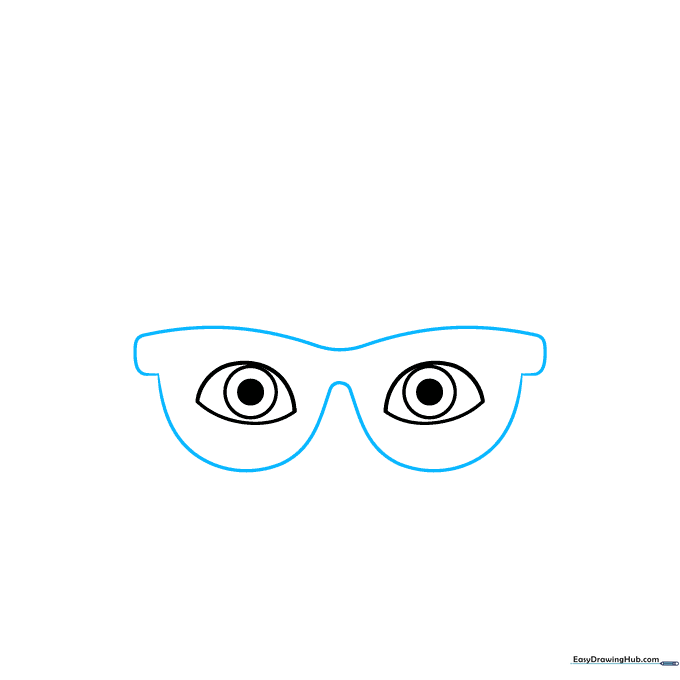
Draw the iconic glasses by outlining the eyes with half-circle shapes that have flat, rectangular sides. Teacher's Tip: Try to keep the lines symmetrical so the glasses look balanced on the face.
Step 3: Lenses and Nose
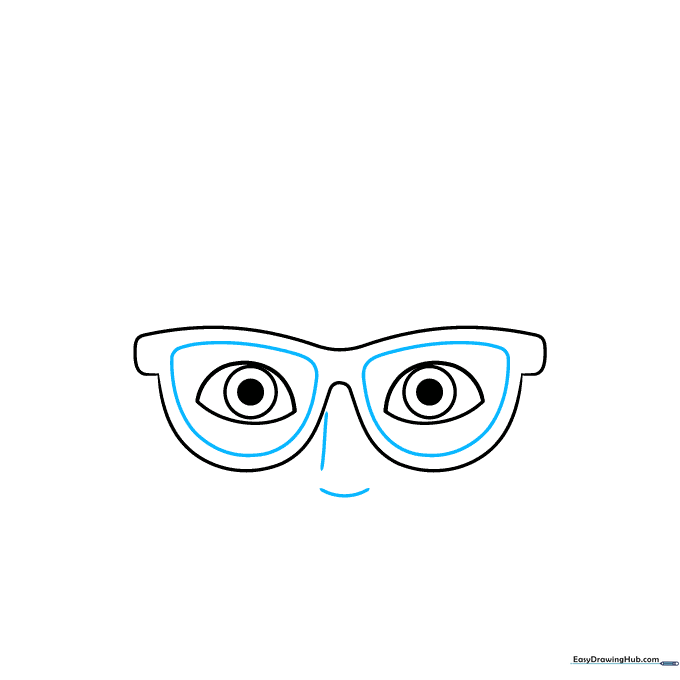
Draw a smaller half-circle inside each frame to represent the lenses, then add two small curved lines in the center for the nose. Teacher's Tip: Keep the nose lines small and simple to maintain the cartoon style.
Step 4: Face and Mouth
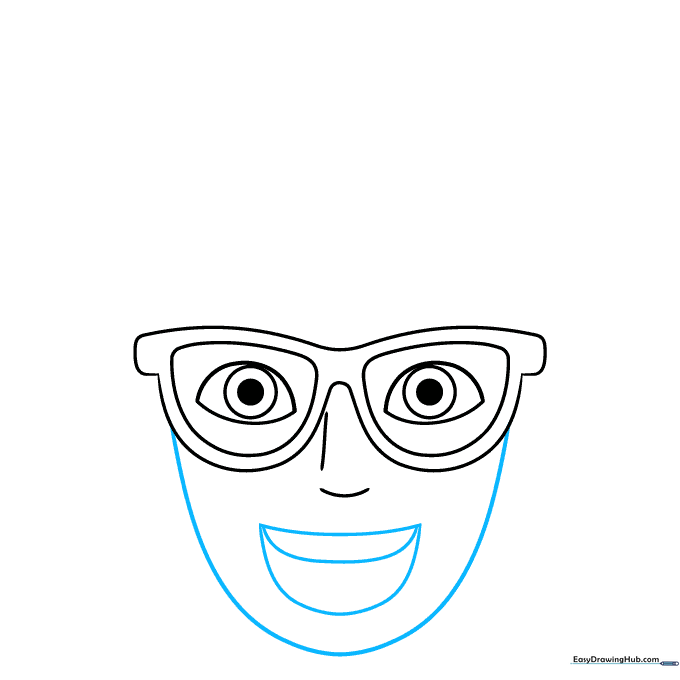
Use a large 'U' shape to define the jawline. Sketch a wide, open mouth using a curved line for the top and a 'U' shape for the bottom. Teacher's Tip: A big smile makes the character look friendly and energetic!
Step 5: Tongue and Hat Base
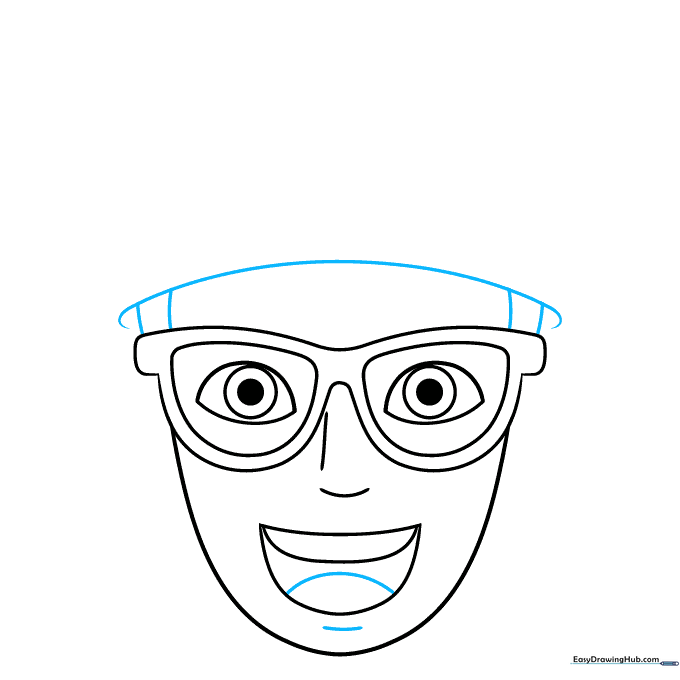
Add a line inside the mouth for the tongue and a curved line for the chin. Above the glasses, draw a long curved line connected by short vertical lines to form the hat's brim. Teacher's Tip: Make sure the hat brim is slightly wider than the glasses.
Step 6: Hat and Eyebrows
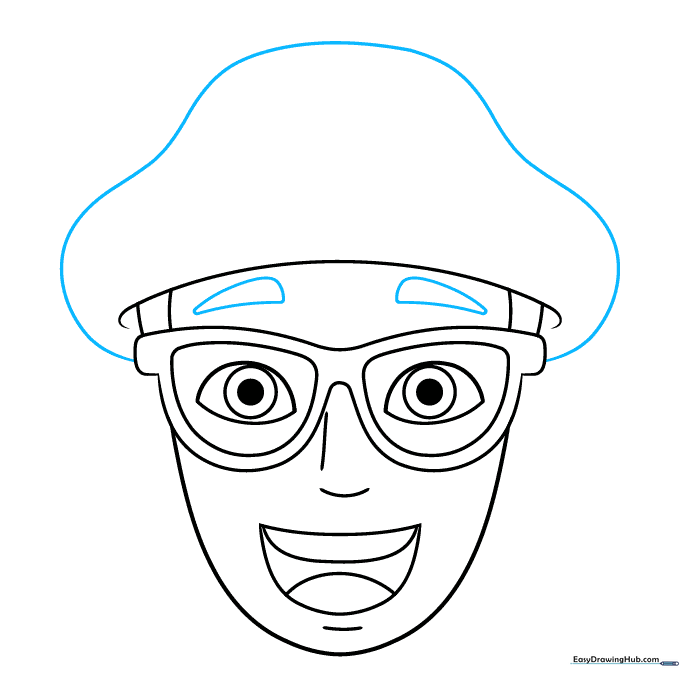
Complete the top of the hat with a large arching line. Add two teardrop-shaped eyebrows just below the hat. Teacher's Tip: Placing the eyebrows close to the hat makes Blippi look surprised and happy.
Step 7: Beard and Ear
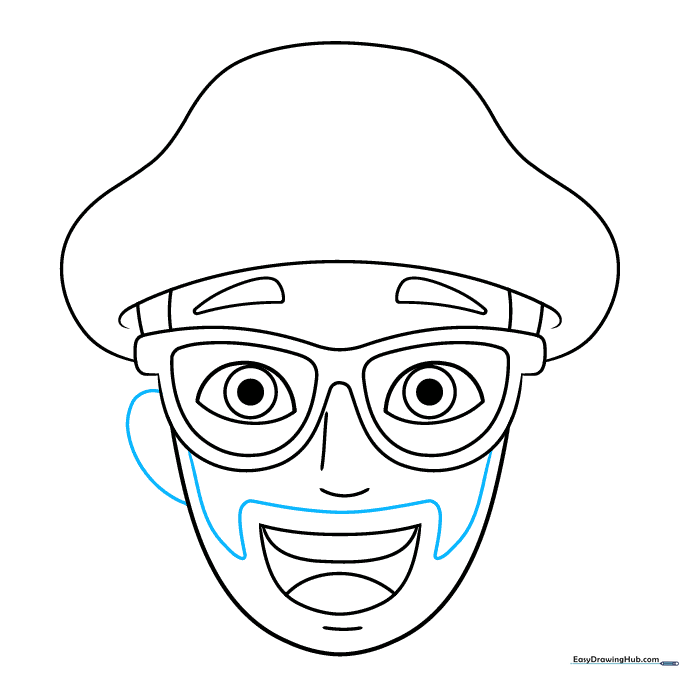
Draw a curved shape around the cheeks and mouth to outline the beard. Add a small curved line on the side of the head for the ear. Teacher's Tip: Keep the beard shape soft and rounded to match the cartoon style.
Step 8: Final Details

Add the second ear and use 'Y' shaped lines inside both ears for detail. Draw a small half-circle on top of the hat. Teacher's Tip: The 'Y' shape is a simple way to suggest the complex folds of an ear.
Step 9: Hat Refinement
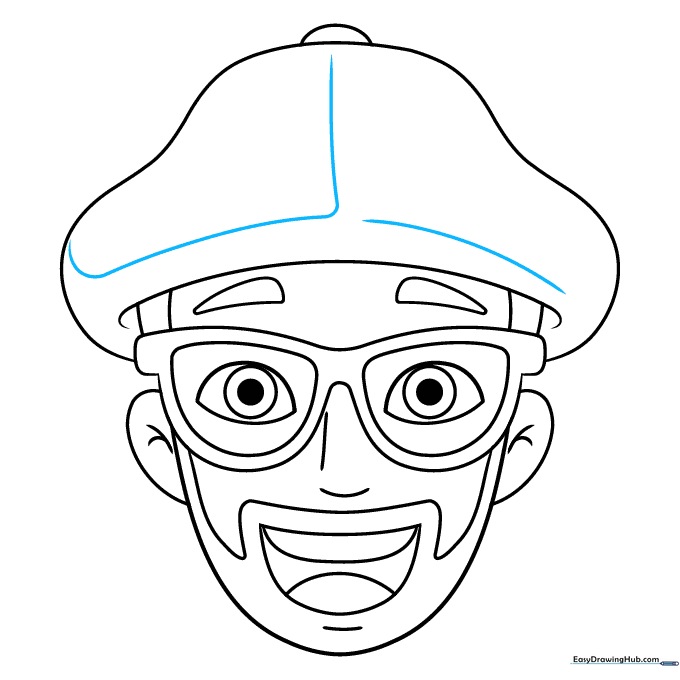
Add a few curved lines to the front of the hat to give it structure. Teacher's Tip: These lines help the hat look like it has a front panel.
Step 10: Color Your Masterpiece

Time to color! Use peach for the skin, brown for the eyes and beard, and bright orange and blue for the glasses and hat. Teacher's Tip: Use light, circular motions with your crayons to get smooth, even color.
More Tutorials


