How to Draw Blastoise: Easy 10-Step Pokémon Drawing Guide
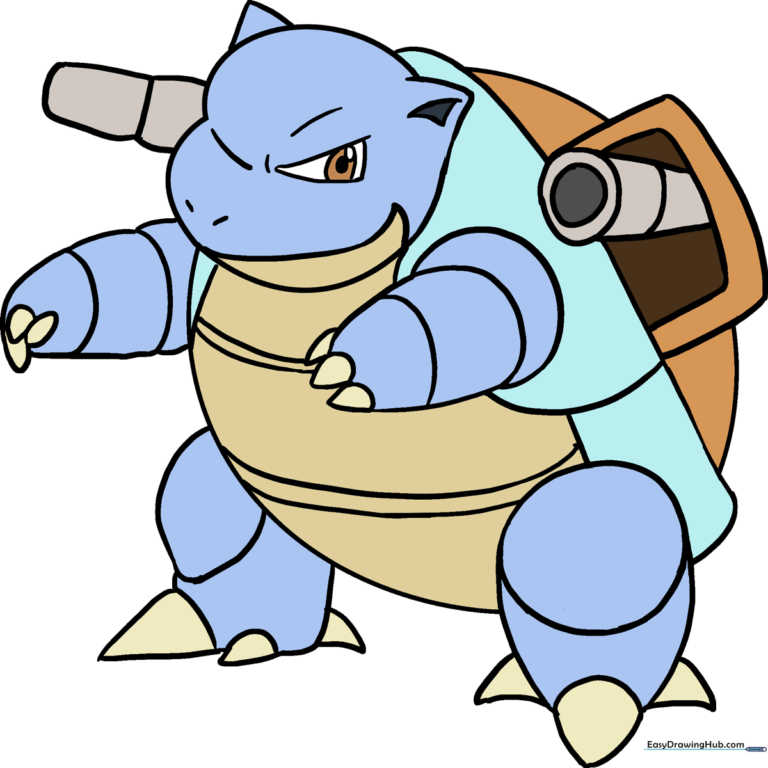
Ready to bring this iconic Water-type Pokémon to life? This guide is perfect for artists ages 7 and up who want to master Blastoise’s powerful silhouette. Grab your pencil, eraser, and paper, and follow these steps to build your character from simple shapes into a detailed masterpiece.
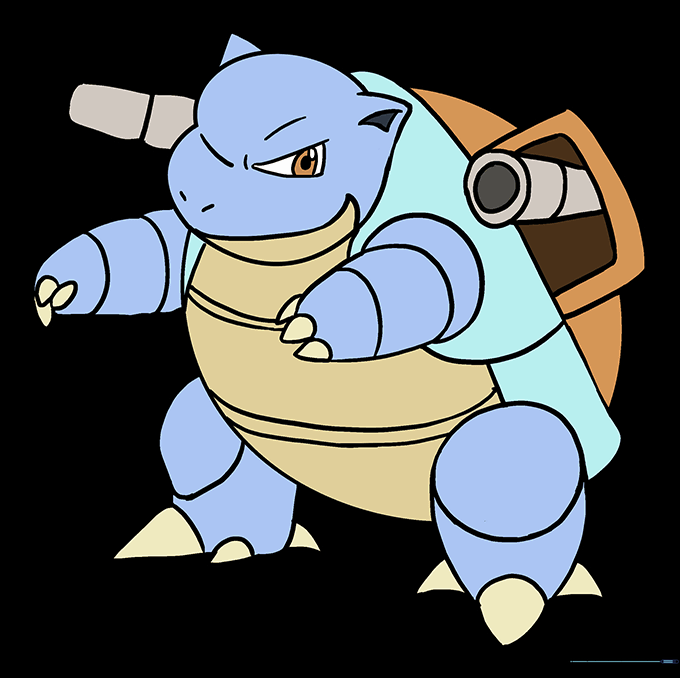
🎯 Final Result
Step-by-Step Instructions
Step 1: Sketching the Head and Snout

Draw a light oval for the top of the head, then overlap a slightly larger, flatter shape beneath it for the snout. Teacher's Tip: Keep your pencil lines very faint here; you'll be erasing these guidelines later to keep your final drawing clean.
Step 2: Defining the Body

Draw a large, rounded oval beneath the head to serve as the main body. Ensure the head shapes overlap slightly with the top of this oval. Teacher's Tip: Think of this as the base of a turtle shell; keep the curve smooth and consistent.
Step 3: Adding Arms and Ears
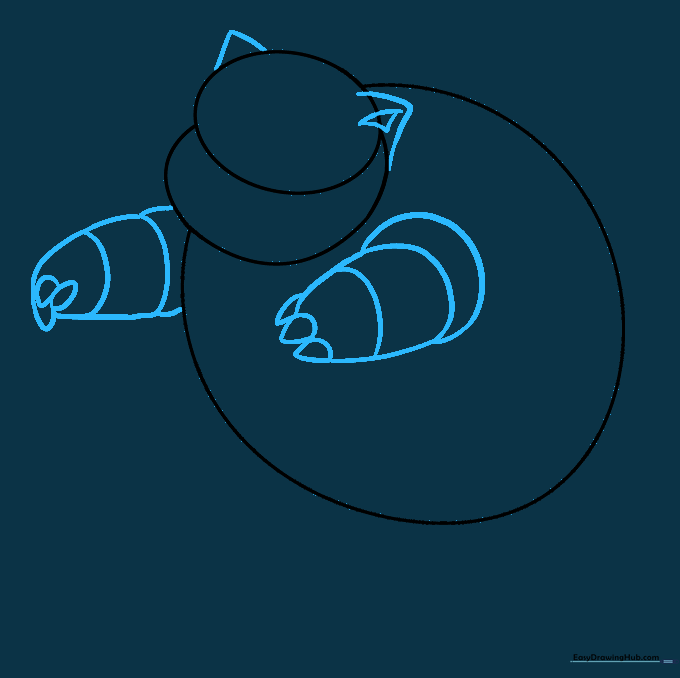
Sketch the arms using circular joints and oval limbs, adding small triangles for claws. Place two triangles on top of the head for ears. Teacher's Tip: Use light pressure for the arm bands; these are just structural markers for now.
Step 4: Outlining the Shell
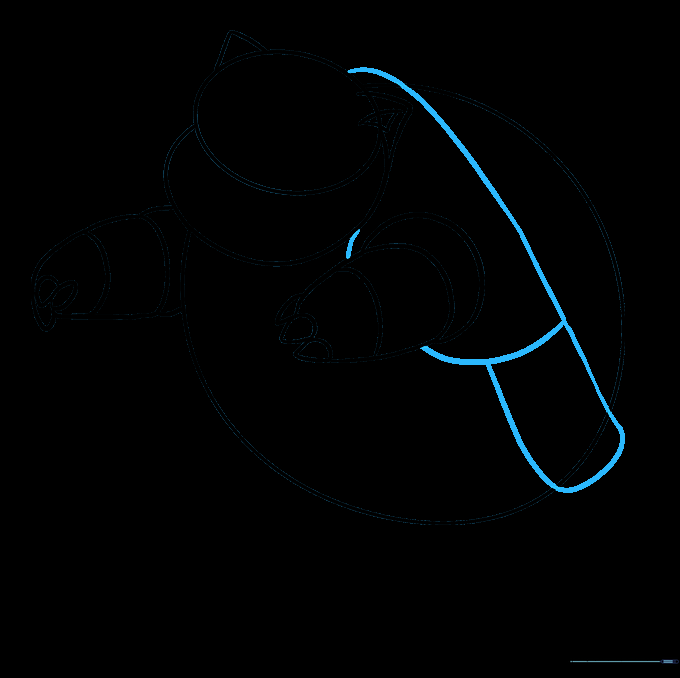
Draw a curved line starting behind the head and wrapping around the back to define the shell's edge. Teacher's Tip: Follow the natural curve of the body oval to make the shell look like it's resting comfortably on his back.
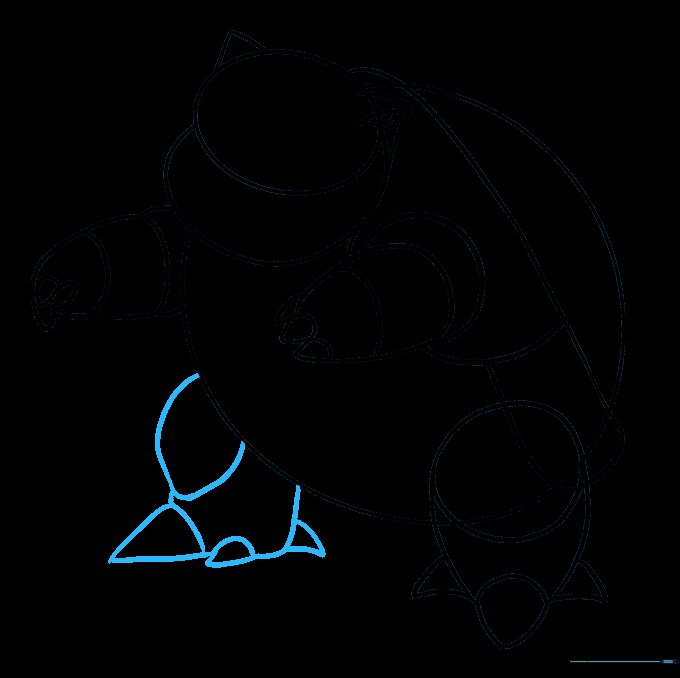
Step 5: Sketching the Front Leg
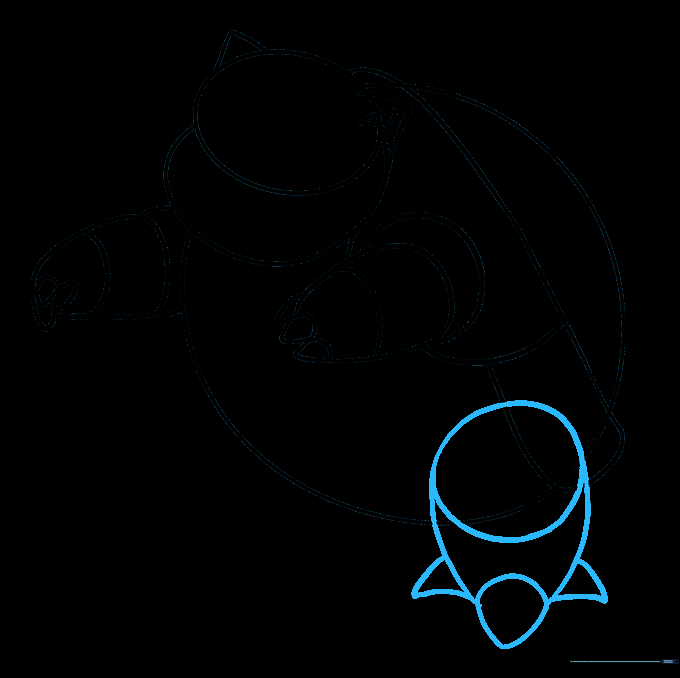
Draw a small circle at the base of the body for the leg, adding three curved triangles for toes. Teacher's Tip: Make the toes look sturdy—Blastoise is a heavy Pokémon, so his feet should look grounded.
Step 6: Drawing the Rear Leg
Draw an irregular oval for the knee and add the toes emerging from behind the body. Teacher's Tip: Since this leg is further away, keep the lines slightly softer to create a sense of depth.
Step 7: Cleaning Up the Sketch
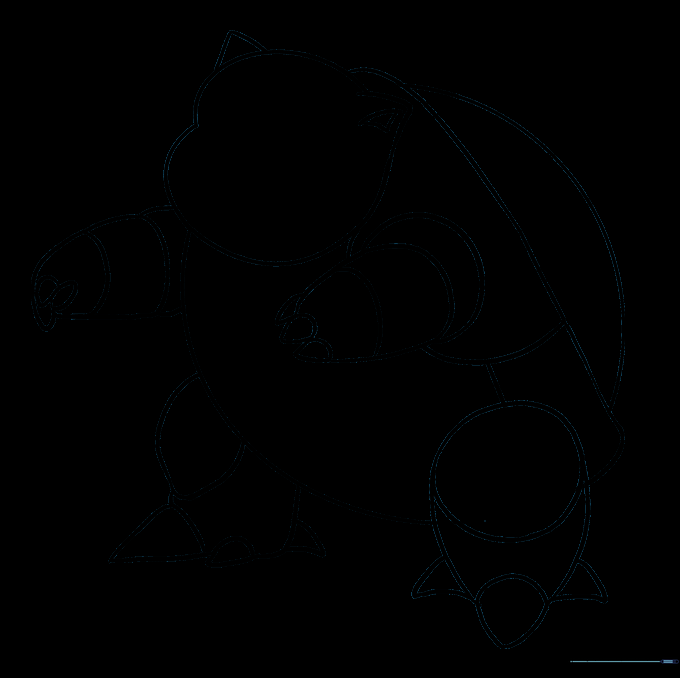
Carefully erase the overlapping guide lines from the head, shell, and legs. Teacher's Tip: Use a kneaded eraser if you have one; it’s gentler on the paper and won't leave messy crumbs.
Step 8: Adding the Water Cannons
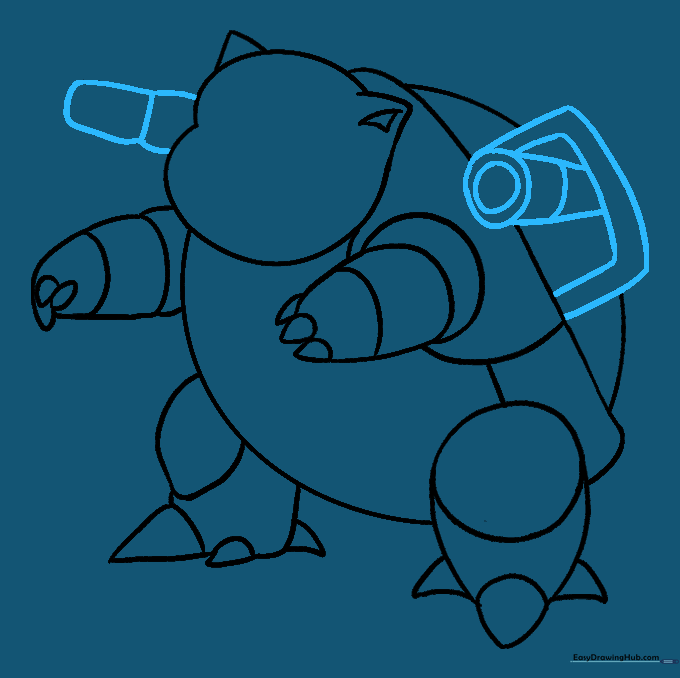
Draw the iconic cannons on the shell using curved rectangles and circles at the tips. Teacher's Tip: Focus on the concentric circles at the end of the cannon to give them a mechanical, 3D look.
Step 9: Final Facial Details
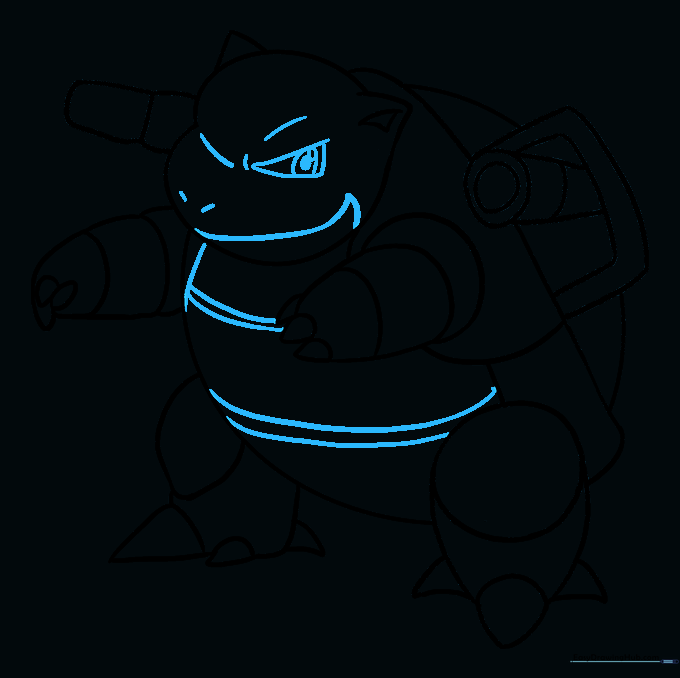
Add the eyes, nostrils, and mouth details. Draw the iris with a small highlight circle. Teacher's Tip: The eyes are the 'soul' of the drawing—take your time to make them symmetrical and expressive.
Step 10: Bringing Blastoise to Life with Color
Color your drawing using shades of blue for the skin and brown for the shell. Teacher's Tip: Use a darker blue for shadows under the chin and shell to give your character more volume and depth.
More Tutorials


