How to Draw Bingo from Bluey: Easy 10-Step Guide
Ready to bring Bluey’s little sister to life? This tutorial is perfect for young artists ages 5 and up. Grab a pencil, an eraser, and some markers to practice capturing Bingo’s sweet expression and iconic Heeler markings.
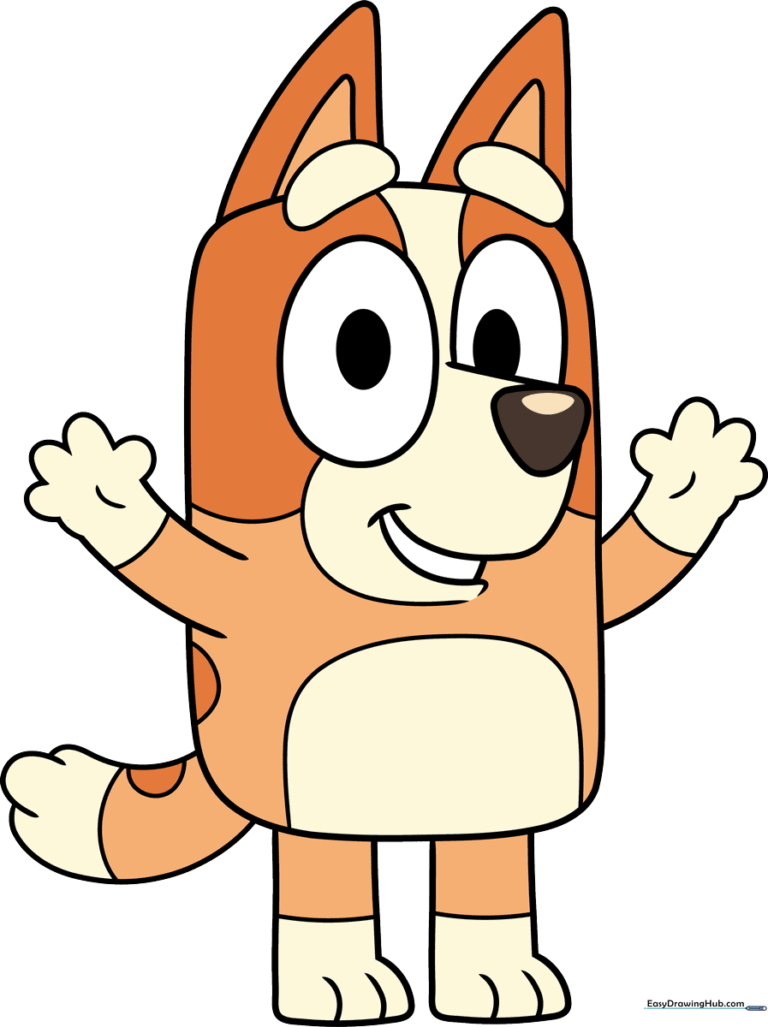
🎯 Final Result
Step-by-Step Instructions
Step 1: Sketching the Eyes and Snout

Start by drawing Bingo's eyes—two ovals with smaller, shaded pupils inside. Between them, draw an inverted triangle with rounded corners for her nose. Teacher's Tip: Keep the eyes close together to give her that cute, puppy-like look.
Step 2: Defining the Face and Jaw

Add the eyebrows above the eyes and finish the snout shape. Draw a curved line for her mouth and a longer line for the lower jaw. Teacher's Tip: Make sure the jaw line is soft and rounded to keep the character looking friendly.
Step 3: Creating the Body and First Arm
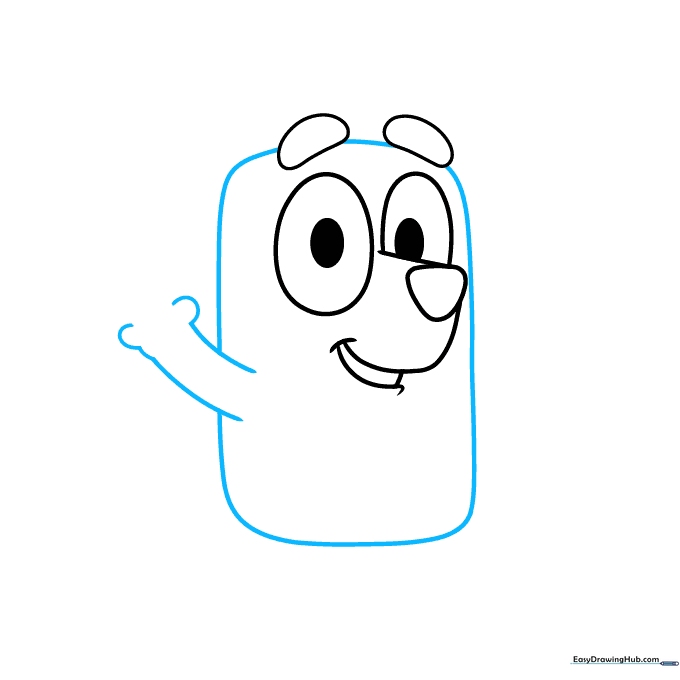
Use curved lines to outline her rounded, rectangular body. Leave a small gap on the side for the arm. Teacher's Tip: Draw the arm with a slight bend to make Bingo look like she's standing in a relaxed pose.
Step 4: Drawing the Hands

Use small 'C' shaped lines to form the fingers on both hands. Teacher's Tip: Keep the fingers small and rounded; they don't need to be perfectly straight to look like cartoon paws.
Step 5: Adding the First Leg
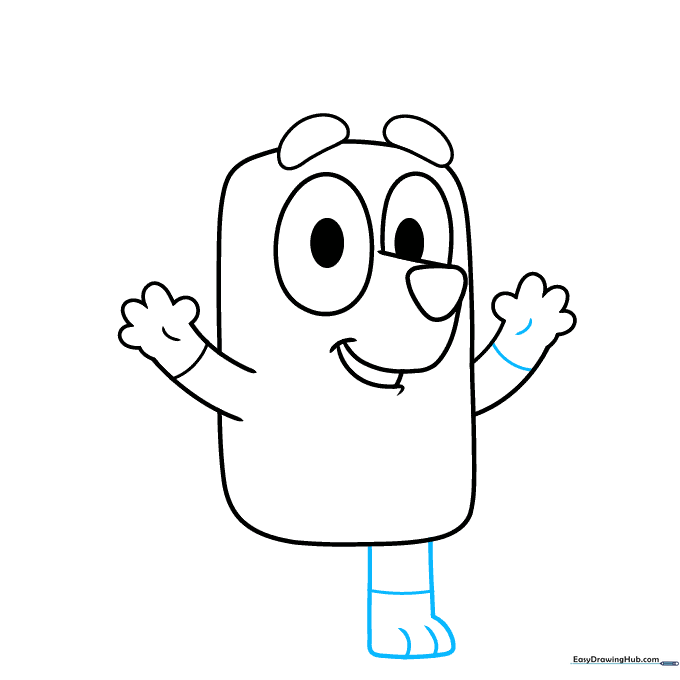
Draw the first leg by extending two lines from the body and connecting them with a curved foot. Add a line at the ankle. Teacher's Tip: Use two small curved lines at the bottom of the foot to represent her toes.
Step 6: Adding the Second Leg
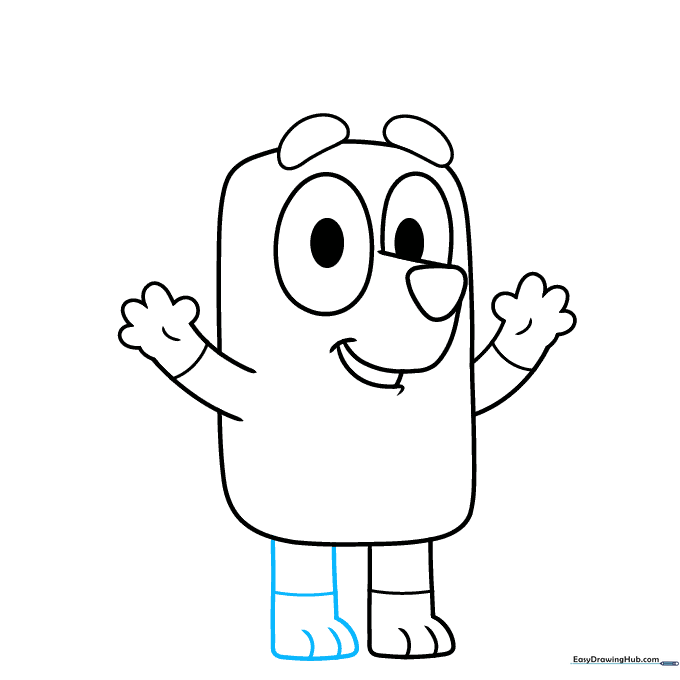
Repeat the process for the second leg, ensuring it matches the height and style of the first. Teacher's Tip: Keep the legs parallel to make sure Bingo looks like she is standing firmly on the ground.
Step 7: Drawing the Ears
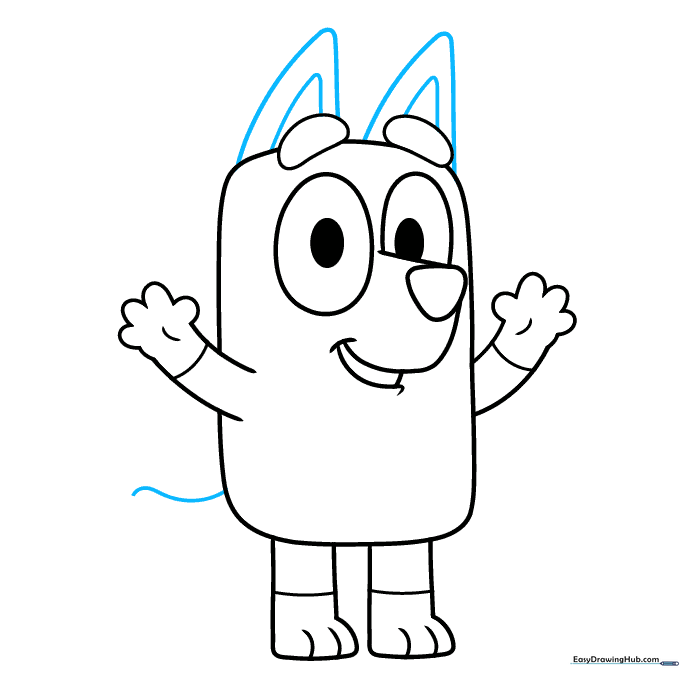
Add two curved triangles on top of the head for the ears, with smaller triangles inside. Start the tail with a wavy line. Teacher's Tip: The ears should be slightly rounded at the tips to match the show's art style.
Step 8: Finishing the Tail
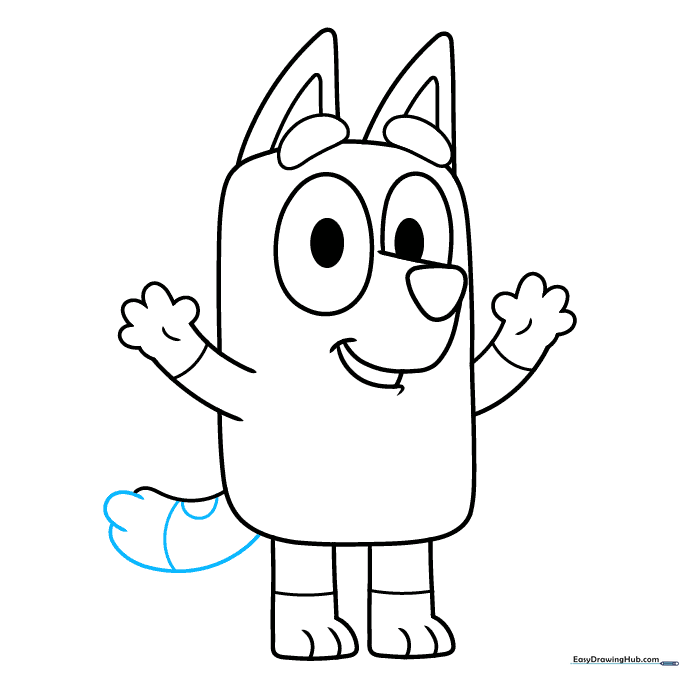
Complete the tail using overlapping curved lines. Add a small spot on the top. Teacher's Tip: A fluffy tail adds character, so don't be afraid to make the lines a little bit wavy.
Step 9: Adding Final Markings
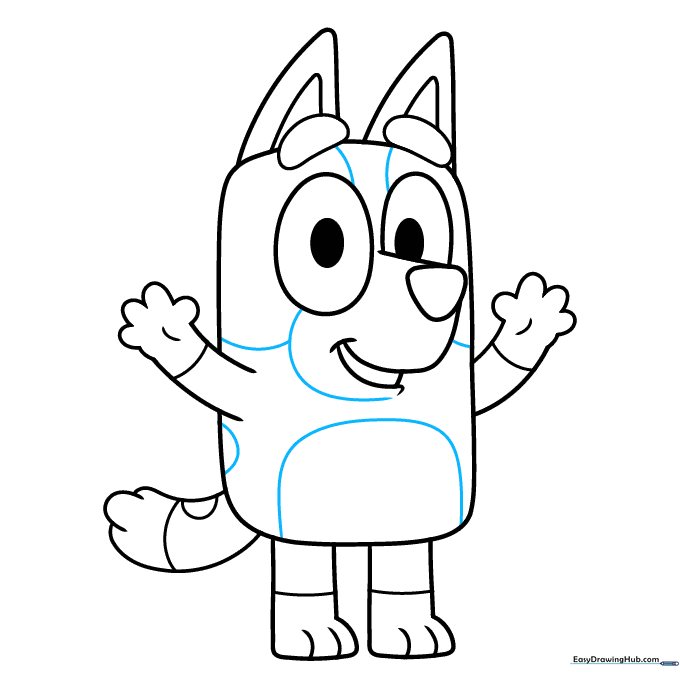
Draw the final details, including the belly patch and the markings around her eyes and back. Teacher's Tip: Refer to a picture of Bingo to get the placement of her spots just right.
Step 10: Coloring Your Bingo
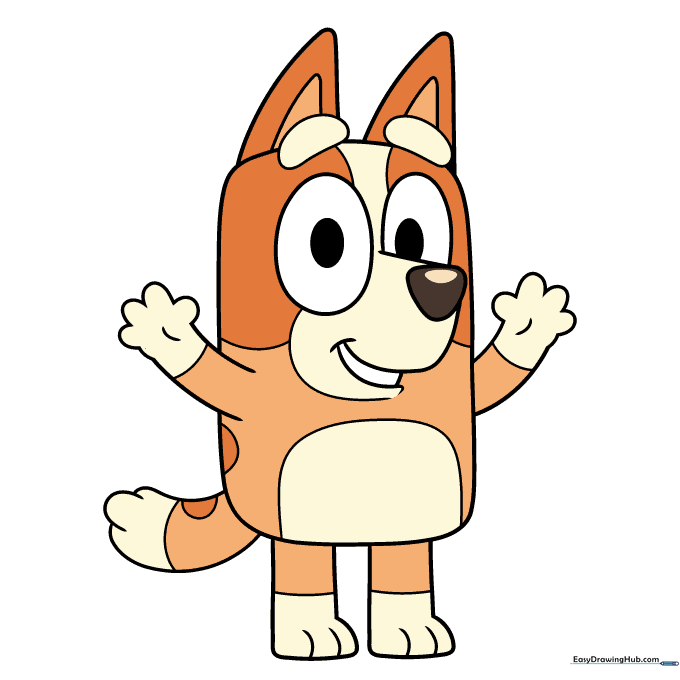
Time to color! Use shades of cream and orange for her fur. Teacher's Tip: Use a lighter orange for her main body and a darker orange for her spots to give your drawing depth.
More Tutorials


