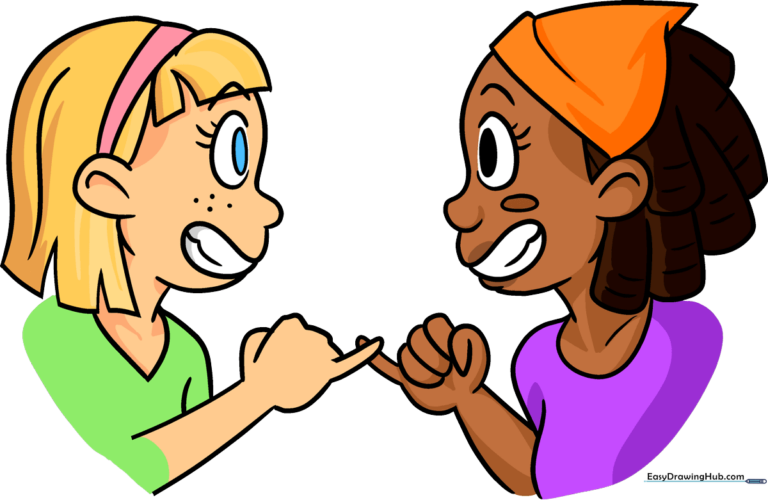
How to Draw Best Friends: Easy Step-by-Step Guide
Capture the spirit of friendship with this fun, character-focused drawing lesson. Designed for young artists ages 7+, this activity requires only a pencil, eraser, and paper to bring two best friends to life. Follow these steps to practice drawing side profiles and expressive facial features.
🎯 Final Result
Step-by-Step Instructions
Step 1: Sketching the First Profile

Draw the first girl's face in profile. Use a smooth, curved line for the forehead, nose, and chin. Add an oval for the eye with a 'C' shape behind it and short lashes. Teacher's Tip: Keep your pencil pressure light so you can easily erase and refine the nose shape later.
Step 2: Adding Hair and Headband
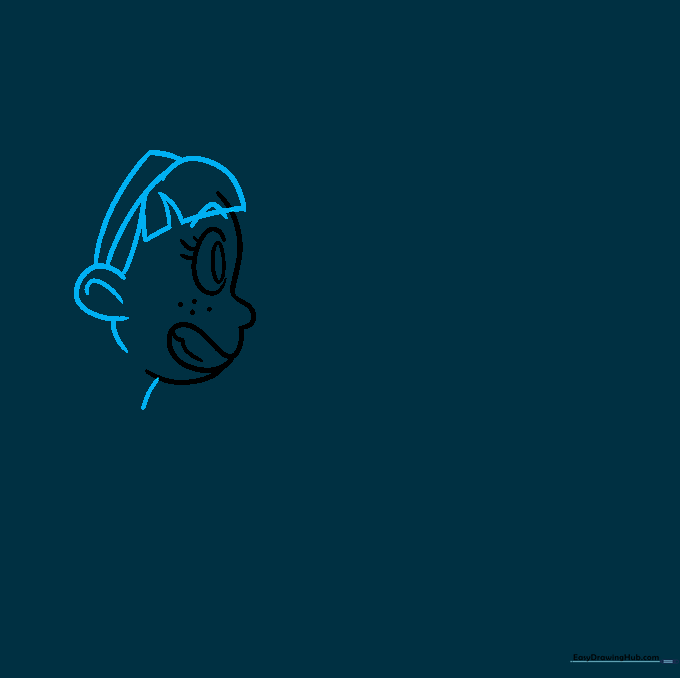
Sketch the bangs with a 'V' split and add a headband. Connect it with a 'C' shape for the ear. Teacher's Tip: Use short, quick strokes for the hair to make it look natural rather than stiff.
Step 3: Defining the Hair and Shoulders
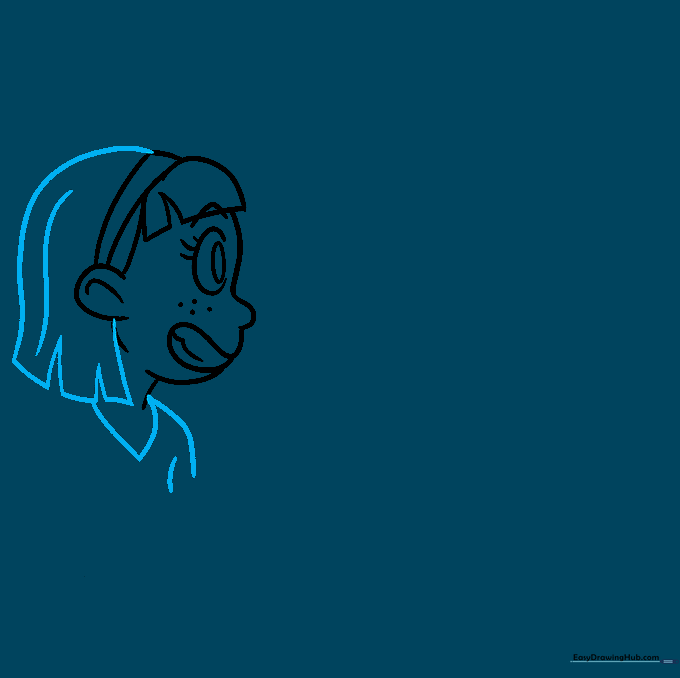
Draw the back of the hair using inverted 'V' shapes for texture. Sketch the collar of the blouse and the shoulder. Teacher's Tip: Ensure the shoulder line curves gently to show the body turning away from the viewer.
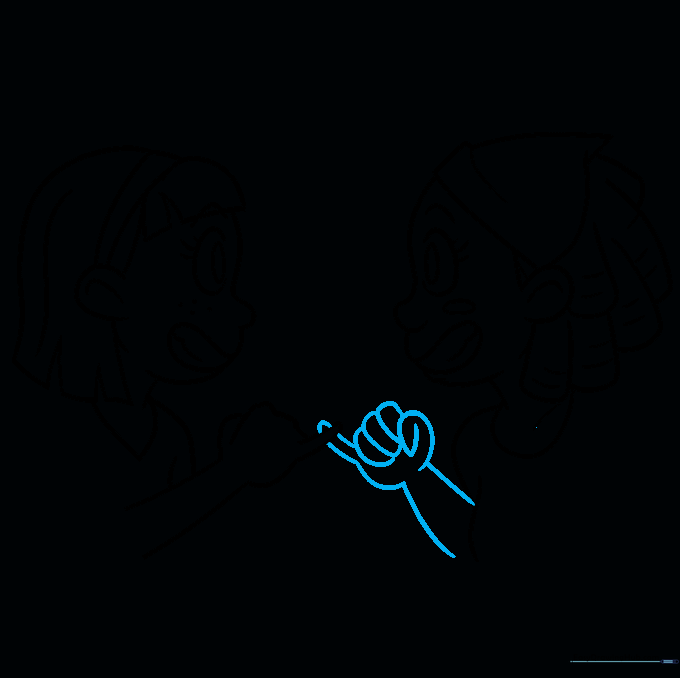
Step 4: Sketching the Arm
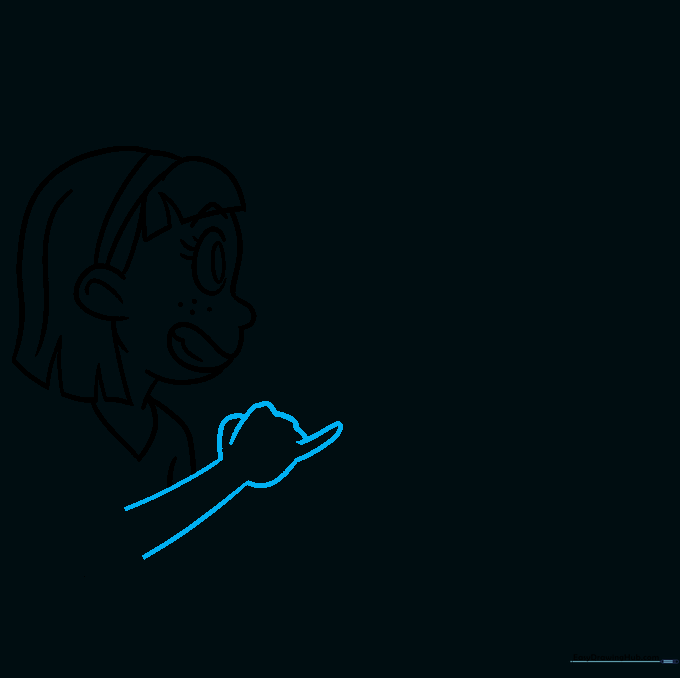
Extend two parallel curved lines for the arm and add the hand. Teacher's Tip: Hands can be tricky! Focus on the overall shape of the palm first before adding individual fingers.
Step 5: Starting the Second Friend
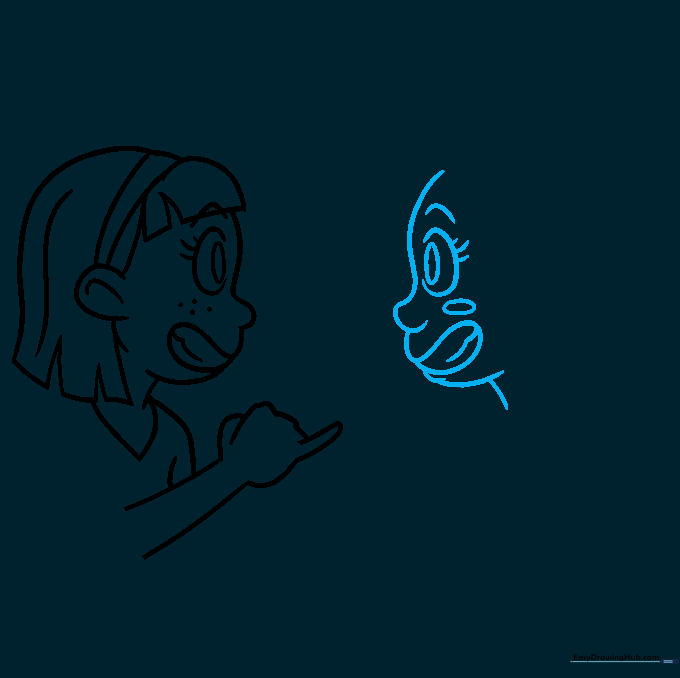
Draw the second girl's profile facing the first. Repeat the facial structure: forehead, nose, chin, and eye. Teacher's Tip: Make sure the two faces are at a similar height so they look like they are talking to each other.
Step 6: Adding the Scarf
Draw a triangular scarf around the second girl's head. Teacher's Tip: Use overlapping lines to show the fabric folding, which adds depth to your drawing.
Step 7: Drawing the Braids

Sketch the braids using overlapping curved lines. Add small lines inside to show the texture of the hair. Teacher's Tip: Keep the braids slightly wavy to make them look soft.
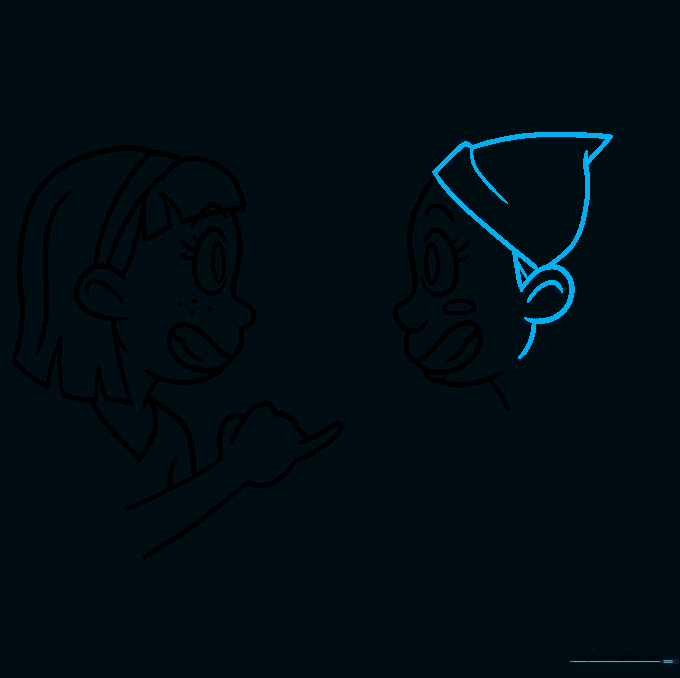
Step 8: Adding Torso Details

Draw the collar and shoulder for the second girl. Teacher's Tip: Use a 'C' shaped line for the neckline to give the clothing a realistic drape.
Step 9: Completing the Arm
Finish the second girl's arm and hand. Teacher's Tip: Check that the arm connects naturally to the shoulder line you drew in the previous step.
Step 10: Final Touches and Color
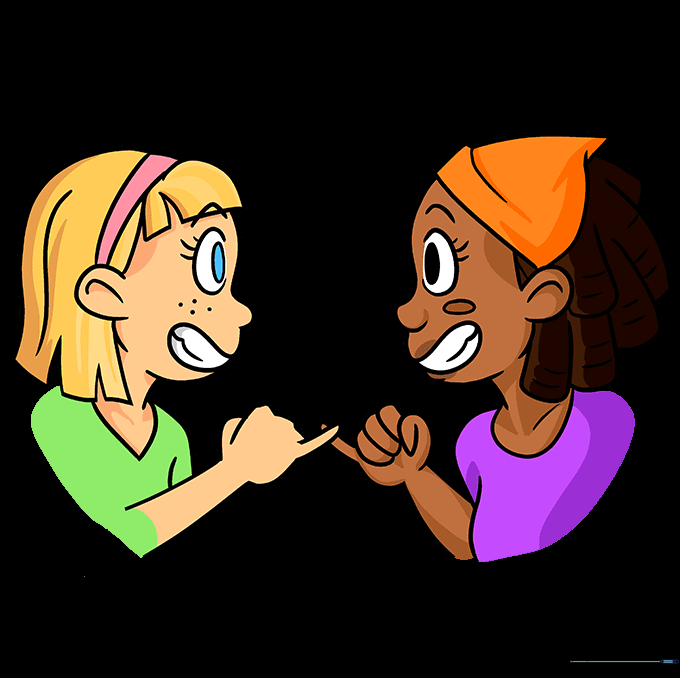
Erase any stray pencil marks and add your favorite colors! Teacher's Tip: Use bright colors for the clothes to make your best friends look happy and vibrant.
More Tutorials


