How to Draw Bert and Ernie: Easy Step-by-Step Guide
Bring the magic of Sesame Street to your sketchbook! This tutorial is perfect for young artists ages 6+ who want to practice character proportions. Grab a pencil, an eraser, and some markers to recreate everyone’s favorite duo.
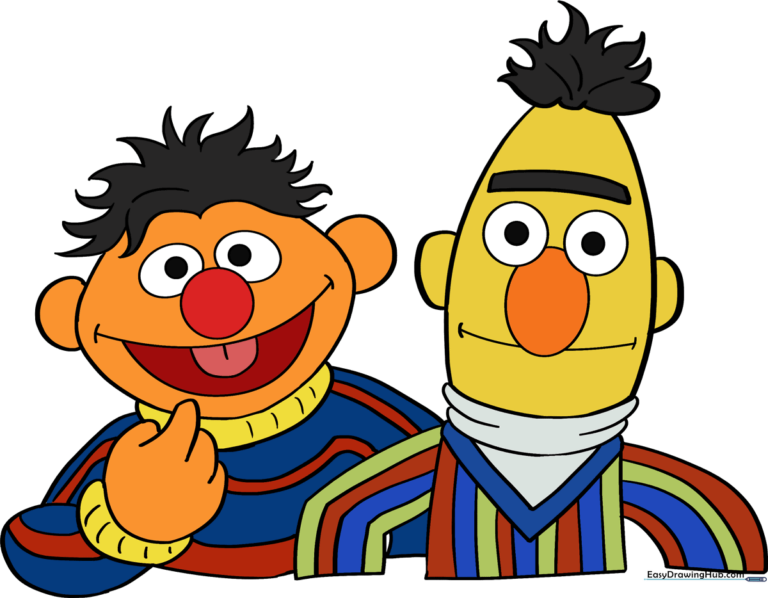
🎯 Final Result
Step-by-Step Instructions
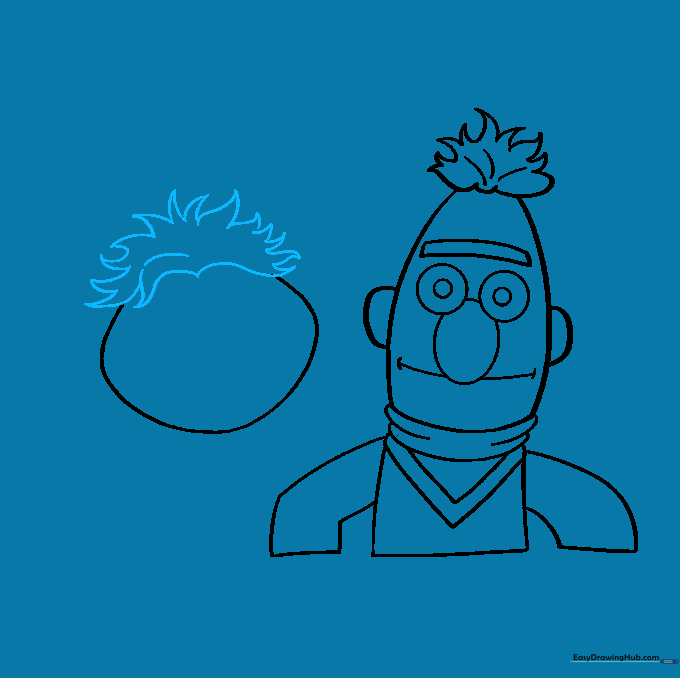
Step 1: Sketching Bert’s Head

Start by sketching Bert’s head using two curved lines to form an elongated oval. Add his signature pointed hair on top with small, jagged strokes. Teacher's Tip: Keep your pencil pressure light so you can easily adjust the shape if it looks a bit too wide.
Step 2: Building Bert’s Torso
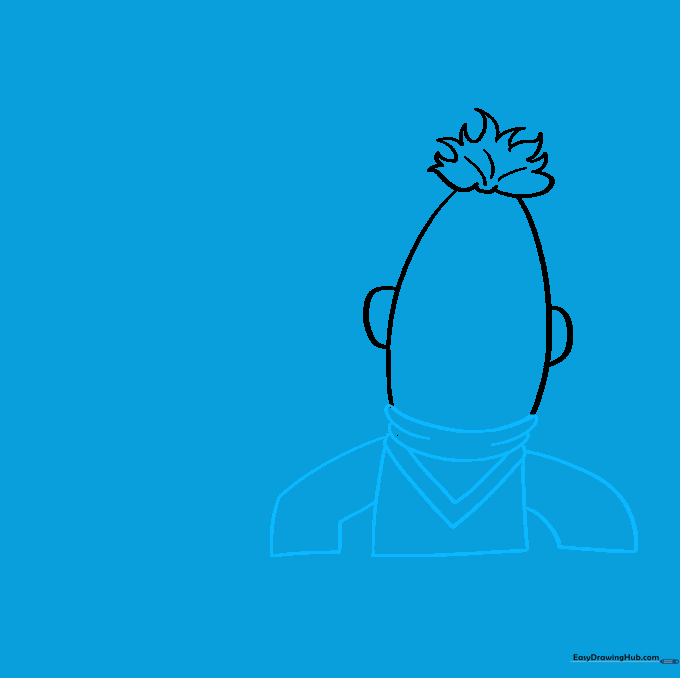
Draw the collar of his turtleneck, then add two 'V' shapes below for his sweater. Extend lines downward to form his torso and arms. Teacher's Tip: Use a ruler or a straight edge if you’re struggling to keep the sweater stripes parallel later on!
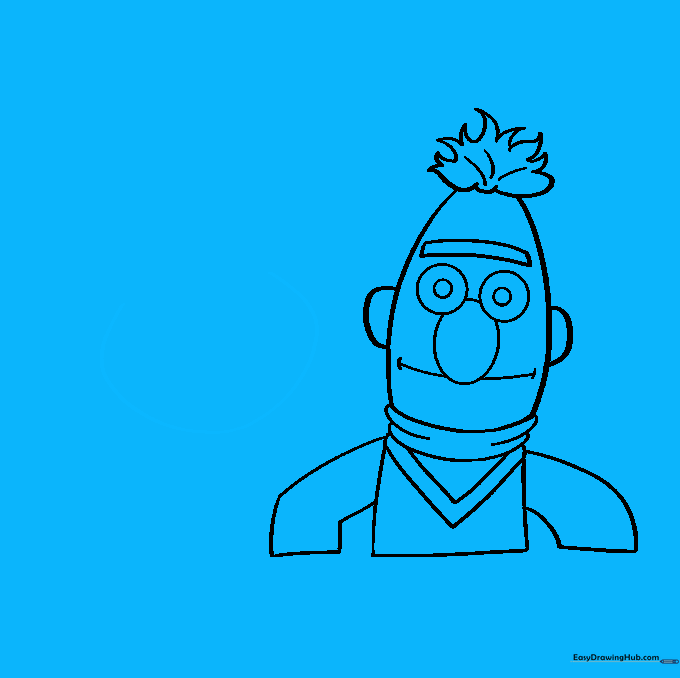
Step 3: Defining Bert’s Face
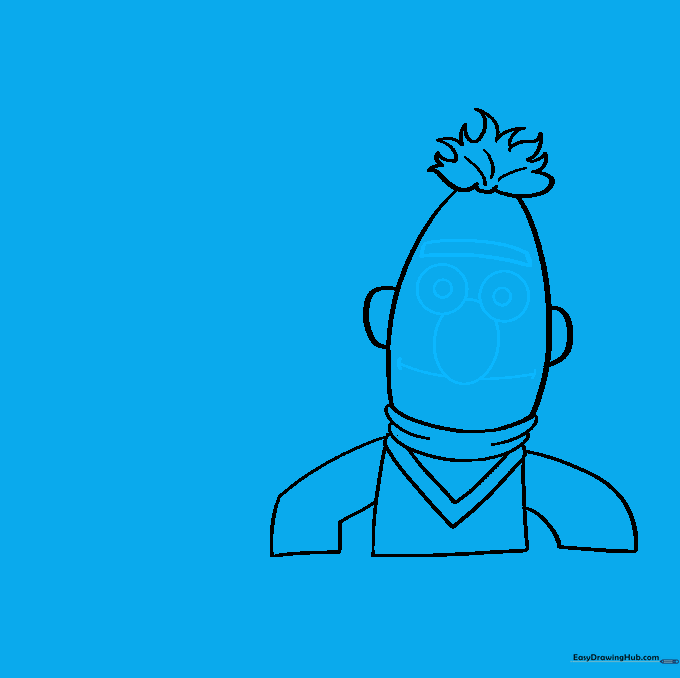
Draw his famous unibrow as a narrow, curved rectangle. Add two circles for eyes with smaller pupils inside, then place a large oval nose between them. Teacher's Tip: The nose should sit right in the center of the face to give him that classic Bert expression.
Step 4: Outlining Ernie’s Head
Now, let’s start Ernie! Use a long, smooth curved line to create the shape of his head. Teacher's Tip: Ernie’s head is rounder than Bert’s, so try to make this line look like a soft, friendly circle.
Step 5: Adding Ernie’s Hair
Draw Ernie’s hair using a series of short, curved lines that meet at sharp points. Teacher's Tip: Think of these as little 'tufts' of hair—don't worry about making them perfectly symmetrical, as messy hair looks more natural!
Step 6: Ernie’s Ears and Shoulders

Add semi-circular ears on both sides of his head. Then, draw a long curved line for his shirt collar and shoulders. Teacher's Tip: Keep the shoulder lines sloping downwards to give him a relaxed, friendly posture.
Step 7: Drawing Ernie’s Hand
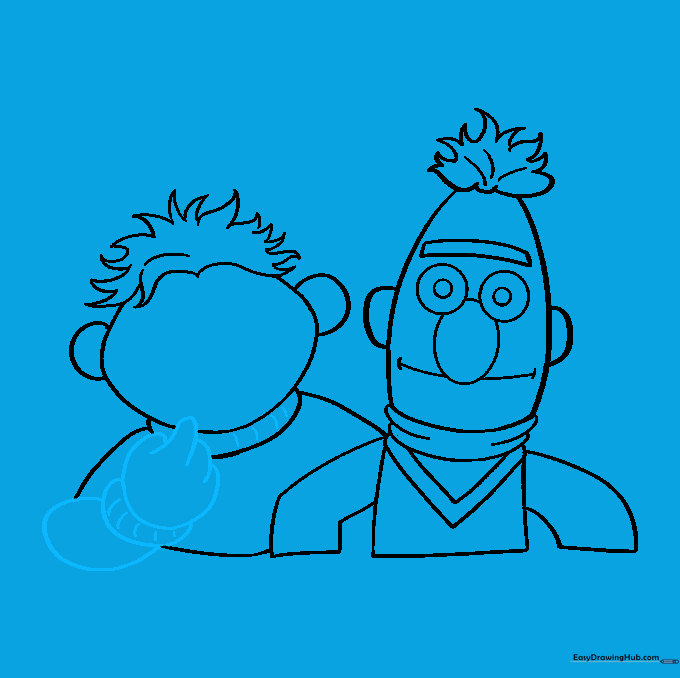
Draw his arm and sleeve cuff, then use 'U' shaped lines to create his fingers. Teacher's Tip: Drawing hands can be tricky! If you make a mistake, use your eraser to soften the lines before trying again.
Step 8: Ernie’s Facial Features
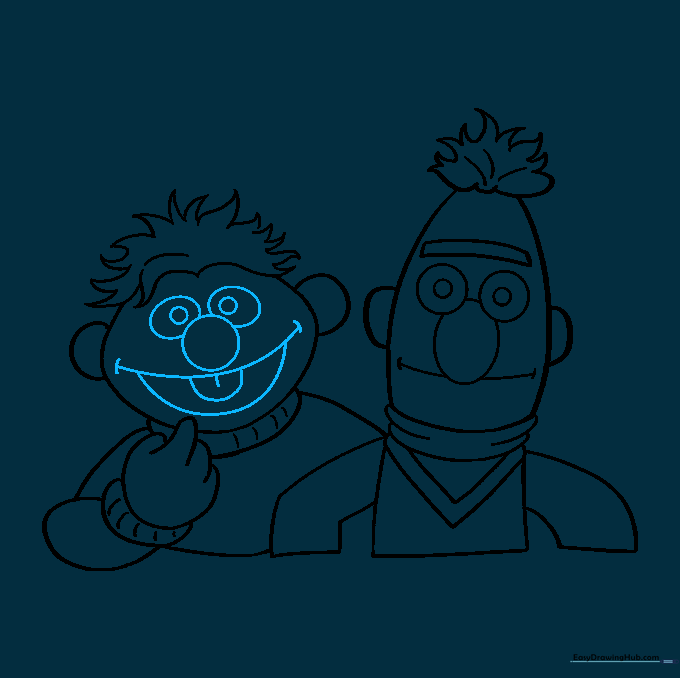
Draw his round nose overlapping his eye ovals. Add pupils and a big, happy smile with a tongue inside. Teacher's Tip: A slight curve in the mouth makes him look like he’s about to tell a joke!
Step 9: Adding Clothing Details
Finish the look by adding stripes to their shirts. Teacher's Tip: Keep your stripes evenly spaced to make their outfits look neat and professional.
Step 10: Bring Them to Life with Color
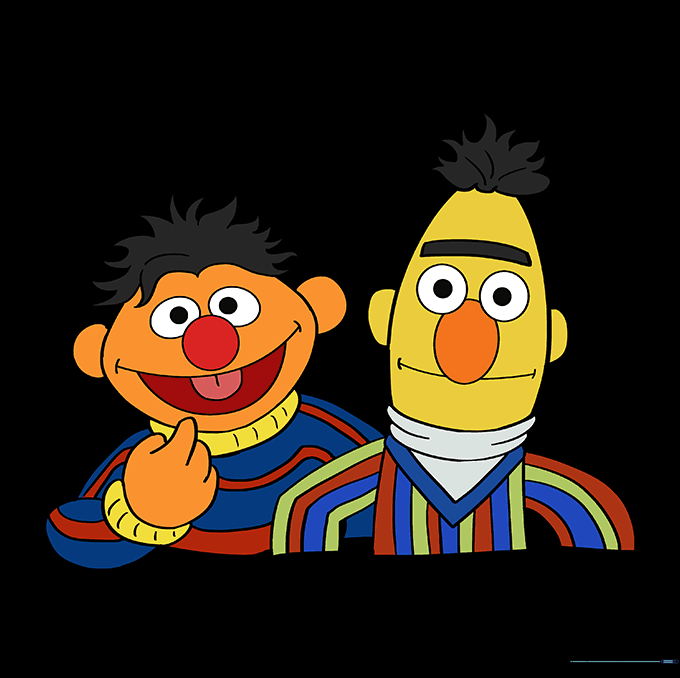
Time to color! Use bright yellow for Bert and vibrant orange for Ernie. Teacher's Tip: Use light, circular motions with your colored pencils to get a smooth, even fill without streaks.
More Tutorials


