How to Draw Benjamin Franklin: Easy 10-Step Historical Portrait
Bring history to life with this step-by-step portrait of Benjamin Franklin. Designed for young artists and history buffs, this lesson uses basic shapes to build a recognizable likeness. All you need is a pencil, an eraser, and a piece of paper to get started.
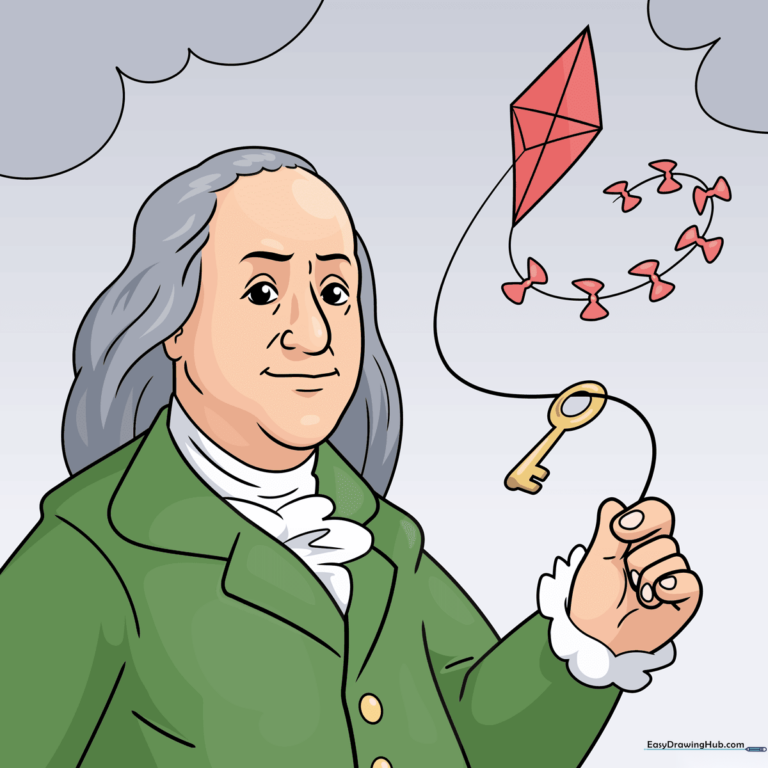
🎯 Final Result
Step-by-Step Instructions
Step 1: Sketching the Facial Features
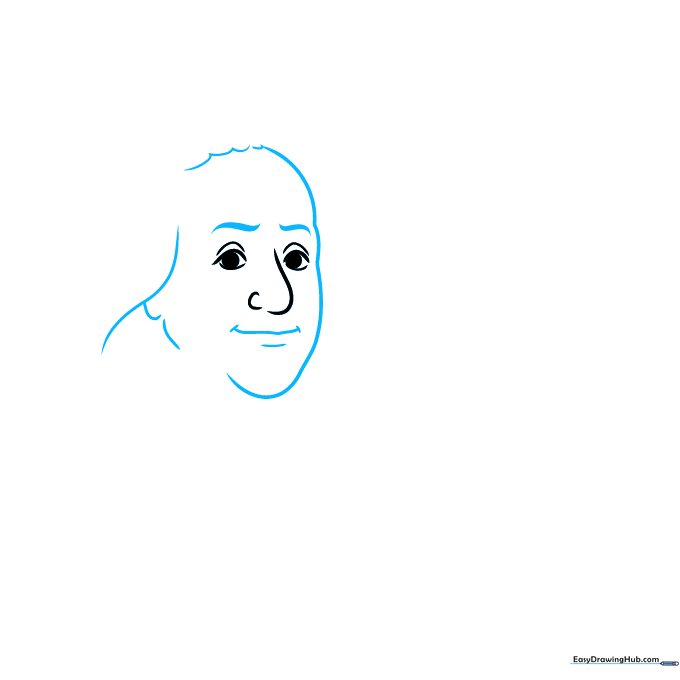
Start by drawing the eyes and nose. Use light, curved lines for the eyelids and a small, simple curve for the nostril. Tip: Keep the eyes level with each other to ensure the face looks balanced.
Step 2: Defining the Face and Hair
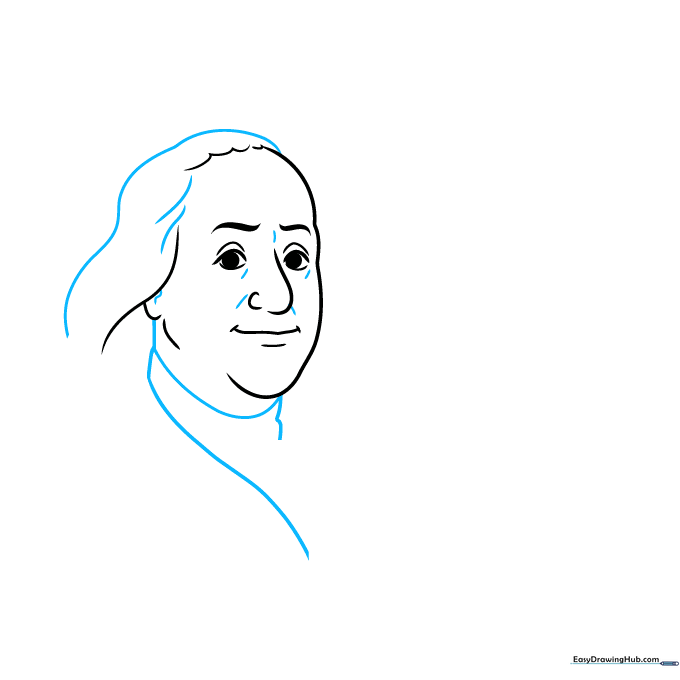
Add the eyebrows with thick, pointed strokes. Sketch the mouth, jawline, and the outline of his iconic hair. Tip: Use short, flicking pencil strokes to give the hair a natural, textured look.
Step 3: Refining the Portrait
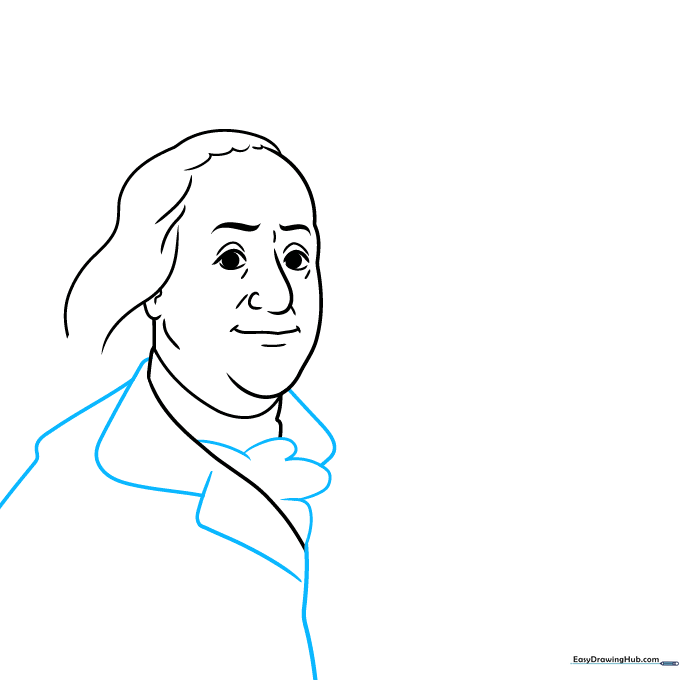
Use a mix of long and short curved lines to finalize the hair and the collar of his coat. Tip: Ensure the collar lines connect smoothly to the jawline to create a realistic neck shape.
Step 4: Drawing the Colonial Coat

Sketch the lapels and the fluffy cravat at the neck. Use overlapping curves to show the fabric folding. Tip: Keep your lines loose here to make the fabric look soft rather than stiff.
Step 5: Completing the Torso
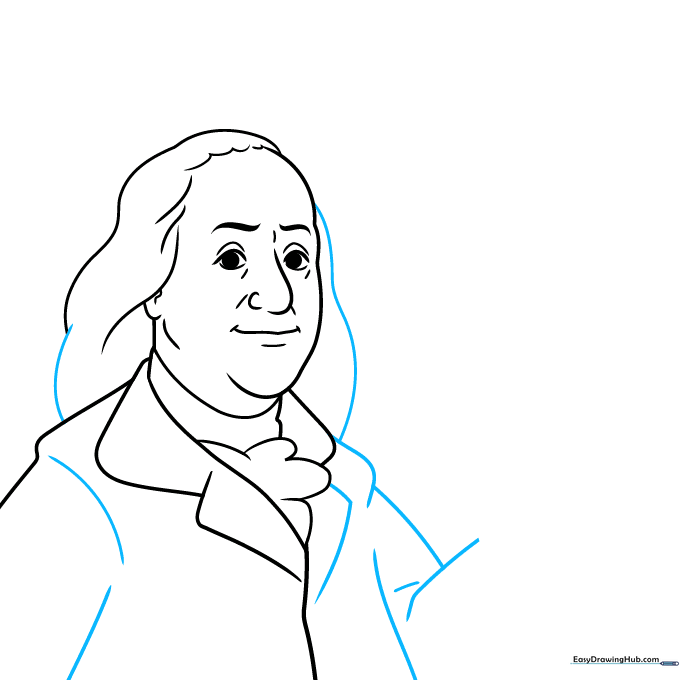
Finish the coat sleeves and front panels. Notice how some lines overlap to create depth. Tip: If a line looks too dark, dab it with your eraser to soften the appearance.
Step 6: Adding the Hands
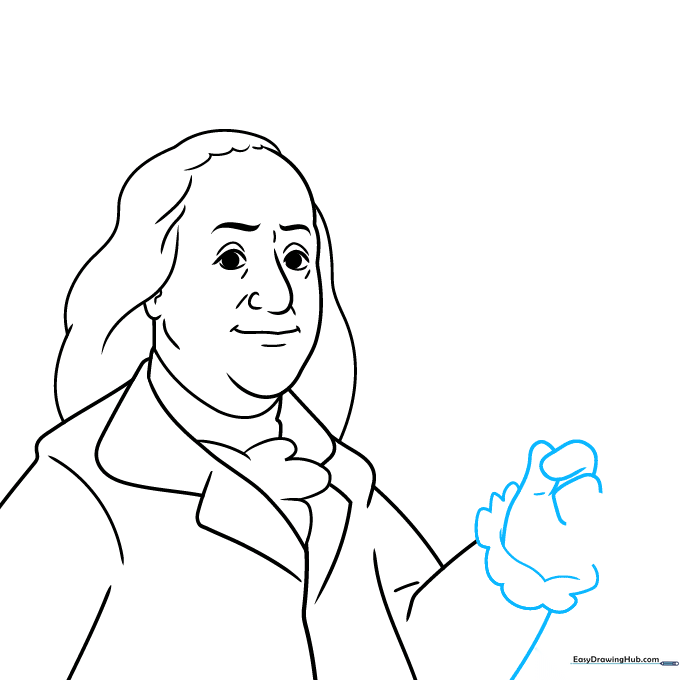
Draw the lacy cuff and the hand. Use flowing lines for the fingers. Tip: Hands are tricky! Draw the fingers as simple rounded shapes first, then refine the edges.
Step 7: Finalizing Details
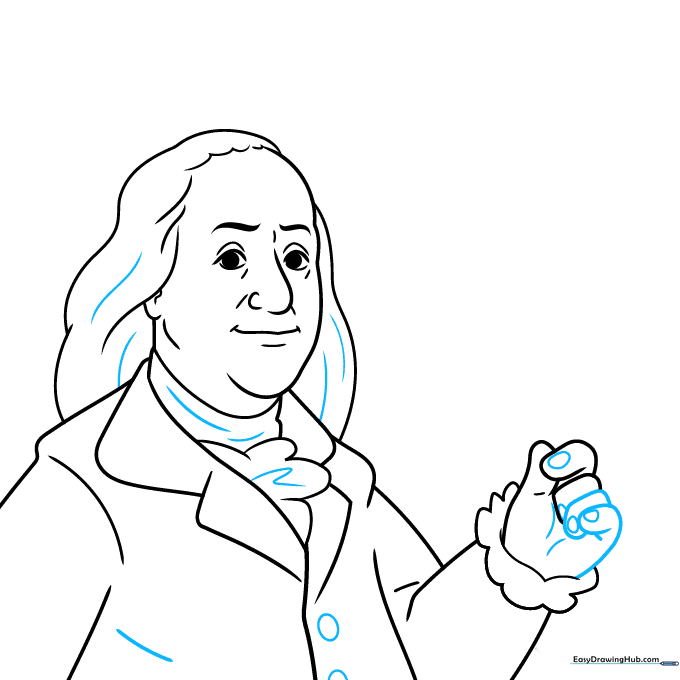
Add fingernails, coat buttons, and extra texture to the hair. Tip: Small details like buttons make the drawing look much more professional.
Step 8: Drawing the Famous Kite
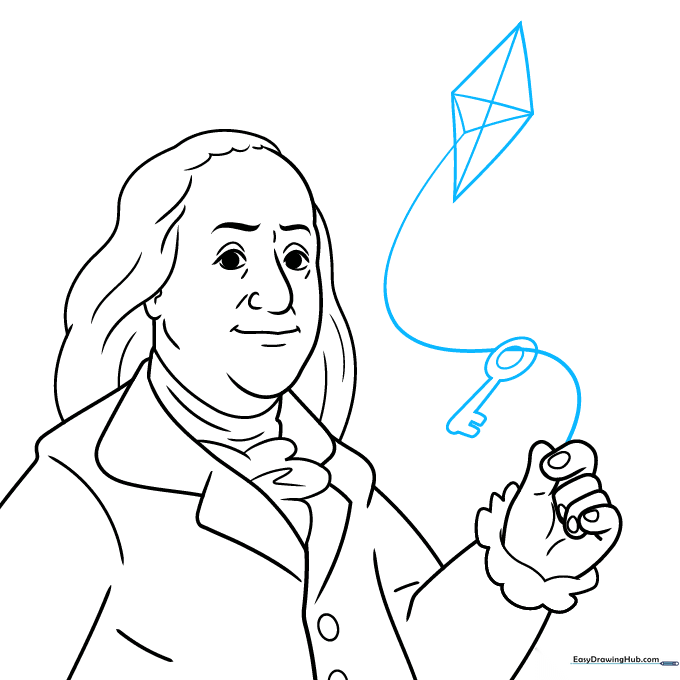
Draw a diamond shape for the kite and a string leading to his hand, complete with a skeleton key. Tip: Use a ruler if you want the kite's frame to look perfectly straight.
Step 9: Adding Background Elements
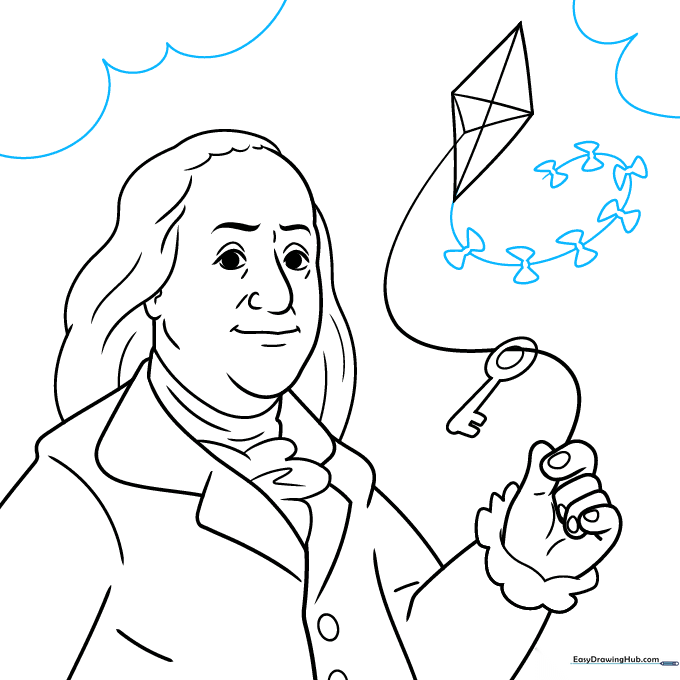
Draw the kite's tail with bows and add some fluffy clouds in the sky. Tip: Vary the size of the clouds to create a sense of distance.
Step 10: Adding Color

Bring your portrait to life with color! Use grey or white for the powdered wig and natural tones for his skin. Tip: Use light pressure with your colored pencils to build up layers for a smoother finish.
More Tutorials