How to Draw Beetlejuice: Easy 9-Step Cartoon Tutorial
Bring the 'Ghost with the Most' to life with this fun, character-focused drawing tutorial. Designed for artists ages 8 and up, this guide uses simple geometric shapes to help you master Beetlejuice’s iconic, wild look. Grab your pencil and eraser—we’re going to build this spooky character from the ground up!
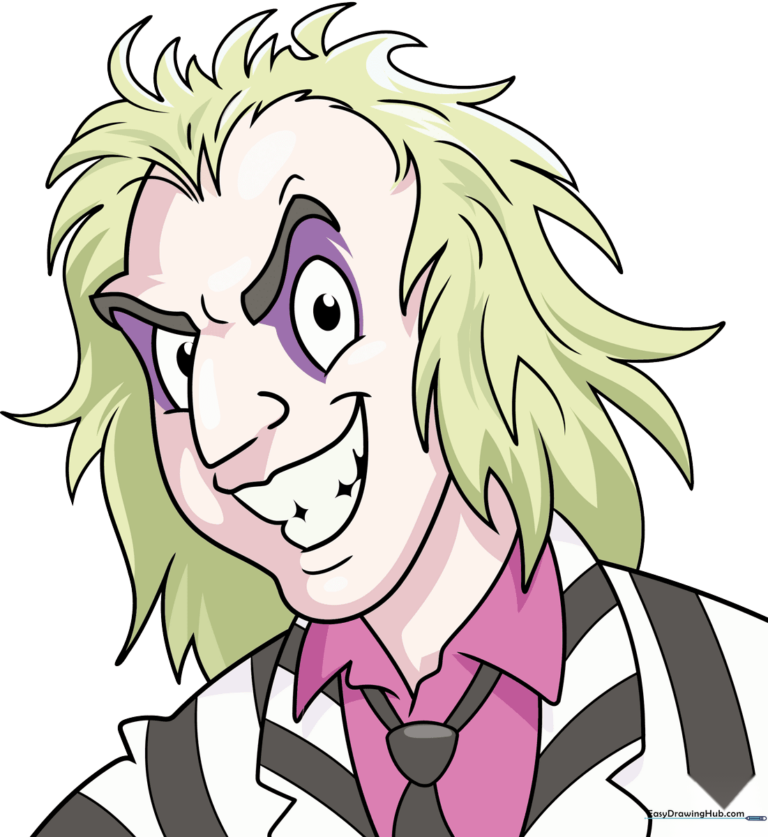
🎯 Final Result
Step-by-Step Instructions
Step 1: Establishing the Facial Structure
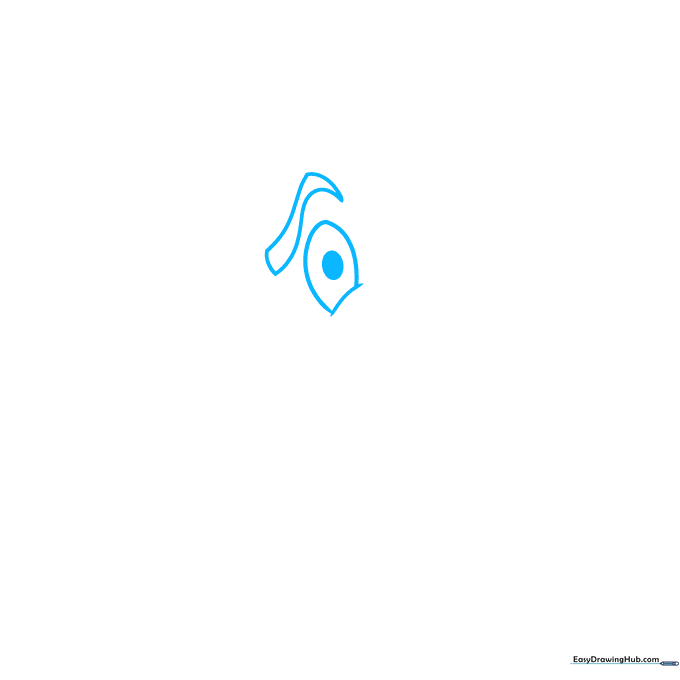
Sketch a light oval with a smaller oval inside for the head. Add a small dash below for the chin, then draw a hook shape for the eyebrow with a line above it. Teacher's Tip: Keep your pencil pressure very light here so you can easily erase these guidelines later.
Step 2: Defining the Eyes and Nose
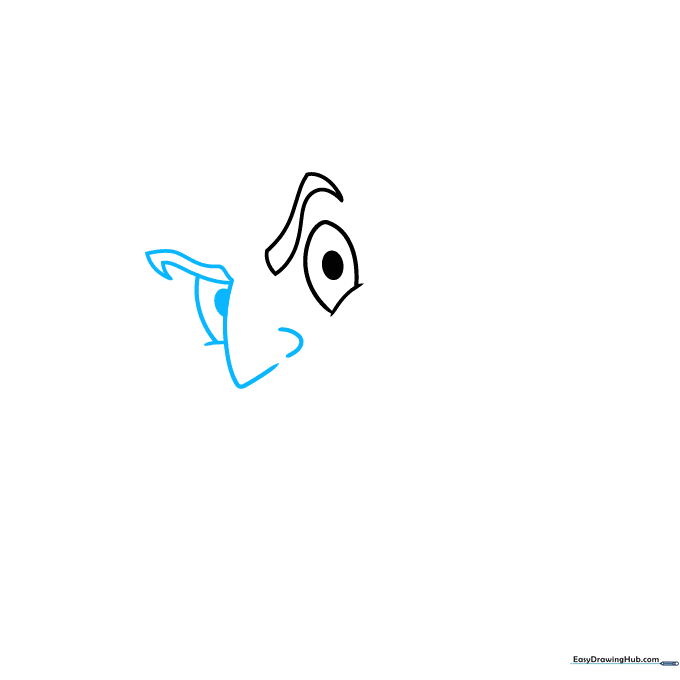
Outline the nose using a large triangle and a semi-oval. Repeat the eyebrow shape on the other side, then draw two semi-ovals with a dash beneath each for the eyes. Teacher's Tip: Symmetry is tricky! Focus on keeping the eyes the same size to give him that classic, wide-eyed look.
Step 3: Creating the Mouth
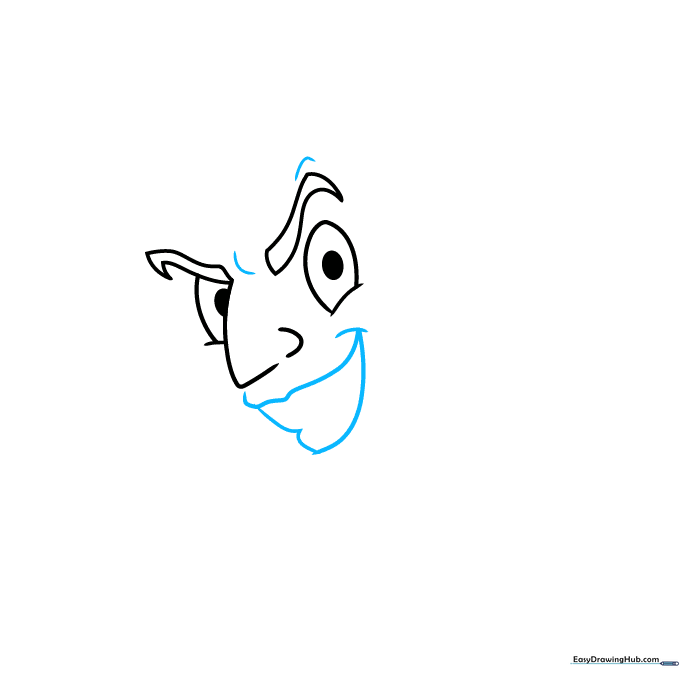
Draw a wide 'W' shape for the mouth, then add a curve beneath it and two more curves to form a loose heart shape. Add small dashes between the eyes and above the right brow. Teacher's Tip: The 'W' shape helps capture his mischievous, wide grin.
Step 4: Outlining the Face
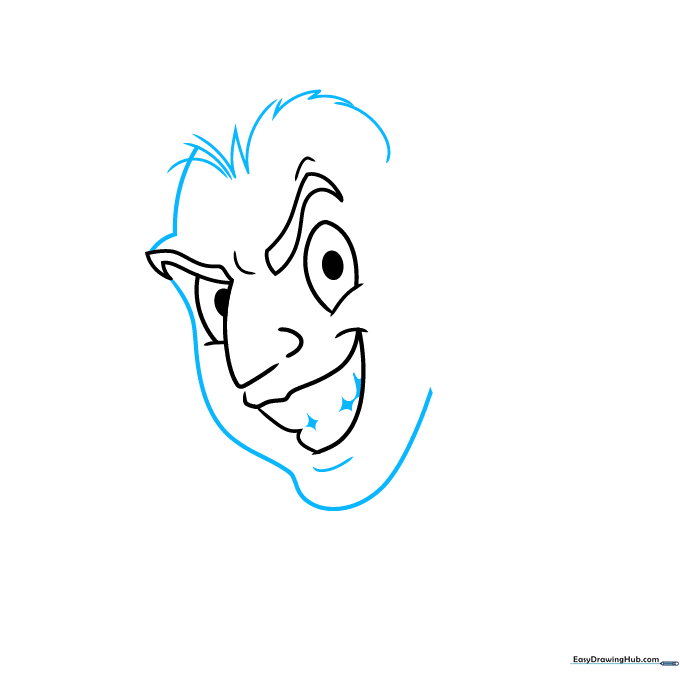
Define the face with two curves above the eyebrows, a wavy line around the features, and a hook under the mouth. Add three star shapes inside the mouth for teeth and sketchy lines for the hairline. Teacher's Tip: Use short, quick strokes for the hair to give it that messy, unkempt texture.
Step 5: Styling the Wild Hair
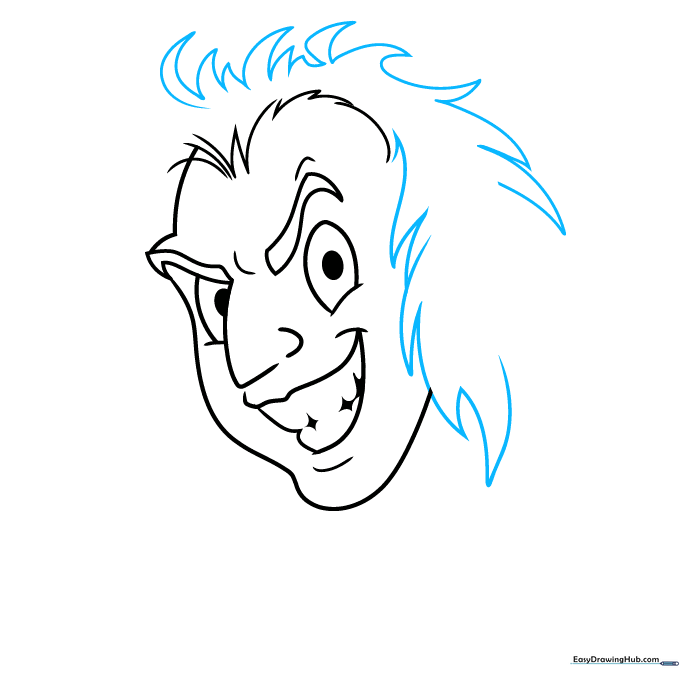
Sketch the hair using loose, jagged lines that look like flames. Teacher's Tip: Don't aim for perfection here! Beetlejuice is known for his chaotic style, so the messier the lines, the better.
Step 6: Adding Texture
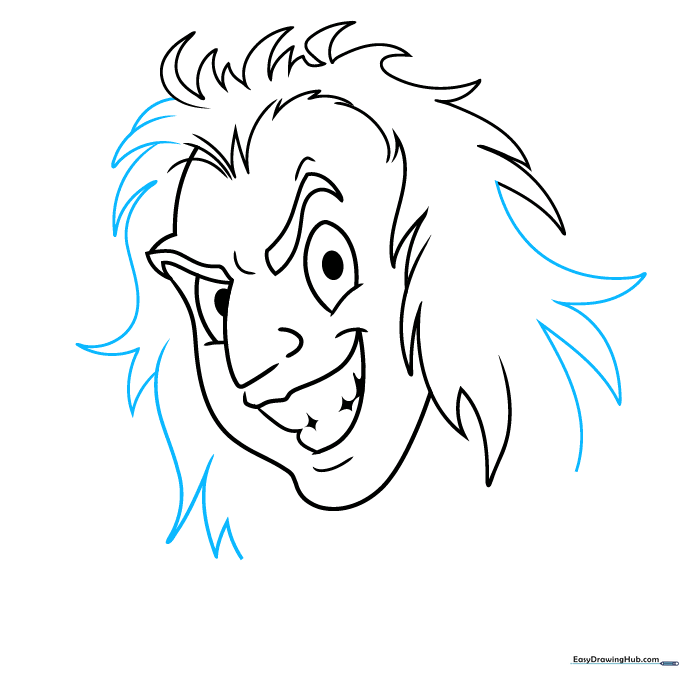
Add more sketchy lines around the face to build depth. Teacher's Tip: Use varying line weights—press harder for shadows and lighter for highlights to make the face pop.
Step 7: Drawing the Collar
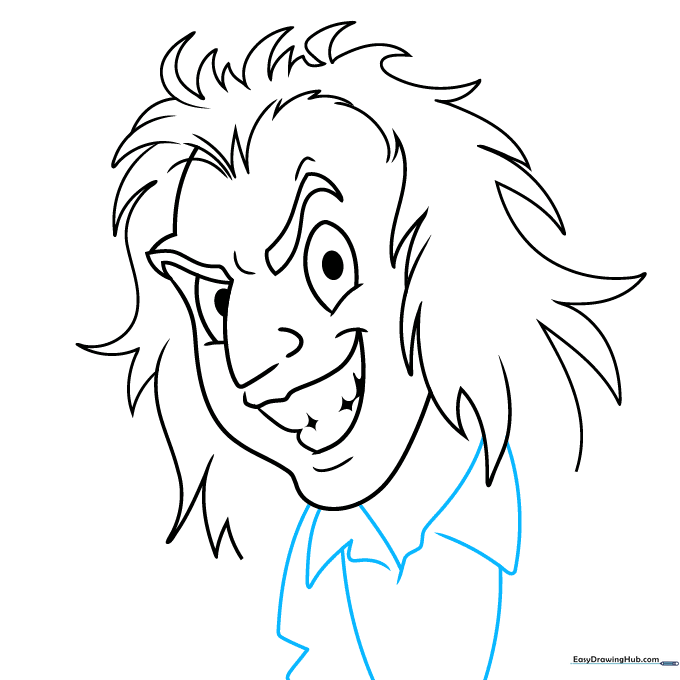
Beneath the head, draw a triangle with a bump, followed by two triangles on the left and one on the right. Add vertical lines for the collar. Teacher's Tip: Think of the collar as a series of sharp, geometric shapes to contrast with the messy hair.
Step 8: Finalizing the Tie and Details
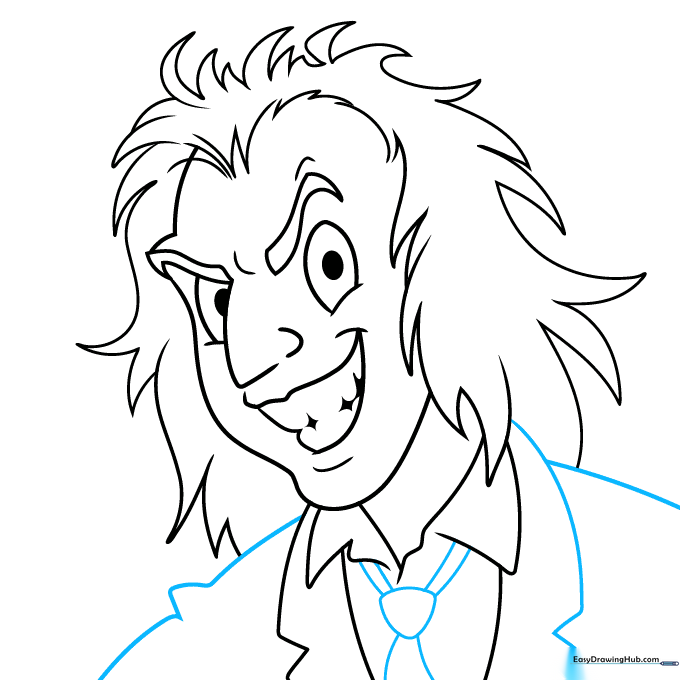
Complete the collar, then draw a rounded triangle with two narrow rectangles on top for the tie. Add vertical curves underneath. Teacher's Tip: Keep your lines clean here to ensure the tie stands out from the busy collar.
Step 9: Inking and Final Touches
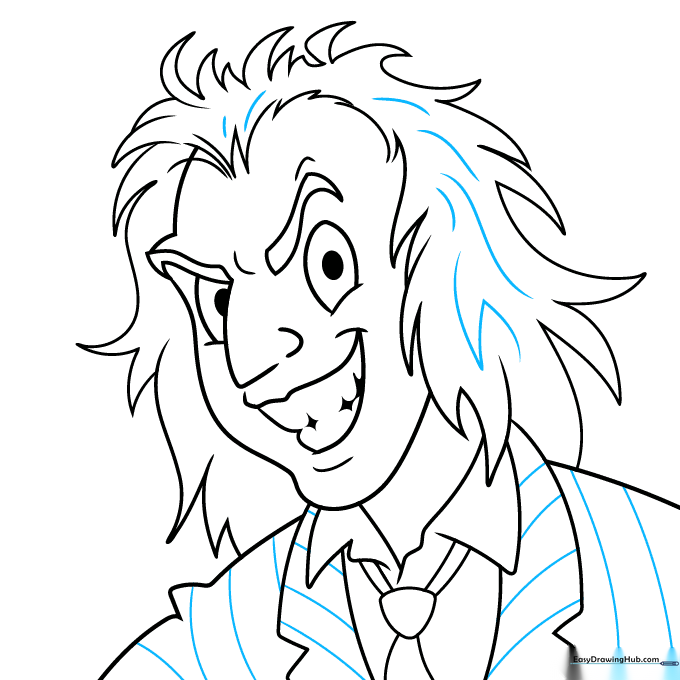
Draw stripes on the coat and add final sketchy lines to the hair. Use a black pen to outline your work, filling in the pupils and the gaps between the teeth. Teacher's Tip: Use a steady hand for the outline; if you make a mistake, remember that Beetlejuice is a 'messy' character, so small wobbles just add to his charm!
Step 10: Adding Color
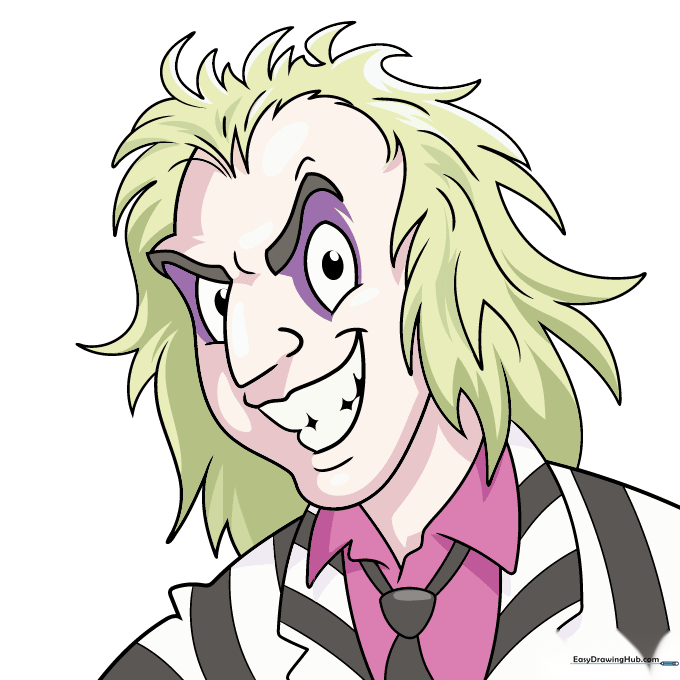
Bring him to life! Use light tan for the skin, dark gray for the stripes and eyebrows, greenish-yellow for the hair, and purple for the shirt. Surround the eyes with dark violet. Teacher's Tip: Use a light touch with the green to keep the hair looking vibrant rather than muddy.
More Tutorials


