How to Draw Beans: Easy 10-Step Guide for Beginners
This drawing tutorial is perfect for young artists ages 6+ looking to practice organic shapes and layering. All you need is a pencil, an eraser, and a piece of paper to get started. By the end of this lesson, you will have mastered the art of drawing textured bean pods and individual beans.
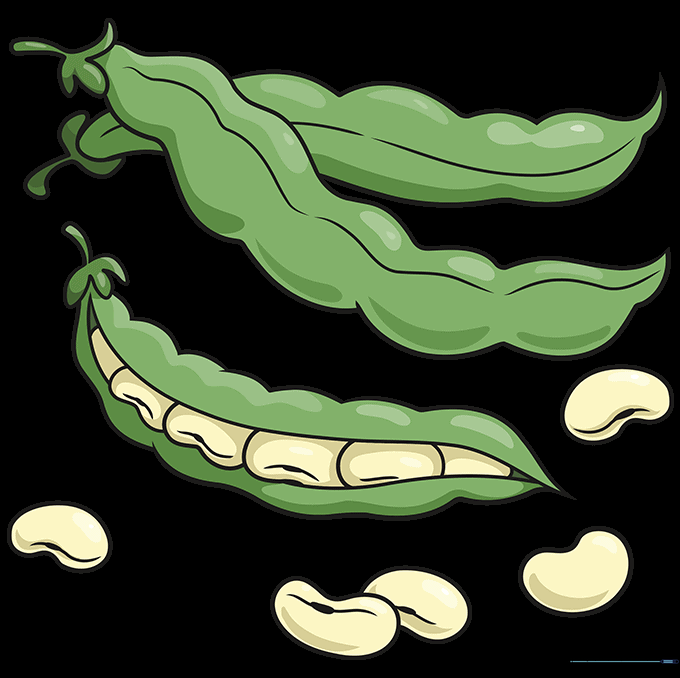
🎯 Final Result

Step-by-Step Instructions
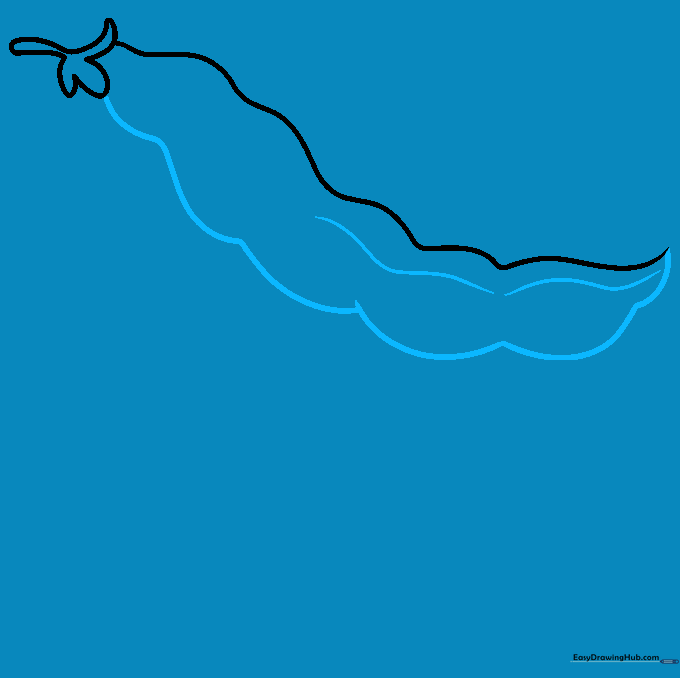
Step 1: Sketching the First Pod

Draw a long, gentle curve to form the side of your first bean pod. At the top, add a small sepal and stem using two tiny, pointed lines. Teacher's Tip: Keep your pencil pressure light here so you can easily adjust the shape if it looks a bit too straight.
Step 2: Defining the Pod Shape
Add a wavy line to create the other side of the pod, letting it meet the first line at a sharp point at the bottom. Add a soft line down the center to give it volume. Teacher's Tip: Think of this like drawing a long, skinny letter 'S' that is slightly squashed.
Step 3: Adding a Second Pod
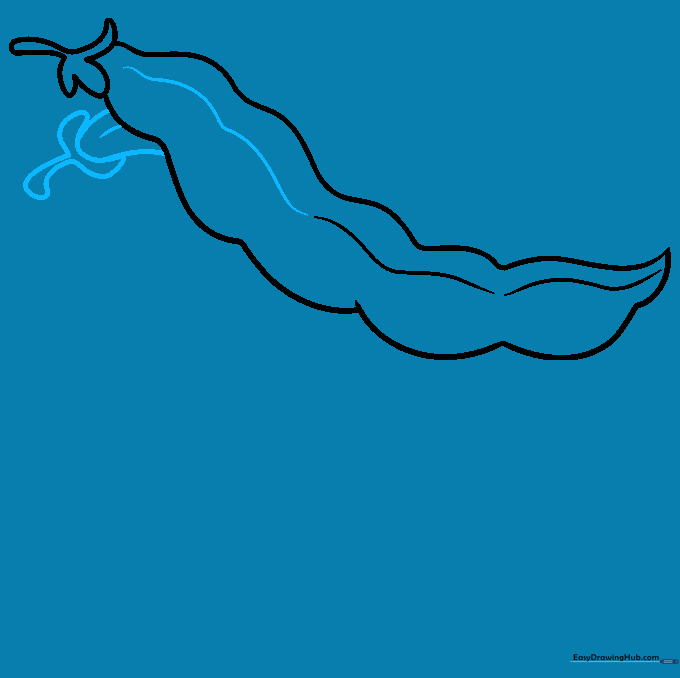
Draw a second pod partially hidden behind the first using a 'U' shaped curve. Add a stem and sepal just like you did in step one. Teacher's Tip: Overlapping shapes is a great way to make your drawing look more professional and less like a floating object.
Step 4: Completing the Second Pod
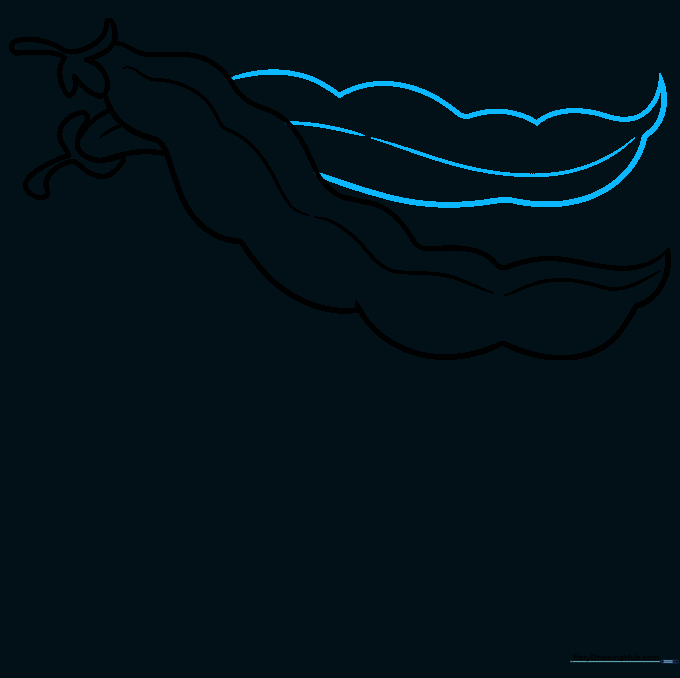
Close the second pod with wavy lines that taper to a point. Add a center line to match the style of the first pod. Teacher's Tip: Don't worry if your lines aren't perfectly smooth; nature is full of bumps and curves!
Step 5: Starting the Third Pod
Sketch a third pod using the same stem and sepal technique. This time, make the pod look a bit 'bulgy' by using more pronounced curves. Teacher's Tip: Use your wrist to create these curves rather than your whole arm for better control.
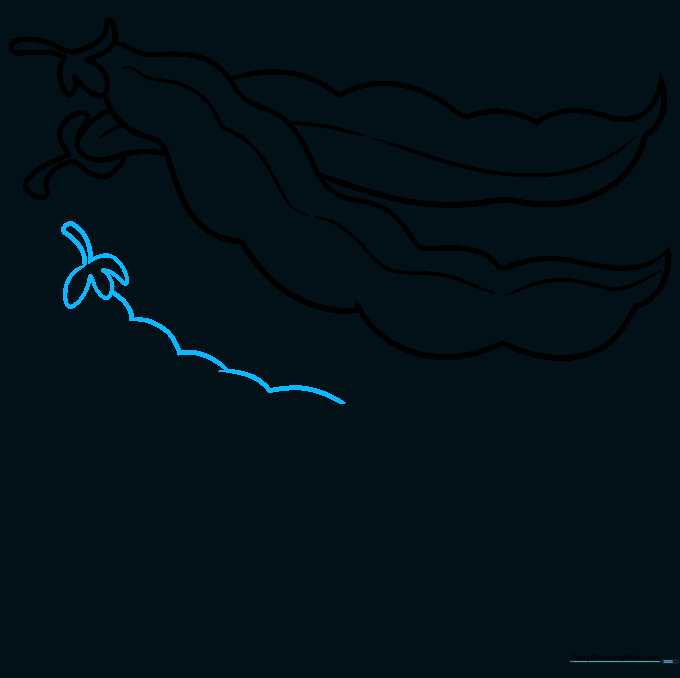
Step 6: Finishing the Third Pod
Finish the outline of the third pod, ensuring the center line follows the curve of the pod itself. Teacher's Tip: If you want to show the pod is full, make the center line slightly curved rather than straight.
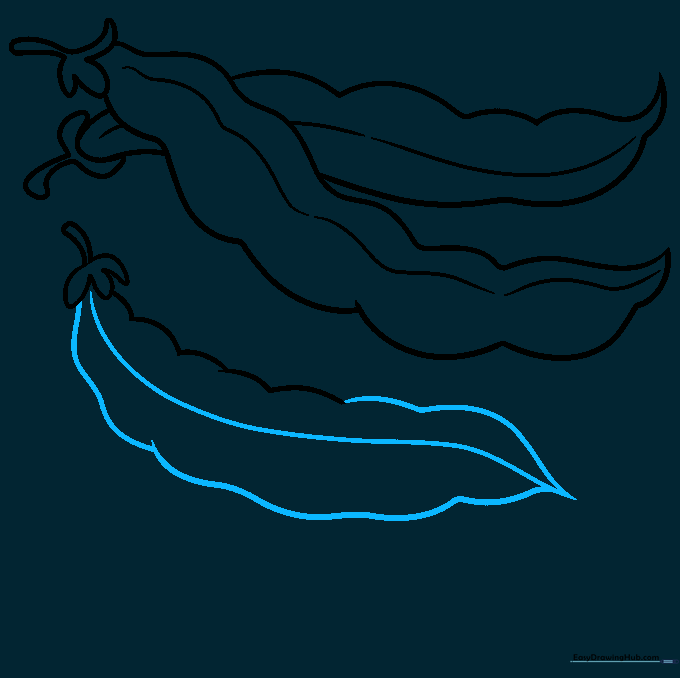
Step 7: Adding Interior Beans
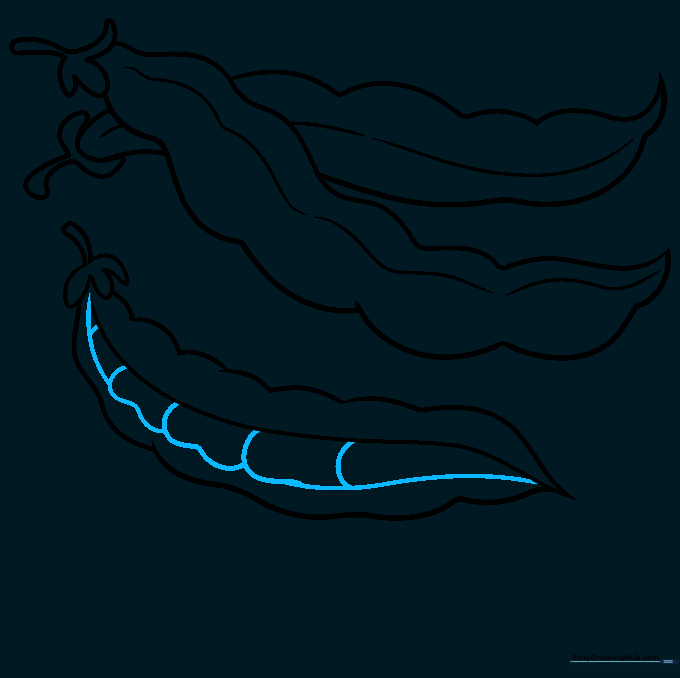
Draw small, rounded shapes inside the pods to represent the beans themselves. Use overlapping lines to make them look packed inside. Teacher's Tip: Vary the sizes of the beans slightly to make them look more realistic.
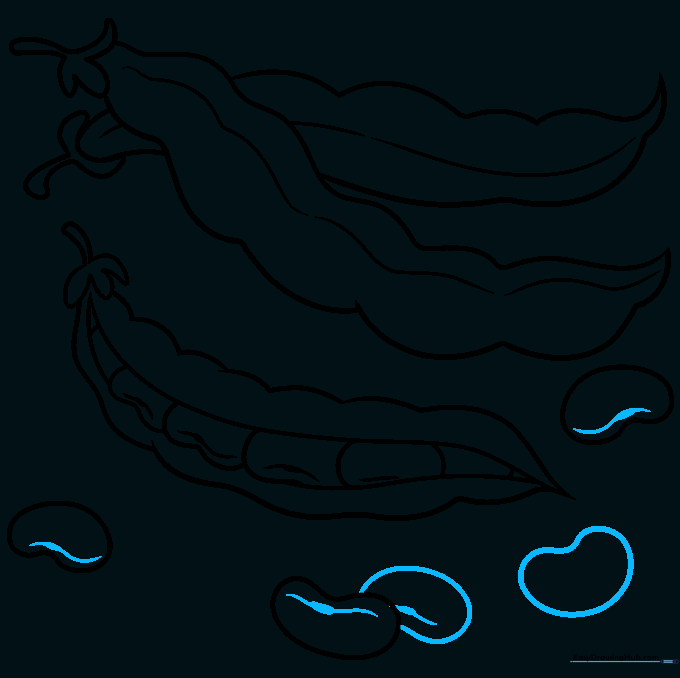
Step 8: Detailing the Beans
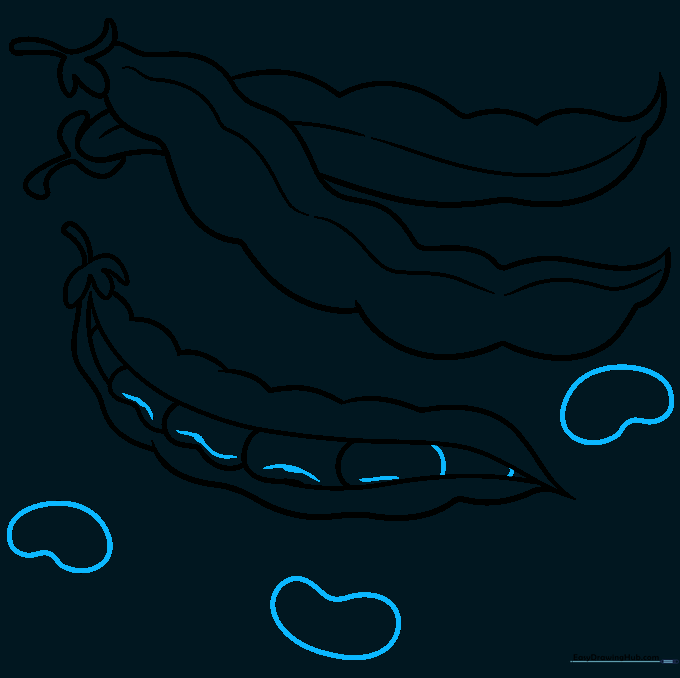
Add small curved lines to the tops of the beans to give them dimension. Draw a few loose beans outside the pods. Teacher's Tip: Add a little extra pressure to your pencil on the indented side of the bean to create a subtle shadow effect.
Step 9: Finalizing the Outline
Go over your lines with a darker pencil or pen to make them pop. Add any final details to the beans. Teacher's Tip: Use a clean eraser to remove any stray pencil marks from your initial sketching phase.
Step 10: Adding Color
Bring your drawing to life with color! Use greens for the pods and experiment with browns, whites, or even spotted patterns for the beans. Teacher's Tip: Try using two shades of green—a light one for the highlight and a darker one for the shadow—to make your pods look 3D.
More Tutorials


