How to Draw BB-8: Easy 10-Step Star Wars Art Guide
Bring the galaxy's favorite astromech droid to life! This tutorial is designed for young artists and beginners, requiring only a pencil, eraser, and paper. Follow these steps to master BB-8’s iconic spherical shape and mechanical details while building your confidence in character design.
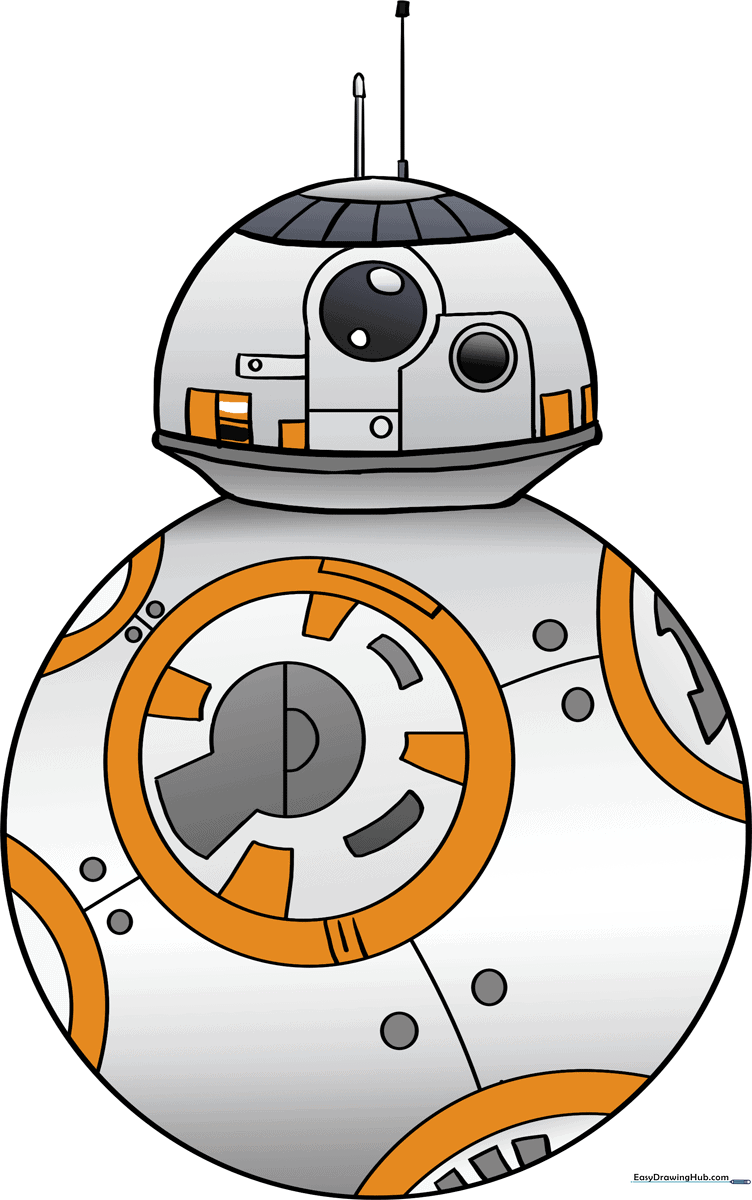
🎯 Final Result
Step-by-Step Instructions
Step 1: Sketching the Dome Head
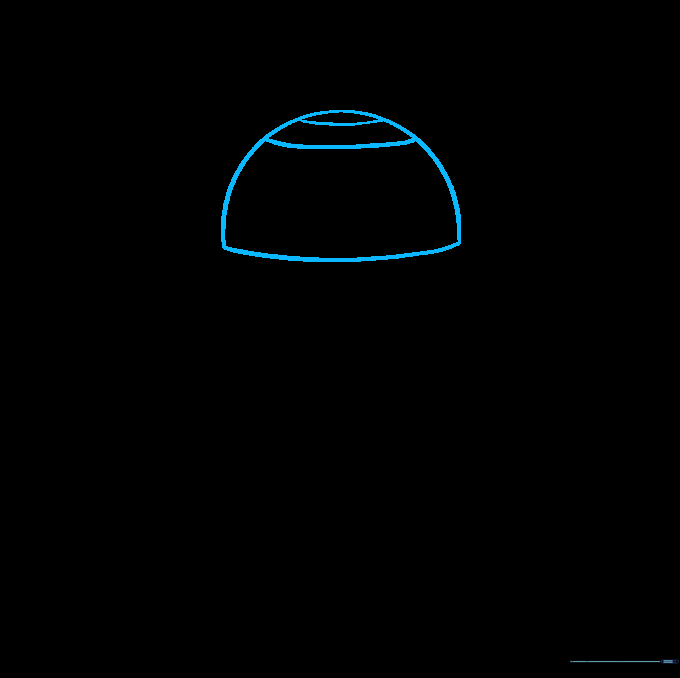
Draw a wide half-circle for the top of the head, then connect the base with a flat line. Add two small curves on top. Teacher's Tip: Keep your pencil pressure light here so you can refine the shape later.
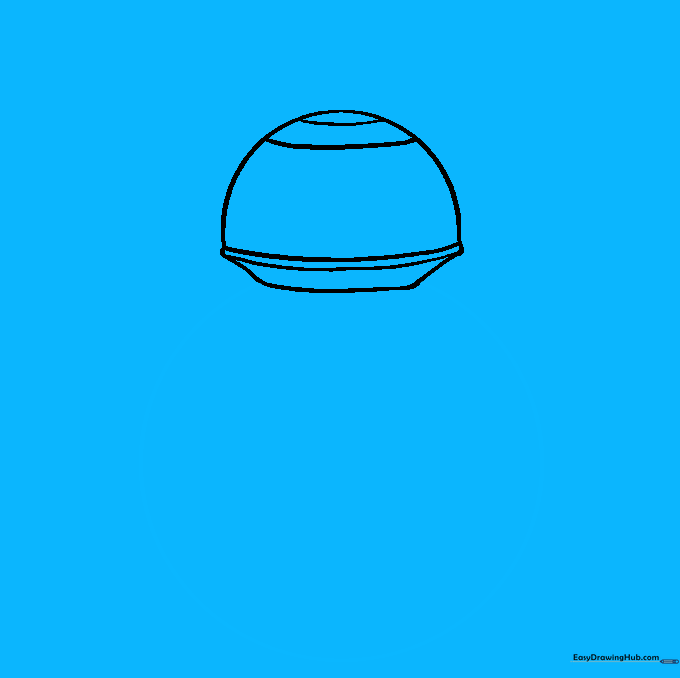
Step 2: Defining the Neck
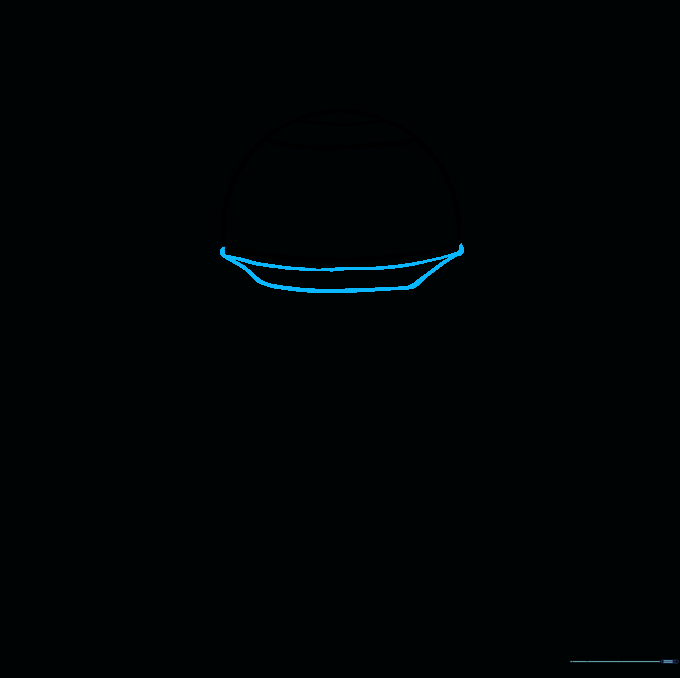
Draw a curved line parallel to the bottom of the dome, then connect them. Add two short diagonal lines extending down to form the neck. Teacher's Tip: Use a ruler if you struggle with straight lines, but freehand is great for practice!
Step 3: Creating the Spherical Body
Draw a large circle attached to the neck to form the body. Teacher's Tip: If you can't draw a perfect circle, trace a circular household object like a cup to get a clean outline.
Step 4: Adding Antennae
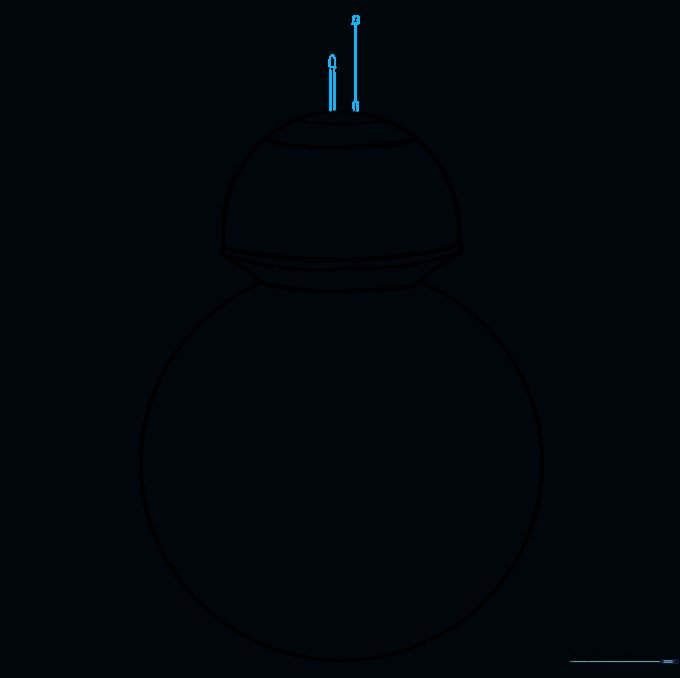
Draw two straight lines extending from the top of the head, topped with small triangles. Teacher's Tip: Keep these thin; they are delicate sensors, not heavy structures.
Step 5: Designing the Utility Panel
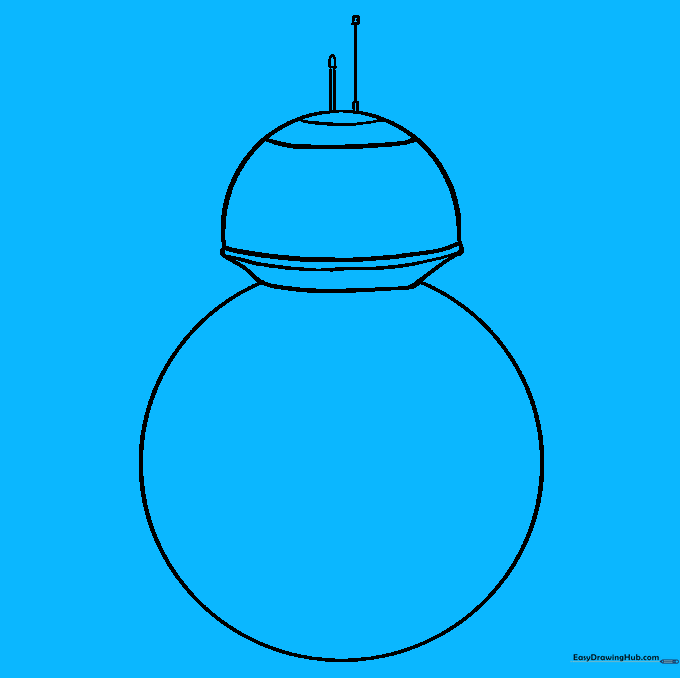
Draw a circle within a circle on the body. Add four trapezoids around the edges and a keyhole shape in the center. Teacher's Tip: Focus on symmetry here to make the panel look like a real machine part.
Step 6: Adding Body Panels
Add curved lines on four sides of the body to create panel segments. Connect them to the center with small circles. Teacher's Tip: These panels give the droid its 'patchwork' look, so don't worry if they aren't perfectly uniform.
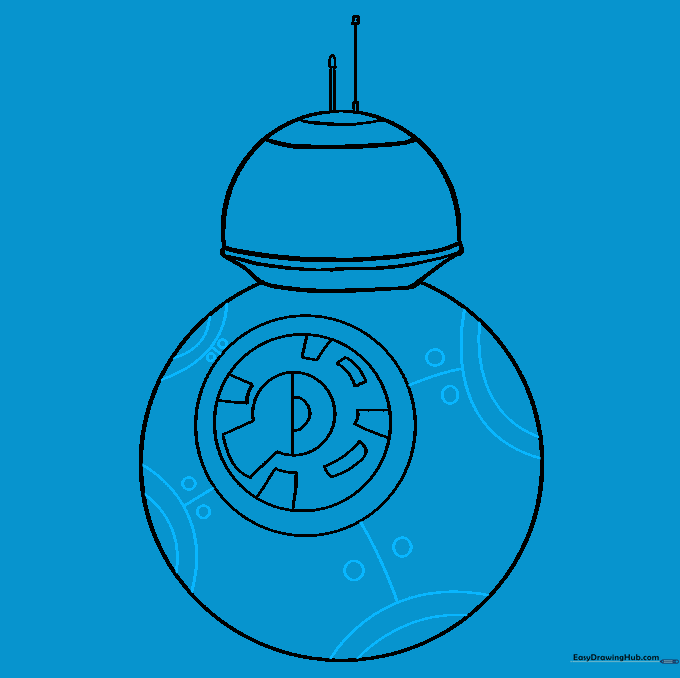
Step 7: Detailing the Photoreceptors
Draw three circles on the head for the eyes and holographic unit. Add rectangular frames around them. Teacher's Tip: The largest circle is the main eye; make it stand out by drawing it slightly darker.
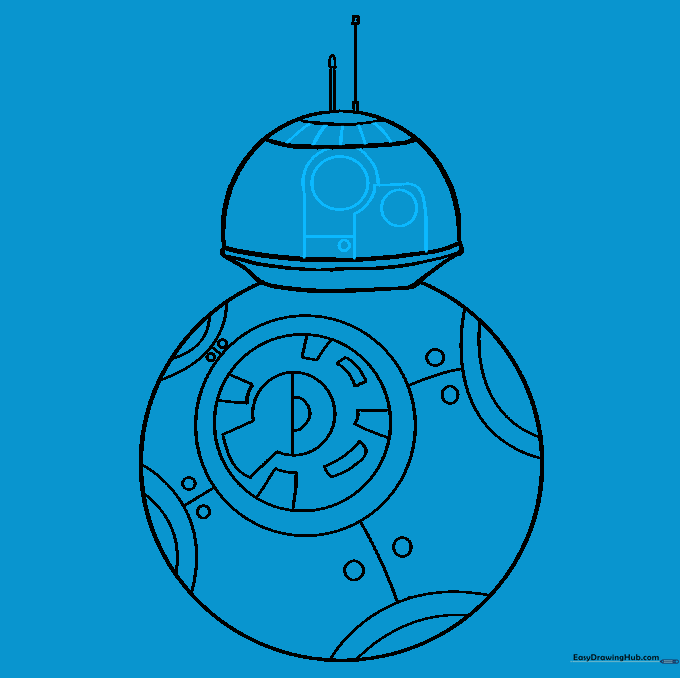
Step 8: Refining the Head
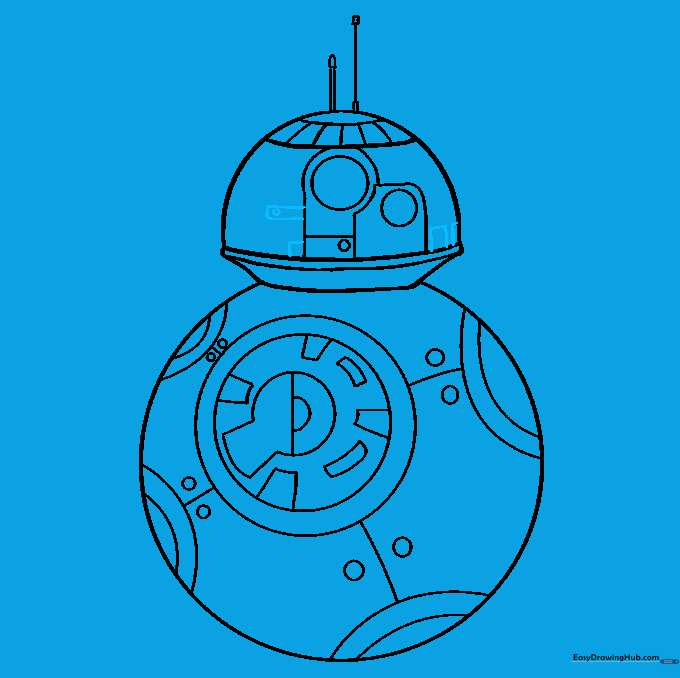
Add smaller geometric shapes—rectangles and squares—across the head to represent mechanical plating. Teacher's Tip: Vary the sizes of these shapes to make the head look more complex and realistic.
Step 9: Final Touches
Add final details like small ovals inside the eyes and extra lines on the body panels. Teacher's Tip: This is the time to clean up any stray pencil marks with your eraser.
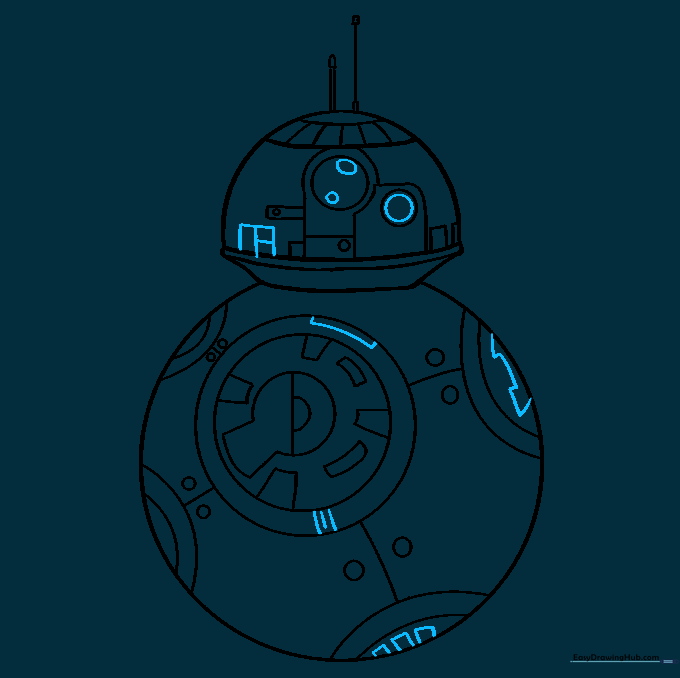
Step 10: Bringing BB-8 to Life with Color
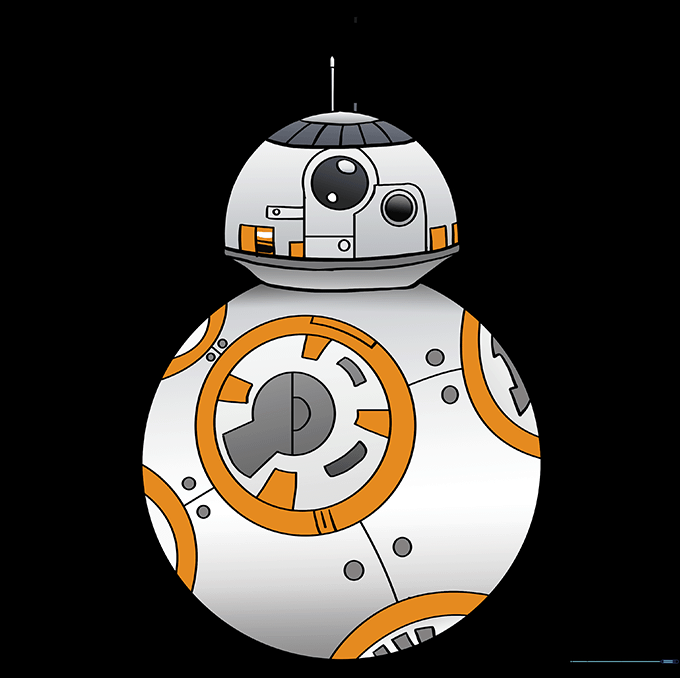
Color your droid using orange, white, and grey. Teacher's Tip: Use a light grey for the shadows on the white parts to give the sphere a 3D, rounded look.
More Tutorials


