How to Draw Batman’s Face: Easy 19-Step Guide
Ready to bring the Dark Knight to life? This tutorial is perfect for young artists ages 6+ who want to master comic-book proportions. Grab a pencil, an eraser, and some paper, and follow along as we break down Batman's iconic cowl and features into simple, manageable shapes.
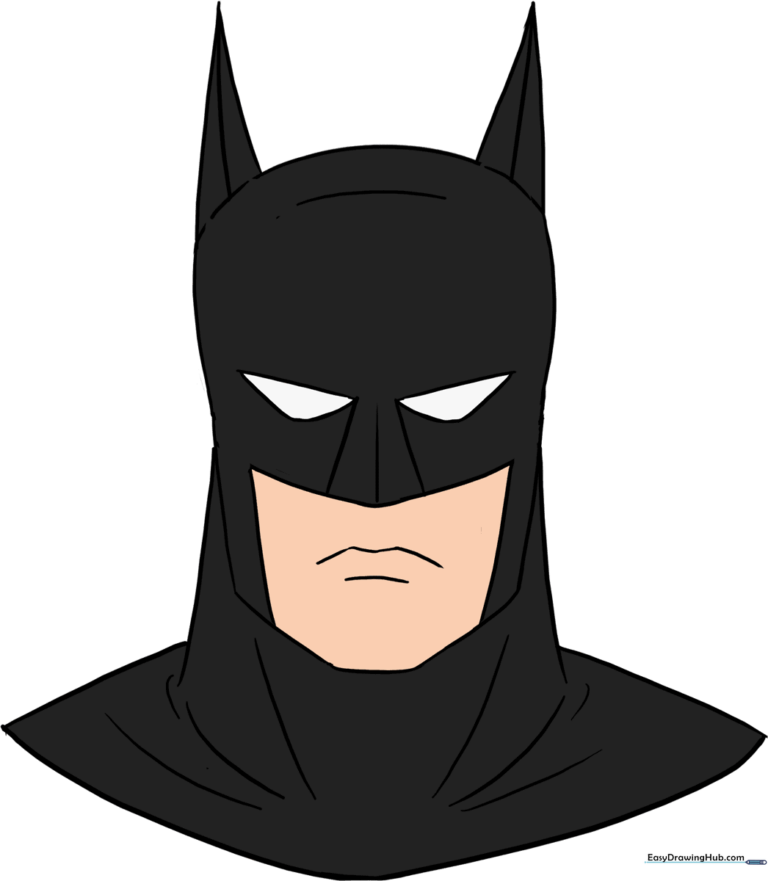
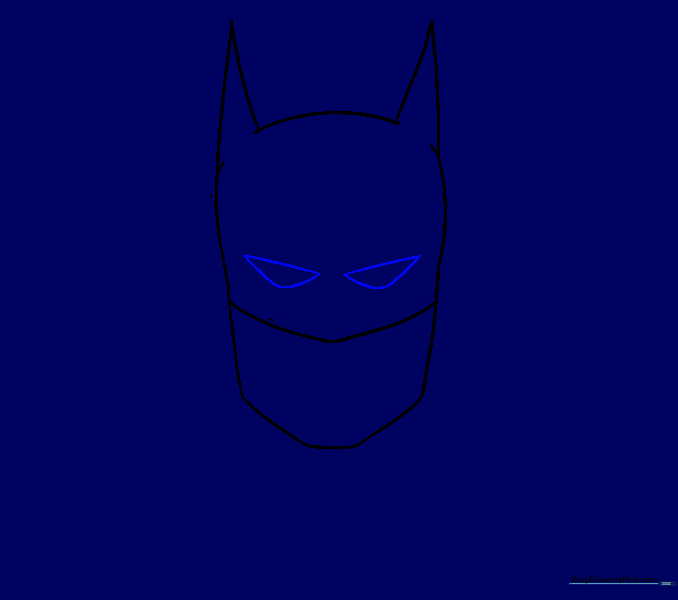
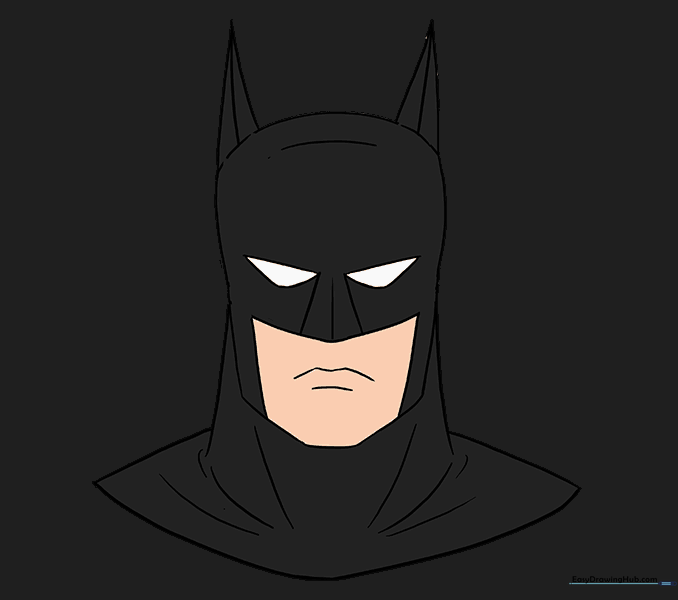
🎯 Final Result
Step-by-Step Instructions
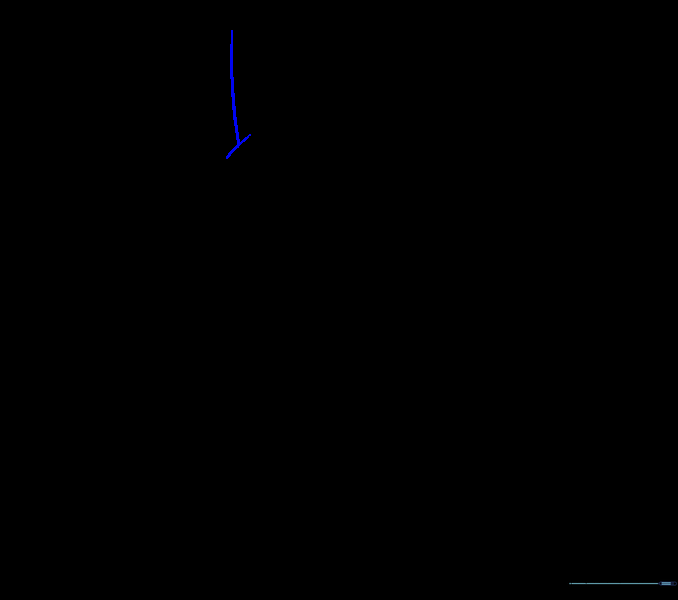
Step 1: Sketching the Base Circle
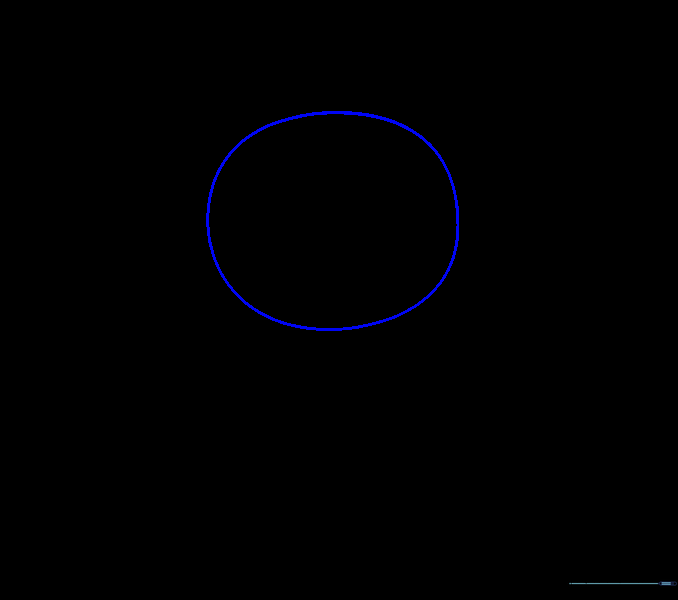
Draw a large, light circle in the center of your page. Teacher's Tip: Keep your pencil strokes very faint here; this is just a guide for the head shape and will be erased later.
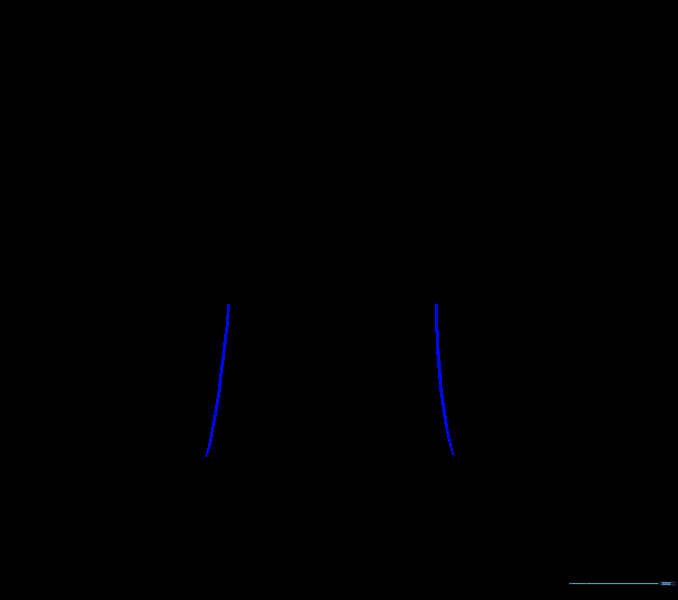
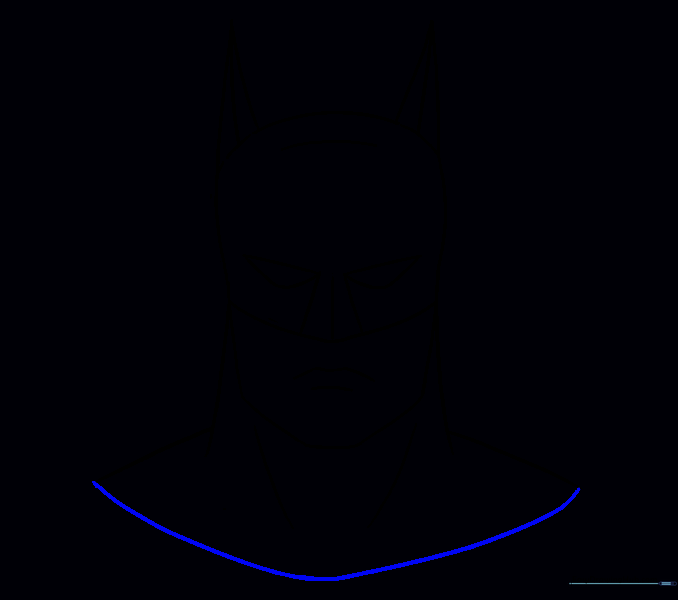
Step 2: Defining the Jawline

Draw two curved lines descending from the circle to form the sides of the face, connecting them at the bottom with three short lines to create a sharp, heroic chin.
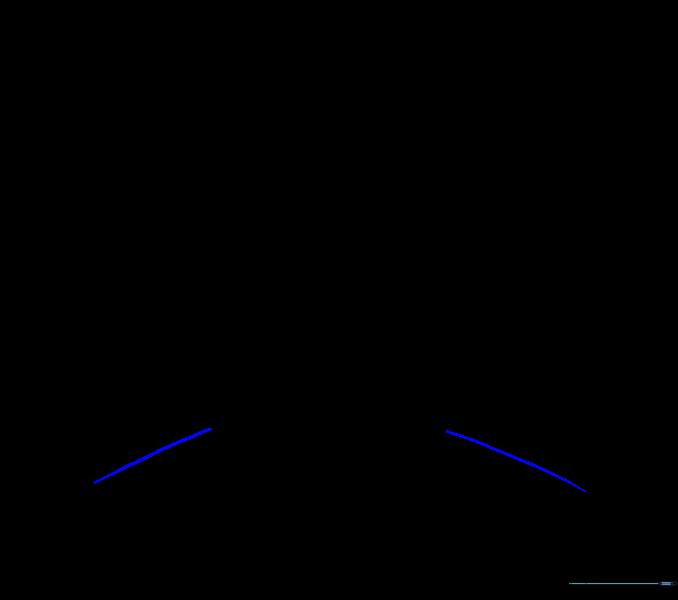
Step 3: Adding the Cowl Ears
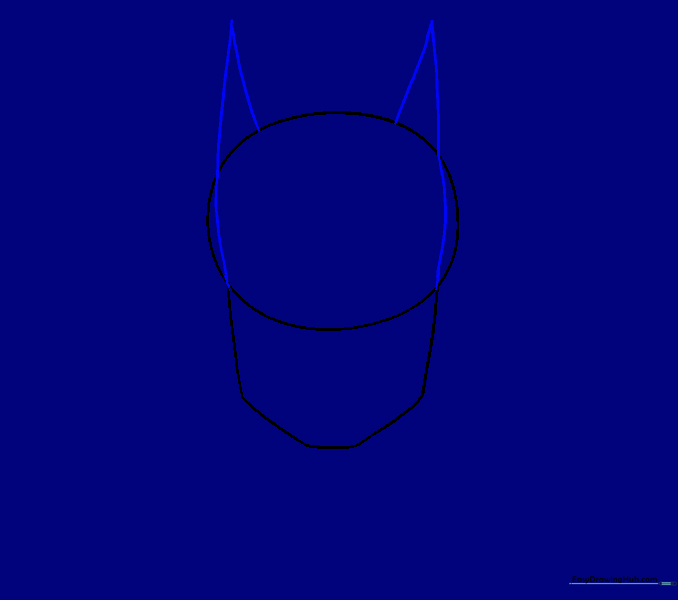
Extend curved lines upward from the sides of the face, passing through the circle, and connect them back to create the signature pointed bat-ears. Tip: Keep them symmetrical to give Batman that balanced, alert look.
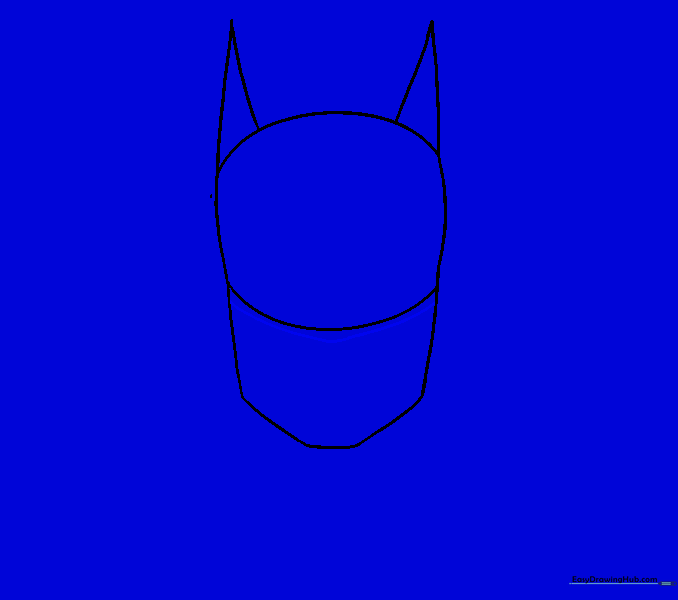
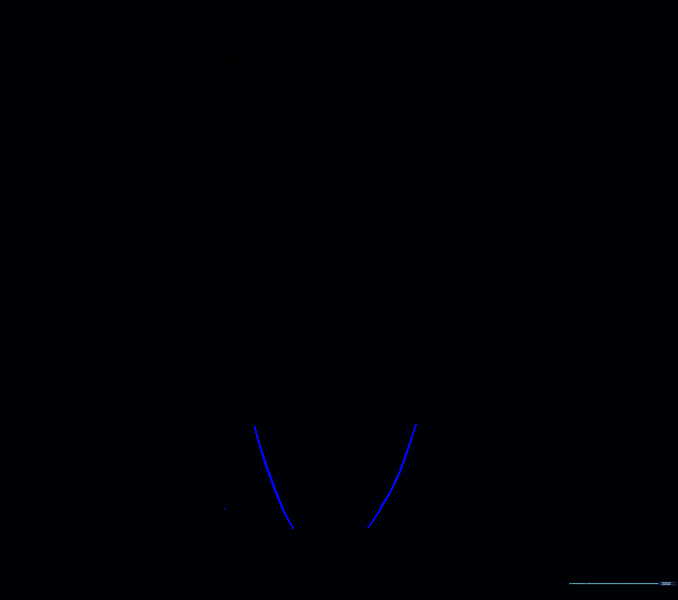
Step 4: Cleaning the Outline

Carefully erase the excess guide lines on the sides of the circle. This helps you see the true shape of the mask emerging.
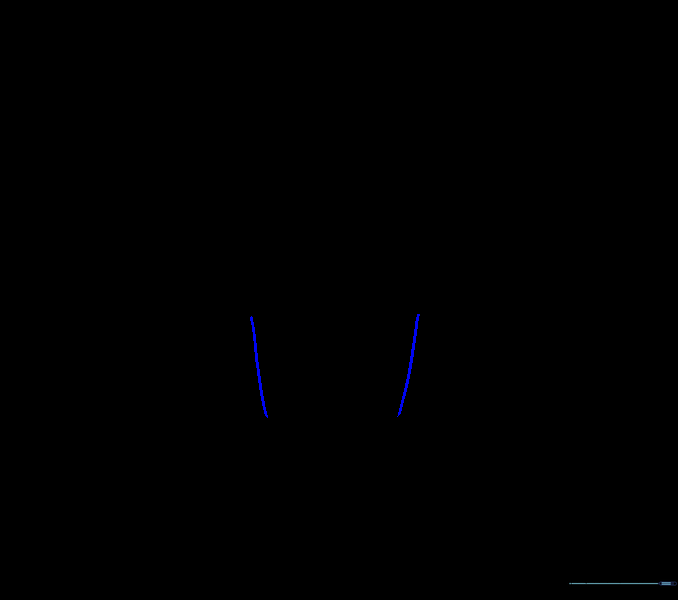
Step 5: Sketching the Nose Bridge
Draw a curved line across the face, just below the original circle's bottom. This creates the bridge of the nose for his mask.
Step 6: Refining the Mask Shape

Erase the remaining circle lines, but keep a small trace at the base of the ears to show where the mask connects to the head.
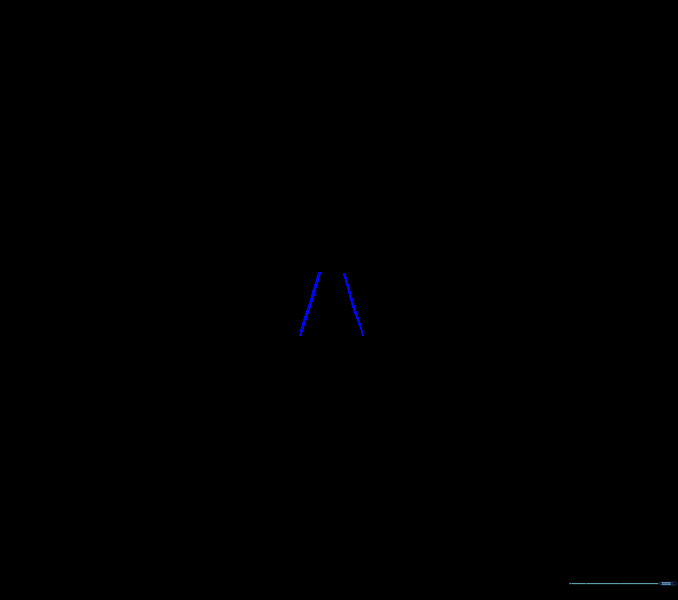
Step 7: Drawing the Eyes
Sketch two angular, curved shapes for the eyes. Tip: Batman's eyes are usually white and squinty to show he's serious and focused.
Step 8: Defining the Nose
Draw diagonal lines from the inner corners of the eyes down toward the bottom of the mask to complete the nose structure.
Step 9: Adding Facial Contours
Add a curved line near the top of the head and a vertical line down the center of the nose to add depth to the mask.
Step 10: Detailing the Ears
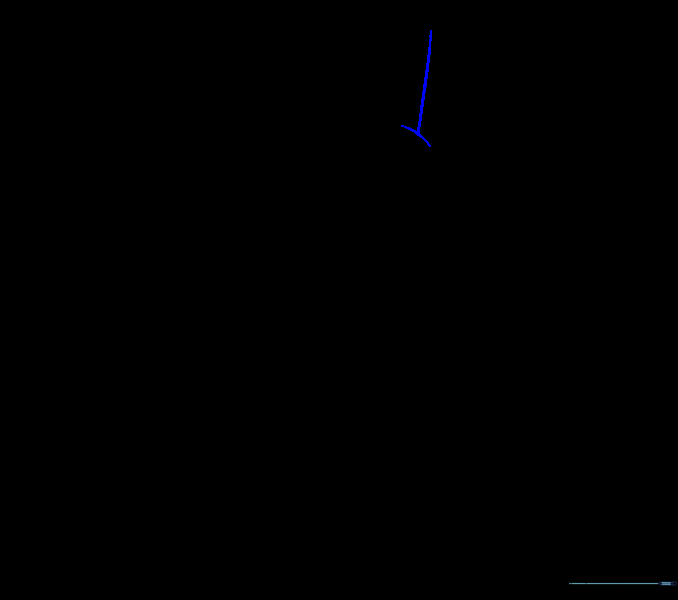
Draw a line across the base of one ear and a line down the middle to give it a sharp, structural look.
Step 11: Mirroring the Details
Repeat the previous step on the other ear. Symmetry is key to making your drawing look professional!
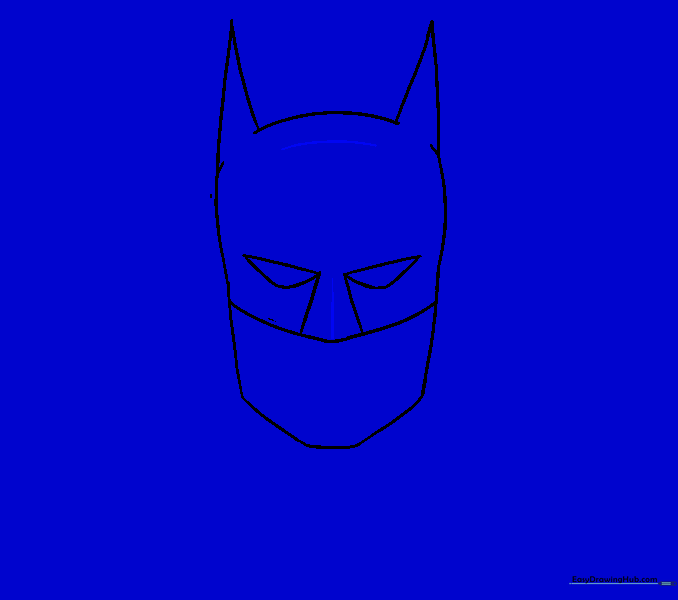
Step 12: Drawing the Mouth

Draw a wide 'M' shape for the upper lip and a simple curved line for the lower lip to show Batman's serious, frowning expression.
Step 13: Drawing the Neck
Draw two curved lines downward from the mask edges to form the neck. Make sure they are wide enough to support his strong shoulders.
Step 14: Adding Shoulders
Draw curved lines overlapping the bottom of the neck lines to create the start of Batman's powerful shoulders.
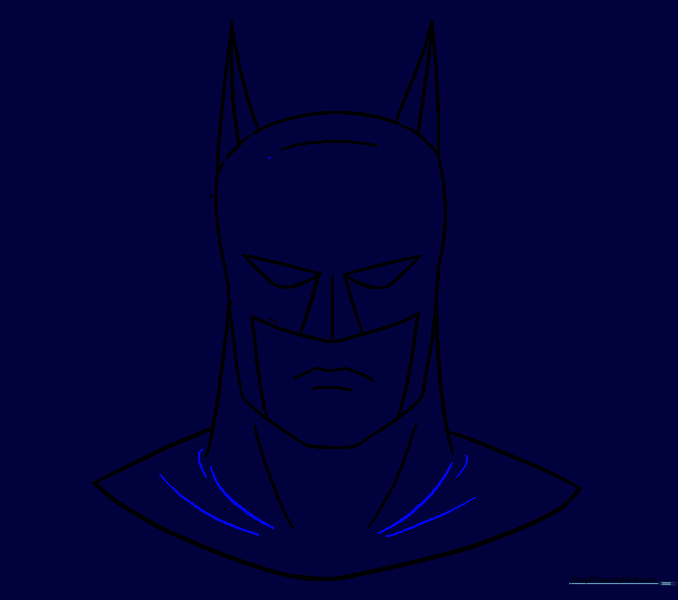
Step 15: Neck Contours
Add diagonal curved lines on the neck to show muscle definition and the texture of his suit.
Step 16: Enclosing the Figure
Connect the shoulders with a curved line to finish the upper torso area.
Step 17: Cheek Details
Draw a curved line across each cheek, connecting the mask to the chin area for a more defined facial structure.
Step 18: Final Cleanup
Erase any remaining stray guide lines to ensure your Batman drawing looks clean and sharp.
Step 19: Adding Final Details
Add a few final lines at the base of the neck to suggest the texture of his suit. Now, grab your markers! Batman looks great in classic black, grey, or dark blue. You've done it!
More Tutorials


