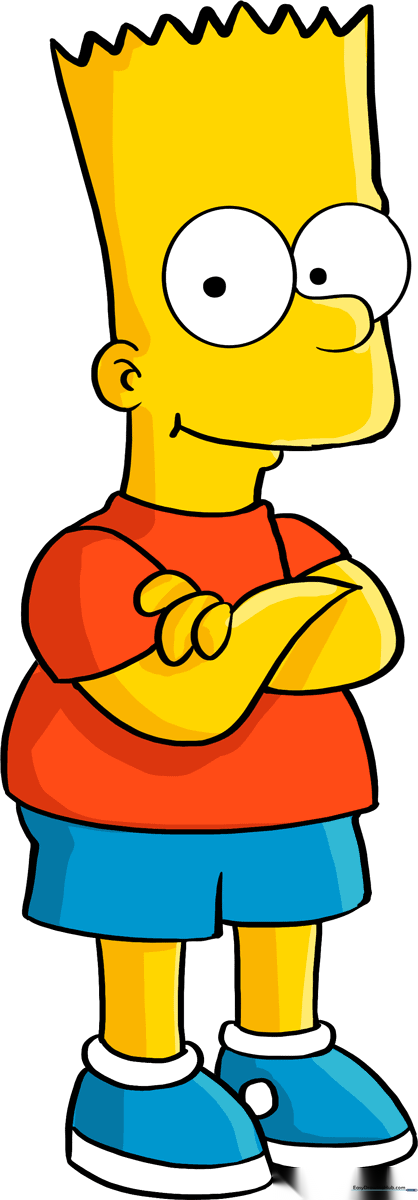
How to Draw Bart Simpson: Easy 10-Step Guide
Ready to bring Springfield's favorite troublemaker to life? This tutorial is designed for young artists ages 6+ to practice character proportions and clean line work. Grab a pencil, an eraser, and some paper to start sketching Bart’s iconic silhouette.
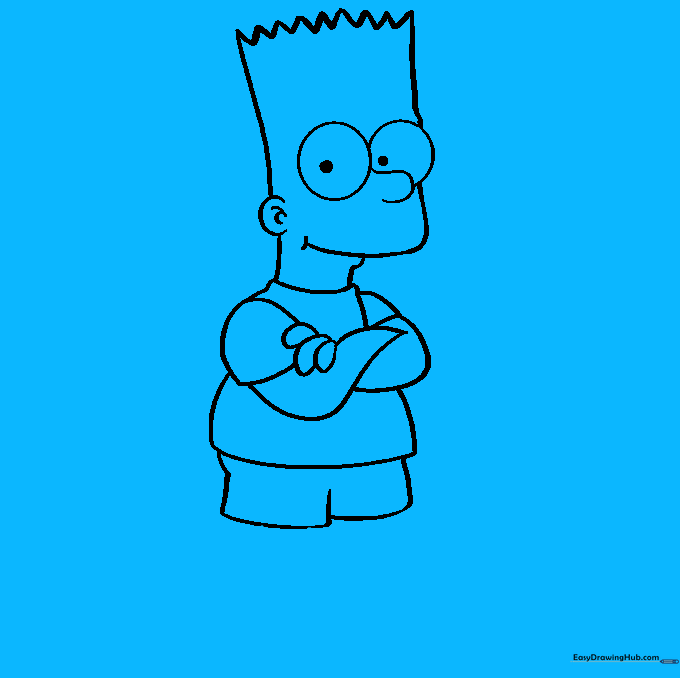
🎯 Final Result
Step-by-Step Instructions
Step 1: Sketching the Spiky Hair
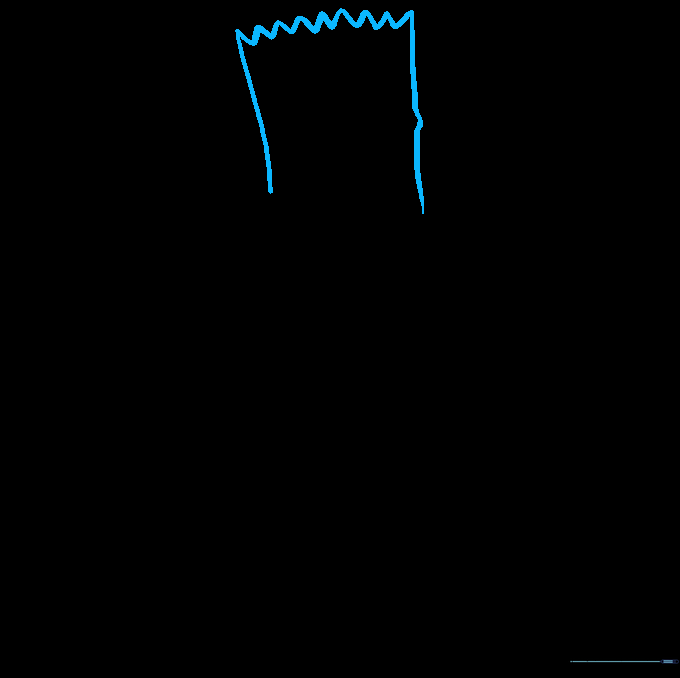
Draw two vertical curved lines for the sides of the head. Connect them at the top with a series of sharp, zigzag spikes for his hair. Teacher's Tip: Keep the spikes uniform in size to give him that classic 'Bart' look.
Step 2: Defining the Face and Ear
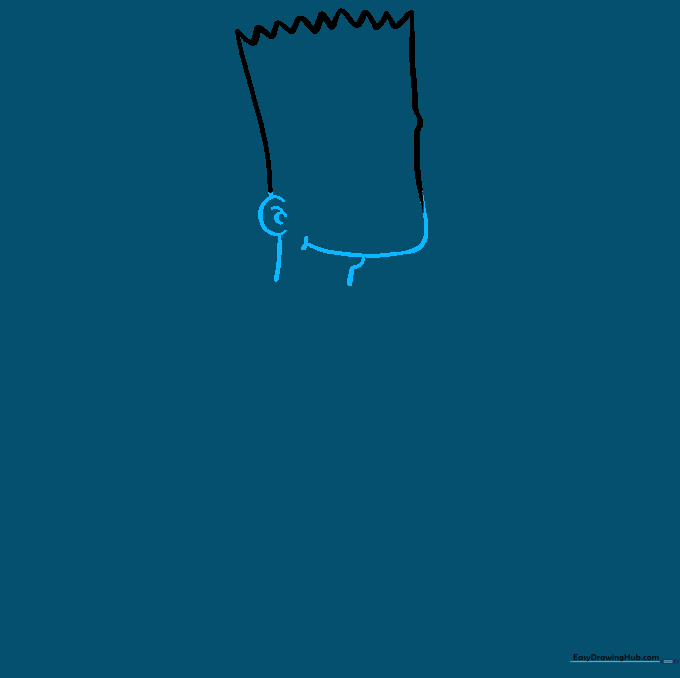
Extend a curved line from the side of the head to form the upper lip and chin. Add a 'C' shape on the side for his ear and a small curved line for the neck. Teacher's Tip: Use a light touch; the chin should look slightly rounded, not pointed.
Step 3: Adding Eyes and Nose
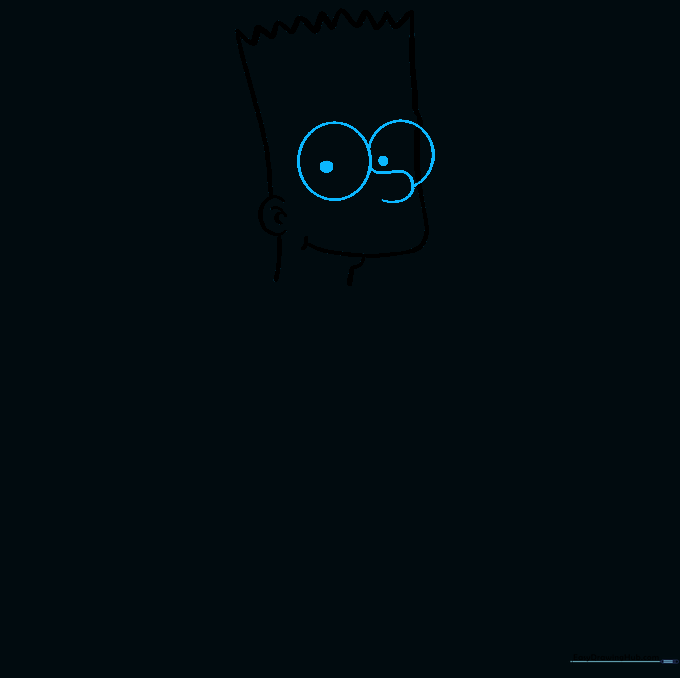
Draw two large circles for the eyes, letting one overlap the side of the face. Add a small dot in each for pupils and a curved line for the nose. Teacher's Tip: Make sure the eyes are touching to capture his signature expression.
Step 4: Cleaning Up the Guide Lines

Carefully erase the overlapping lines where the eyes meet the side of the face. Teacher's Tip: Use a kneaded eraser if you have one; it’s gentler on the paper and won't smudge your work.
Step 5: Drawing the Shirt
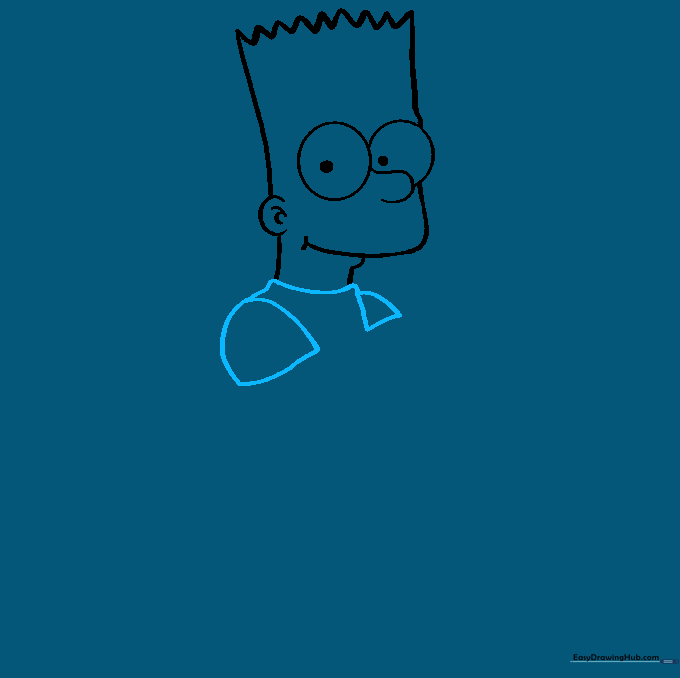
Connect the neck lines to form the collar of his t-shirt. Add curved lines for the sleeves. Teacher's Tip: Keep the sleeves slightly flared to give the drawing a sense of movement.
Step 6: Sketching the Arms
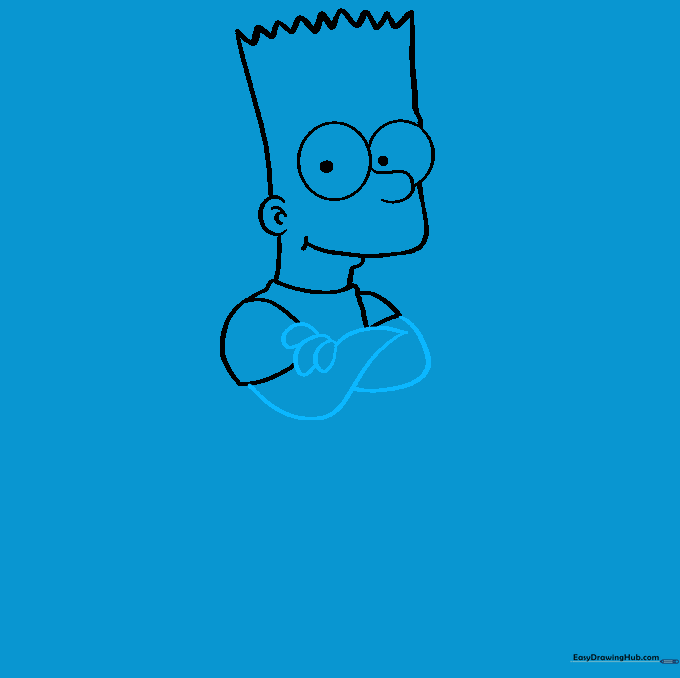
Draw his folded arms using sharp, angular lines. Add small ovals for the fingers. Teacher's Tip: Focus on the 'V' shape of the elbow to make the pose look natural.
Step 7: Adding the Shorts
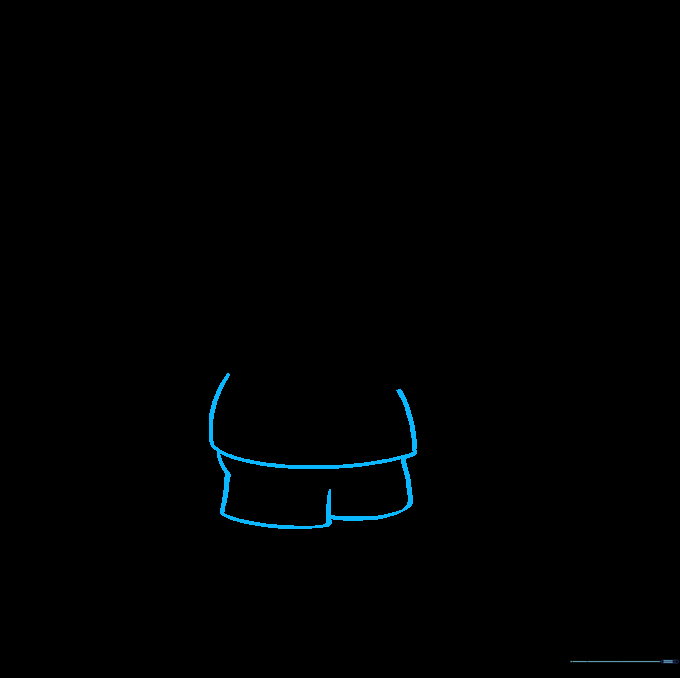
Extend lines from the shirt to create the bottom of his shorts. Connect them with a straight line. Teacher's Tip: Ensure the shorts are wide enough to match his body proportions.
Step 8: Drawing the Legs and Shoes
Draw the legs extending down, ending in triangular shoe shapes. Add a parallel line for the sole. Teacher's Tip: Keep the legs thin to contrast with his larger head.
Step 9: Finalizing Details
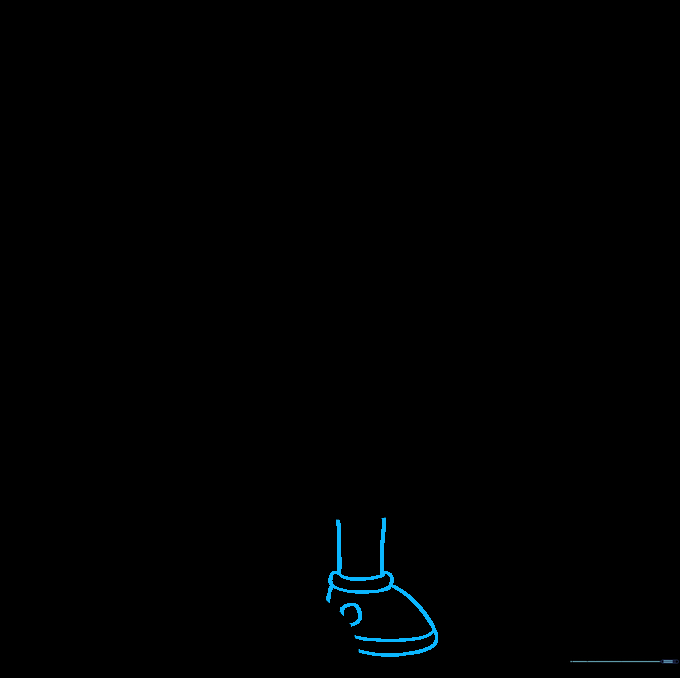
Complete the second leg and add a small circle on the shoe for detail. Teacher's Tip: Check your proportions one last time before moving to the coloring stage.
Step 10: Bringing Bart to Life with Color
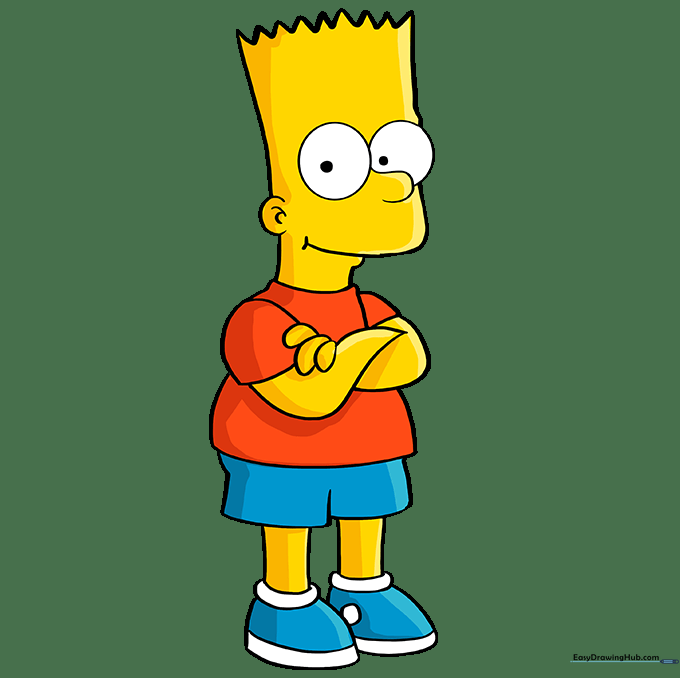
Color Bart yellow, his shirt red, and his shorts blue. Teacher's Tip: Use bold, flat colors to maintain the classic cartoon aesthetic.
More Tutorials


