How to Draw Barbed Wire: Simple 10-Step Guide
This tutorial is perfect for young artists looking to practice line weight and repetitive patterns. You will need a pencil, an eraser, and a fine-liner pen to create this industrial-style drawing. By following these steps, you will master the art of drawing twisted metal textures with ease.
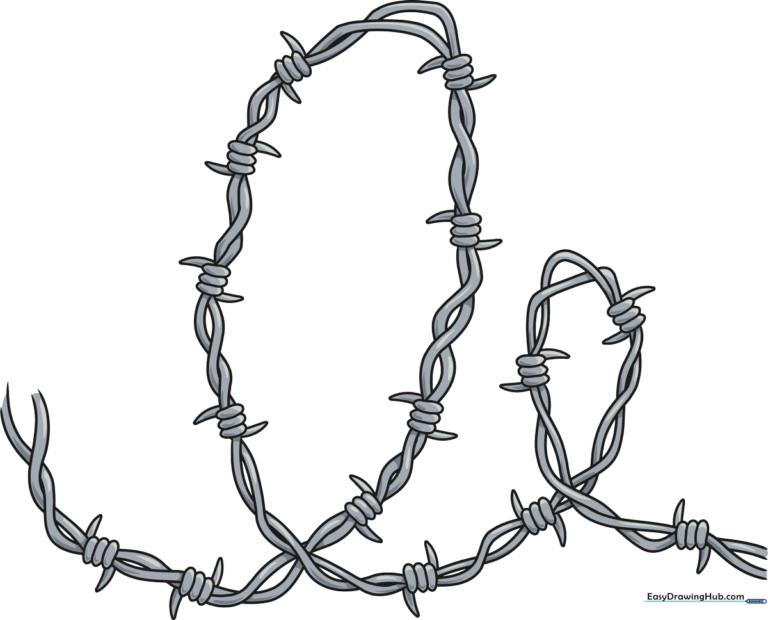
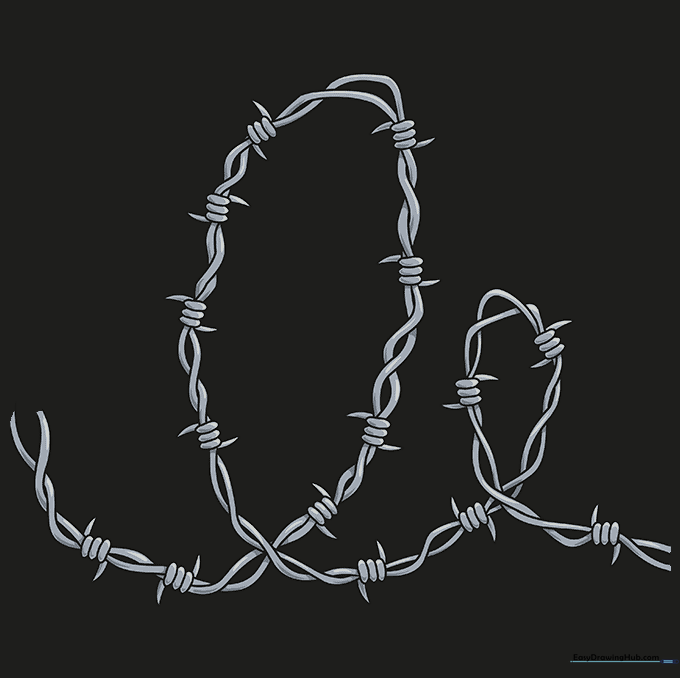
🎯 Final Result
Step-by-Step Instructions
Step 1: Sketching the First Barb
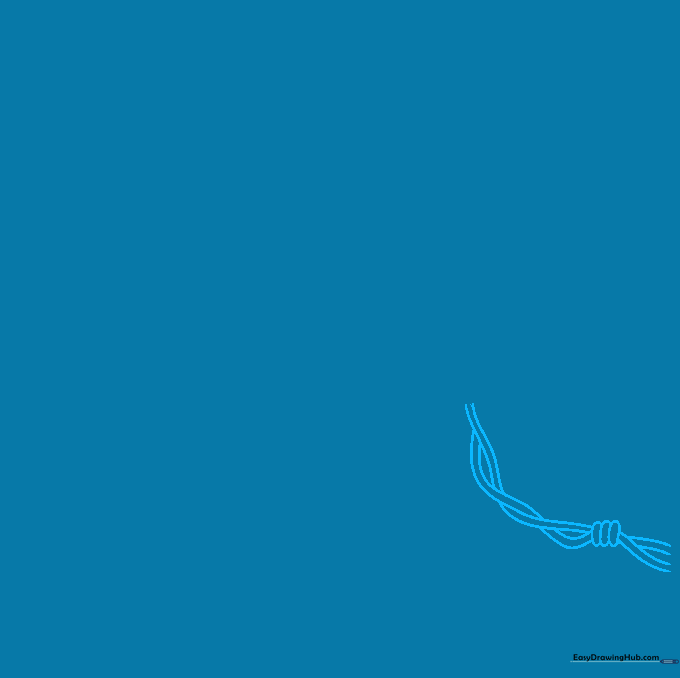
Start by drawing three small, narrow, overlapping ovals to form the central knot of the barb. Extend two pairs of curved lines from each side. Teacher's Tip: Keep your pencil pressure light here; these lines act as the 'skeleton' for your wire.
Step 2: Creating the Twist
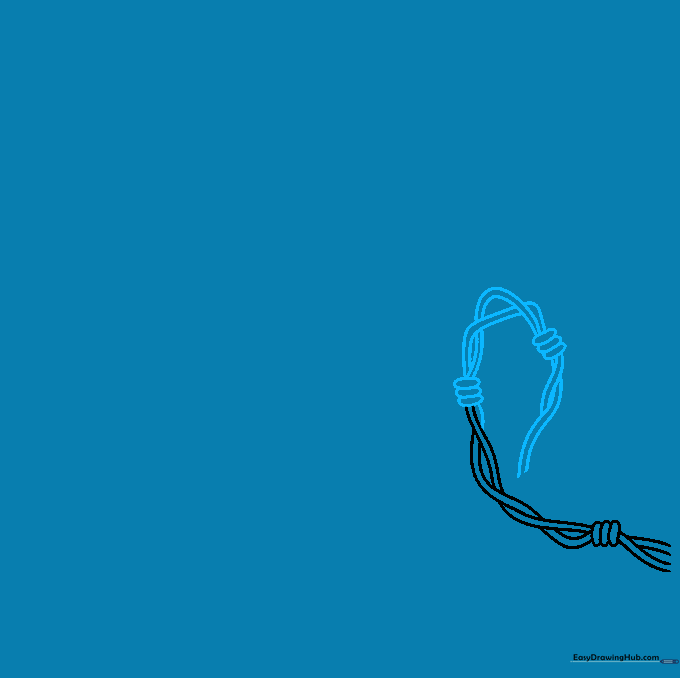
Enclose the ends of your lines with another set of three small ovals. Add a second barb a short distance away at a slight angle. Connect them with two sets of curved lines that mimic a twisted rope. Tip: Imagine the wire is a piece of string being braided.
Step 3: Extending the Strand
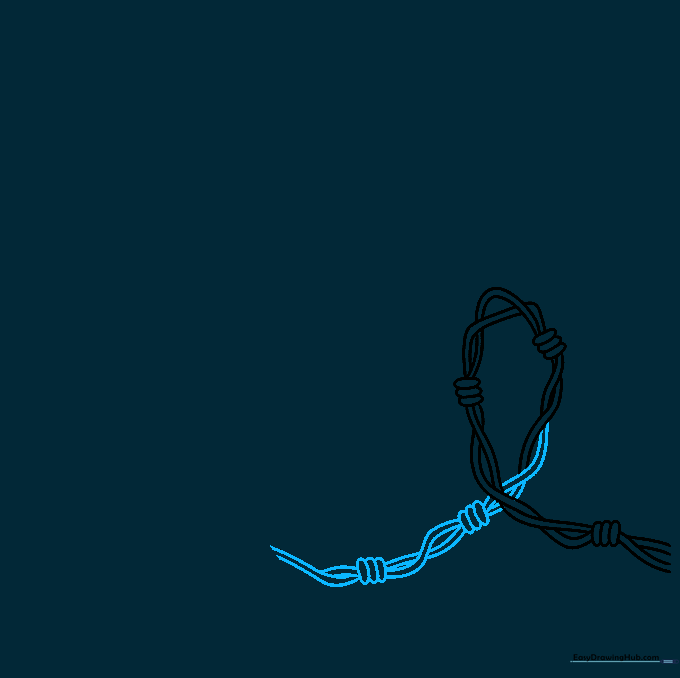
Continue your curved lines outward. Add another barb by drawing three more ovals, then connect it to the previous section. Tip: Keep the distance between barbs consistent to make the wire look uniform and professional.
Step 4: Adding Vertical Tension
Extend your lines further, allowing them to coil slightly. Add a new barb and draw curved lines extending upward. Tip: Don't worry if the lines aren't perfectly straight; metal wire often bends and kinks.
Step 5: Building the Coil
Continue the pattern by adding another barb and connecting it with twisted lines. Extend a pair of lines upward from the top-most barb to create a sense of depth. Tip: Use your eraser to remove any lines that should be 'behind' the barbs.
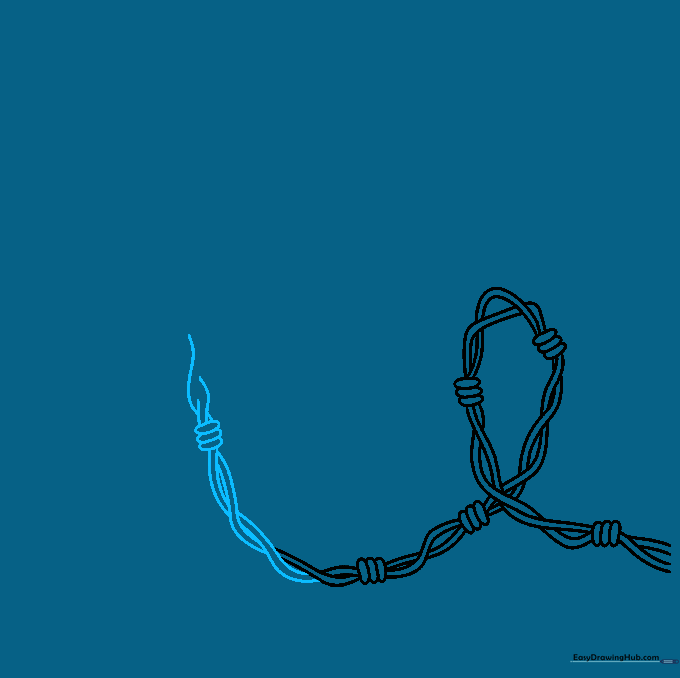
Step 6: Creating the Loop
Double the wire back on itself to create a loop. Add two more barbs along this section. Tip: This is where the drawing starts to look like a real coil of wire, so take your time with the curves.
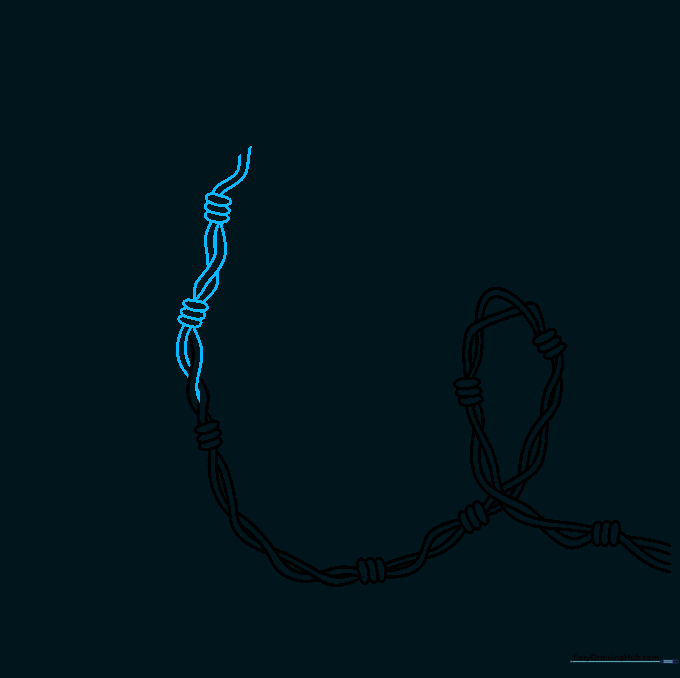
Step 7: Adding More Texture

Draw two more barbs and connect them with twisted lines. Extend the wire beyond the last barb to keep the composition flowing. Tip: Vary the angle of the barbs slightly to make them look more natural.
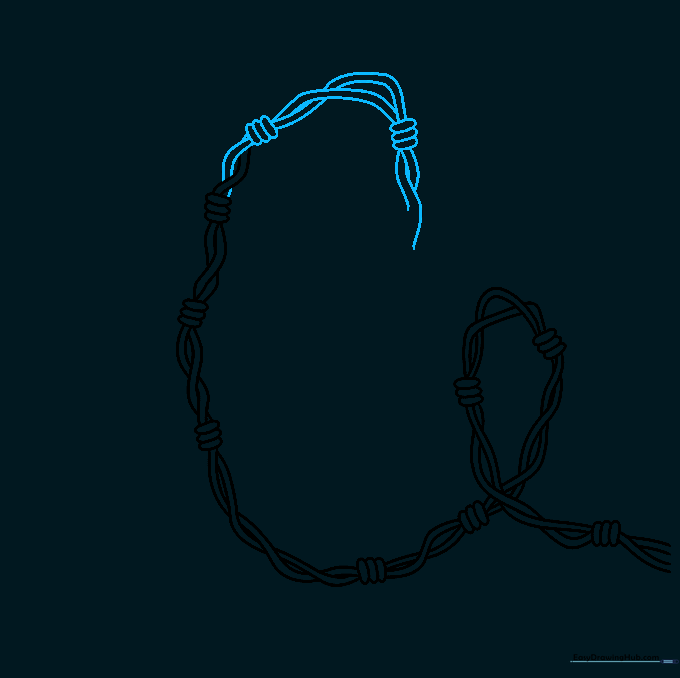
Step 8: Refining the Coil

Add two more barbs and connect them with curved lines to complete the second loop. Tip: Check your spacing—ensure the barbs aren't too crowded.
Step 9: Adding the Sharp Points
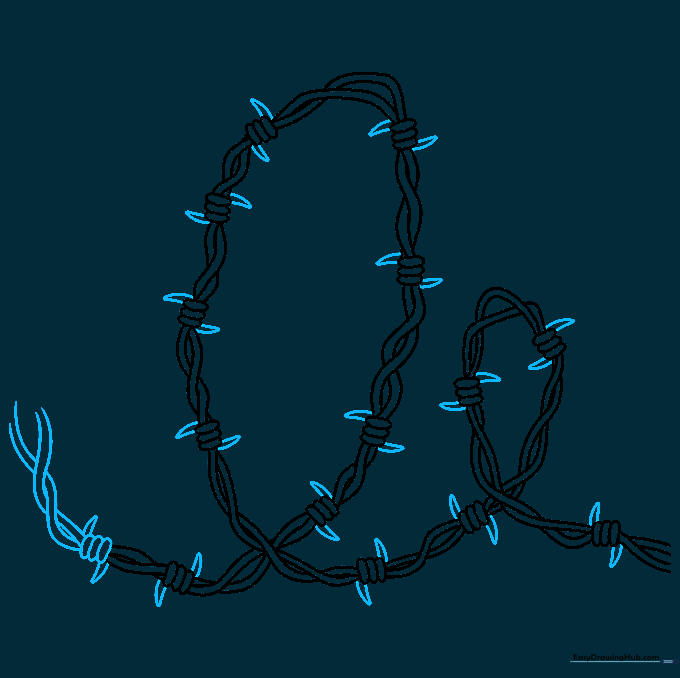
Draw the final barb. Now, add two small, curved triangles to every barb you've drawn to represent the sharp points. Tip: Use a fine-liner pen to make these points extra sharp and dark.
Step 10: Final Touches
Erase any stray pencil marks and outline your wire with a dark pen. Add some light shading to the wire strands to give them a metallic, rounded look. Great job!
More Tutorials


