How to Draw Bandit Heeler: Easy Step-by-Step Guide
Ready to draw everyone's favorite dad? This tutorial is perfect for young artists ages 5+ who love Bluey. You'll just need a pencil, an eraser, and some paper to bring Bandit to life while practicing your basic shapes and character proportions.
🎯 Final Result

Step-by-Step Instructions
Step 1: Sketching the Face and Snout
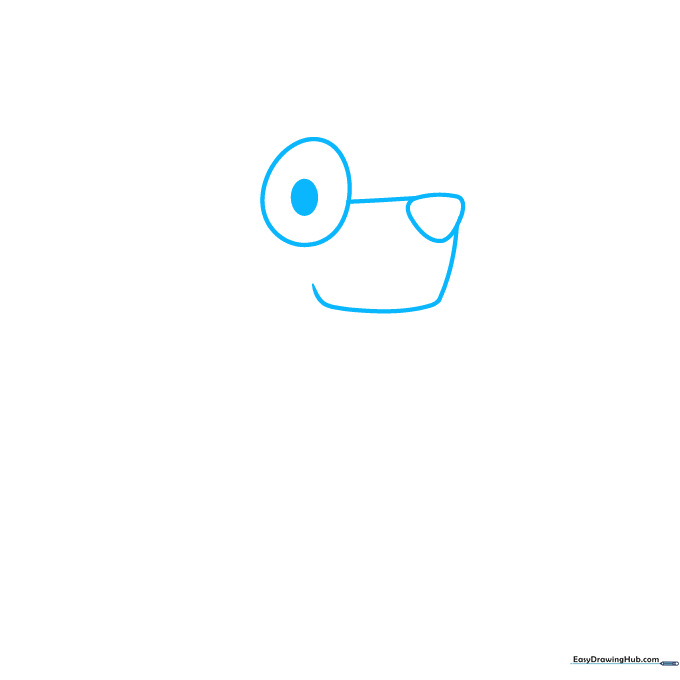
Start by drawing a large oval for the head and a smaller one inside for the eye. Add an upside-down triangle for the nose. Teacher's Tip: Keep your pencil pressure light here—you'll be refining these shapes as you go!
Step 2: Adding the Mouth and Brows
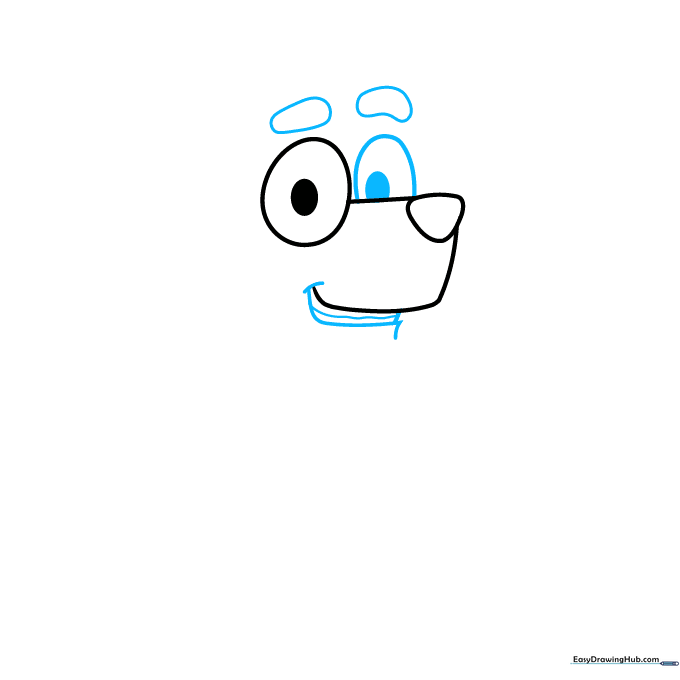
Draw a curved line for the jaw and a wavy line for the teeth. Add the second eye and two rounded shapes above for the eyebrows. Teacher's Tip: Use short, quick strokes for the teeth to give them a natural, cartoonish look.
Step 3: Defining the Head and Ears
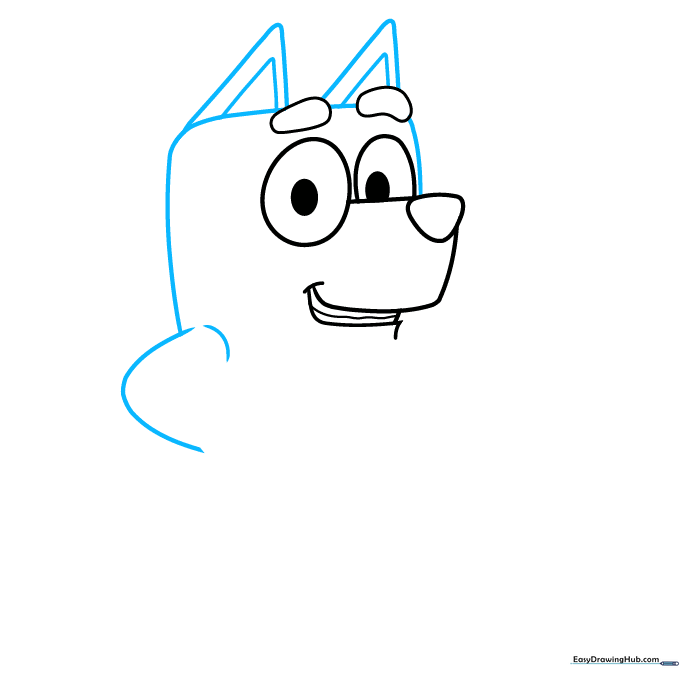
Connect the snout to the brows and square off the head. Add two triangles on top for the ears. Teacher's Tip: Make the ears slightly rounded at the tips to keep Bandit looking friendly and soft.
Step 4: Sketching the Body
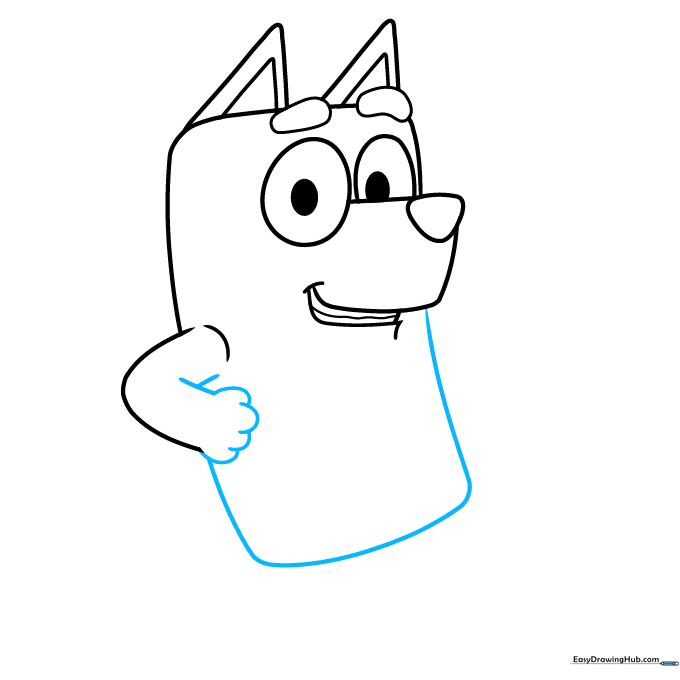
Use curved lines to draw the first arm and the rectangular body. Teacher's Tip: Keep the body slightly rounded at the corners to maintain the 'Bluey' art style, which avoids sharp, harsh angles.
Step 5: Adding the Second Arm
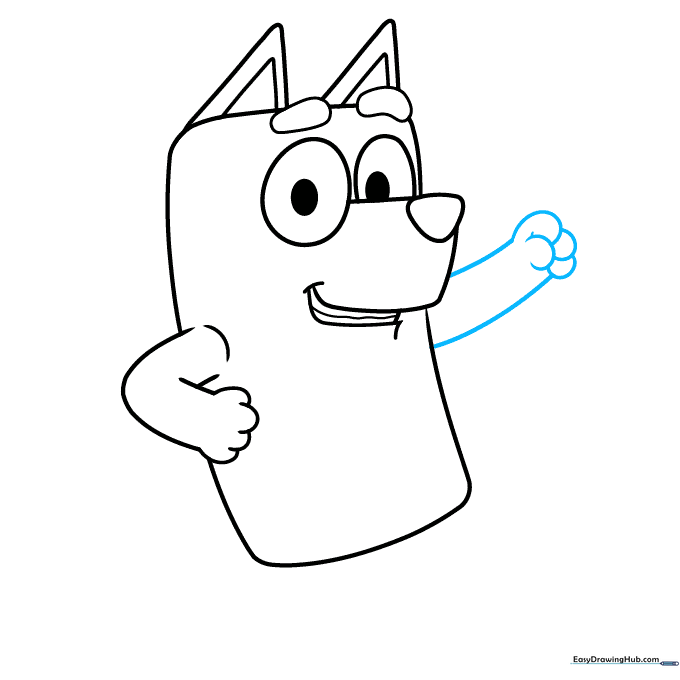
Use overlapping curved lines to draw the second arm. Teacher's Tip: Imagine the arm is a soft tube; overlapping lines help show where the elbow bends.
Step 6: Drawing the Legs
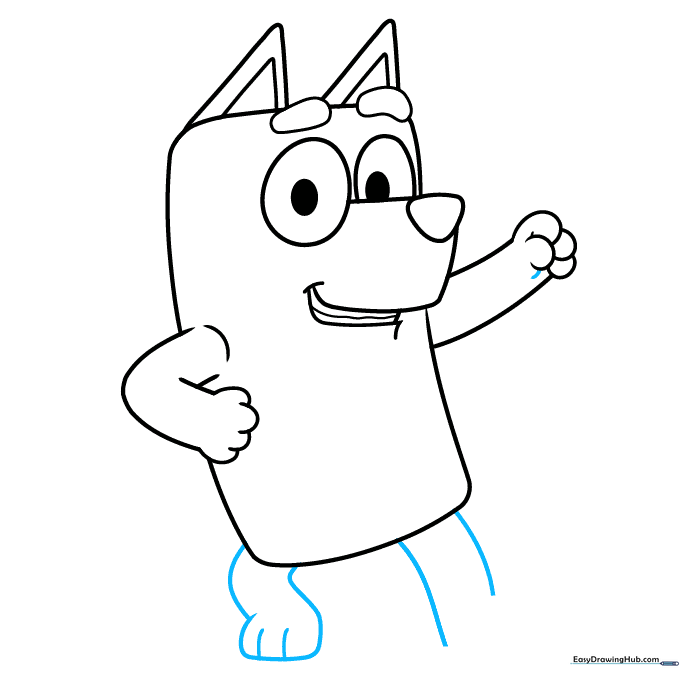
Draw the legs using long, smooth curves, adding small lines at the bottom for toes. Teacher's Tip: Keep the legs slightly wider at the top and tapering down to the feet for a balanced look.
Step 7: Finishing the Feet and Tail
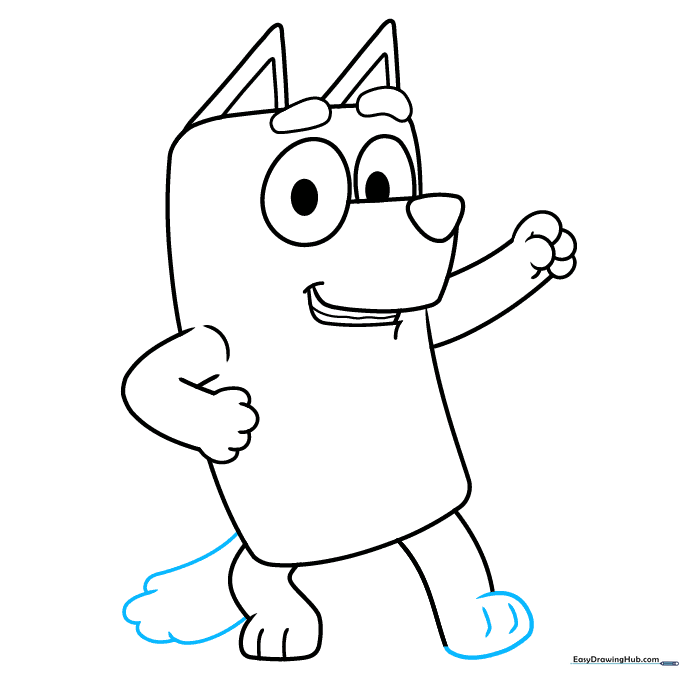
Complete the feet and add a bushy tail using curved lines. Teacher's Tip: A 'bushy' tail is just a series of connected 'C' shapes—don't worry about making it perfect!
Step 8: Adding Character Details
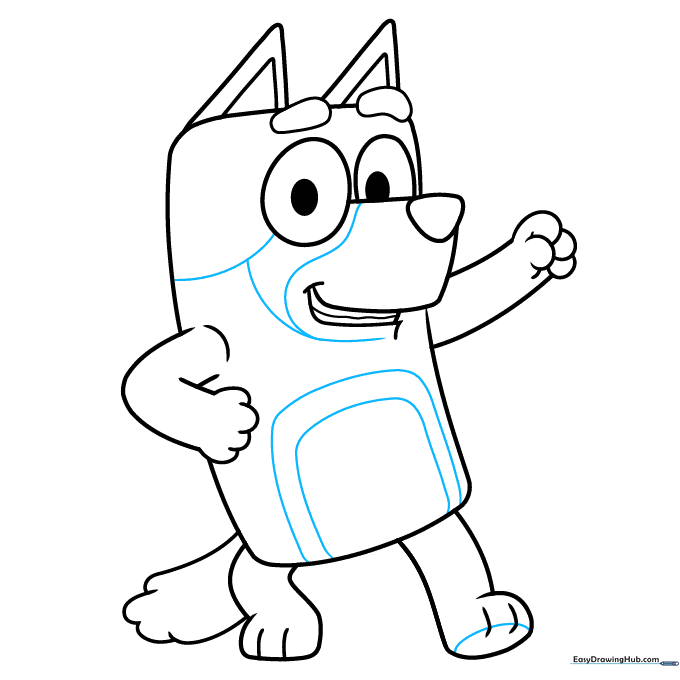
Add a curved line to the foot for depth and draw the spots on his body. Teacher's Tip: Bandit's spots are irregular, so feel free to make them unique to your drawing.
Step 9: Final Touches
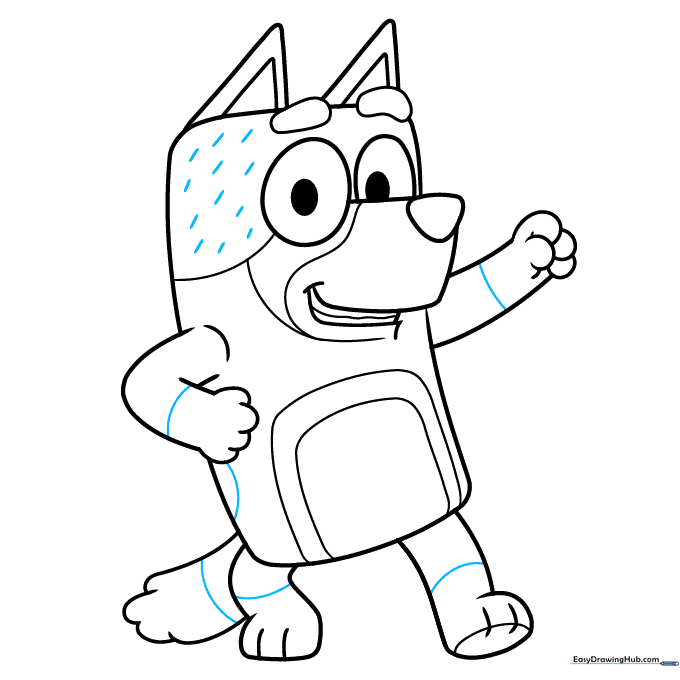
Add bands to the limbs and tail, and add some texture to the head. Teacher's Tip: Use a slightly darker pencil for these final details to make them pop against your light sketch lines.
Step 10: Color Your Bandit
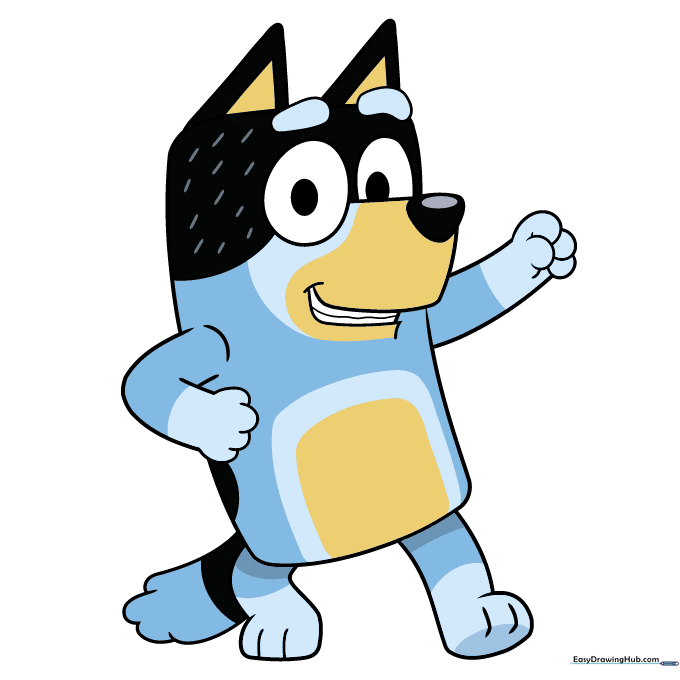
Time to color! Use shades of blue, tan, and black. Teacher's Tip: Start with the lightest colors first, then layer the darker blues on top to create that classic Bluey look.
More Tutorials


