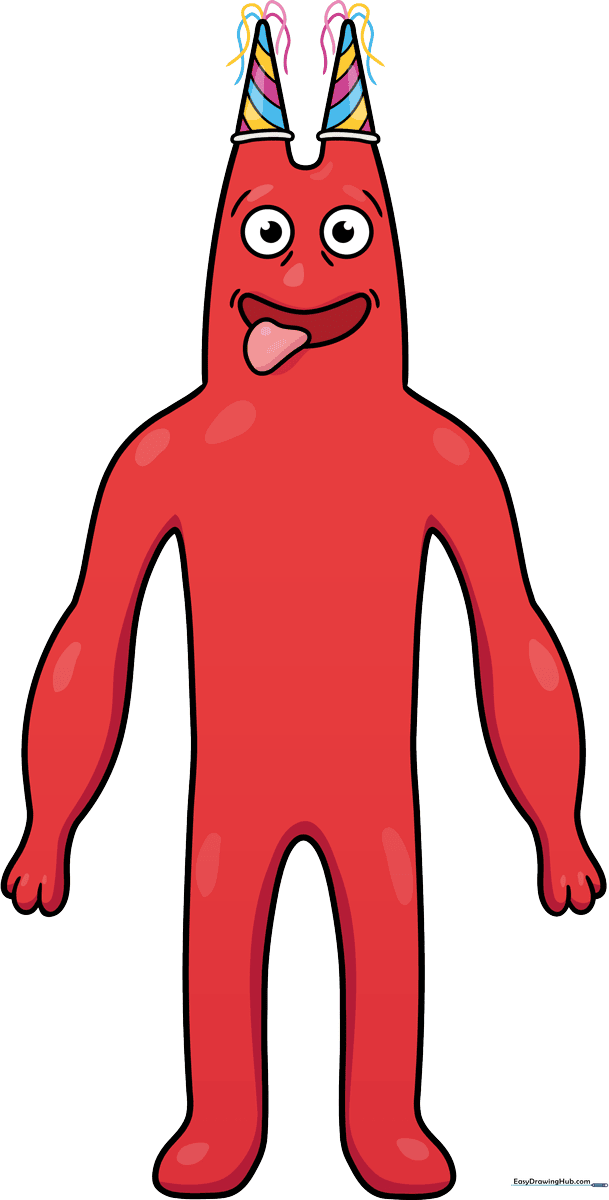
How to Draw Banban: Easy 10-Step Guide for Kids
Ready to bring the mascot of the kindergarten to life? This tutorial is perfect for young fans of Garten of Banban looking to practice their character sketching. You'll only need a pencil, an eraser, and some paper to start building this iconic, slightly spooky character.
🎯 Final Result
Step-by-Step Instructions
Sketching the Face

Start by drawing a curved, rounded shape for the mouth. Add two circles for the eyes and shade in the pupils. Teacher's Tip: Keep the eyes symmetrical to give Banban that signature wide-eyed look.
Defining the Head Shape

Draw a triangular tongue poking out of the mouth. Then, outline the sides of the face using curved lines and top it off with a 'U' shaped connector. Teacher's Tip: Use short, light strokes to get the curve just right before committing to a firm line.
Adding the Party Hats
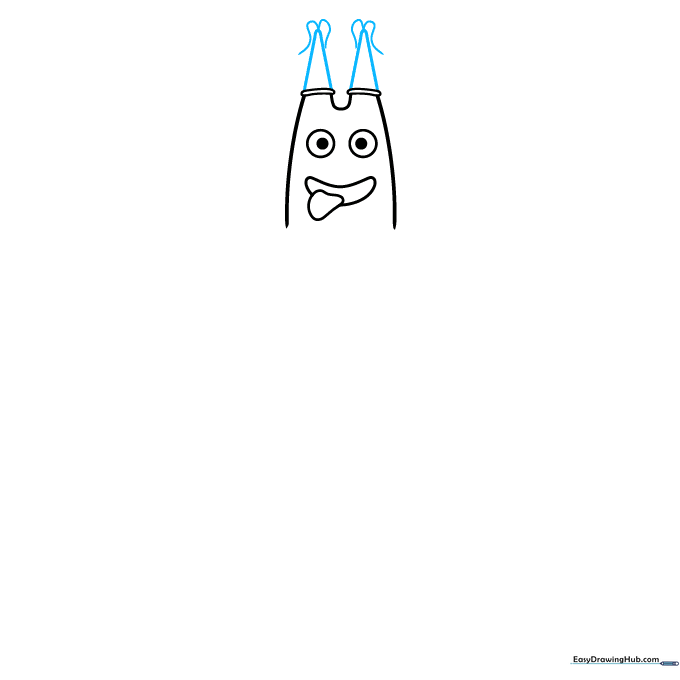
Draw two triangles on top of the head for the party hats, adding curved streamers at the peaks. Teacher's Tip: Don't worry if the streamers look a bit messy; they are supposed to be flowing and loose!
Detailing the Hats

Add more streamers and draw diagonal stripes on one of the hats. Teacher's Tip: Use a ruler if you struggle with straight lines, but freehand is better for a cartoon style.
Starting the Arms
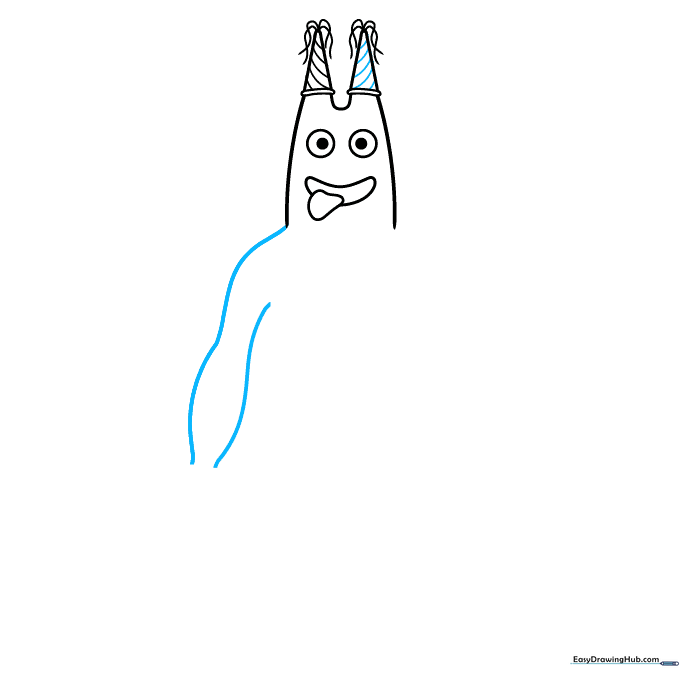
Add stripes to the second hat in the opposite direction. Sketch the first muscular arm using long, sweeping curved lines. Teacher's Tip: Think of the arm as a long, slightly bent tube.
Drawing the Hands
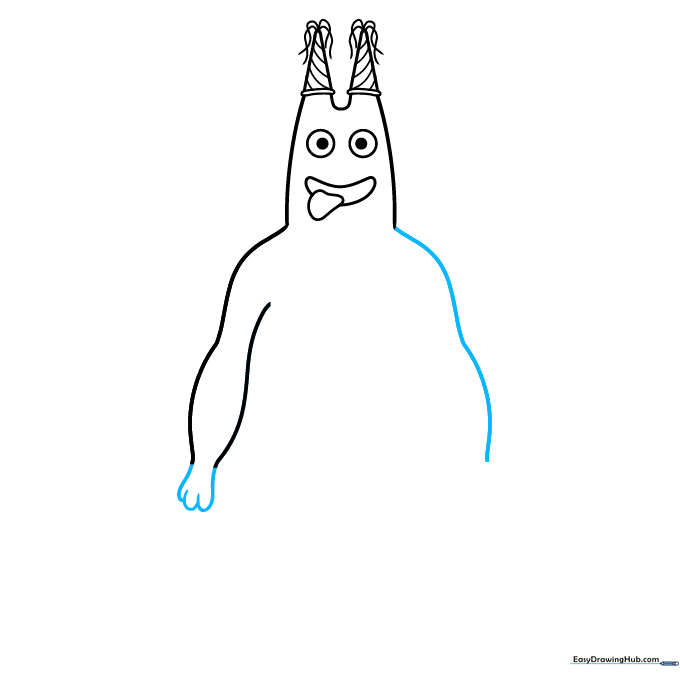
Draw the paw-like hand using three connected curves. Begin the second arm on the opposite side. Teacher's Tip: Keep the hand shape rounded to maintain the character's friendly but creepy aesthetic.
Completing the Arms
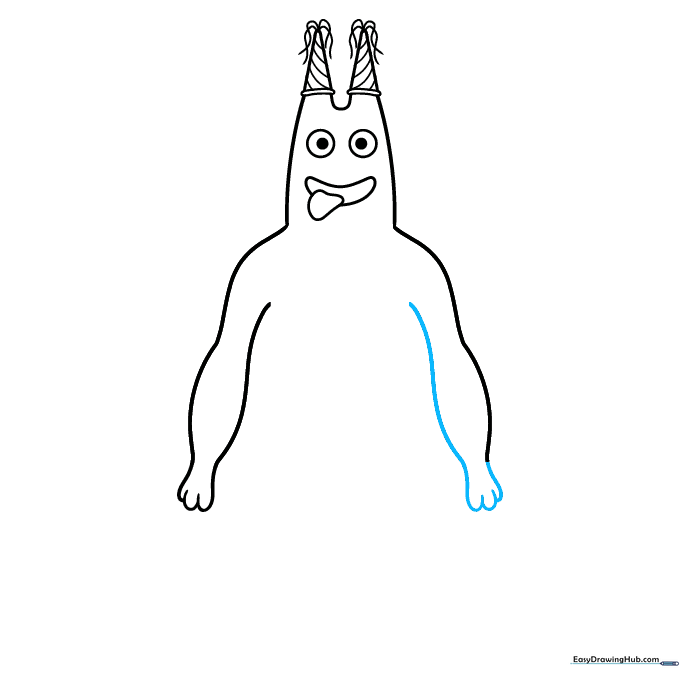
Finish the second arm and hand with overlapping curved lines. Teacher's Tip: Ensure the arm width matches the first one for better proportion.
Drawing the Torso
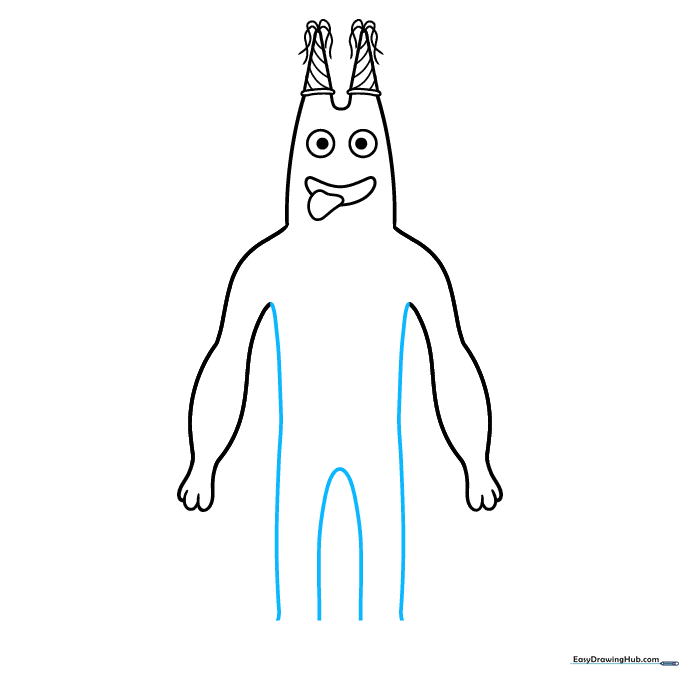
Use long, curved lines to connect the arms to the torso and sketch the legs. Teacher's Tip: Keep the torso slightly wider than the head for a balanced character design.
Finalizing the Outline
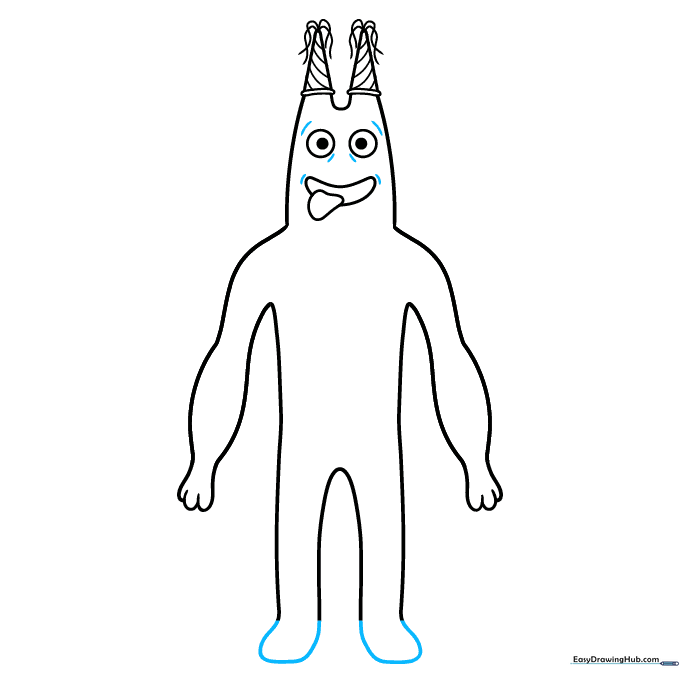
Draw the feet with short, curved lines and add contour lines around the eyes and mouth. Teacher's Tip: Use a fine-liner pen to go over your pencil lines before erasing the guidelines.
Adding Color
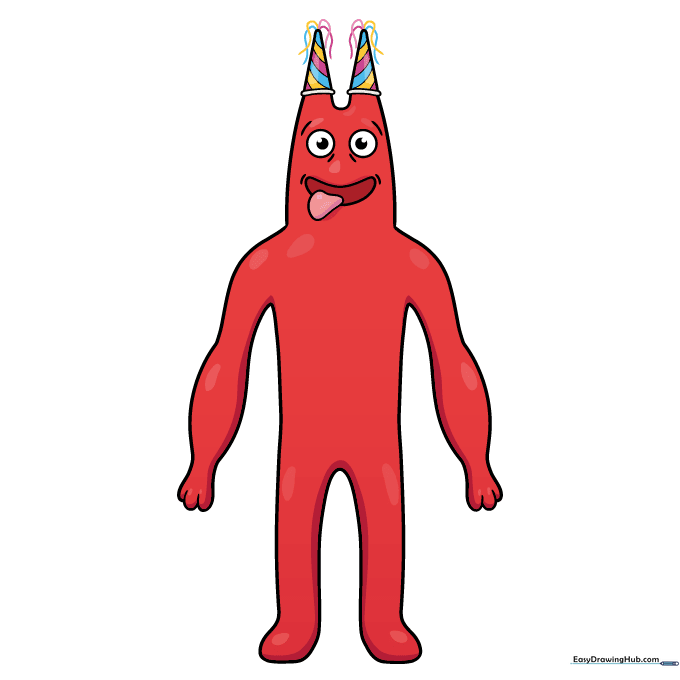
Time to color! Use bright red for the skin, pink for the tongue, and various colors for the party hats. Teacher's Tip: Try using light, circular motions with your colored pencils to get an even, smooth fill.
More Tutorials


