How to Draw Bambi: Easy 10-Step Guide for Kids
Bring the forest's favorite fawn to life with this simple, guided drawing lesson perfect for young artists ages 5 and up. All you need is a pencil, an eraser, and a piece of paper to get started. Follow these steps to master Bambi’s gentle features and build your confidence in character sketching.
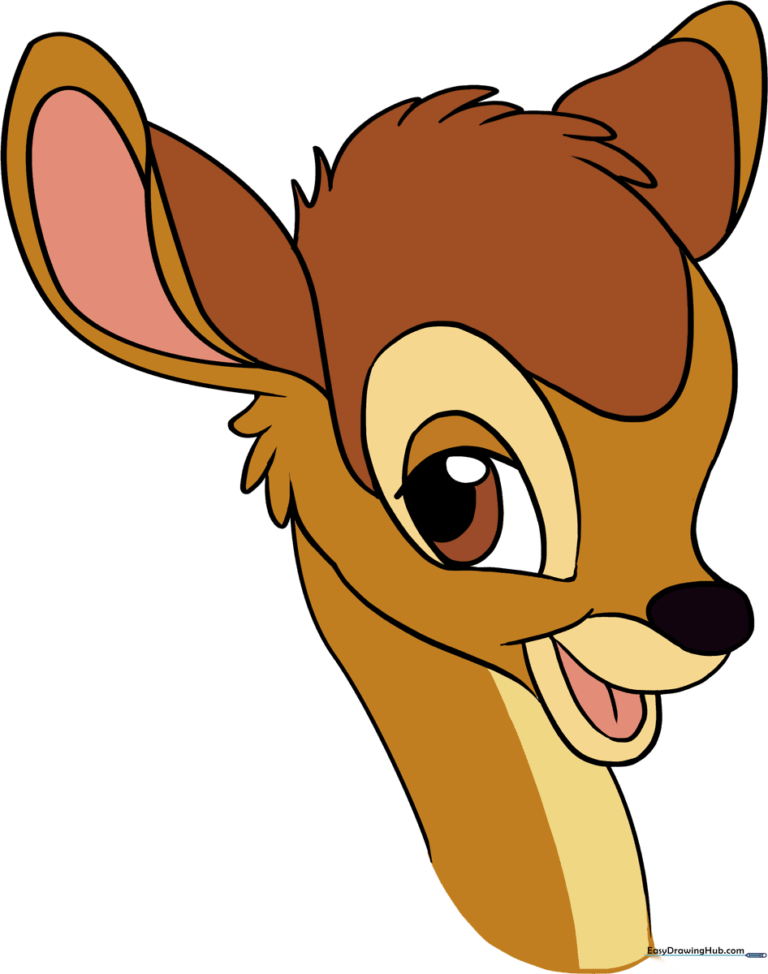
🎯 Final Result
Step-by-Step Instructions
Step 1: Sketching the Base Circle

Draw a light circle to serve as the foundation for Bambi's head. Teacher's Tip: Keep this circle about the size of a coin and use a very light touch with your pencil so it's easy to clean up later.
Step 2: Shaping the Muzzle and Nose

Extend a curved line from the bottom of the circle to form the jaw, then add a small protrusion near the top for the nose. Teacher's Tip: Think of the nose shape as a small, rounded triangle.
Step 3: Defining the Mouth
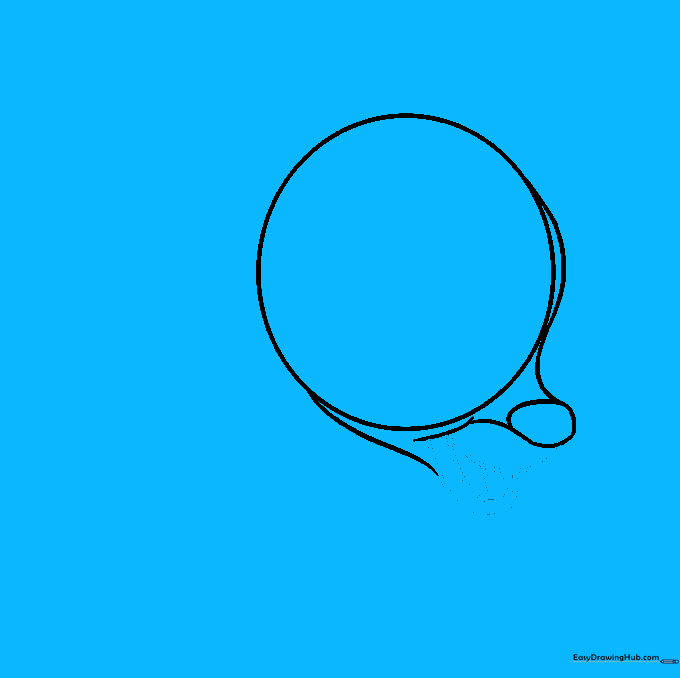
Use two gentle curves to create the open mouth, and add a smaller curve inside for the tongue. Teacher's Tip: Keep the lines soft to maintain Bambi's friendly, gentle appearance.
Step 4: Adding Fur Texture
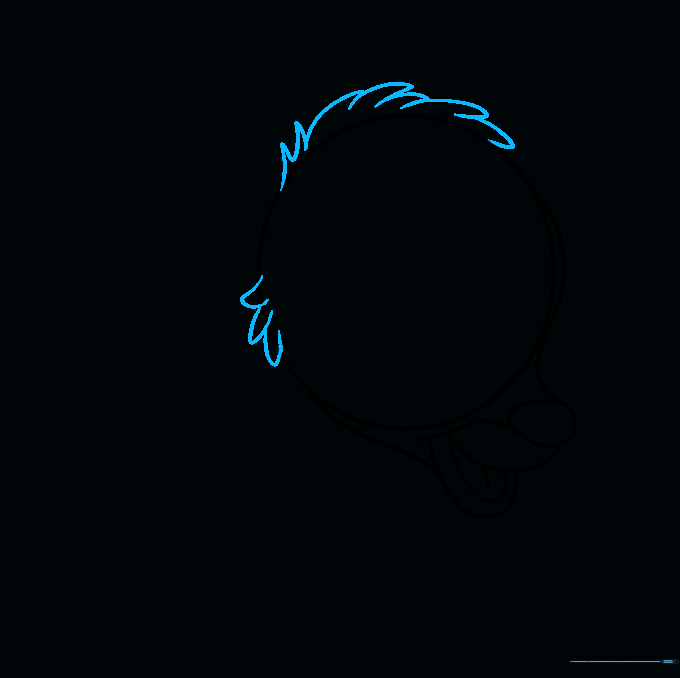
Use short, overlapping curved lines along the top and side of the head to suggest soft fur. Teacher's Tip: Don't make the lines too straight; a little bumpiness makes it look like real hair.
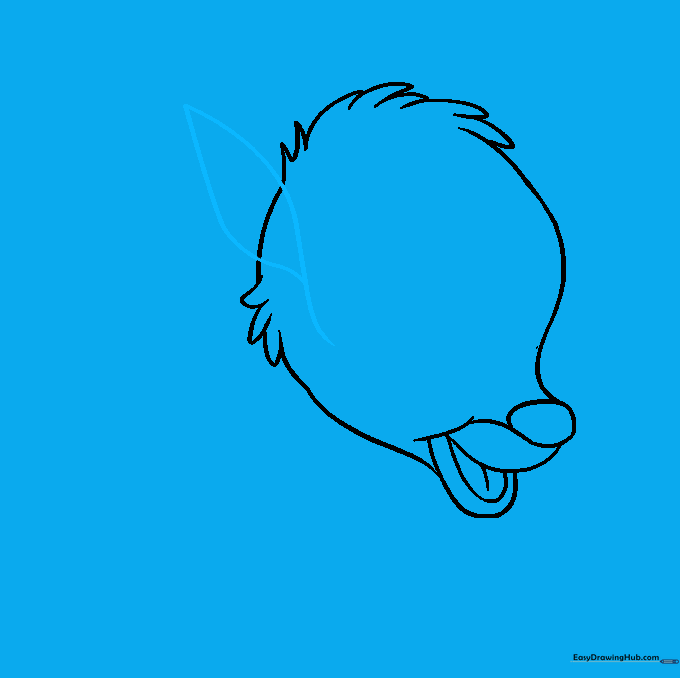
Step 5: Cleaning the Outline

Carefully erase the original circle guide lines. Teacher's Tip: Use a clean eraser and hold the paper flat to avoid wrinkling it while you clean up your sketch.
Step 6: Drawing the First Ear
Draw a long, pointed shape for the ear, partially overlapping the head. Teacher's Tip: Make sure the ear looks tall and alert, as deer ears are very expressive.
Step 7: Detailing the Ear
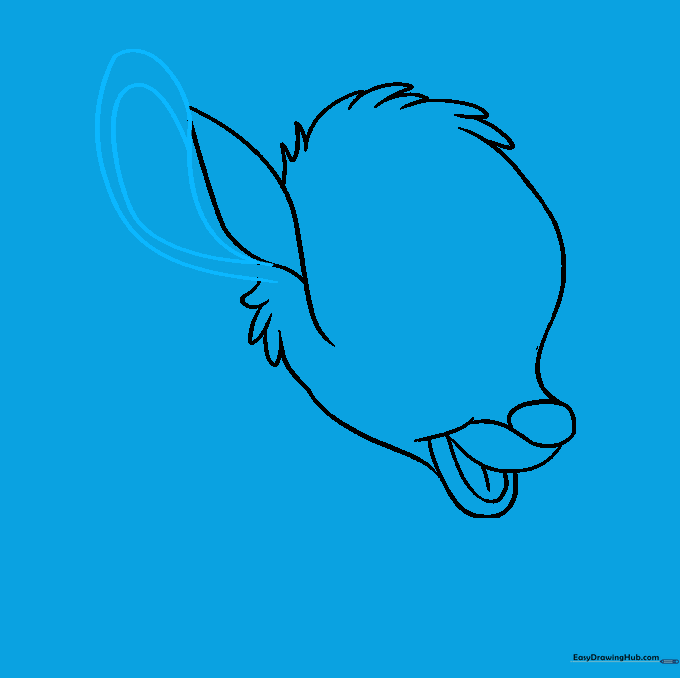
Add a parallel line inside the ear to give it depth. Teacher's Tip: Keep the inner line consistent with the outer shape for a professional look.
Step 8: Completing the Ears and Neck
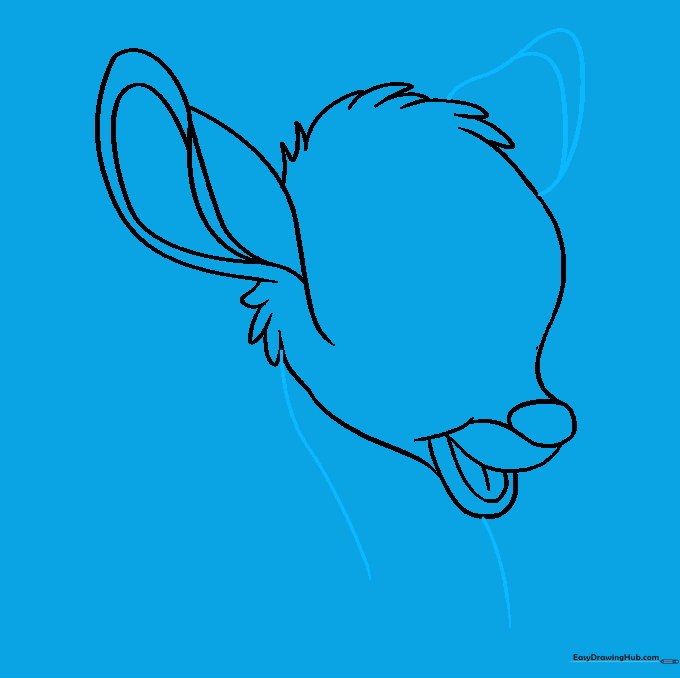
Draw the second ear and two curved lines for the neck. Teacher's Tip: The neck lines should be smooth and flow naturally from the jawline.
Step 9: Drawing the Expressive Eye
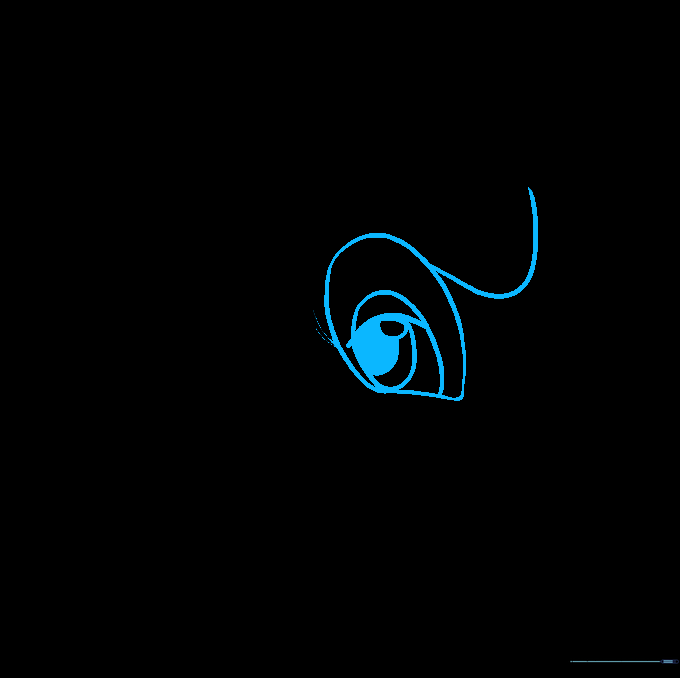
Draw a large, oval-shaped eye with a smaller pupil inside. Shade the pupil dark. Teacher's Tip: Adding a tiny white dot inside the pupil creates a 'sparkle' effect, making the eyes look alive.
Step 10: Bringing Bambi to Life with Color

Use various shades of brown to color your Bambi. Teacher's Tip: Use a lighter brown for the face and a slightly darker brown for the ears to add dimension.
More Tutorials


