How to Draw a Bunch of Balloons: Easy Step-by-Step Guide
Bring a festive touch to your sketchbook with this easy balloon tutorial, perfect for artists ages 5 and up. All you need is a pencil, an eraser, and your favorite markers or crayons. By the end of this lesson, you will master the art of overlapping shapes to create a realistic, floating bunch of balloons.
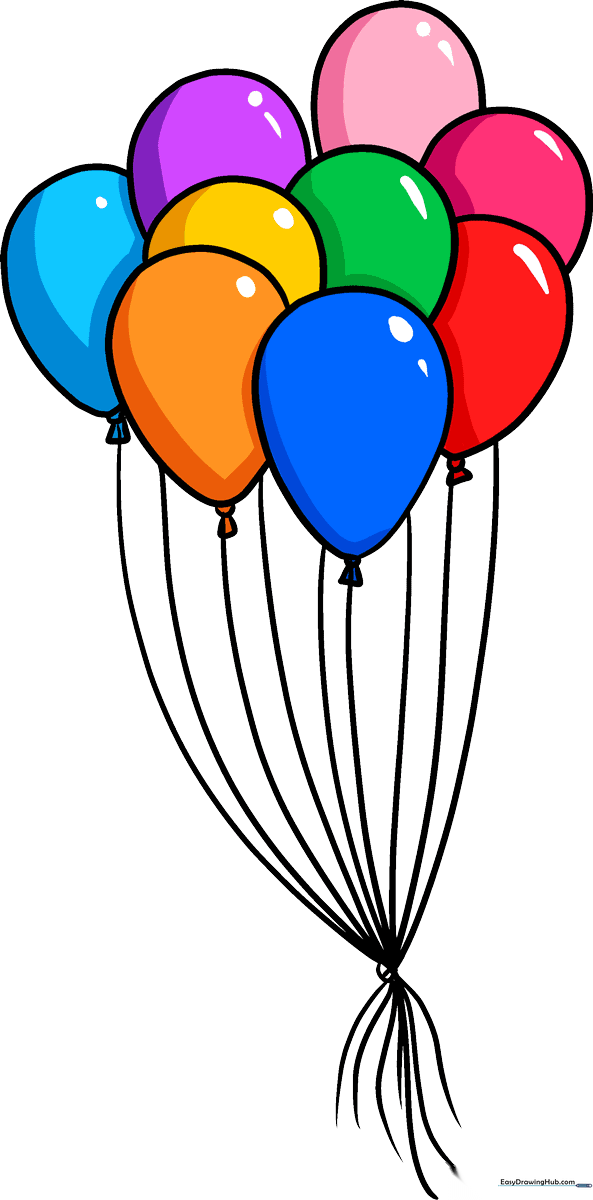
🎯 Final Result
Step-by-Step Instructions
Step 1: Sketching the First Balloon
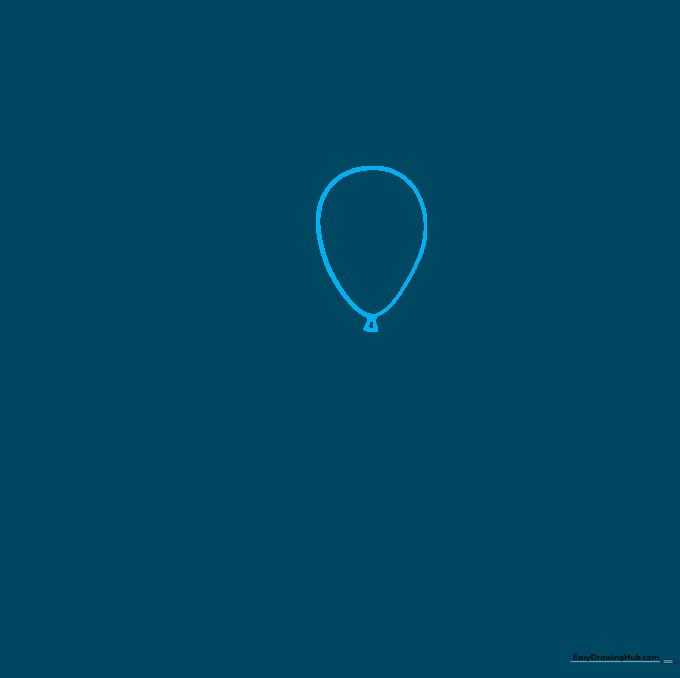
Draw a vertical oval, similar to an inverted egg. At the bottom, add a small rounded nub with a tiny triangle beneath it to represent the tied knot. Tip: Keep your pencil lines light so you can easily adjust the shape later.
Step 2: Adding Overlapping Balloons
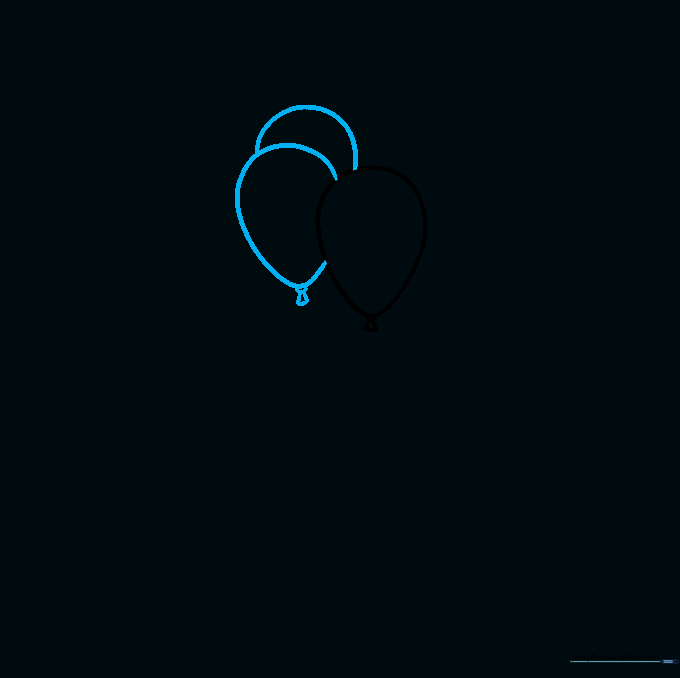
Draw a second oval slightly behind the first. Add a small half-circle and triangle at its base. Then, use a curved line to peek the top of a third balloon behind the others. Tip: Overlapping creates depth, making your drawing look 3D!
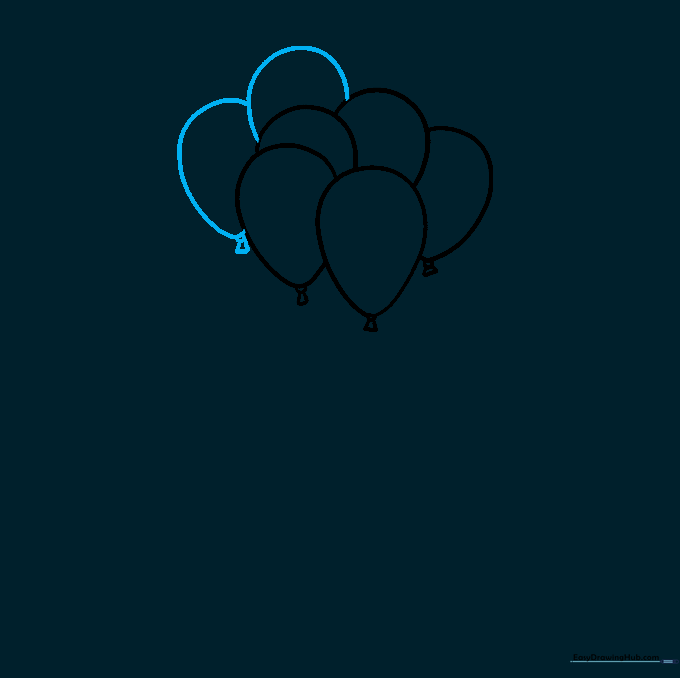
Step 3: Building the Bunch
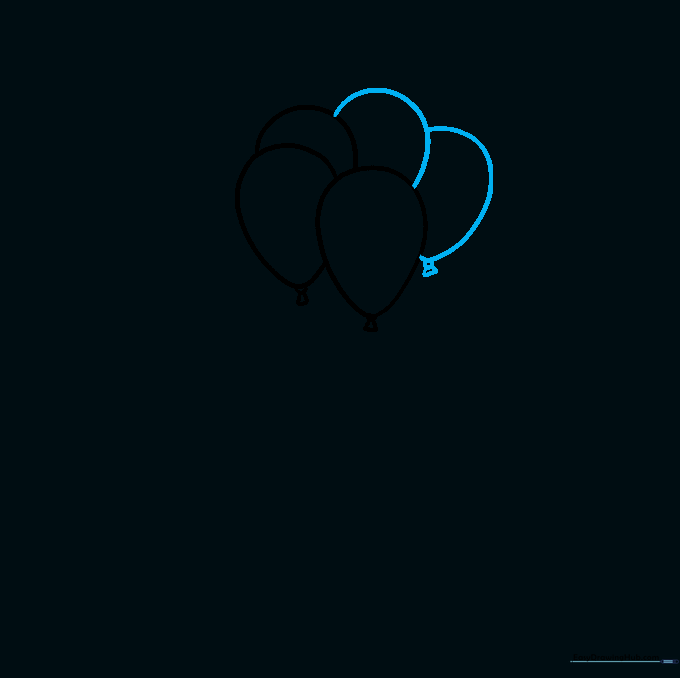
Add a fourth balloon partially hidden behind the others, then a fifth one with its own knot at the bottom. Tip: Don't worry if the ovals aren't perfect; balloons come in all sorts of organic, squishy shapes!
Step 4: Expanding the Cluster
Continue adding more curved lines to represent the tops of additional balloons tucked into the bunch. Add one more complete balloon with a knot at the bottom. Tip: Use your eraser to remove any lines that overlap inside the balloons to keep the drawing clean.
Step 5: Finalizing the Balloon Shapes
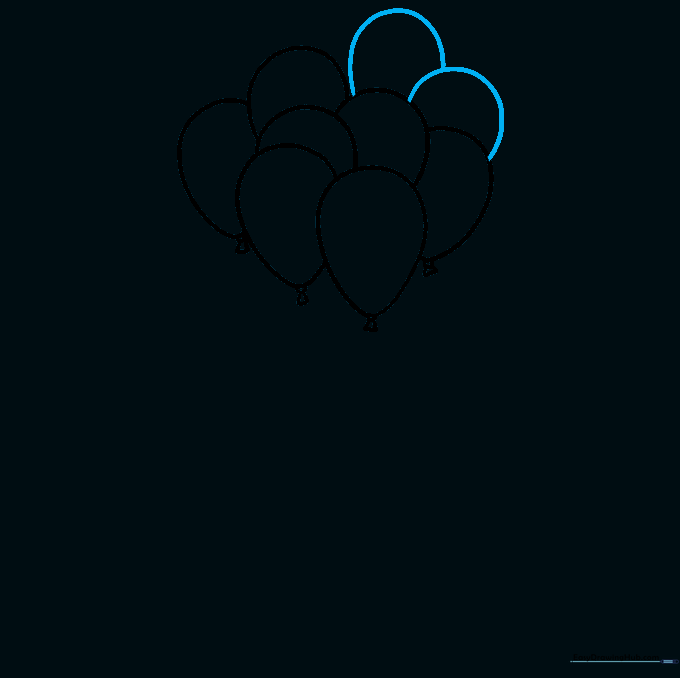
Add two final curved lines at the top to suggest balloons tucked deep into the back of the bunch. Tip: Vary the height of these lines to make the bunch look more natural and less uniform.
Step 6: Drawing the First Strings
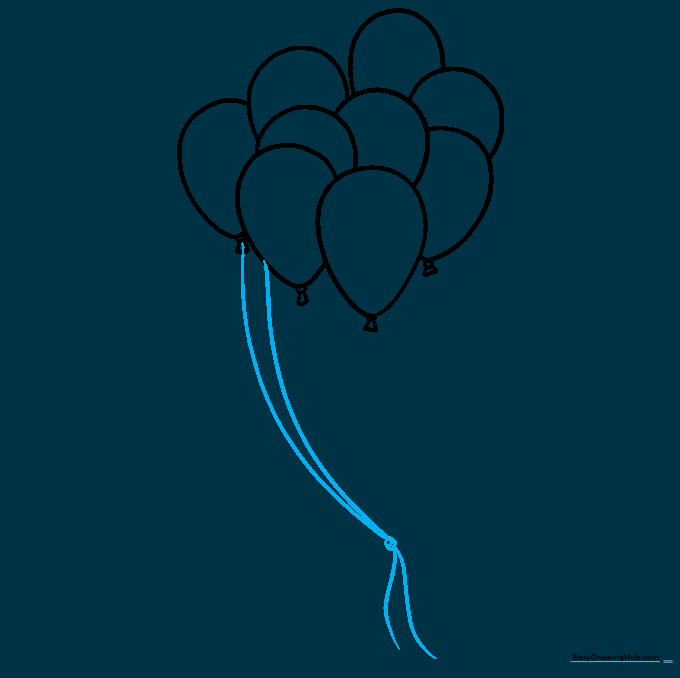
Draw long, sweeping curved lines descending from the balloons. Have them converge at a single point and draw a small circle to represent the knot where they are held together. Tip: Use a fluid, continuous motion for the strings to make them look like they are swaying.
Step 7: Adding More Strings
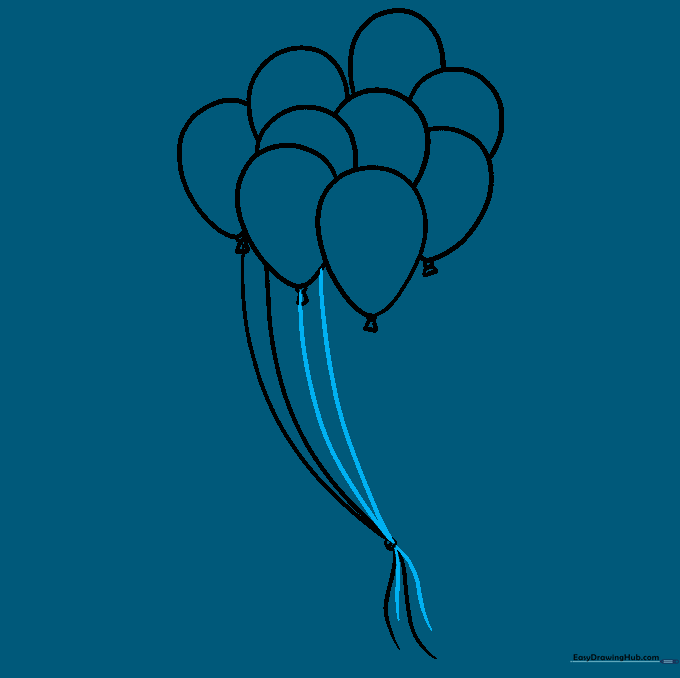
Add two more strings descending from the balloons, ensuring they also pass through the central knot. Tip: Keep the strings thin and delicate to contrast with the round balloons.
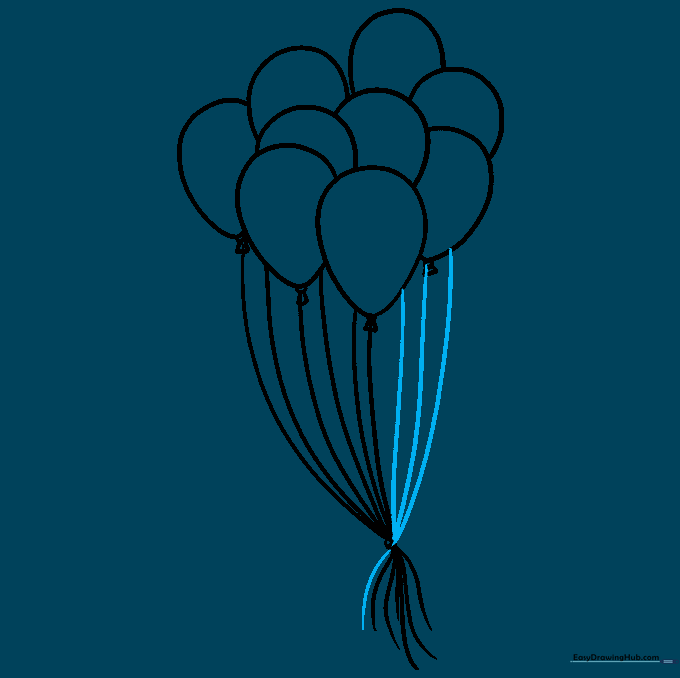
Step 8: Filling in the Strings
Add two more strings to the bunch, crossing over the others at the knot. Tip: If your pencil lines get too dark, use your eraser to lighten them before you start coloring.
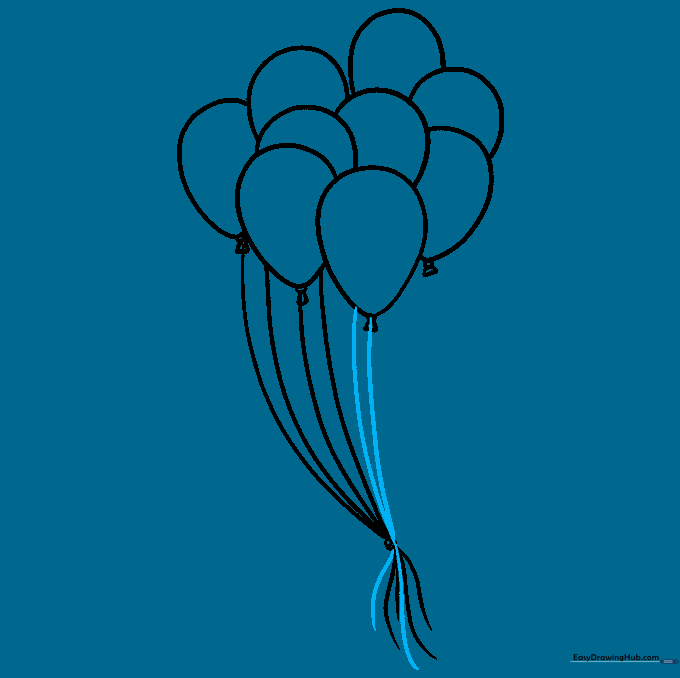
Step 9: Final String Details
Add the final three strings, making sure they all pass through the knot. Your line work is now complete! Tip: Ensure all strings look like they are coming from the center point to keep the drawing balanced.
Step 10: Bring Your Balloons to Life with Color
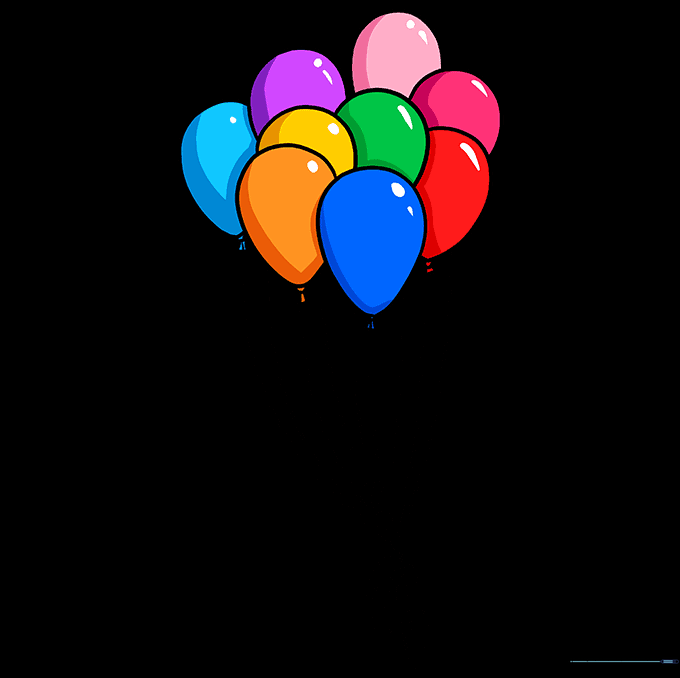
Time to color! Use a vibrant mix of blue, green, red, yellow, orange, purple, and pink. Tip: Leave a small white sliver on one side of each balloon to act as a 'highlight,' which makes them look shiny and inflated.
More Tutorials


