How to Draw Baby Yoda: Easy 9-Step Guide for Kids
Bring Grogu to life with this fun, beginner-friendly drawing guide! Designed for young artists, this activity requires only a pencil, paper, and an eraser. Follow these steps to build confidence in your character sketching and create your own adorable space traveler.
🎯 Final Result

Step-by-Step Instructions
Step 1: Sketching the Head Shape

Start by drawing a soft, rounded oval in the center of your paper. Teacher's Tip: Keep this shape light and loose; it serves as the foundation for the entire character's proportions.
Step 2: Defining the Face Structure

Gently erase the bottom curve of your oval and replace it with a series of overlapping lines to form the chin and cheeks. Teacher's Tip: Focus on creating a 'squishy' look for the cheeks to make him look extra cute.
Step 3: Drawing the Iconic Ears
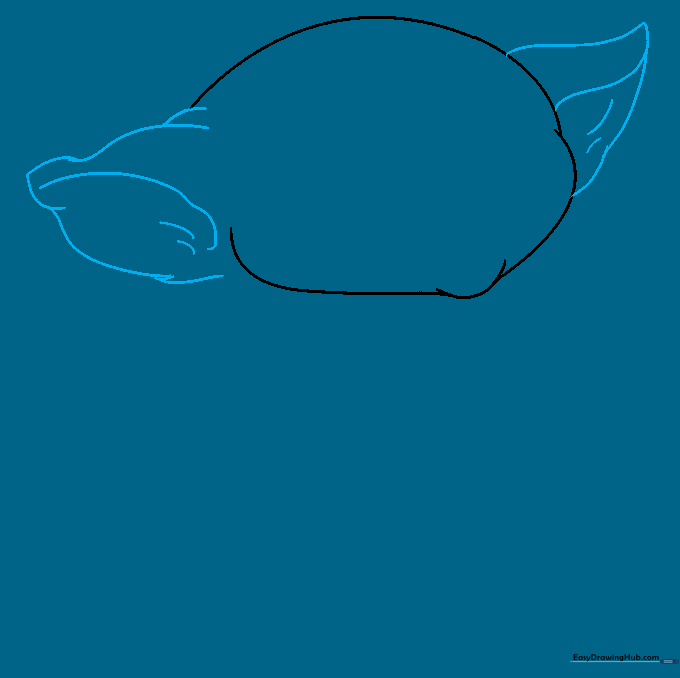
Extend two large, blunt triangle shapes from the sides of the head. Add a curved line inside each to show the ear's depth. Teacher's Tip: Make them nice and big—that's what gives him his signature look!
Step 4: Adding Eyes and Nose
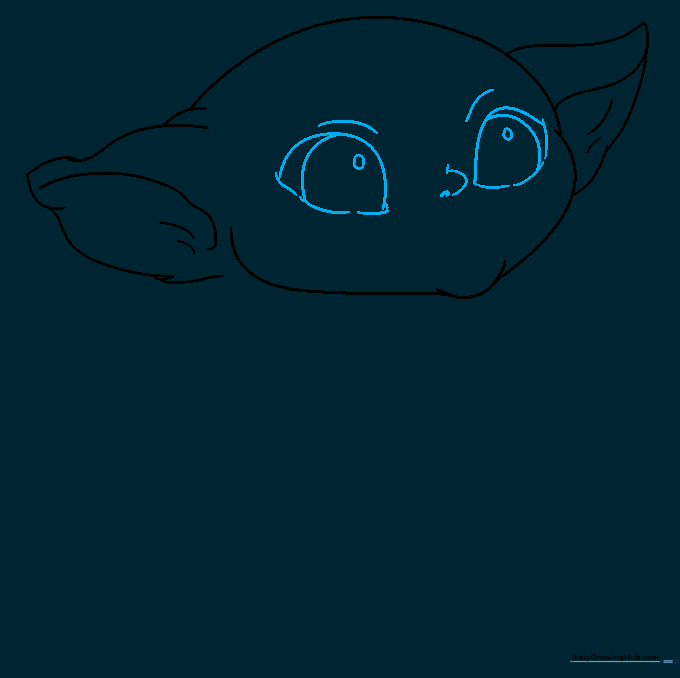
Sketch two large, almond-shaped eyes with a small circle inside for the pupil. Add a tiny 'C' shape for the nose. Teacher's Tip: Keep the eyes wide and spaced apart to maintain that youthful, innocent expression.
Step 5: Creating the Smile
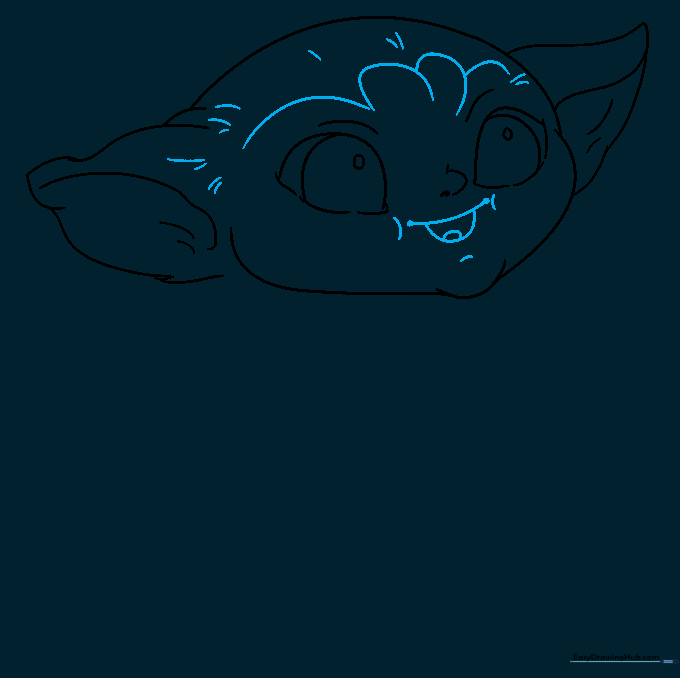
Draw a gentle, curved line for the mouth and add a small tongue inside. Use light 'U' shapes above the eyes to suggest eyebrows. Teacher's Tip: A slight curve upward makes him look happy and friendly.
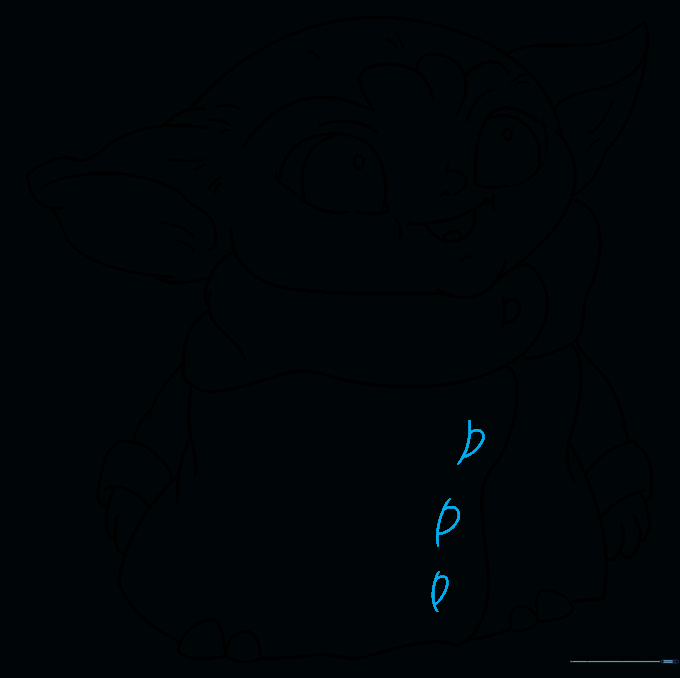
Step 6: Sketching the Robes
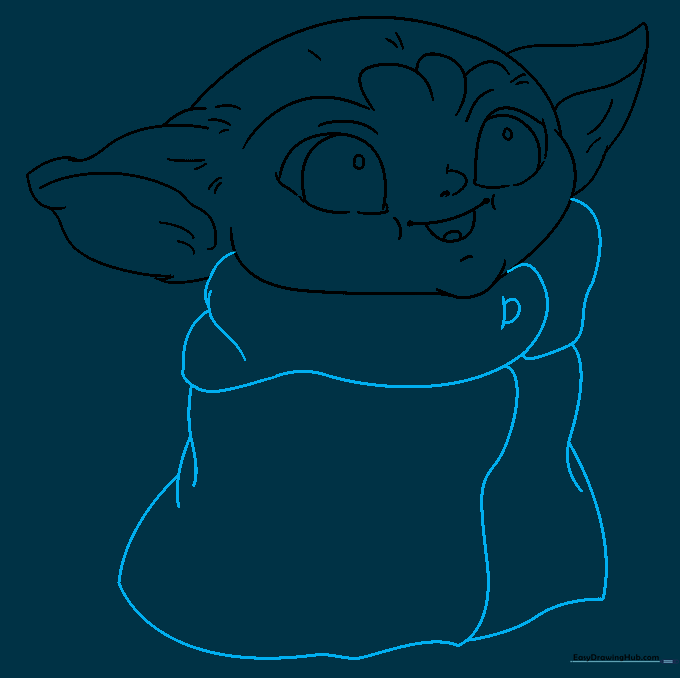
Draw a rectangular shape below the head for the robe. Add lines to indicate the collar and a small button. Teacher's Tip: Use loose, flowing lines to make the fabric look soft and comfortable.
Step 7: Adding the Feet

At the bottom of the robe, draw two small, rounded shapes for the feet. Teacher's Tip: Keep them simple and slightly tucked under the robe to maintain the character's proportions.
Step 8: Drawing the Arms
Add two small sleeves and hands extending from the sides of the robe. Teacher's Tip: Keep the hands simple—a small rounded shape is perfect for this cartoon style.
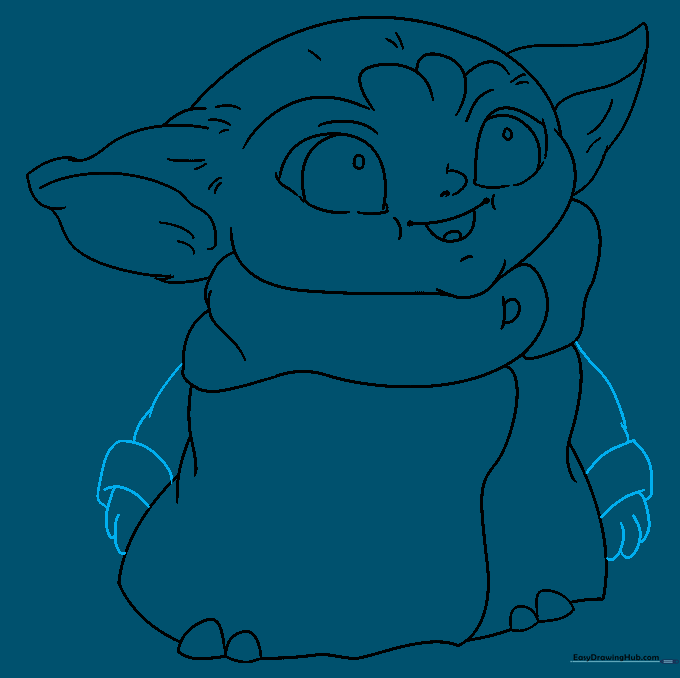
Step 9: Final Touches
Add a few more button details and clean up your lines with an eraser. Your outline is now complete! Teacher's Tip: Use a dark pen to trace over your final lines before coloring.
Step 10: Bring Him to Life with Color
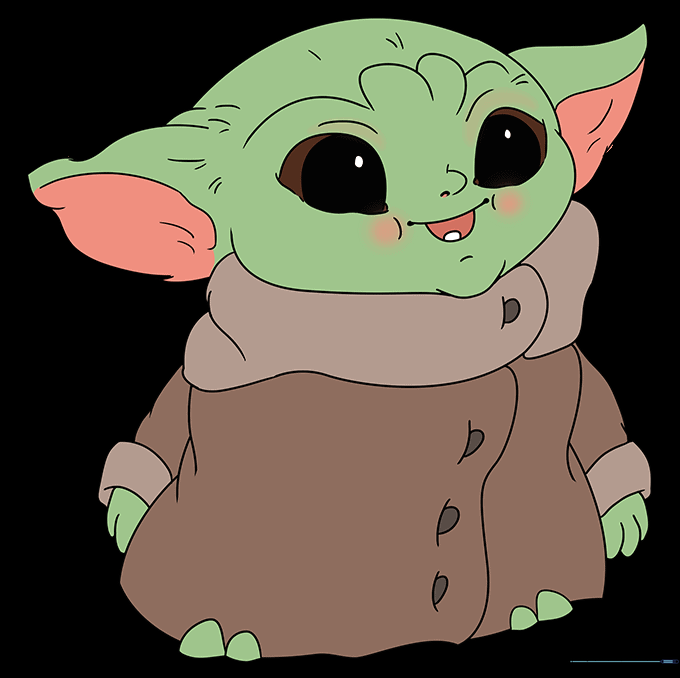
Use shades of green for the skin and tan or brown for the robe. Teacher's Tip: Try using light pressure with your colored pencils to create soft shadows, giving your drawing a 3D effect.
More Tutorials


