How to Draw Baby Groot: Easy 10-Step Guide for Kids
Bring the galaxy's cutest hero to life! This tutorial is designed for young artists ages 5 and up, requiring only a pencil, paper, and an eraser. Follow these simple steps to master character proportions and develop your sketching confidence.
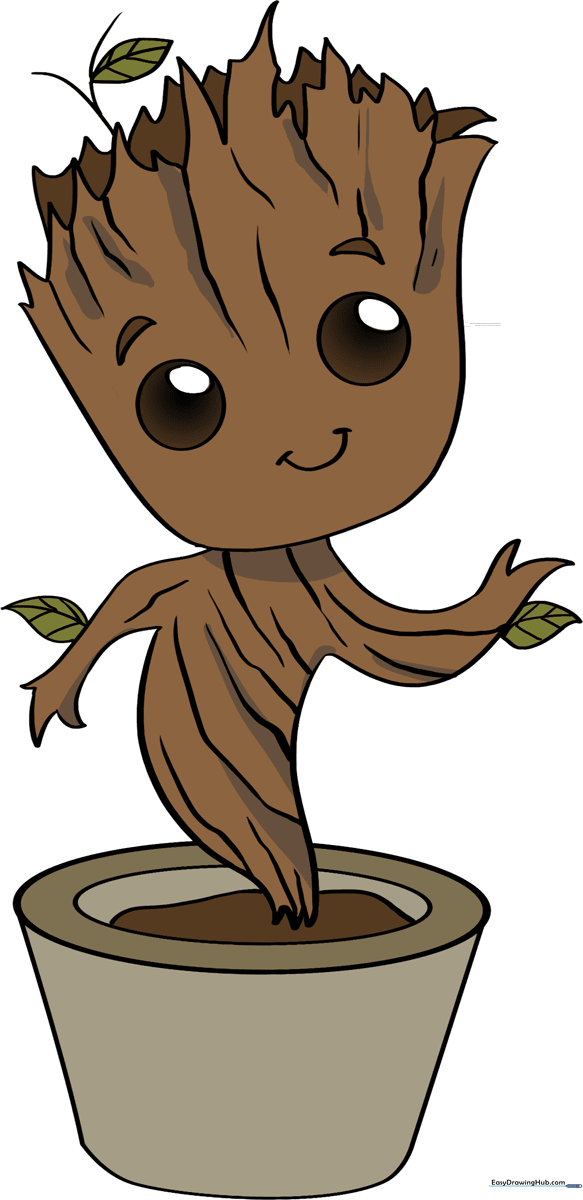
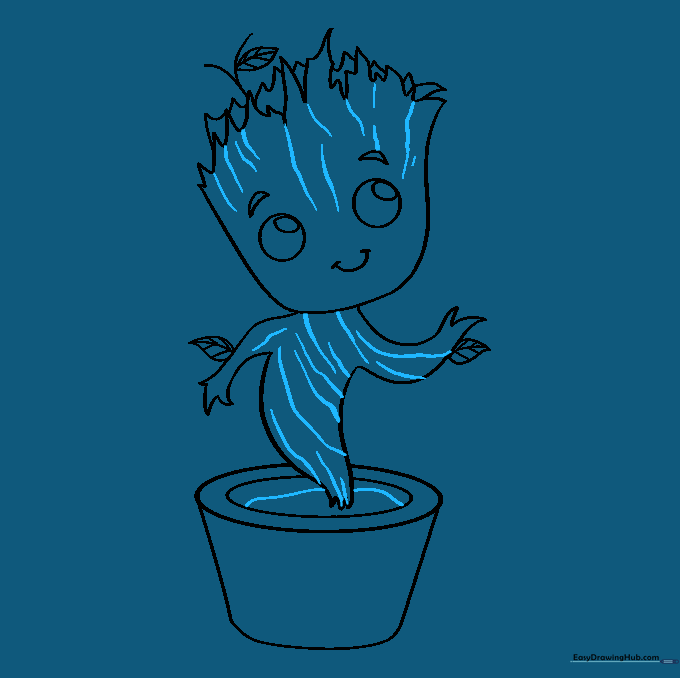
🎯 Final Result
Step-by-Step Instructions
Step 1: Sketching the Pot Base

Draw a horizontal oval, then add a slightly larger oval around it to create the pot's rim. Teacher's Tip: Keep your pencil pressure light so you can easily clean up your guide lines later.
Step 2: Shaping the Pot
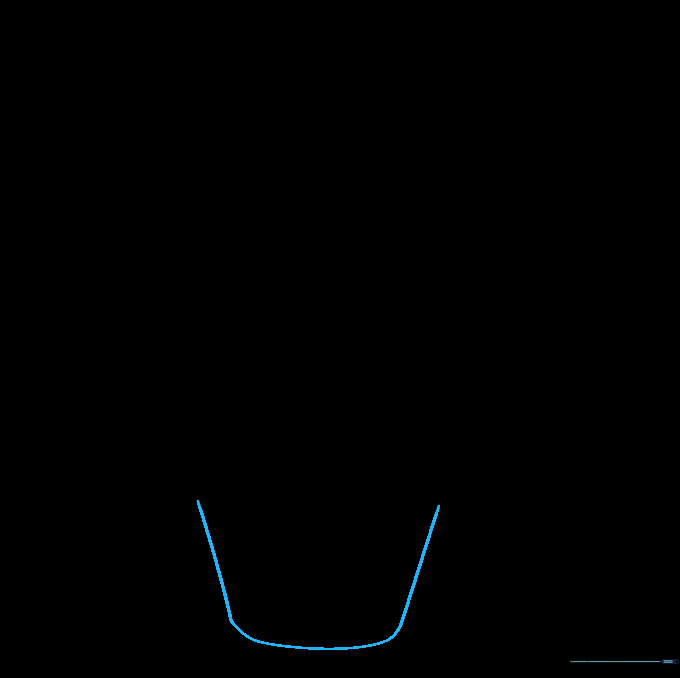
Draw two diagonal lines descending from the rim and connect them with a curved base. Teacher's Tip: Rounding the bottom corners makes the pot look more natural and less like a rigid box.
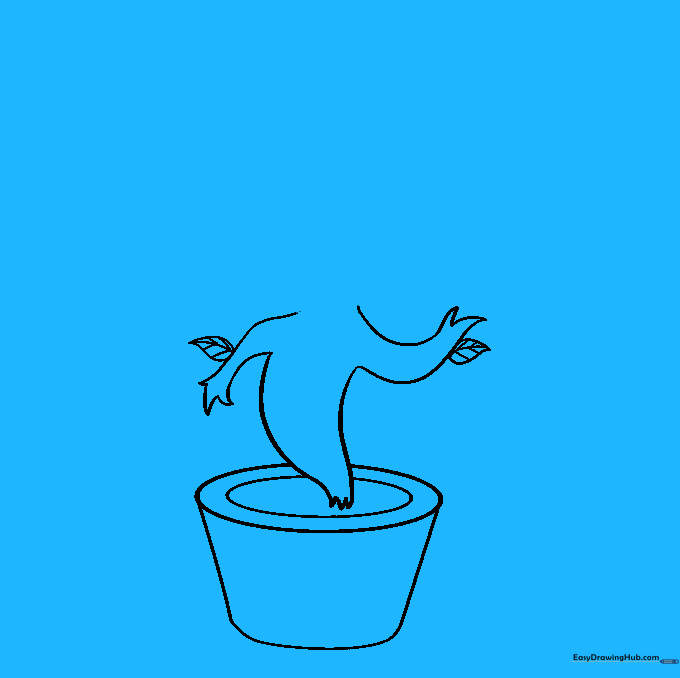
Step 3: Sketching the Torso

Draw two curved lines emerging from the pot and connect them with a zigzag line at the bottom. Teacher's Tip: Use a 'bumpy' zigzag to mimic the organic, wooden texture of Groot's body.
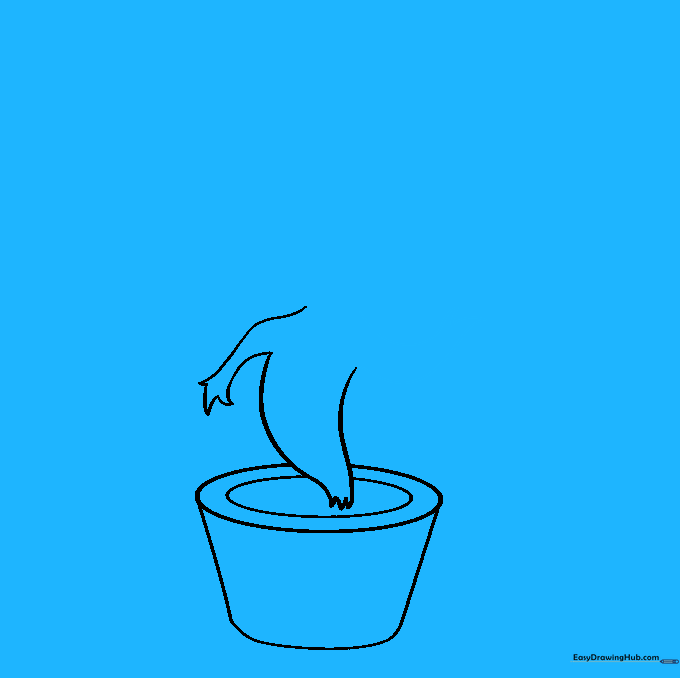
Step 4: Adding the First Arm
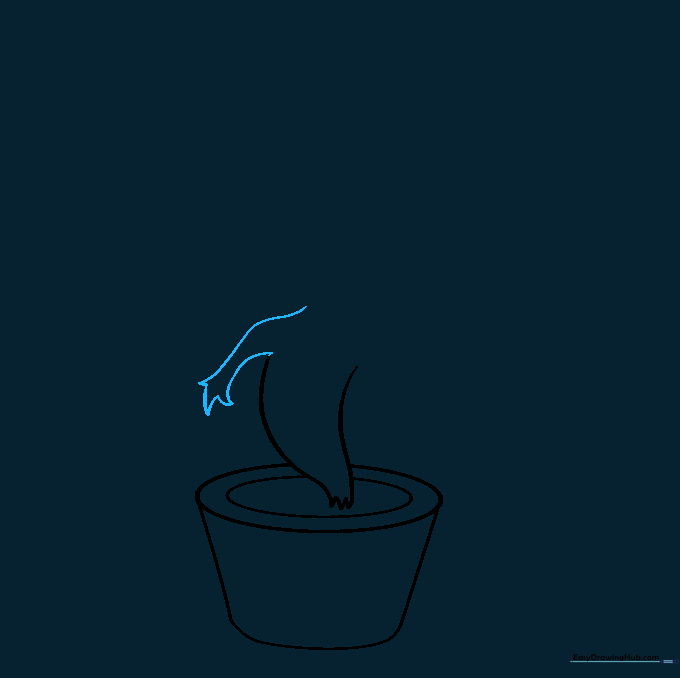
Use curved lines to outline the arm and hand, finishing with three pointed fingers. Teacher's Tip: Keep the fingers small and twig-like to maintain the character's delicate look.
Step 5: Adding the Second Arm
Mirror the process on the opposite side to draw the second arm. Teacher's Tip: Don't worry about making them perfectly symmetrical; Groot is a plant, so a little variation looks more realistic!
Step 6: Drawing Leaves

Add leaves to the arms by drawing two curved lines that meet at a point. Add a central vein and small lines for texture. Teacher's Tip: Vary the size of the leaves to add visual interest.
Step 7: Shaping the Head
Draw a large, jagged zigzag line for the top of the head and add a forked twig with a leaf. Teacher's Tip: Use uneven 'peaks' and 'valleys' in your zigzag to create that authentic bark texture.
Step 8: Adding the Face

Draw two oval eyes, pointed eyebrows, and a wide, happy 'U' shaped mouth. Teacher's Tip: Adding small lines at the corners of the mouth gives him a friendly, expressive smile.
Step 9: Final Details
Add a curved line inside the pot for soil and use short, varied lines to texture Groot's body. Teacher's Tip: The more varied your lines, the more 'wooden' and realistic he will look.
Step 10: Color Your Masterpiece

Bring your drawing to life with shades of brown for the body and vibrant green for the leaves. Teacher's Tip: Use a darker brown for the shadows to make your character pop off the page!
More Tutorials


