How to Draw Aurora: Easy Step-by-Step Princess Tutorial
Bring Princess Aurora to life with this guided drawing tutorial, perfect for young artists ages 7 and up. You will need a pencil, an eraser, and your favorite coloring markers or pencils. Follow along to master facial proportions and flowing gown details while building your confidence in character design.
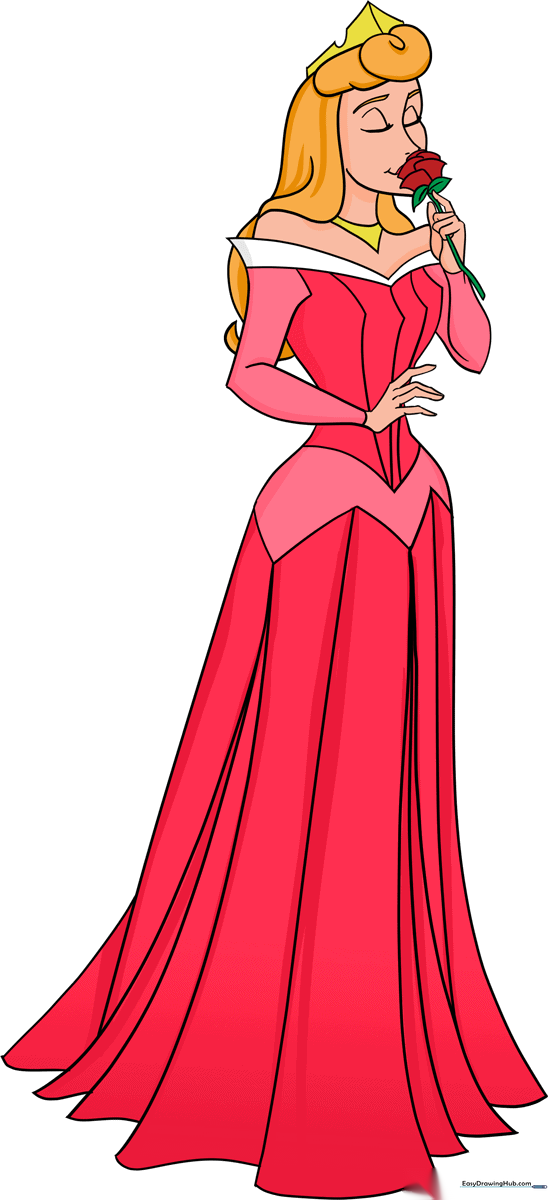
🎯 Final Result
Step-by-Step Instructions
Sketching the Head and Guidelines

Draw a light oval for the head and add perpendicular guide lines to help with facial placement. Use a soft, curved line to define the chin and cheeks. Teacher's Tip: Keep these lines faint so you can easily clean up your sketch later!
Adding the Crown and Hair
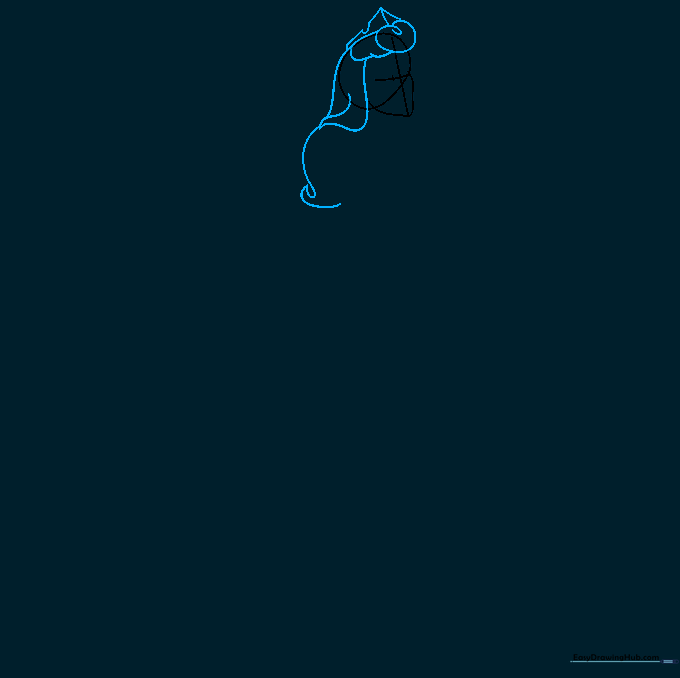
Draw a small spiral at the top of the head for the hair. Sketch the crown using simple triangular and rectangular shapes, remembering the notch at the top. Use long, sweeping curved lines to outline her flowing hair and sleeve. Tip: Use fluid, continuous strokes to make the hair look soft.
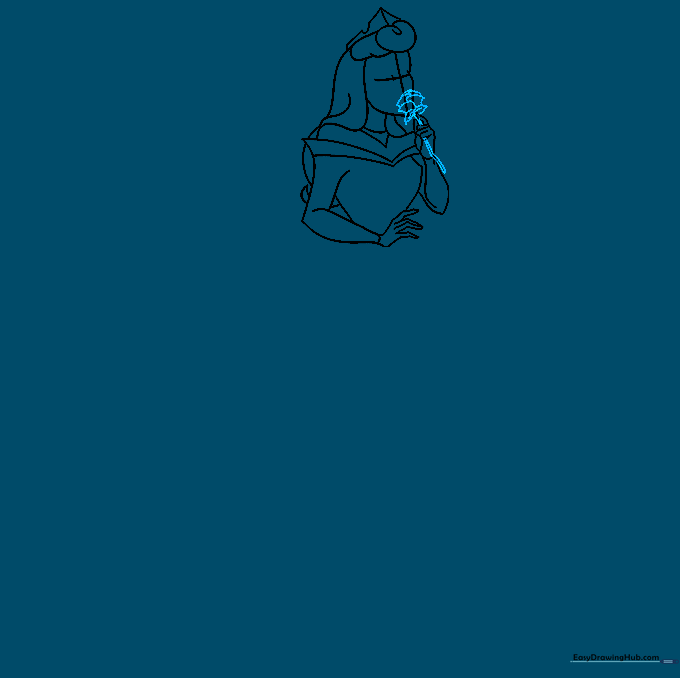
Defining the Neck and Arms
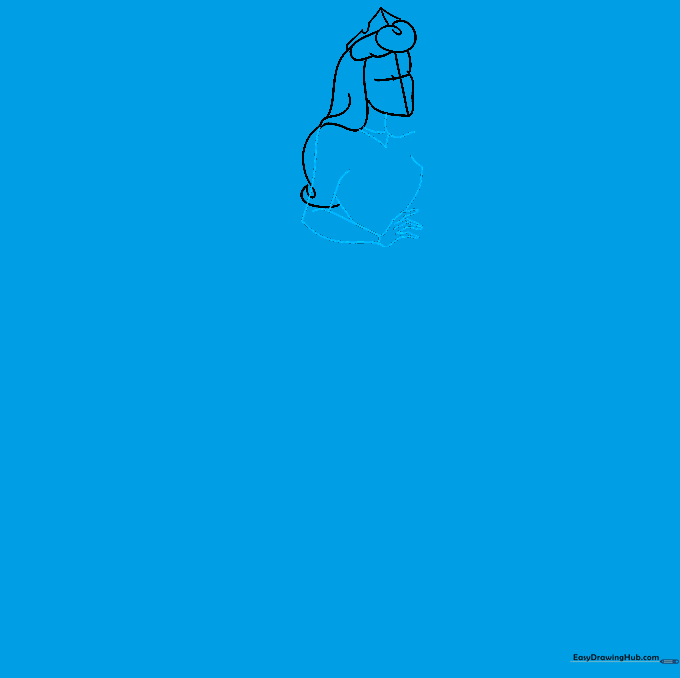
Erase your initial head guidelines. Outline the neck and shoulders, adding an inverted triangle at the base of the neck. Draw the arms with curved lines, emphasizing the elbow bend and delicate fingers. Tip: When drawing hands, think of them as simple mitten shapes first before adding finger details.
Detailing the Bodice
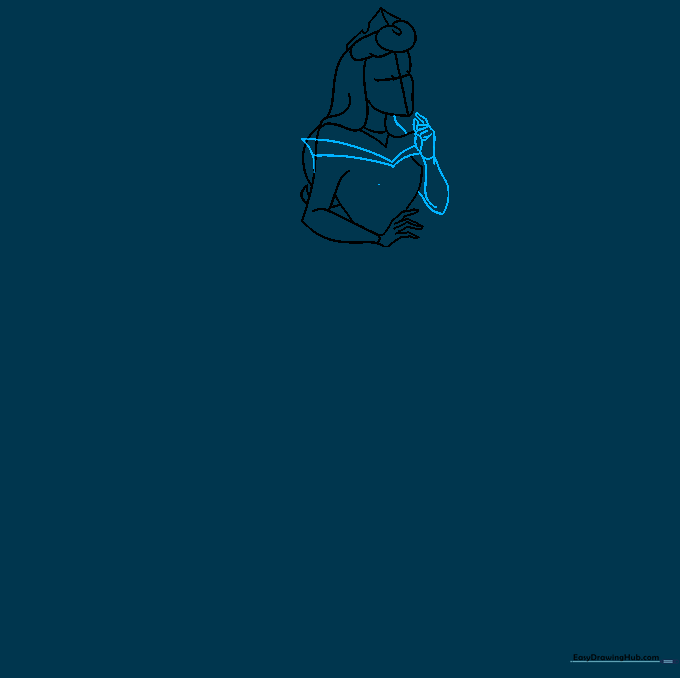
Use short, curved lines to create the triangular shapes of the bodice. Define the hair framing her face and complete the second arm. Tip: Keep your pencil pressure light; you want these lines to look graceful, not heavy.
Drawing the Rose
Place a rose in her hand using a simple stem and petals that meet at points. Tip: Start with a small 'U' shape for the center of the rose and build the petals outward in layers.
Sketching the Facial Features
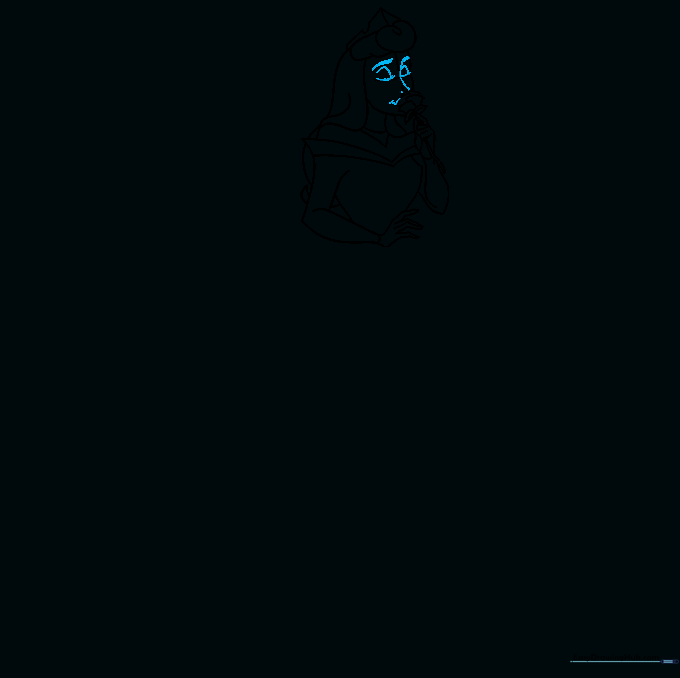
Erase any lines overlapping the rose. Carefully draw the closed eyelids, eyebrows, nose, and a gentle smile. Tip: Since she is sleeping or dreaming, keep the eyelids soft and curved to show peace.
Outlining the Gown
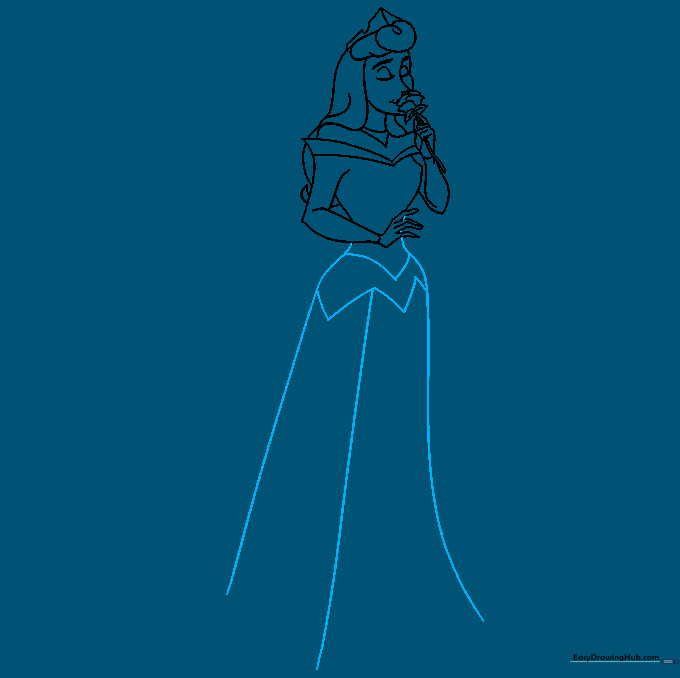
Extend lines to complete the torso and skirt. Ensure the waist looks smaller than the hips for a classic silhouette. Add zigzag lines at the hips to suggest the top of the skirt. Tip: Use a long, sweeping motion for the skirt to create a sense of fabric weight.
Adding Bodice Texture
Add vertical curved lines to the bodice to show the texture of the fabric. Tip: Follow the curve of the torso to make the dress look three-dimensional.
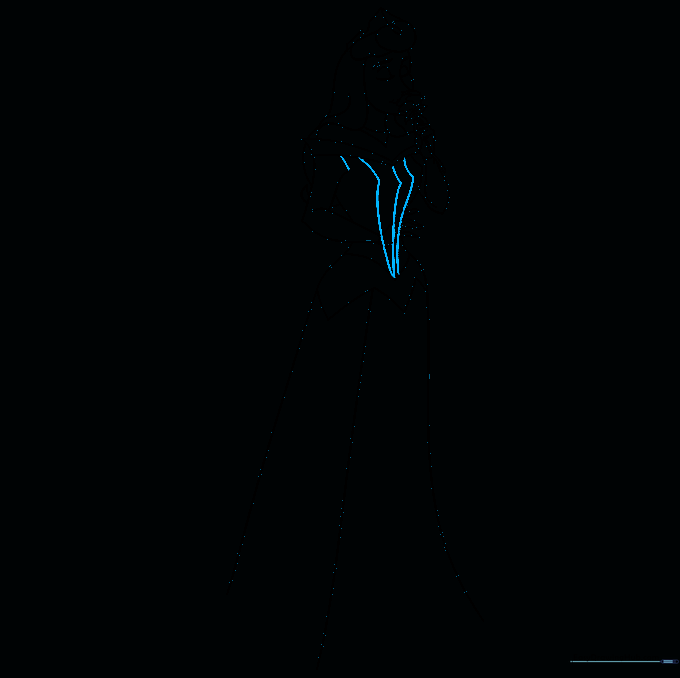
Finalizing Skirt Folds
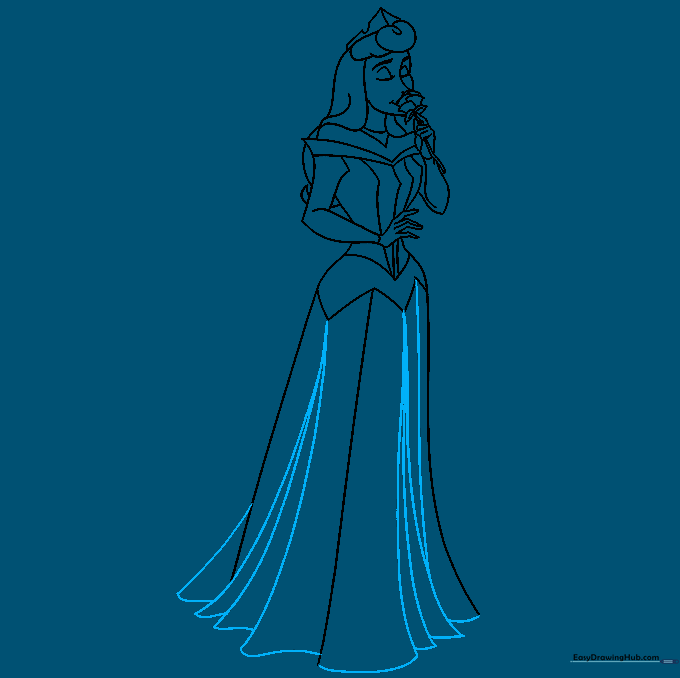
Draw long, flowing lines down the skirt to represent fabric folds. Connect them at the bottom with small curves. Tip: Vary the spacing between lines to make the fabric look natural and gathered.
Adding Color
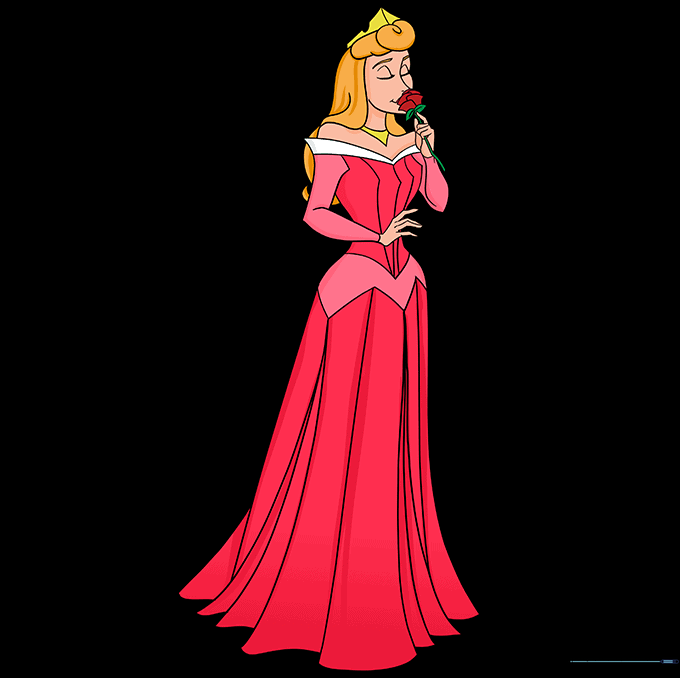
Bring your drawing to life with color! Aurora's dress is famously blue, but feel free to experiment with pink—just like the fairy godmothers! Tip: Use light pressure for base colors and add darker shades in the folds to create depth.
More Tutorials


