How to Draw Aphrodite: Easy Step-by-Step Guide
Bring Greek mythology to life by drawing Aphrodite! This tutorial is designed for young artists and beginners to practice facial proportions and flowing drapery. Grab your pencil and paper, and let's create a legendary masterpiece together.
🎯 Final Result

Step-by-Step Instructions
Step 1: Sketching the Eyes and Nose

Start by drawing the eyes using soft, overlapping curved lines. Add a small circle inside each for the pupils. Tip: Keep your pencil pressure light here so you can easily adjust the symmetry of the eyes before moving on.
Step 2: Defining the Face and Lips

Outline the chin, cheeks, and ear with smooth, flowing curves. For the lips, draw a gentle 'M' shape for the top lip and a soft curve for the bottom. Tip: Use a mirror to look at your own lips to understand how the curves dip in the center.
Step 3: Adding Eyebrows and Hairline

Sketch the eyebrows with delicate, arched lines and add the initial waves of hair at the top of the head. Tip: Hair isn't just one big shape; draw it in smaller, overlapping sections to make it look voluminous.
Step 4: Drawing the Neck and Shoulders
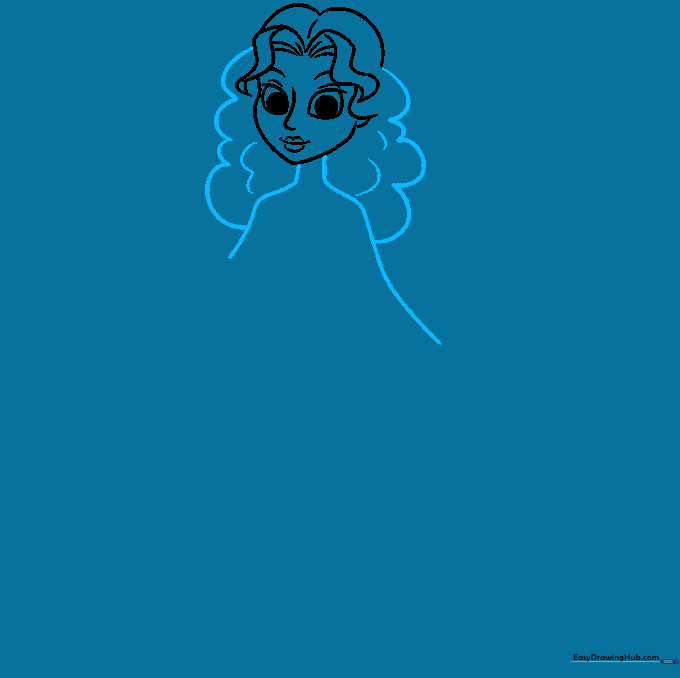
Extend two curved lines down from the chin to form the neck, then widen them into the shoulders. Add more wavy lines to frame the face with hair. Tip: Keep your lines long and fluid to suggest the grace of a goddess.
Step 5: Adding Garment Details
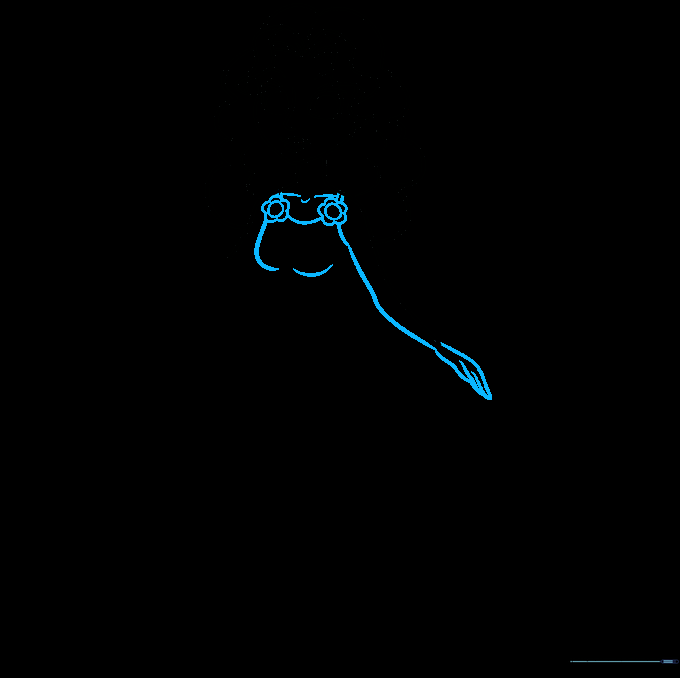
Draw small flower-like circles on each shoulder to represent the clasps of her garment. Connect these with lines across the collarbone. Tip: Imagine the fabric is draped over her shoulders; use soft, rounded lines to show how it hangs.
Step 6: Sketching the Arms
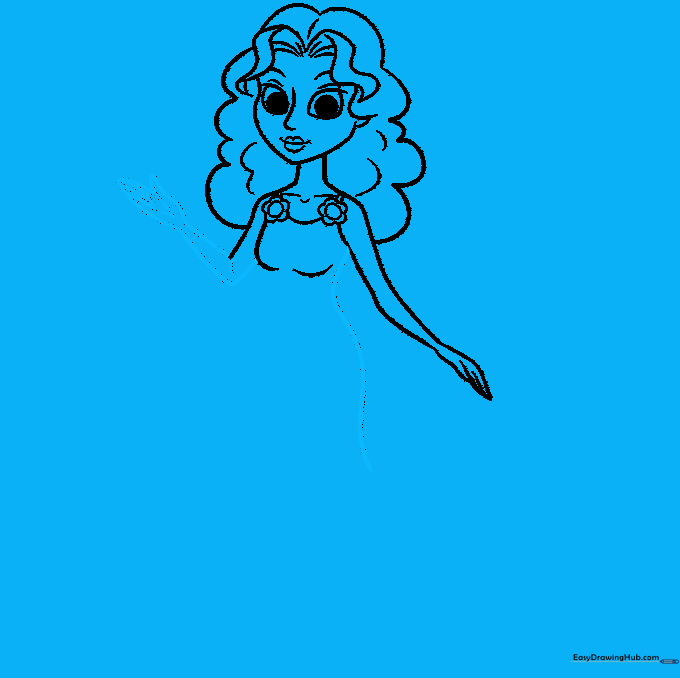
Draw the arms using curved lines, adding small details at the elbows to show the bend. Start the outline of the dress flowing down from the arm. Tip: If the arms look too stiff, try curving the lines slightly more to give them a natural, relaxed look.
Step 7: Shaping the Dress
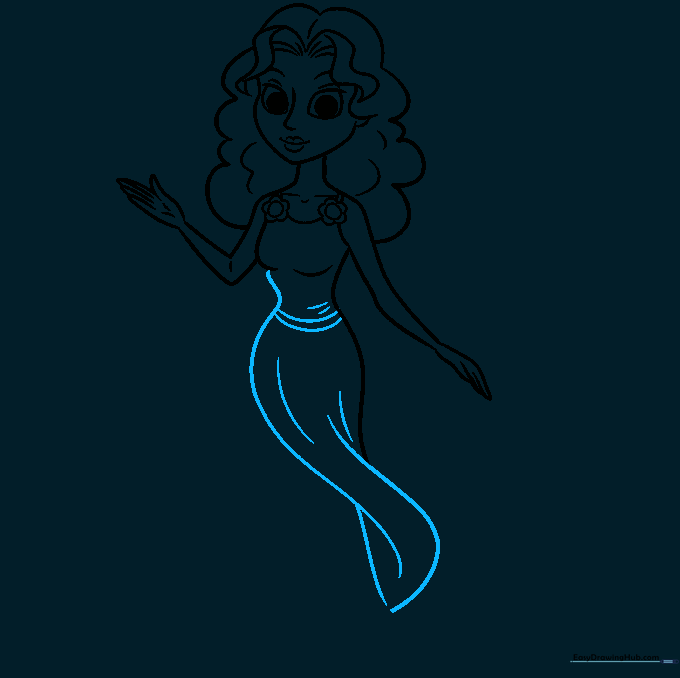
Extend the lines from the bodice down to create the dress. Add parallel lines at the waist to suggest a belt or sash. Tip: Use long, sweeping strokes to make the fabric look like it is flowing in the wind.
Step 8: Drawing the Legs and Hem
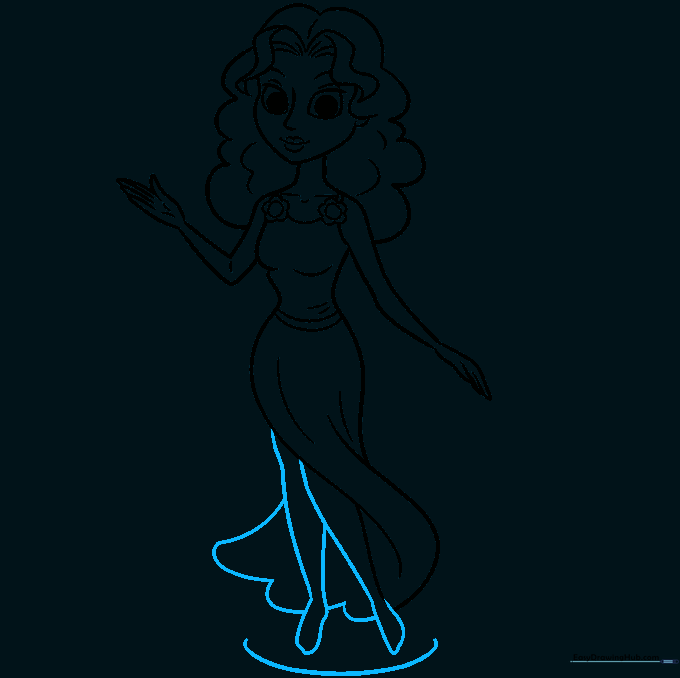
Draw the legs with simple curved lines, focusing on the ankles and toes. Finish the hem of the dress with a scalloped edge. Tip: Scalloped lines (like little 'U' shapes) are a great way to show fabric folds at the bottom of a garment.
Step 9: Adding the Seashell Base
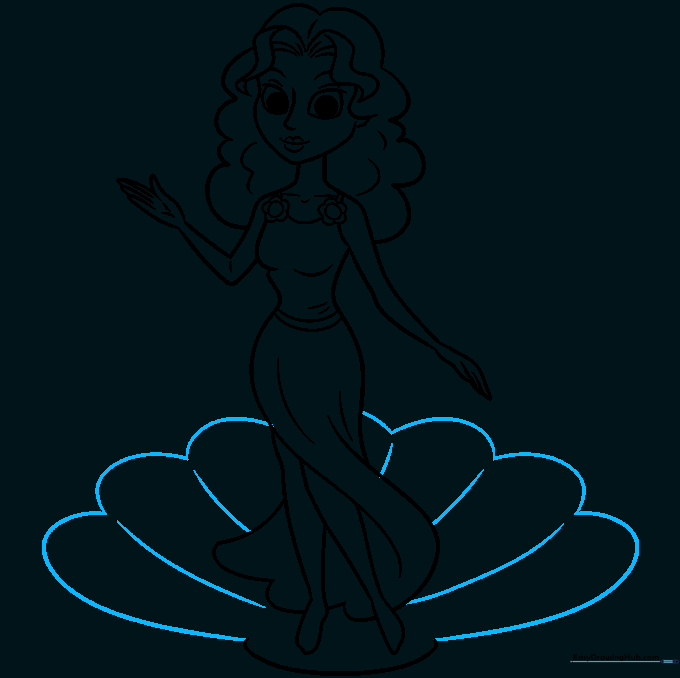
Draw a large, scalloped seashell beneath her feet to ground the drawing. Add lines inside the shell to show its natural ridges. Tip: This adds a mythological touch—Aphrodite is often associated with the sea!
Step 10: Bring Your Drawing to Life with Color

Now for the fun part! Use your favorite colors to bring Aphrodite to life. Think about using soft pastels or gold tones to match her mythological status. Tip: Use light pressure with your colored pencils to blend colors smoothly.
More Tutorials


