How to Draw Anubis: Easy Step-by-Step Guide for Beginners
Bring the mystery of Ancient Egypt to life with this Anubis drawing guide, designed for young artists and history buffs. You will need a pencil, an eraser, and a piece of paper to complete this character study. Follow these steps to master the iconic jackal-headed silhouette and build your confidence in drawing mythological figures.
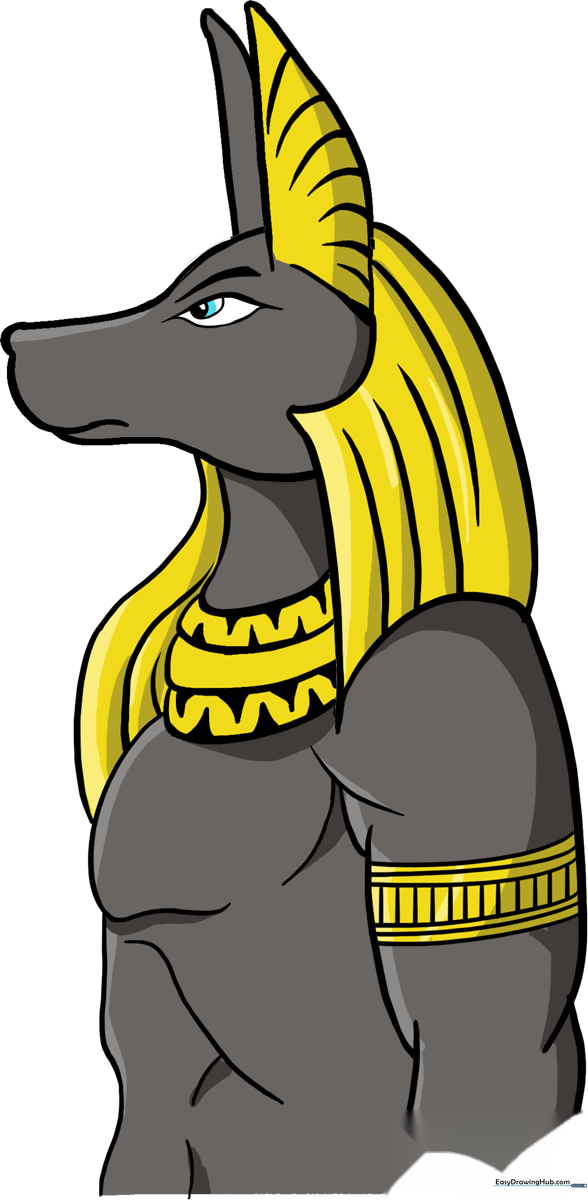
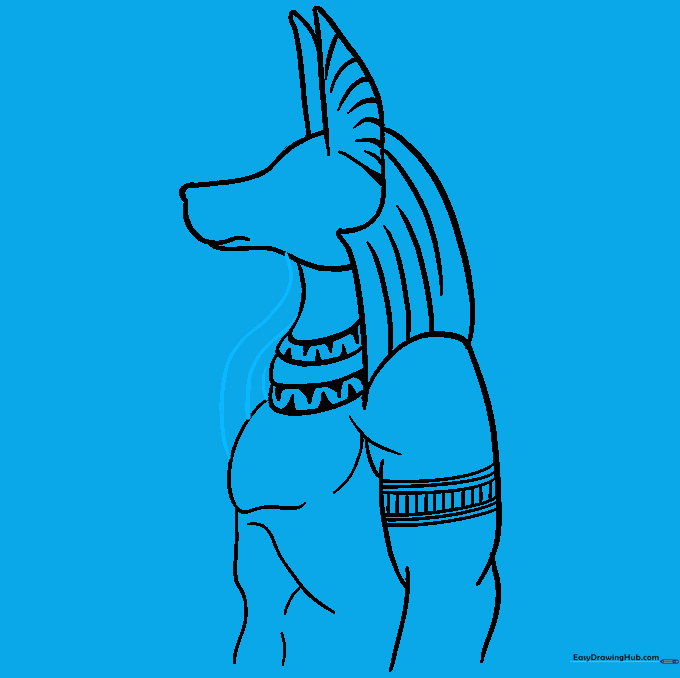
🎯 Final Result
Step-by-Step Instructions
Step 1: Sketching the Base Head Shape

Draw a light circle to serve as the foundation for the head. Teacher's Tip: Keep your pencil pressure very light here; this is a guide shape that we will partially erase later, so don't press too hard!
Step 2: Defining the Ears and Snout
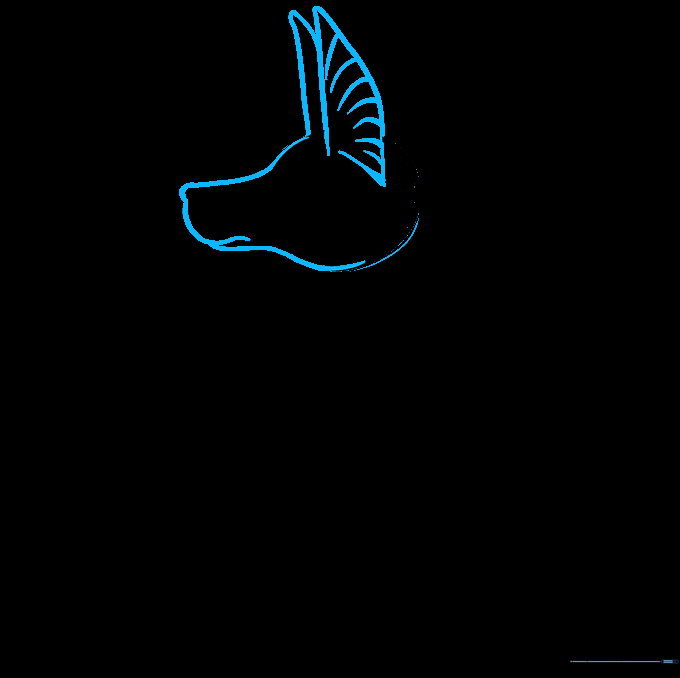
Erase the top and side of your circle. In the opening, draw two tall, curved triangles for the ears, and a long, curved shape for the snout. Teacher's Tip: Make the snout slightly rounded at the tip to give it a natural, canine look.
Step 3: Adding the Headdress
Erase the opposite side of the circle and replace it with an irregular four-sided shape. Add small curved lines inside to suggest fabric texture. Teacher's Tip: Think of this as a piece of cloth draped over the head; keep the lines flowing downward.
Step 4: Drawing the Neck and Collar
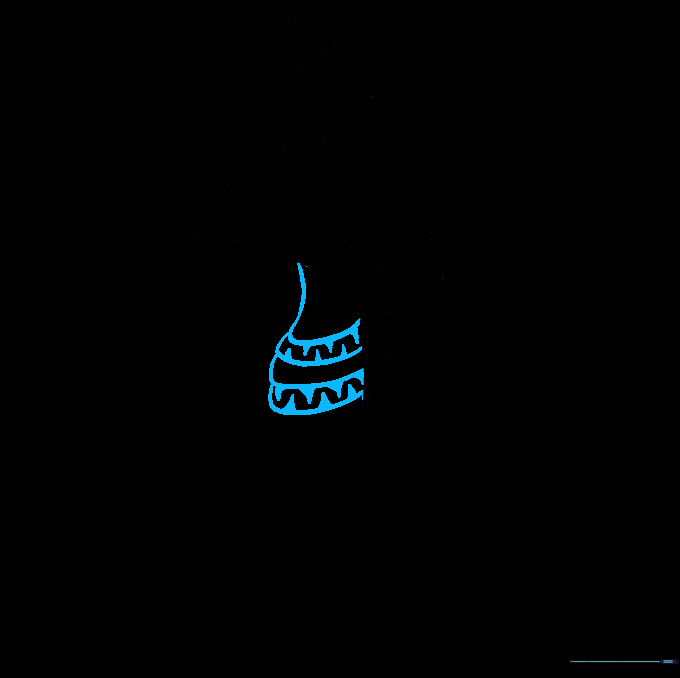
Outline the neck and add a decorative collar at the base with small, shaded triangles. Teacher's Tip: Use a ruler if you want the collar bands to be perfectly straight, or keep them hand-drawn for a more organic, ancient feel.
Step 5: Sketching the Muscular Arm
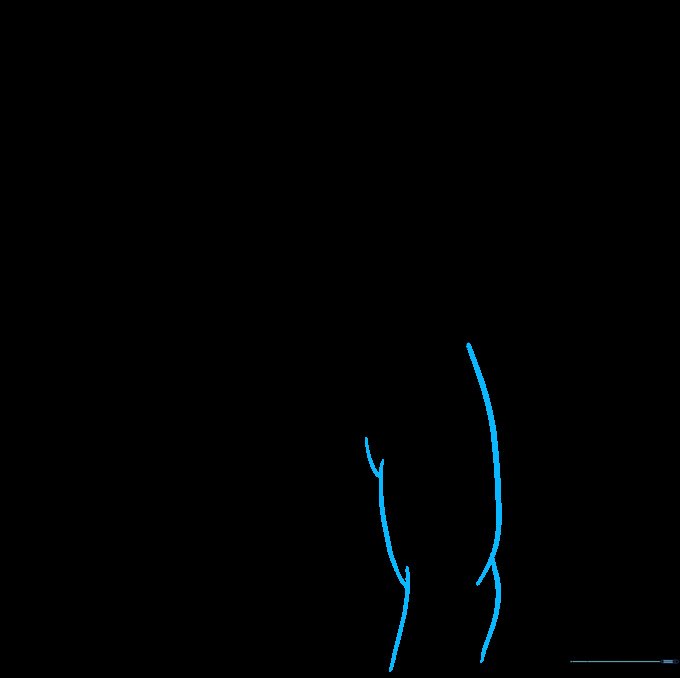
Use overlapping curved lines to sketch the shape of the arm. Teacher's Tip: Overlapping lines are the secret to showing depth—it makes the arm look round rather than flat.
Step 6: Adding the Armband

Draw horizontal lines across the bicep to create an armband, adding vertical texture lines between them. Teacher's Tip: Keep your vertical lines evenly spaced to make the armband look like polished metal.
Step 7: Sculpting the Torso
Use curved lines to define the pectoral and abdominal muscles. Teacher's Tip: Think of these as 'C' shapes or parentheses to show the curve of the body.
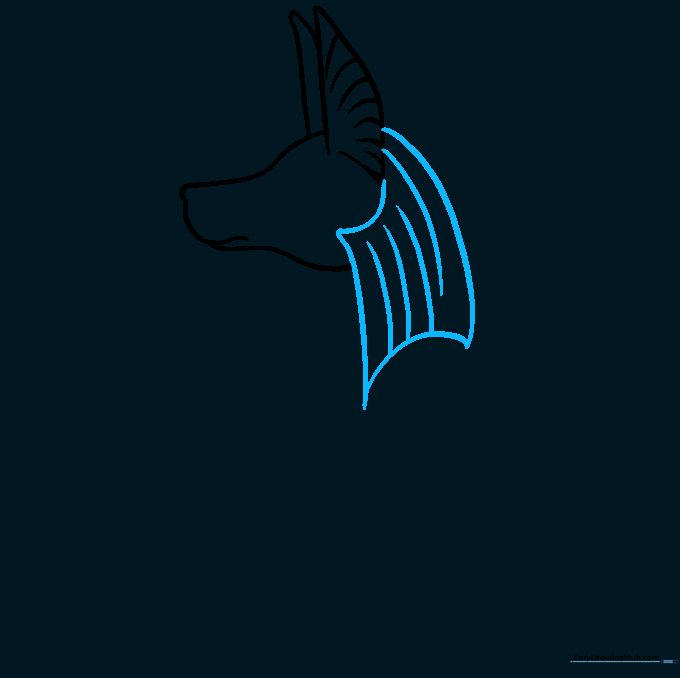
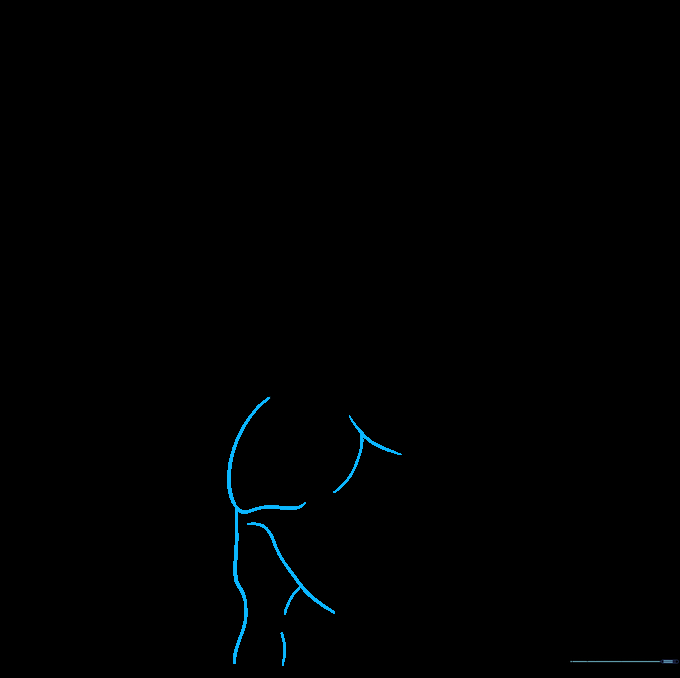
Step 8: Completing the Headdress
Add more curved lines from the jaw to the chest to finish the headdress drape. Teacher's Tip: Ensure these lines follow the contour of the neck to make it look realistic.
Step 9: Adding Facial Details

Draw the eye with pointed corners and add a sharp eyebrow shape above it. Teacher's Tip: The eye is the focal point—take your time to make the corners sharp to give Anubis a wise, intense expression.
Step 10: Bringing Anubis to Life with Color
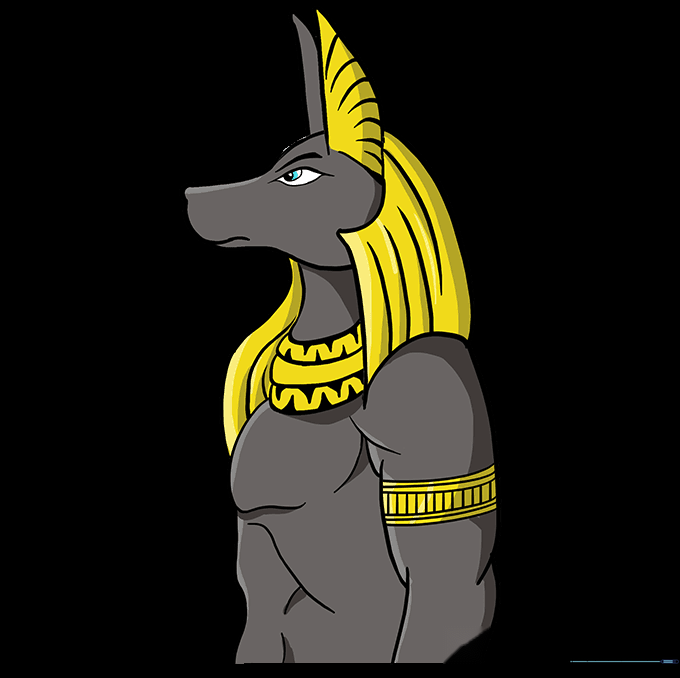
Color your drawing! Traditionally, Anubis is depicted in deep blacks or dark blues with gold accents. Teacher's Tip: Use a yellow or metallic gold crayon for the collar and armband to make them pop against the dark skin.
More Tutorials


