How to Draw Annabelle: Easy Step-by-Step Horror Art Guide
Ready to capture the eerie charm of Annabelle? This tutorial is designed for intermediate artists looking to master character proportions and stylized features. Grab your graphite pencil, a kneaded eraser, and some fine-liner pens to bring this iconic doll to life on your page.
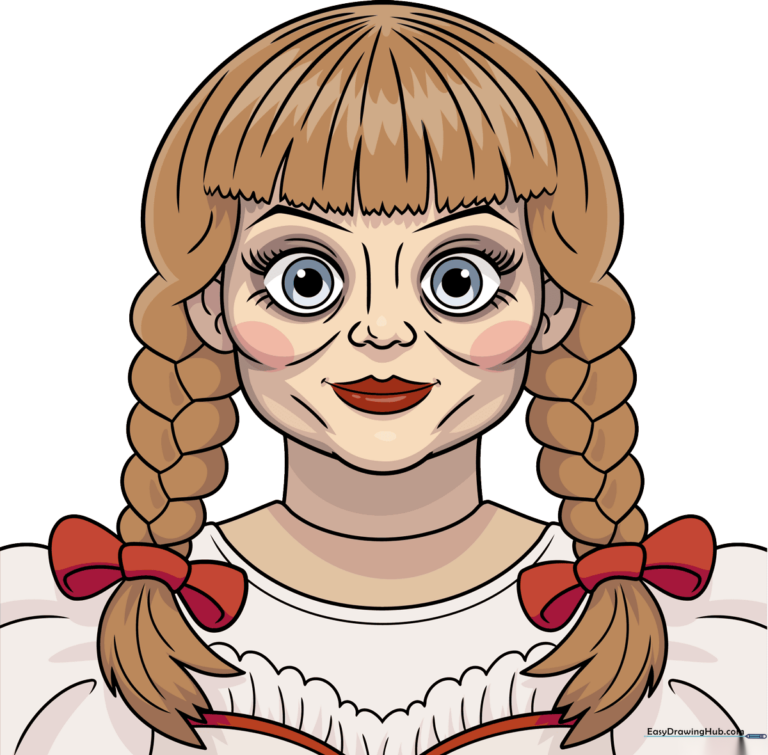
🎯 Final Result
Step-by-Step Instructions
Step 1: Establishing the Facial Structure
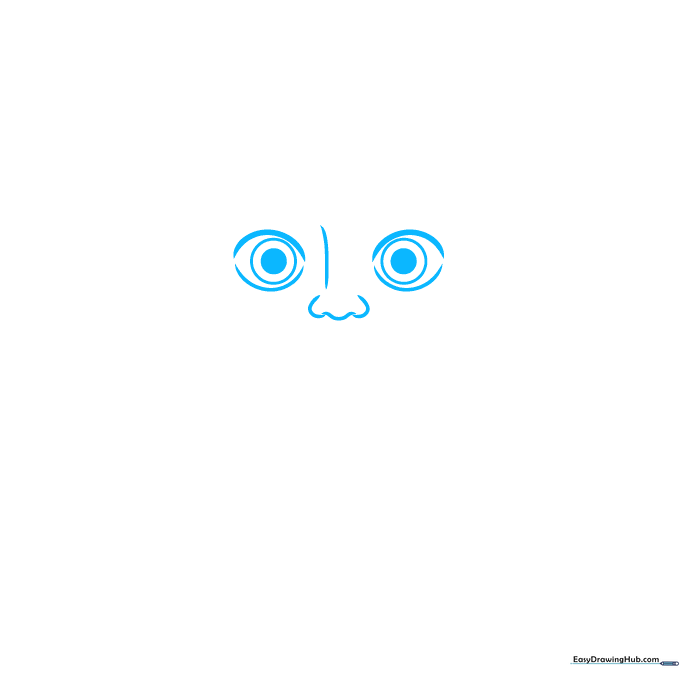
Draw two ovals near the center of the page to serve as the eye sockets. Sketch two circles inside each for the pupils, then add a vertical guide line. Tip: Keep your pencil pressure light here so you can easily adjust the symmetry before committing to darker lines.
Step 2: Defining the Nose and Mouth
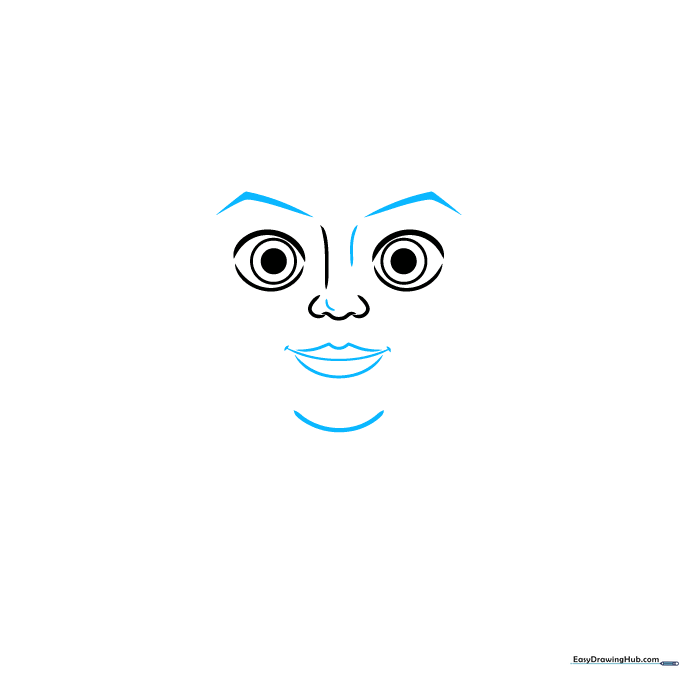
Sketch narrow triangles above the eyes for the brows, then define the nose with a short curve. Draw a loose M-shape for the upper lip and a deeper curve for the lower. Tip: Use short, quick dashes for the mouth corners to give her that signature, unsettling expression.
Step 3: Adding Facial Depth
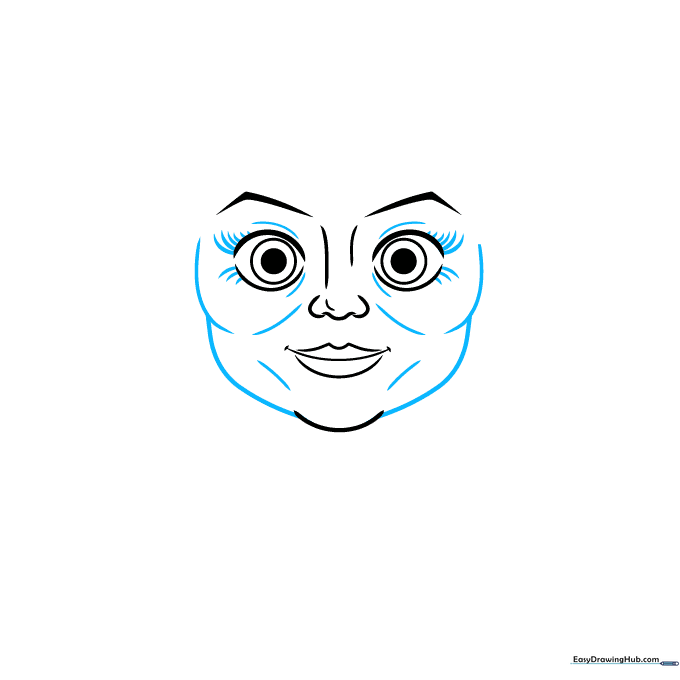
Surround the eyes with curves and dashes to create the doll's heavy lids. Draw an incomplete semi-oval beneath each eye, connecting them to the chin. Tip: Mirror your lines carefully on both sides to maintain the doll's uncanny, symmetrical look.
Step 4: Outlining the Head
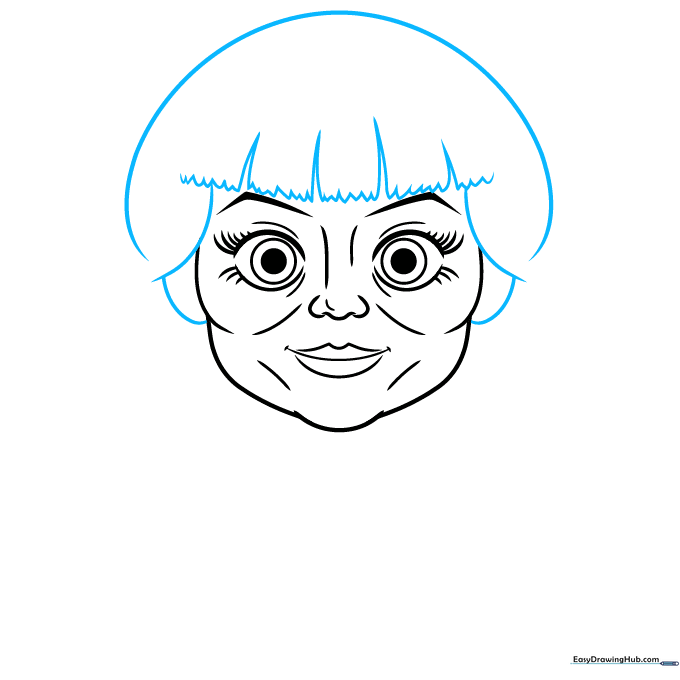
Outline the head with a smooth semi-circle. Add small, sketchy triangles above the eyebrows to suggest the hairline. Tip: Use a 'flicking' motion with your pencil to make the hair edges look natural rather than stiff.
Step 5: Drawing the Braids
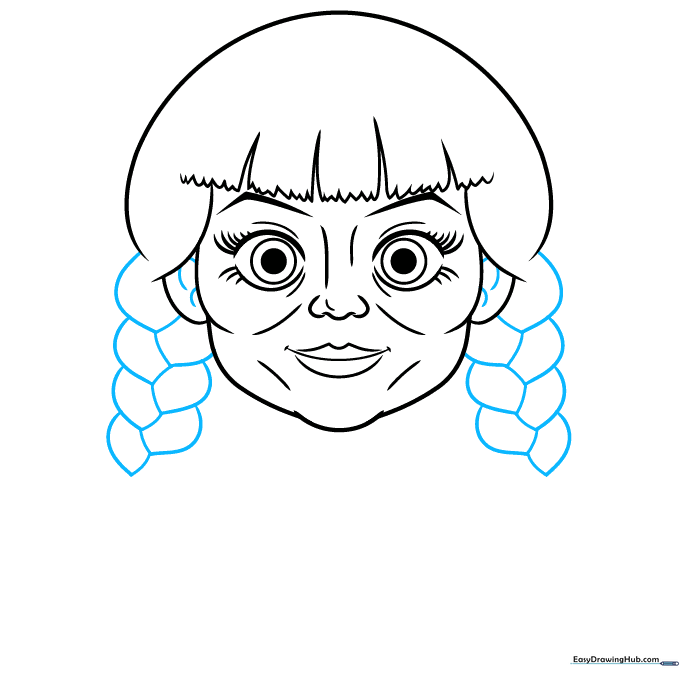
Add loops inside the ears, then sketch large, overlapping teardrop shapes on either side of the head to form the braids. Tip: Vary the size of the teardrops slightly to give the hair a more realistic, woven appearance.
Step 6: Adding Hair Bows and Texture
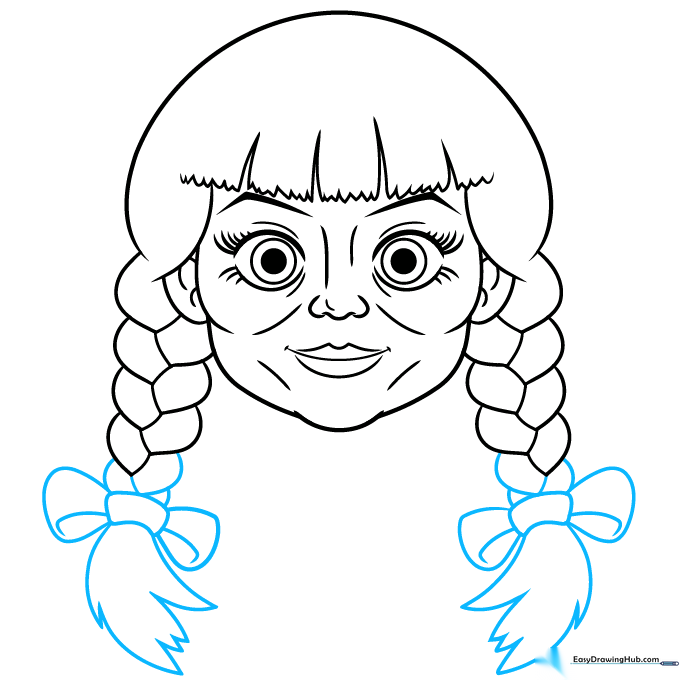
Complete the braids with curved rectangles at the ends. Sketch four curved shapes for the bows, adding a small hook inside each. Tip: Use a light touch for the hair texture—think of them as soft bristles.
Step 7: Sketching the Shoulders and Dress
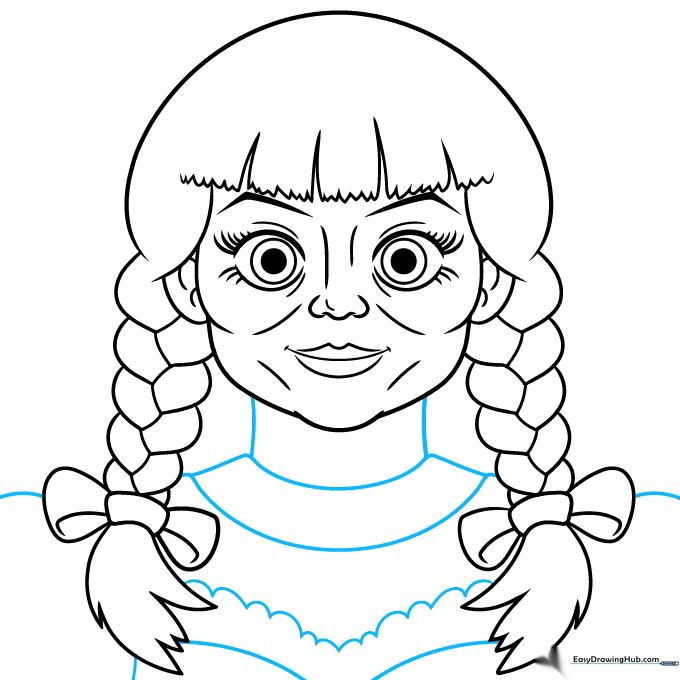
Draw the neck with two straight lines, then add the shoulders using small, rounded hills. For the dress, sketch a bubbly, cloud-like line to create the ruffled collar. Tip: Keep the ruffles uneven to make the fabric look soft and layered.
Step 8: Refining Clothing Details
Add additional lines and curves inside the clothing to suggest folds and fabric texture. Tip: Focus on where the light would hit the fabric—keep these lines thin and subtle.
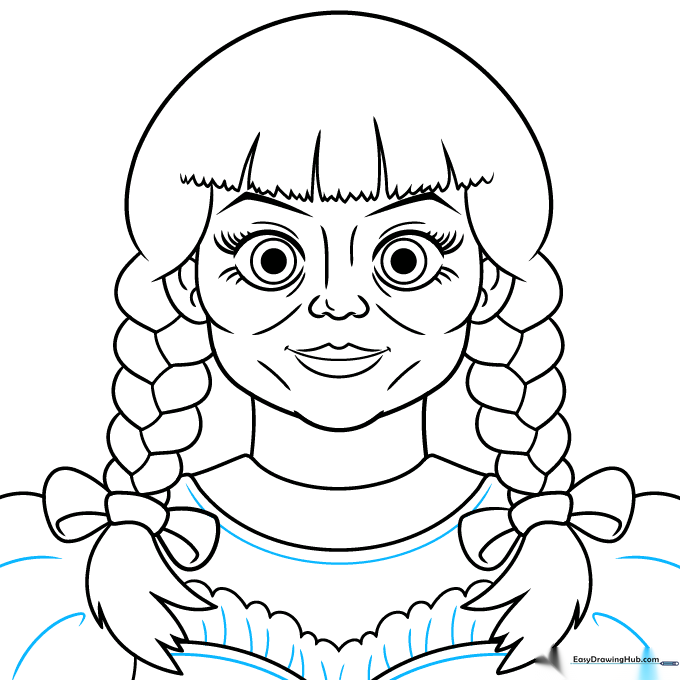
Step 9: Final Inking and Details

Add final curves to the hair for realism. Use a fine-liner to ink your drawing, filling in the pupils, eyelashes, and eyebrows with solid black. Tip: Take your time with the eyes; they are the focal point of the character.
Step 10: Adding Color
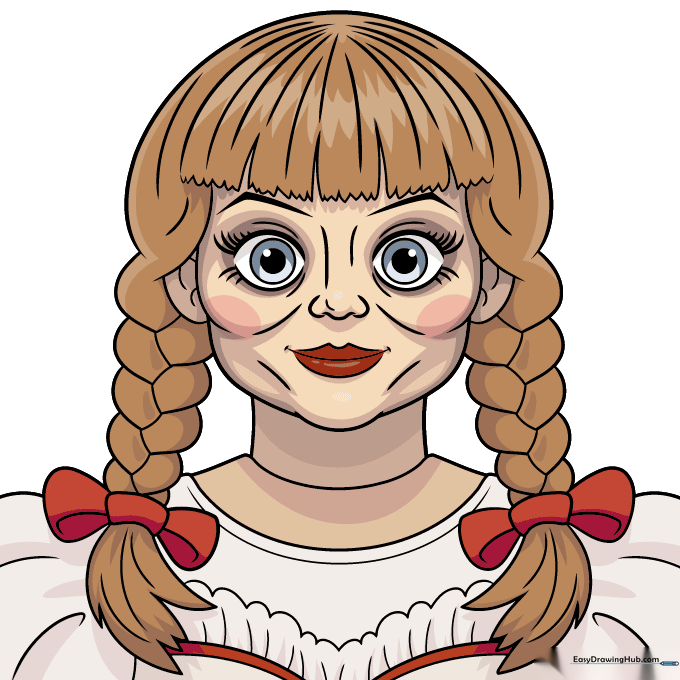
Bring your Annabelle to life with brown hair, light tan skin, and grayish-blue eyes. Use dark red for the bows and lips, and add a soft touch of pink blush to the cheeks. Tip: Use light, circular strokes for the blush to keep it looking blended and natural.
More Tutorials


