How to Draw Anna from Frozen: Easy 10-Step Guide
Bring the magic of Arendelle to your sketchbook! This tutorial is perfect for young artists ages 7+ who want to master character proportions. Grab a pencil, an eraser, and some colored pencils to start building your own portrait of Anna.
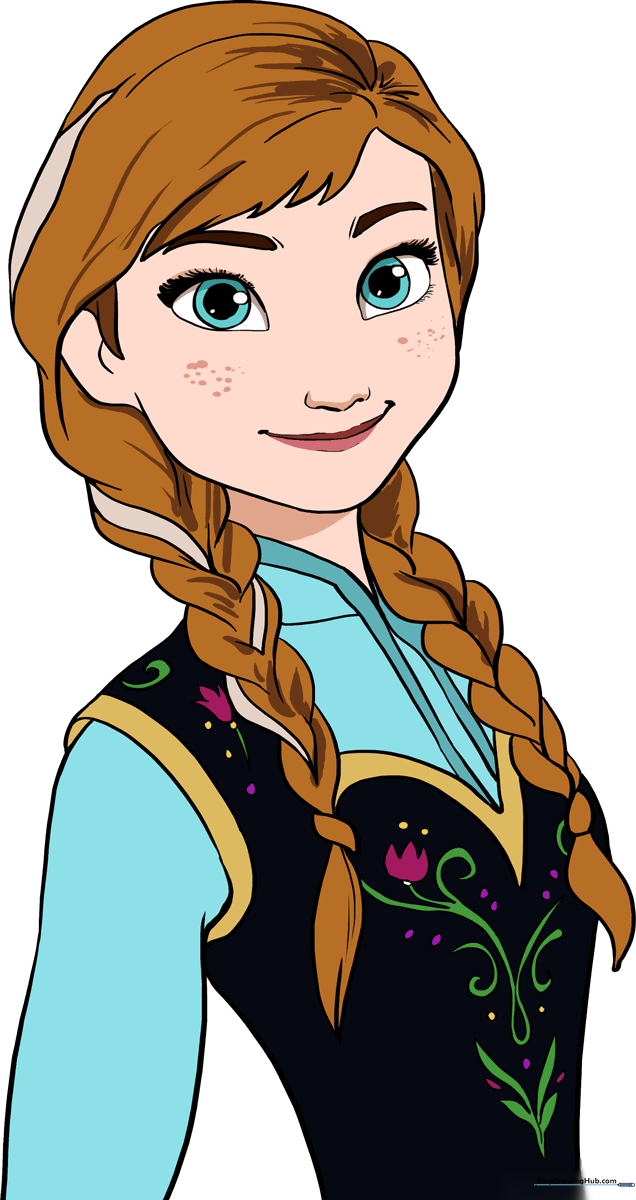
🎯 Final Result
Step-by-Step Instructions
Step 1: Sketching the Face Shape
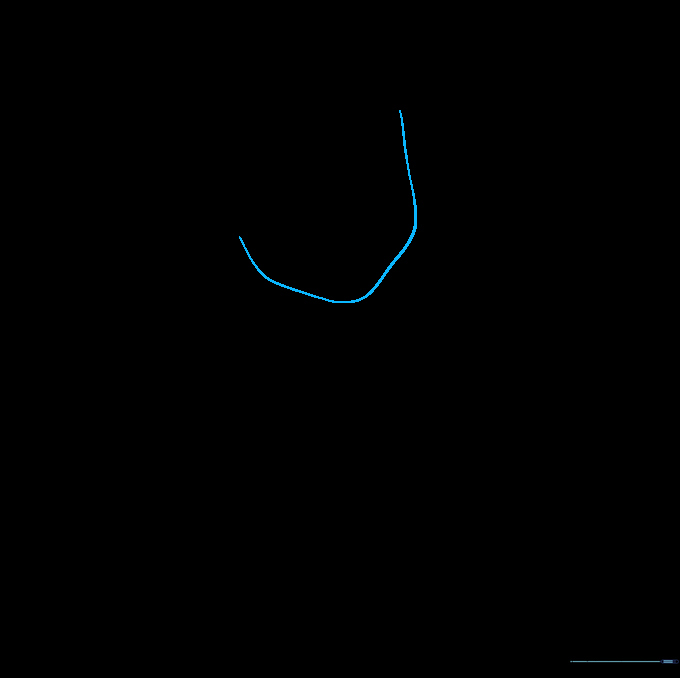
Use a series of soft, curved lines to sketch the 'J' shaped outline of Anna's chin and cheeks. Teacher's Tip: Keep your pencil grip loose to ensure the lines remain fluid and rounded, not stiff.
Step 2: Adding Hair and Neck
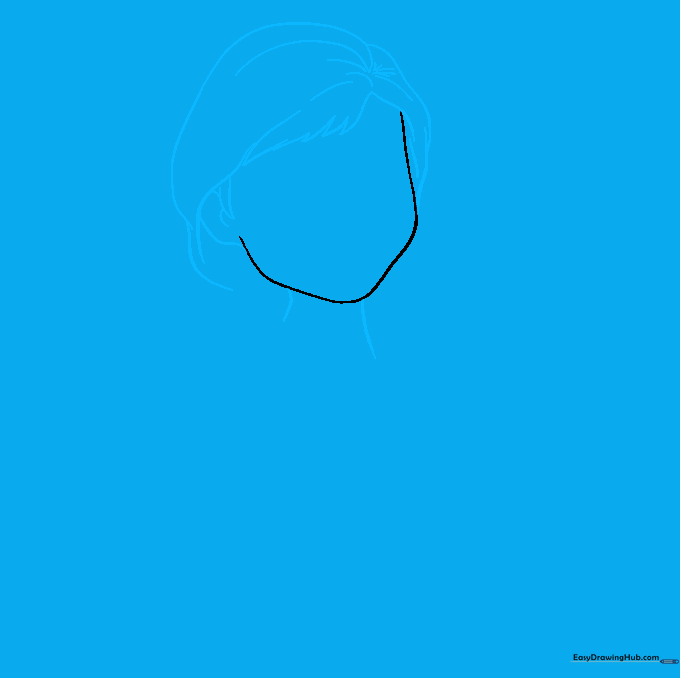
Sketch the ear and the jagged points of her hair framing the forehead. Create a starburst shape at the center part of the hair. Finish by drawing two curved lines for the neck. Teacher's Tip: Don't worry about perfect symmetry; hair is naturally organic and flowing.
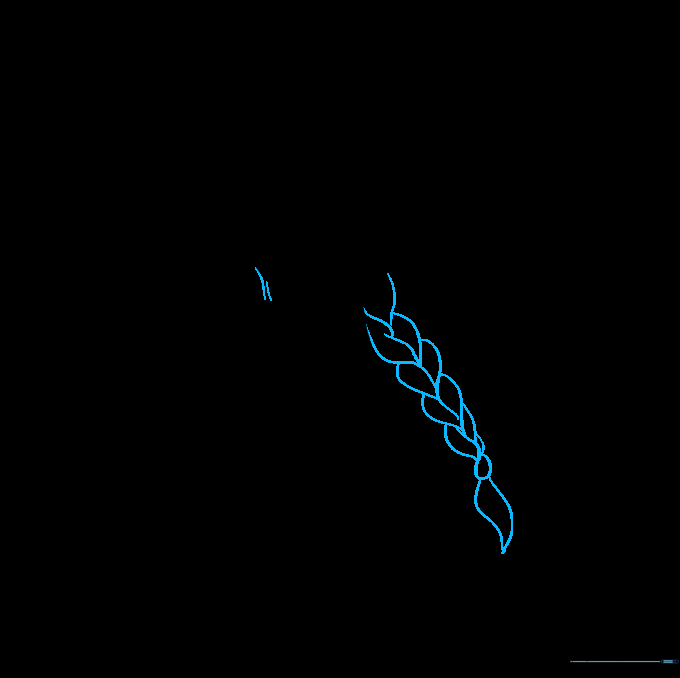
Step 3: Drawing the First Braid
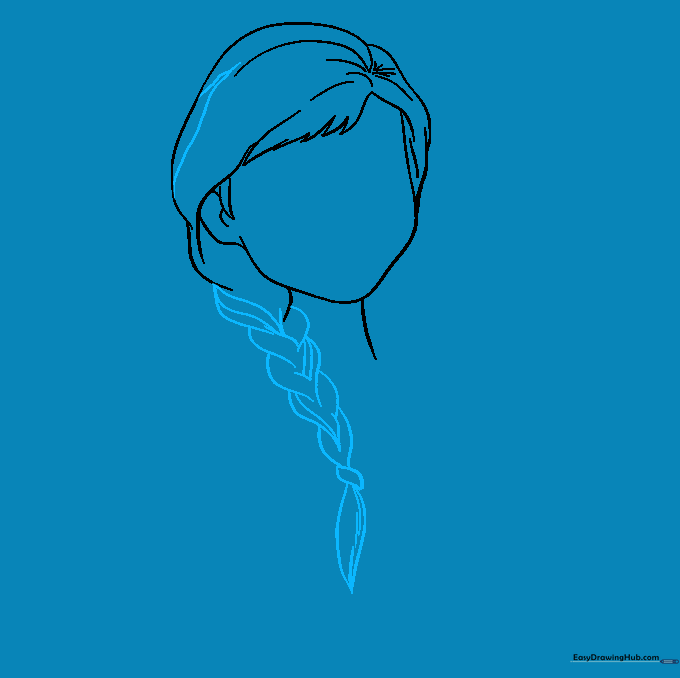
Draw the braid using curved lines that descend to form incomplete heart shapes. Add a small barrette at the end and a pointed 'tail.' Teacher's Tip: Think of the braid as a repeating pattern of small 'V's and 'U's to keep it looking consistent.
Step 4: Drawing the Second Braid
Repeat the process for the second braid, ensuring the heart-shaped segments align with the first. Add the barrette and tail. Teacher's Tip: Check your spacing—make sure the braids look balanced on either side of her head.
Step 5: Sketching the Bodice
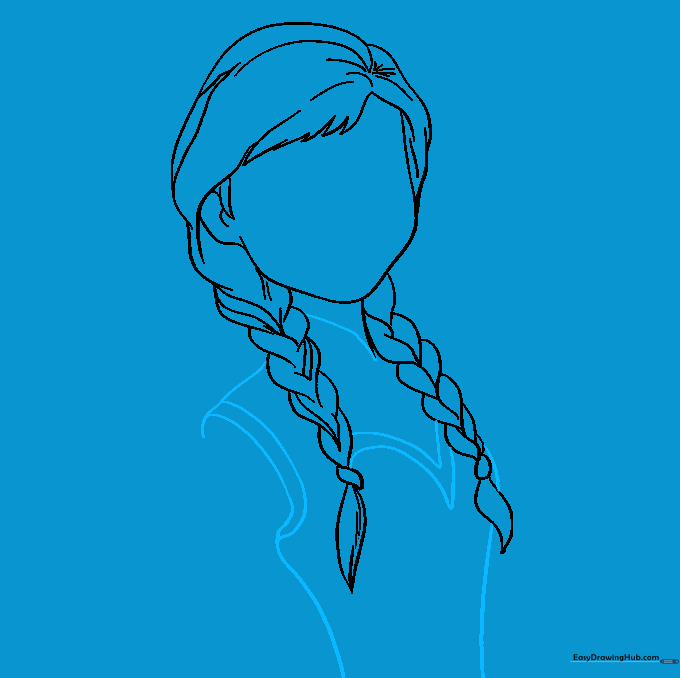
Draw a line across the neck for the collar, then outline the torso with long, graceful curves. Add two 'V' shapes between the braids. Teacher's Tip: Use light pressure here to establish the torso's shape before adding final clothing details.
Step 6: Refining the Collar and Arms
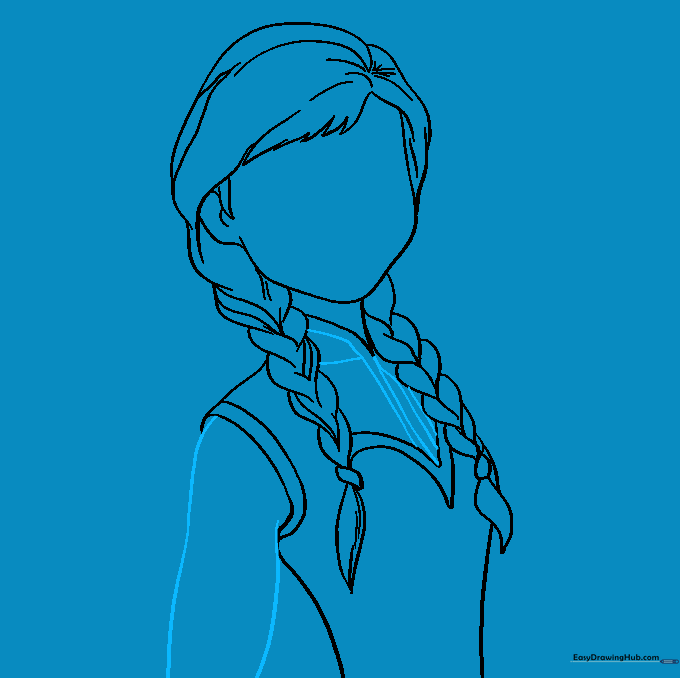
Extend the collar with two pairs of straight lines and add a horizontal detail line. Use curved lines to outline the arm. Teacher's Tip: Keep the arm lines smooth to suggest the fabric of her gown.
Step 7: Adding Floral Patterns

Decorate the bodice with swirling stems, leaves, and tulip-like flowers using 'W' and 'U' shapes. Add small circles for texture. Teacher's Tip: This is a great exercise for fine motor control—take your time with the small details!
Step 8: Drawing the Eyes
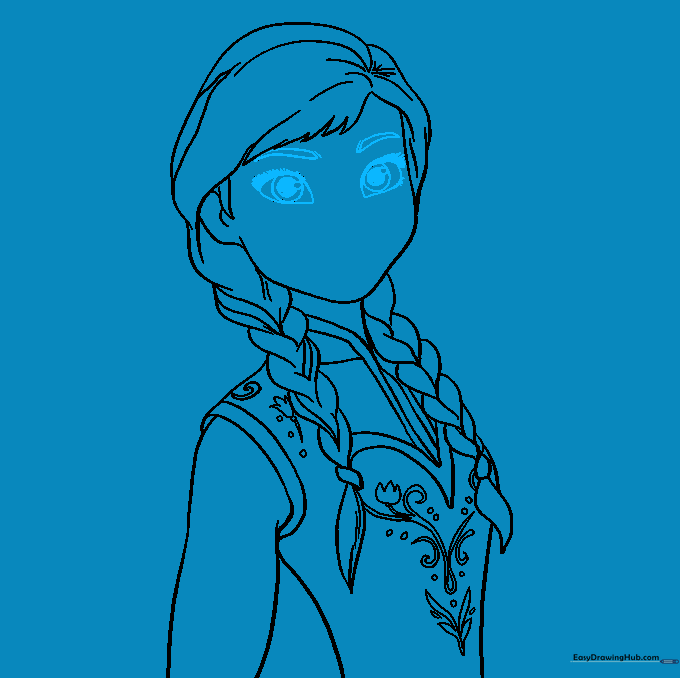
Draw circles within circles for the eyes, adding a tiny highlight circle before shading the pupil. Add curved lines for the eyebrows. Teacher's Tip: The eyes are the 'window' to the character—keep the highlights consistent to give her a lively look.
Step 9: Final Facial Features

Use simple, delicate curved lines to form the nose and mouth. Teacher's Tip: Less is more! Keep these lines very light to maintain a youthful, cartoon-style appearance.
Step 10: Bringing Anna to Life with Color
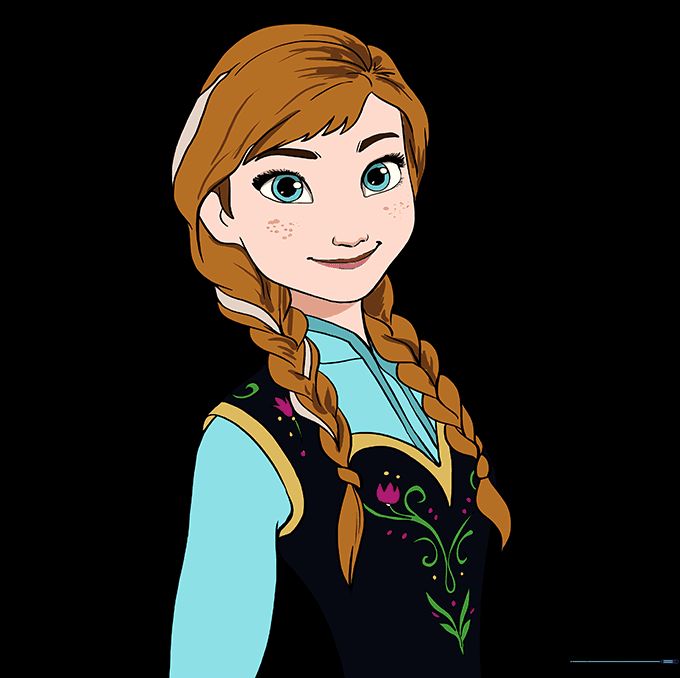
Fill in your drawing with Anna's signature colors: black for the bodice, magenta for the cape, and warm browns for her hair. Teacher's Tip: Use light, circular motions when coloring to avoid streaks.
More Tutorials


