How to Draw Anime Female Legs: Easy 9-Step Guide
Ready to bring your anime characters to life? This tutorial is designed for aspiring artists looking to master the proportions of female legs in a 3/4 view. All you need is a pencil, an eraser, and a piece of paper to start building your character's dynamic pose.
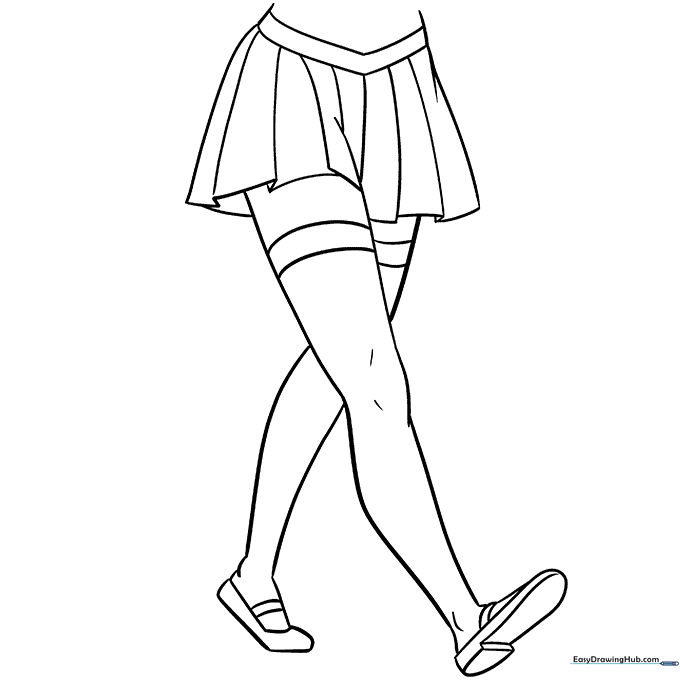
🎯 Final Result

Step-by-Step Instructions
Step 1: Setting the Proportions
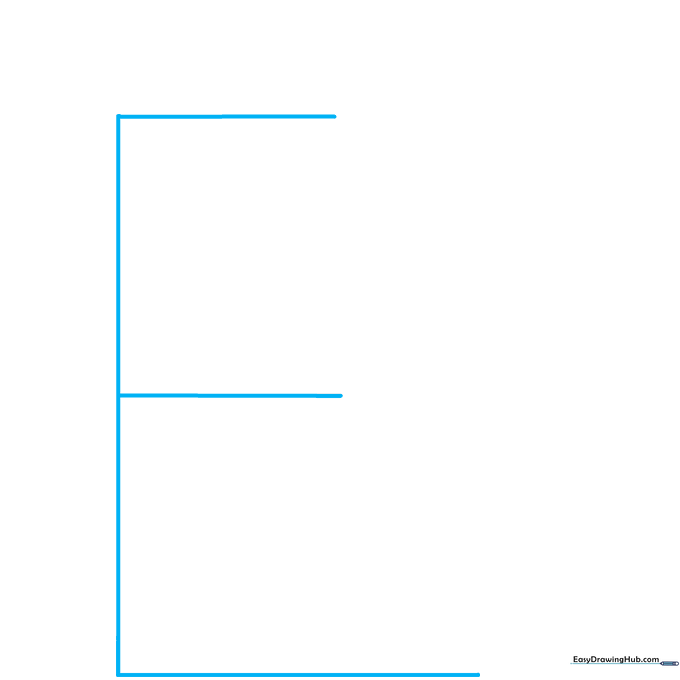
Draw three equally spaced horizontal guidelines. Teacher's Tip: Use a ruler to ensure your spacing is perfectly even; these lines act as the 'skeleton' for your drawing and help keep your proportions consistent.
Step 2: Mapping the Hips and Thighs
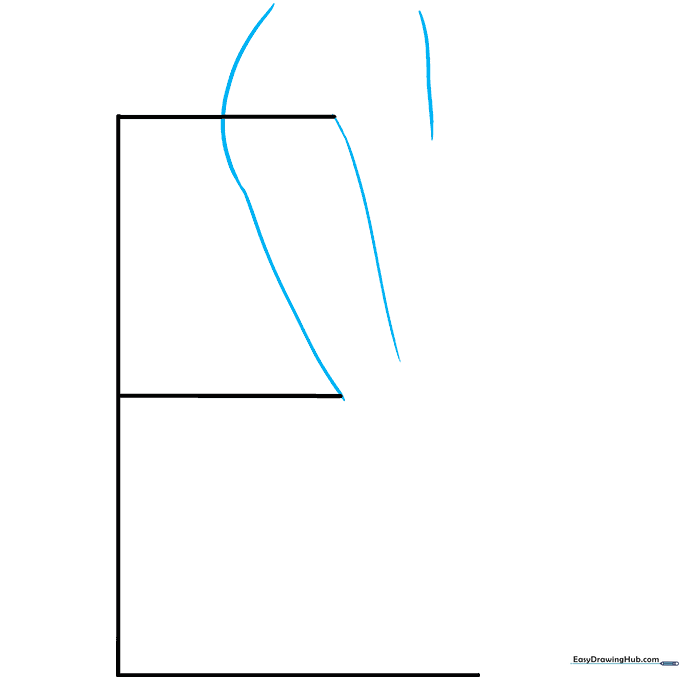
Draw a curved line passing through the top grid line and terminating at the middle line. Add a second curve between the lines, then a shorter one above the top line. Tip: Keep your pencil pressure light here—these curves define the hip and thigh, and you'll want to refine them later.
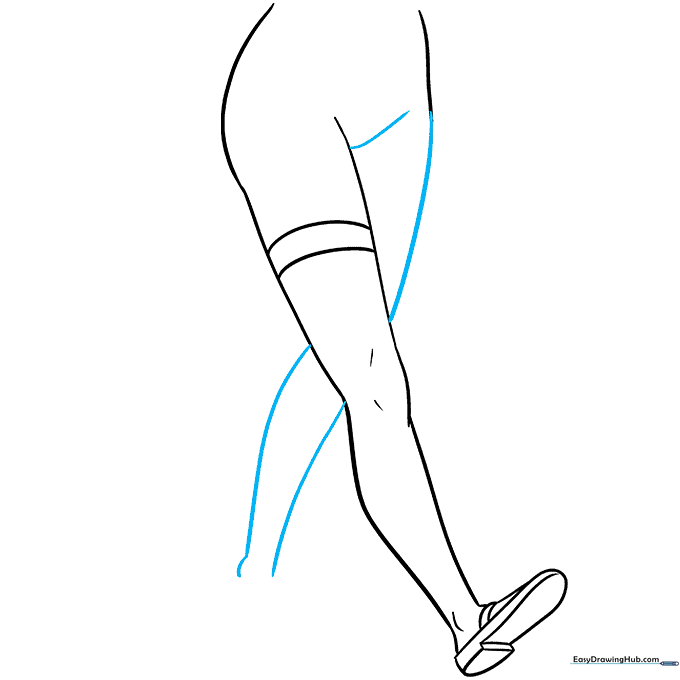
Step 3: Extending the Lower Leg
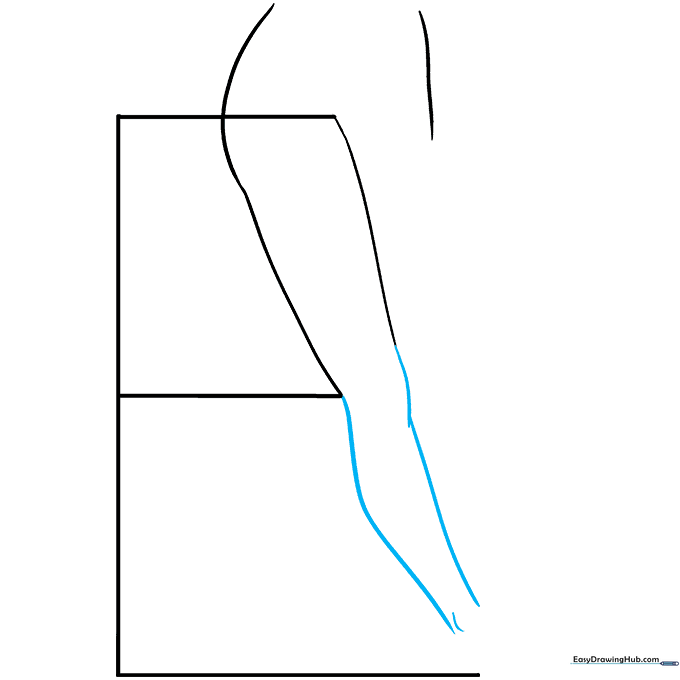
Extend the leg downward using long, graceful curved lines. Notice the slight overlap near the knee area and the small mark for the ankle. Tip: Think of the leg as a series of soft, flowing shapes rather than rigid sticks to capture that classic anime aesthetic.
Step 4: Adding Details and Footwear
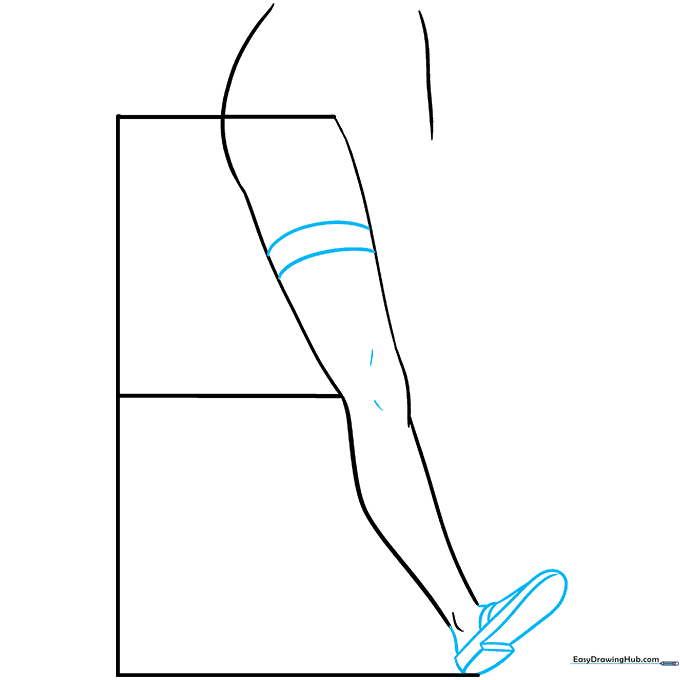
Add two curved lines halfway down for the sock top, then sketch the foot with a curved heel and upward-turned toe. Tip: The upward curve of the shoe is key to creating a sense of motion, as if the character is mid-stride.
Step 5: Drawing the Second Leg
Erase your initial grid lines to clean up the workspace. Now, draw the second leg positioned slightly behind the first. Tip: Use a curved line to connect the torso to the leg, which helps ground the character's weight.
Step 6: Completing the Second Foot
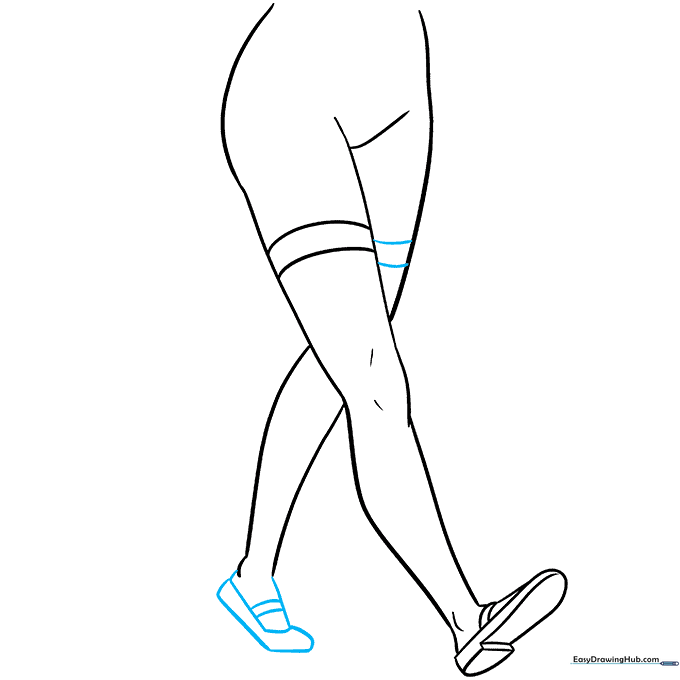
Add the sock line and the shoe for the second leg. Ensure the foot is bent to match the walking pose of the first leg. Tip: Consistency is key—try to make the second shoe the same size as the first to keep the character balanced.
Step 7: Sketching the Skirt
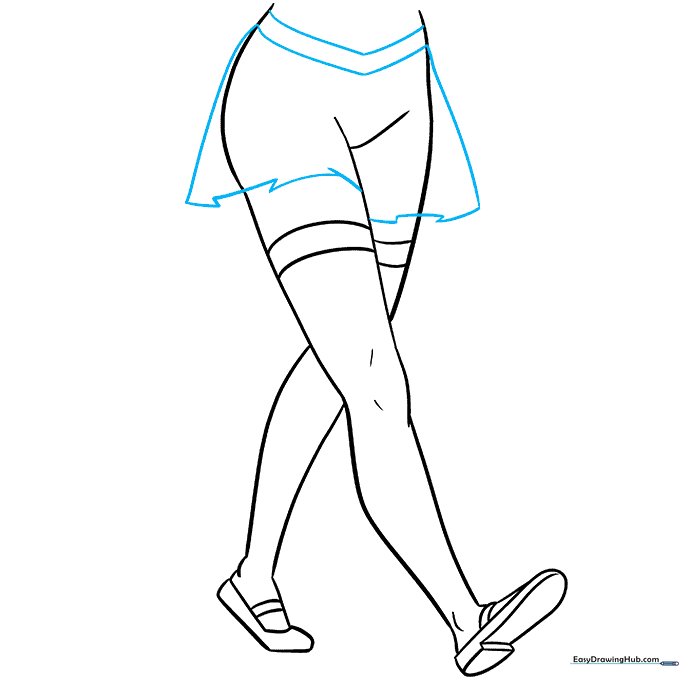
Draw two wide 'V' shapes across the torso for the waistband, then extend lines downward. Use connected curves to create the pleated bottom. Tip: Varying the width of your pleats adds a realistic, flowing look to the fabric.
Step 8: Refining the Pleats
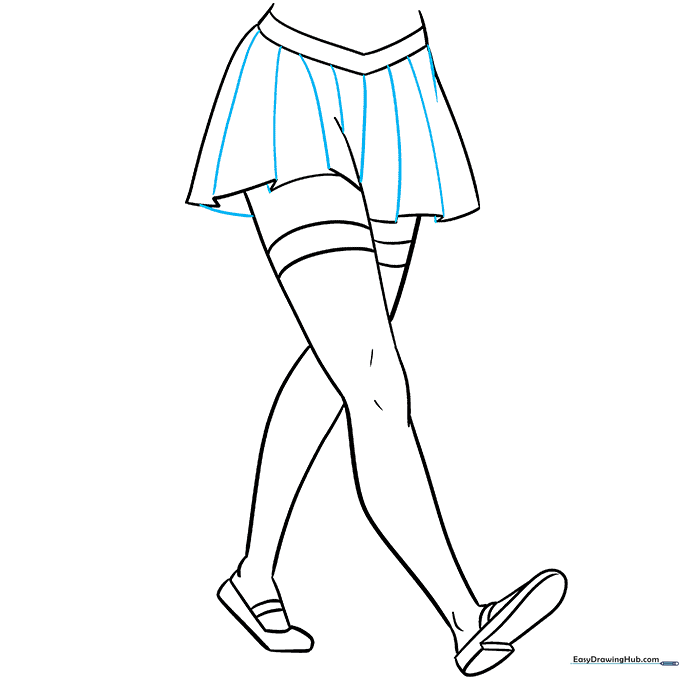
Erase any overlapping lines behind the skirt. Add vertical curved lines across the skirt to define the folds. Tip: Use a darker pencil stroke for these lines to make the pleats pop against the legs.
Step 9: Adding Color
Bring your drawing to life with your favorite colors! Tip: Use soft shading on the inner thighs and under the skirt to give your drawing depth and a professional, finished look.
More Tutorials


