How to Draw Anime Ears: Simple 4-Step Guide for Beginners
Master the art of anime character design by learning to draw stylized ears. This tutorial is perfect for artists ages 8+ who want to add personality to their original characters. All you need is a pencil, an eraser, and a piece of paper to get started.
🎯 Final Result
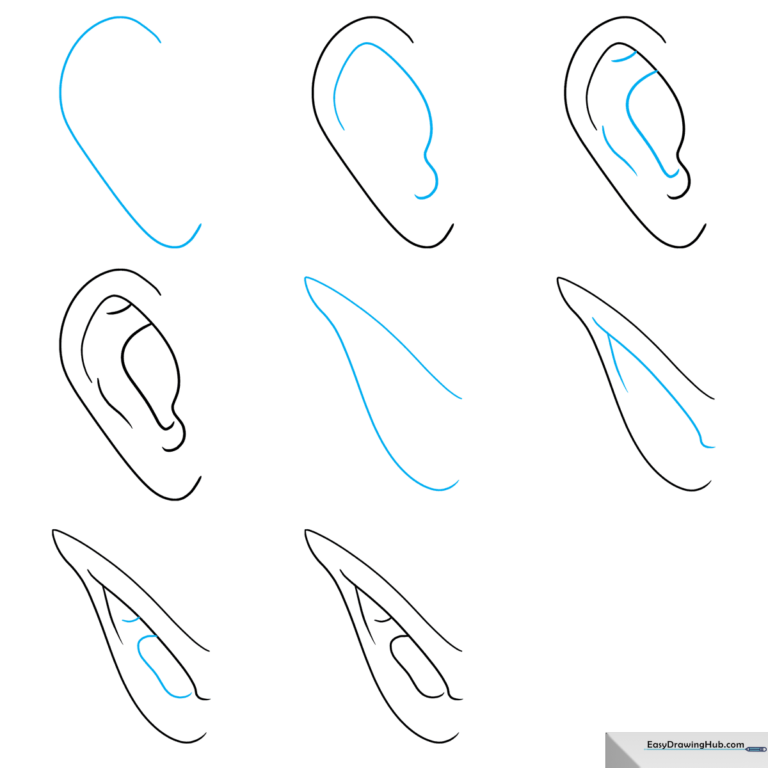
Step-by-Step Instructions
Step 1: Sketching the Outer Ear

Draw a large 'C' shaped curve that is slightly narrower at the bottom. Teacher's Tip: Keep your pencil pressure light here; this is just the outline, and you'll want to be able to erase any stray marks later.
Step 2: Adding the Inner Cartilage
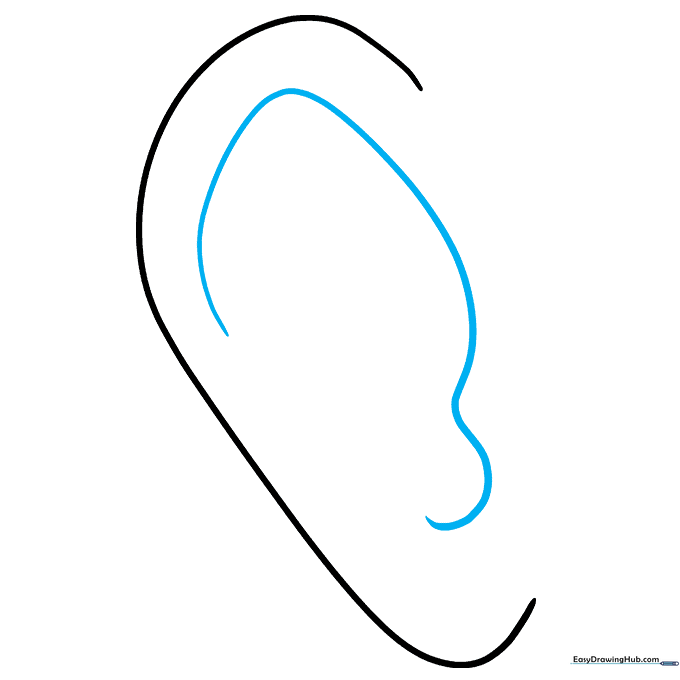
Draw a long, winding line inside the ear that curves in the opposite direction of your first line. Teacher's Tip: Think of this as the 'inner fold' of the ear; try to keep the line fluid and smooth rather than jagged.
Step 3: Defining the Ear Canal
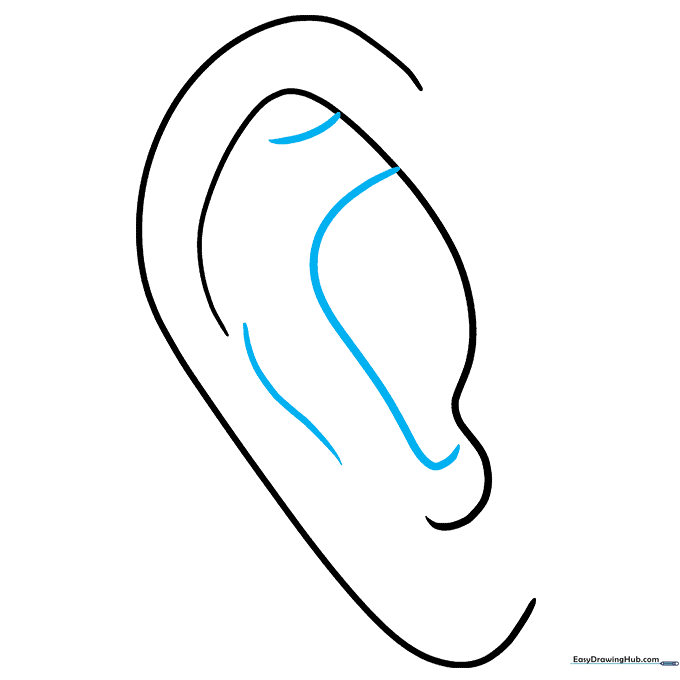
Enclose an irregular, rounded shape in the center of the ear, adding small curved lines above and beside it for depth. Teacher's Tip: These small details create the illusion of shadow and depth, making your drawing look more professional.
Step 4: Final Touches
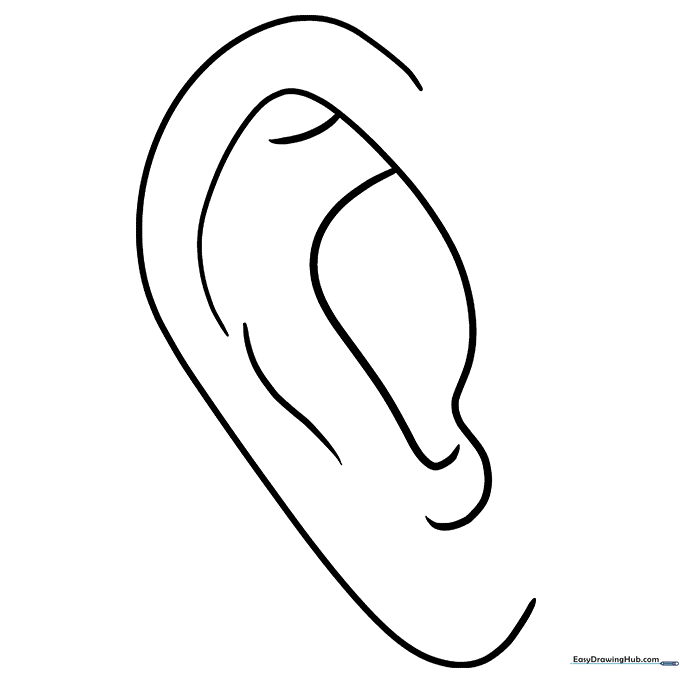
Review your lines and darken the ones that define the ear's structure. You've successfully drawn an anime ear! Teacher's Tip: Use this as a foundation to experiment with different ear shapes, like pointed elf ears or larger, expressive animal-like ears.
More Tutorials


