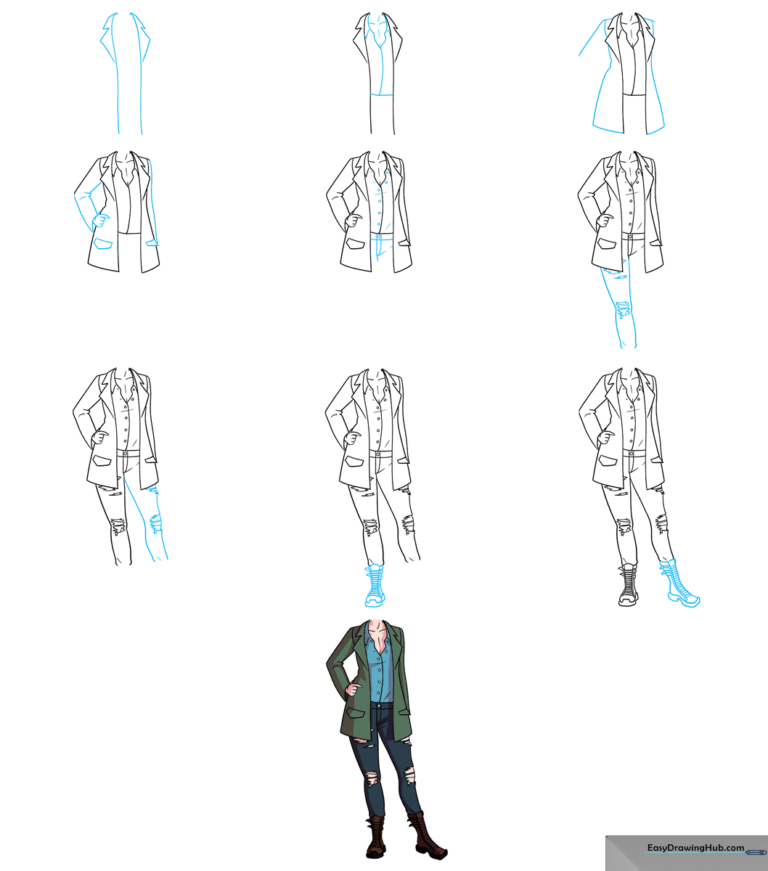
How to Draw Anime Clothes: Easy Step-by-Step Guide
Ready to level up your character designs? This tutorial is perfect for aspiring artists looking to master the basics of anime-style women's clothing, from layered jackets to detailed denim. Grab your pencil and eraser; we’ll focus on creating realistic fabric movement and structure.
🎯 Final Result
Step-by-Step Instructions
Step 1: Sketching the Jacket Collar
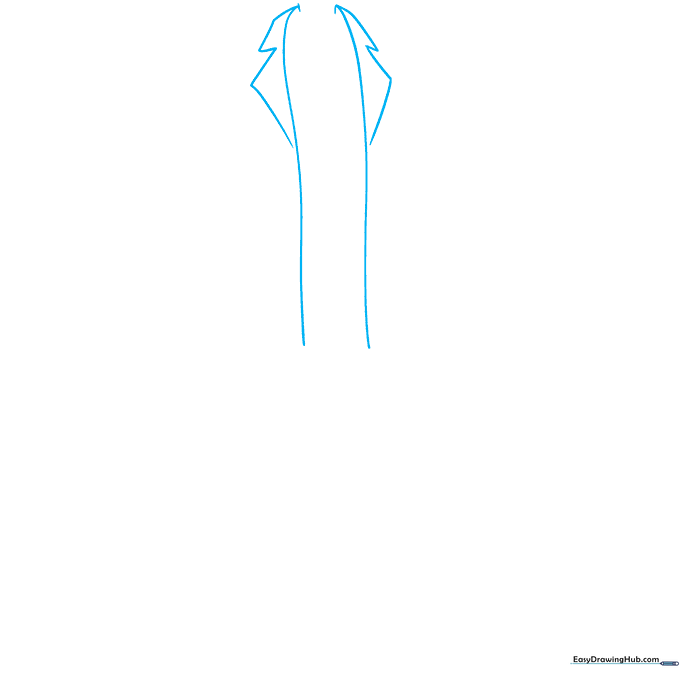
Draw two vertical curved lines to form the jacket opening. Add small, connected triangles at the top for the collar. Teacher's Tip: Keep your lines light and feathery so you can easily adjust the shape if the collar looks uneven.
Step 2: Defining the Neckline and Blouse
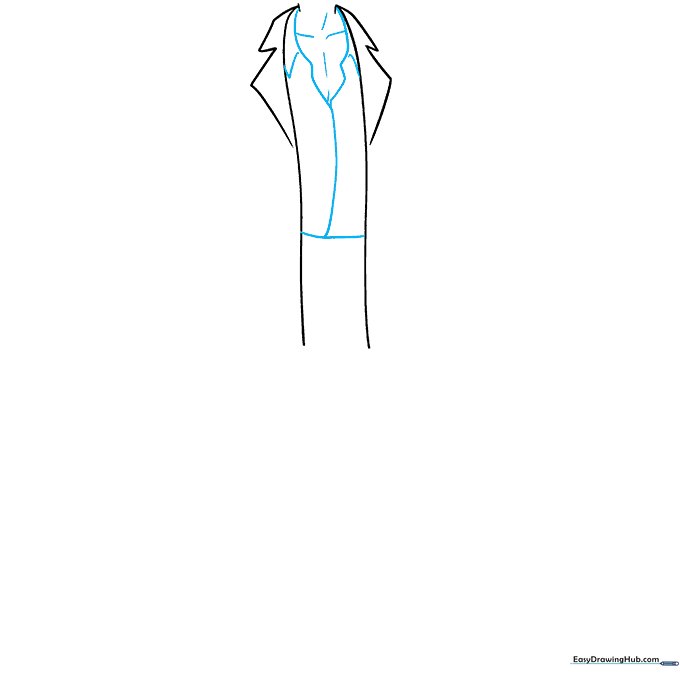
Sketch the blouse collar and neckline tucked beneath the jacket. Add subtle curves to suggest the collarbones. Teacher's Tip: Use a softer, thinner line for the blouse to show it is a lighter fabric than the jacket.
Step 3: Outlining the Jacket Body
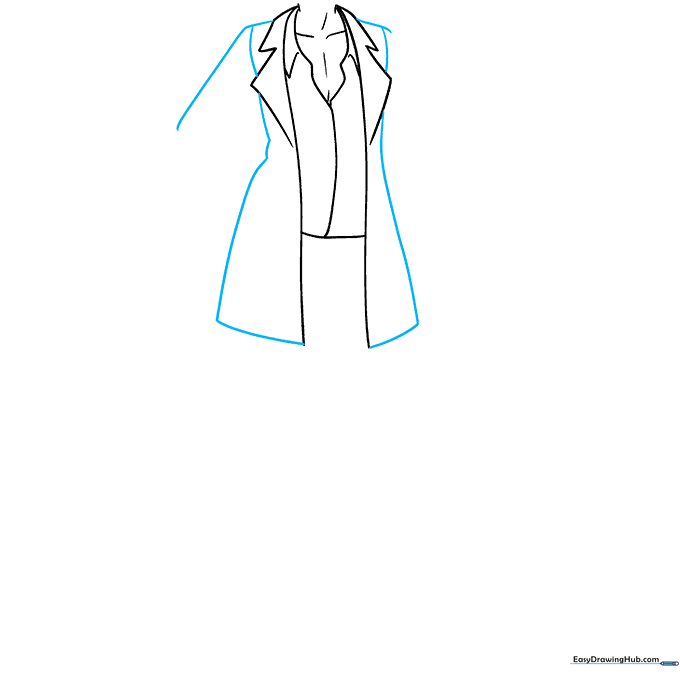
Use long, sweeping curved lines to define the sides of the coat and start the sleeve structure. Teacher's Tip: Think about the 'weight' of the fabric; longer, smoother curves make the jacket look like it has a nice, structured fit.
Step 4: Adding Sleeves and Pockets
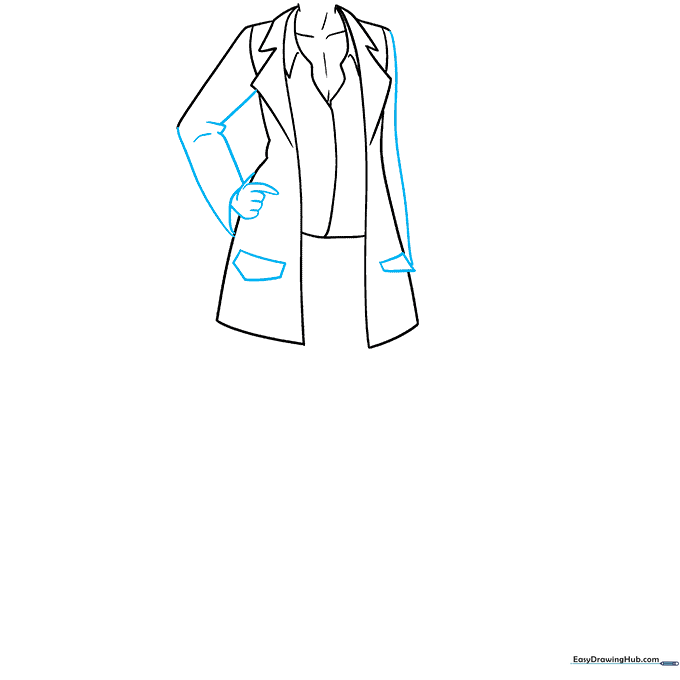
Continue the sleeves with overlapping curves and sketch a hand resting on the hip. Add pentagonal shapes for the pockets. Teacher's Tip: Overlapping lines are the secret to making fabric look 3D rather than flat.
Step 5: Adding Fabric Details
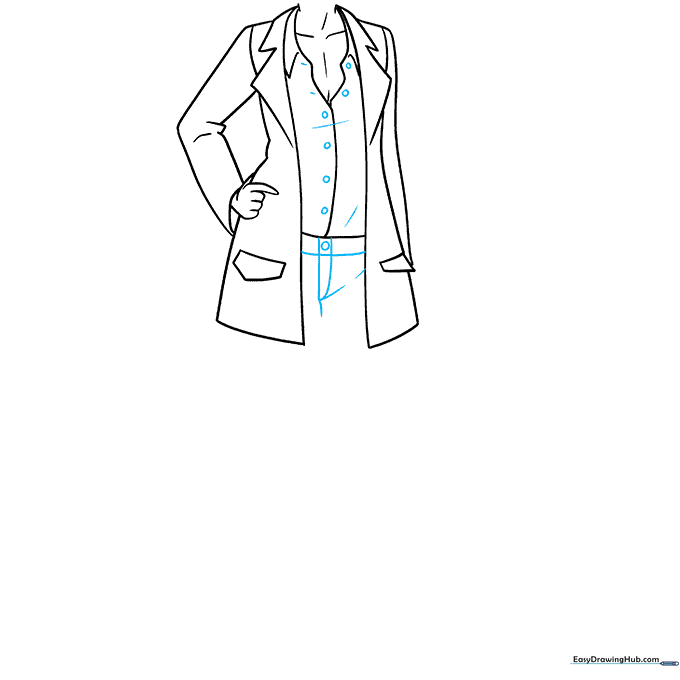
Draw small circles for buttons and use short, jagged lines to suggest wrinkles and seams. Teacher's Tip: Don't overdo the wrinkles! Just a few lines near the elbows and waist are enough to show the fabric is moving.
Step 6: Drawing the First Leg
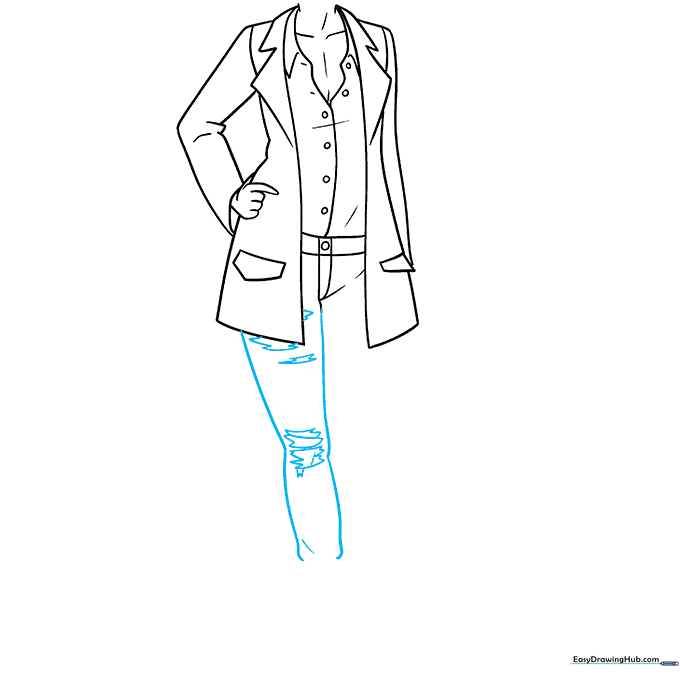
Outline the leg with two long curves. Add jagged, irregular shapes at the knee and thigh to represent rips in the jeans. Teacher's Tip: Make the 'rip' edges slightly uneven to give them that authentic distressed denim look.
Step 7: Drawing the Second Leg
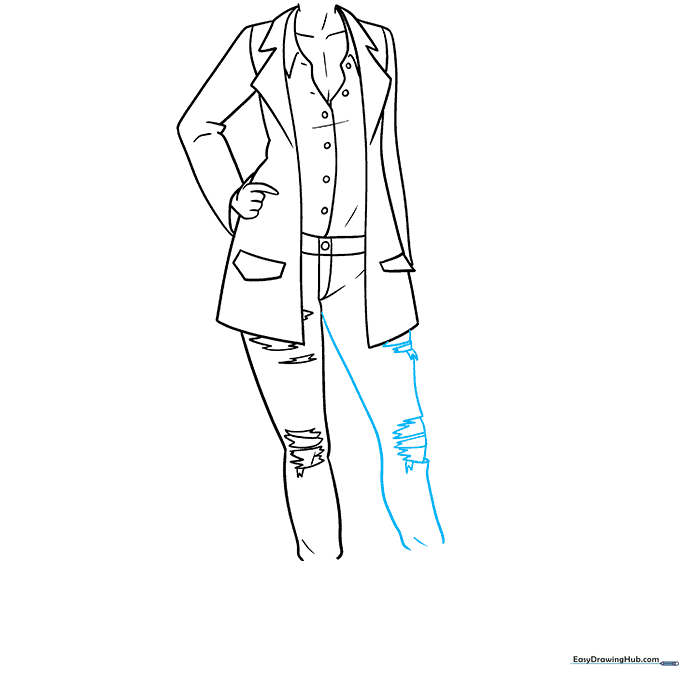
Repeat the process for the second leg, ensuring the proportions match the first. Add similar jagged holes for consistency. Teacher's Tip: Check that your legs aren't too far apart; keep them close to maintain a natural stance.
Step 8: First Combat Boot
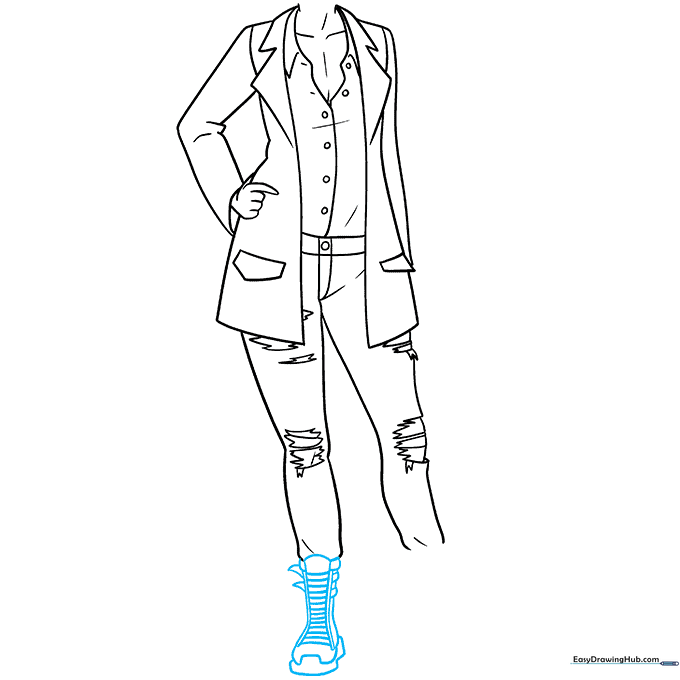
Outline the boot using overlapping curves, adding a thick sole at the bottom. Use horizontal lines to suggest laces. Teacher's Tip: Combat boots are bulky, so don't be afraid to make the outline a bit thicker than the legs.
Step 9: Second Combat Boot
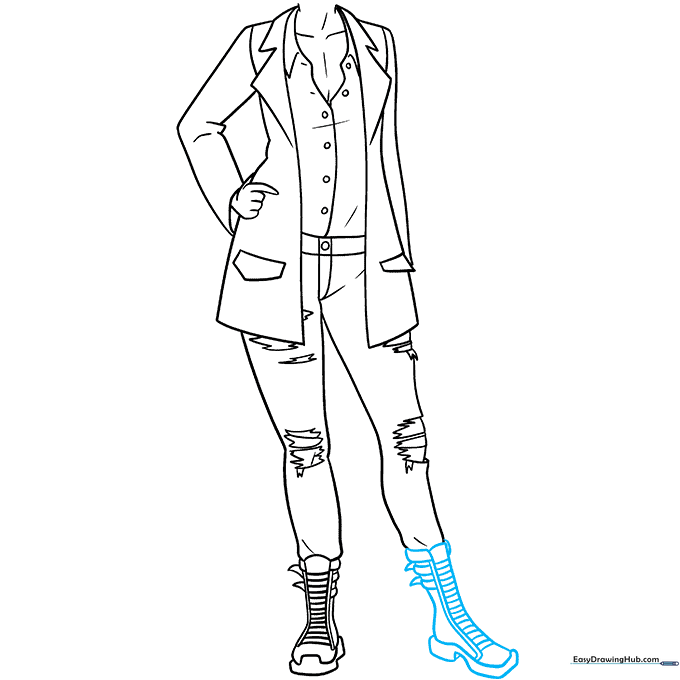
Draw the second boot at a slightly different angle to show perspective. Add the same sole and lace details. Teacher's Tip: Drawing from a different angle adds depth to your character's pose.
Step 10: Final Polish and Color
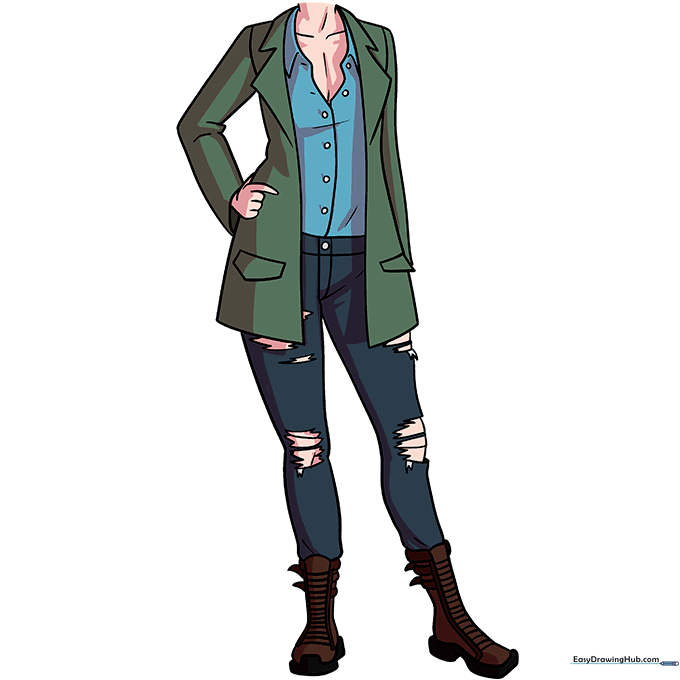
Erase your guidelines and add color! Use darker shades in the folds of the fabric to create shadows. Teacher's Tip: Use a cool blue for the denim and a contrasting color for the jacket to make your character pop!
More Tutorials


