How to Draw Anime Characters with Glasses: Easy 8-Step Guide
Master the art of drawing anime characters with glasses in this beginner-friendly tutorial. Designed for artists ages 8 and up, this guide uses simple geometric shapes to help you achieve perfect facial proportions. All you need is a pencil, an eraser, and a piece of paper to bring your character to life.
🎯 Final Result
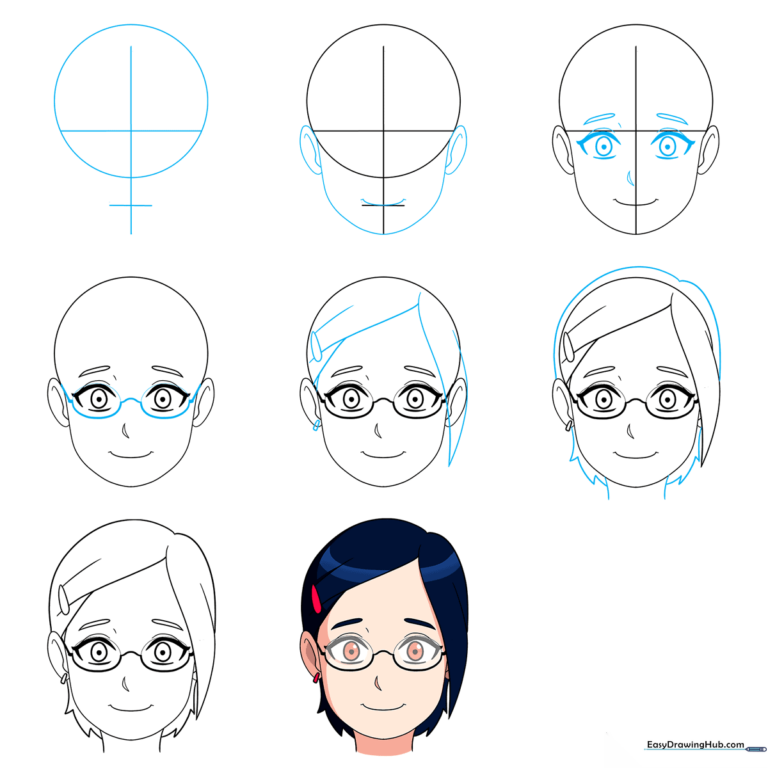
Step-by-Step Instructions
Step 1: Establishing the Facial Grid
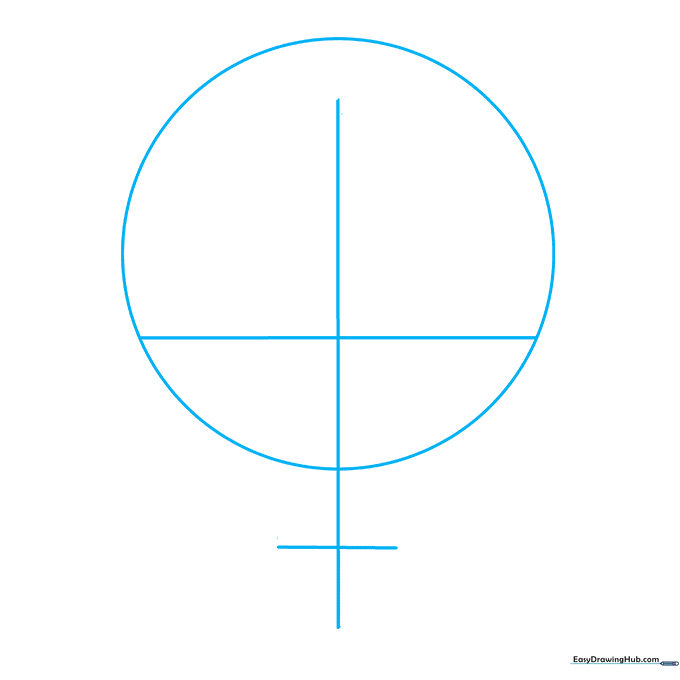
Draw a vertical line for symmetry, then sketch a circle around it for the head. Add a horizontal line below the circle's midpoint for the eyes and a shorter one near the bottom for the mouth. Teacher's Tip: Keep your pencil pressure very light; these lines are just a map and will be erased later!
Step 2: Shaping the Jawline and Ears
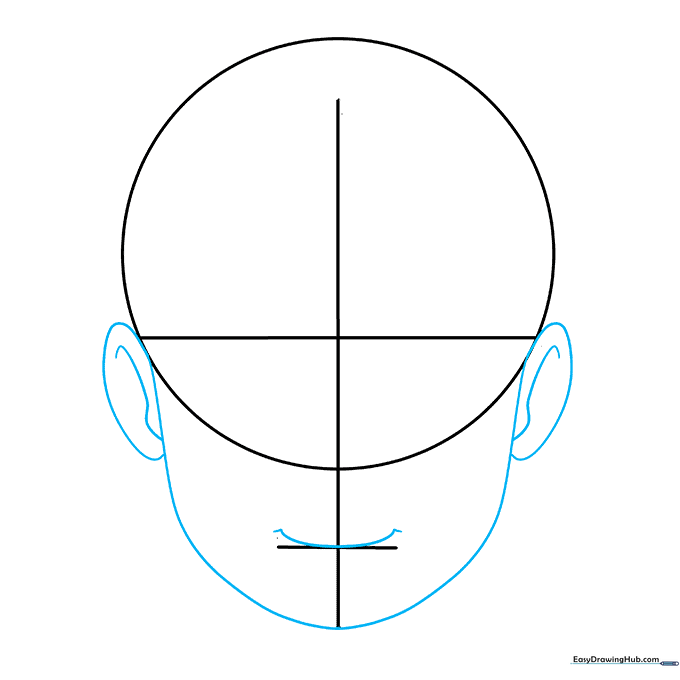
Extend curved lines from the horizontal grid line down to the bottom of the vertical line to form the chin. Add small curves on the sides for ears. Teacher's Tip: Ensure the chin isn't too pointy—a soft, rounded 'U' shape looks more natural for anime styles.
Step 3: Sketching Facial Features
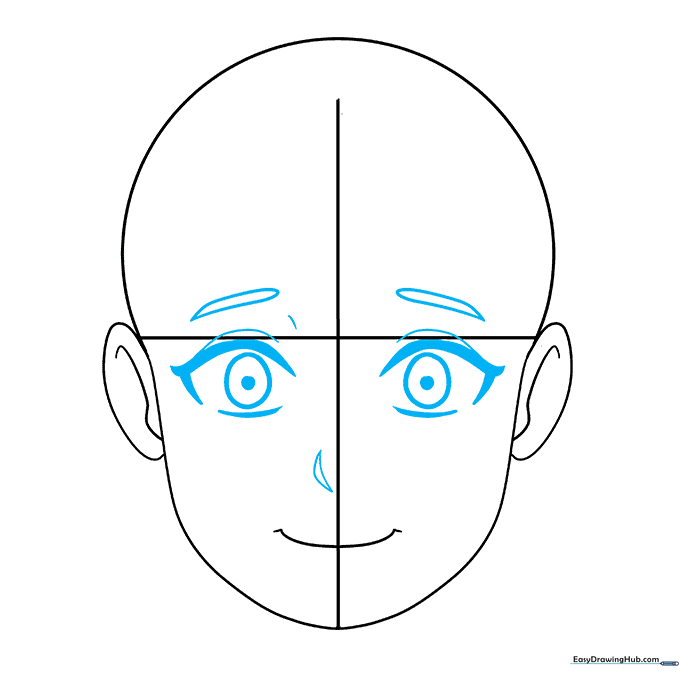
Erase the bottom of the circle. Place the eyes on the main horizontal line, add arched eyebrows above them, and draw a small nose near the vertical line. Teacher's Tip: Anime eyes are expressive—make sure the top lids are slightly thicker than the bottom ones to give them character.
Step 4: Drawing the Glasses
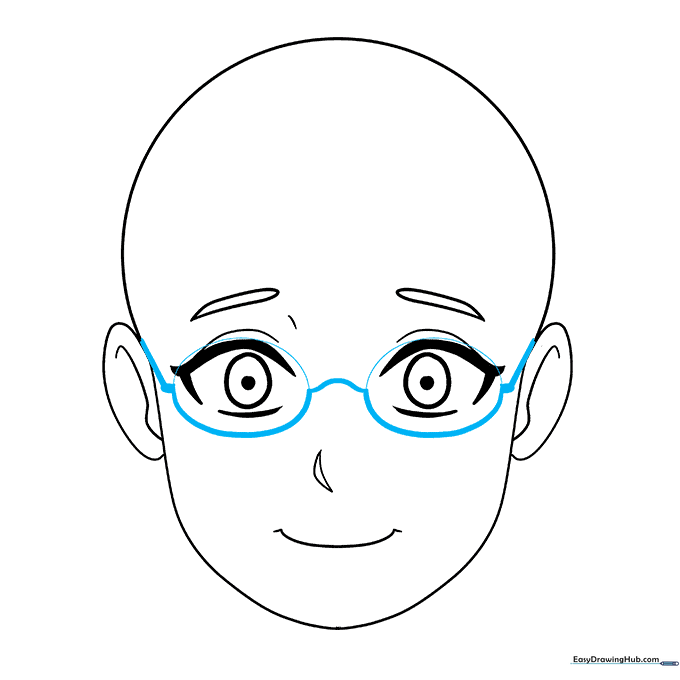
Clean up the grid lines. Draw the frames by encircling the eyes, using thicker lines for the bottom rims and bridge. Teacher's Tip: If the glasses look uneven, check that the bridge is perfectly centered on your vertical guideline.
Step 5: Adding Hair and Accessories
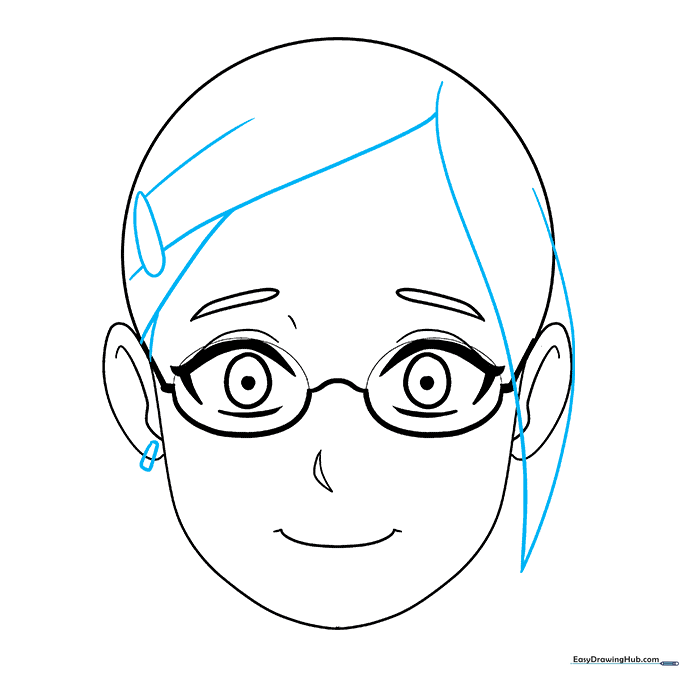
Sketch the hair using flowing, overlapping curved lines that taper to sharp points. Add a small earring and a hair clip for extra detail. Teacher's Tip: Think of hair in 'clumps' rather than individual strands to keep the anime look clean and stylized.
Step 6: Defining the Silhouette
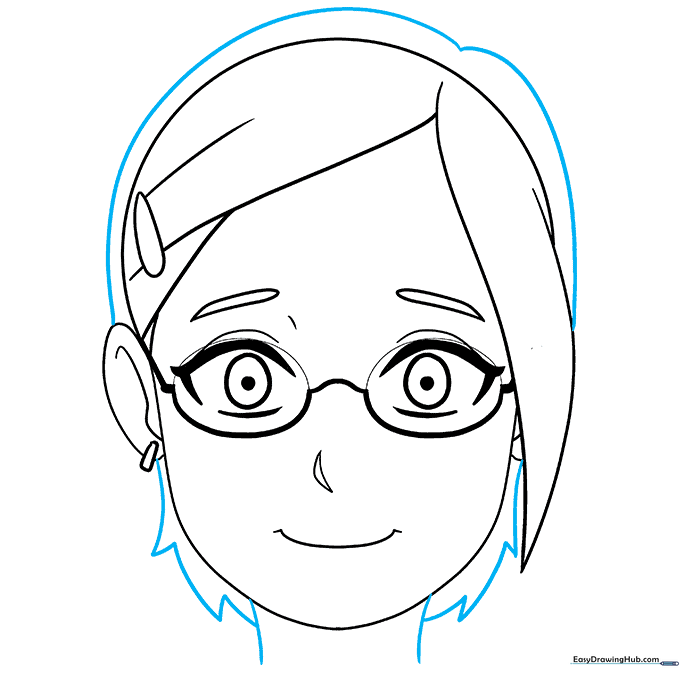
Outline the hair volume and add the neck using two smooth, parallel curves. Refine the back of the hair with jagged, energetic lines. Teacher's Tip: Varying the length of your hair strokes makes the hair look more voluminous and realistic.
Step 7: Final Cleanup
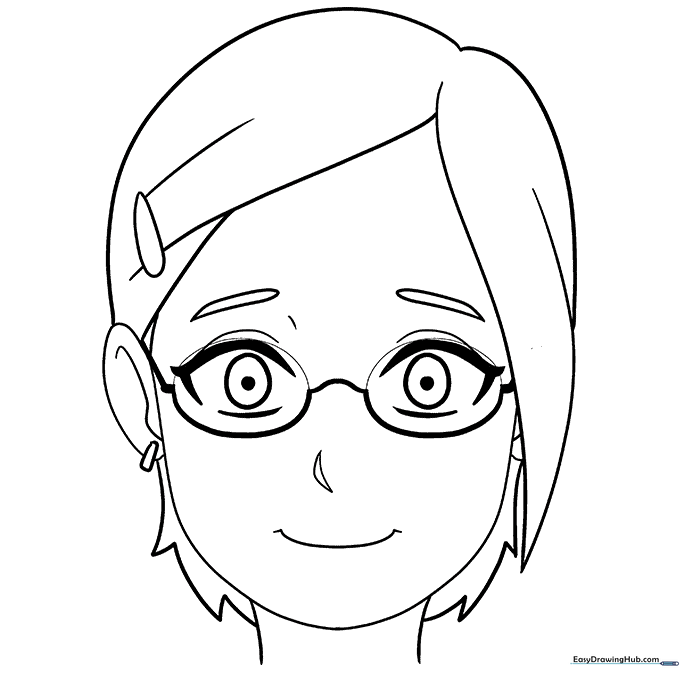
Carefully erase any remaining construction lines from the head and face. Ensure your lines are crisp and clear. Teacher's Tip: Use a kneaded eraser to gently lift away graphite without smudging your work.
Step 8: Adding Color

Bring your character to life with your favorite colors! Use vibrant shades for the hair and eyes to make them pop. Teacher's Tip: Try adding a small white highlight in the eyes to give your character a 'sparkle' and more depth.
More Tutorials


