How to Draw Anime Eyes: Simple Step-by-Step Guide
Master the art of expressive anime eyes with this beginner-friendly guide, perfect for artists ages 8 and up. All you need is a pencil, an eraser, and a sheet of paper to bring your characters to life. Follow these simple steps to learn how to capture emotion through stylized, sparkling manga-style eyes.
🎯 Final Result
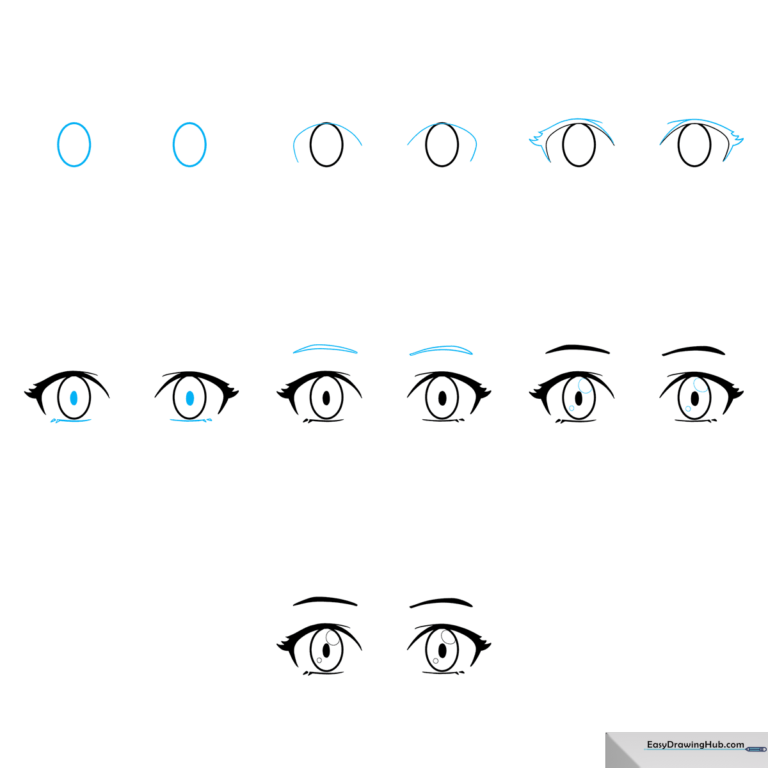
Step-by-Step Instructions
Step 1: Sketching the Base Ovals
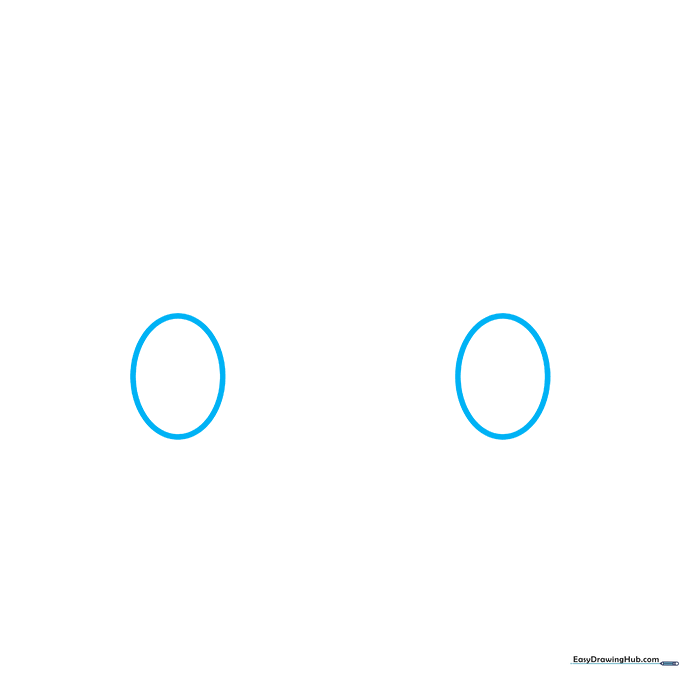
Lightly sketch two ovals side-by-side. Teacher's Tip: Keep your pencil pressure very light so you can easily erase these guidelines later; ensure they are spaced wide enough to leave room for the nose bridge.
Step 2: Defining the Upper Lid
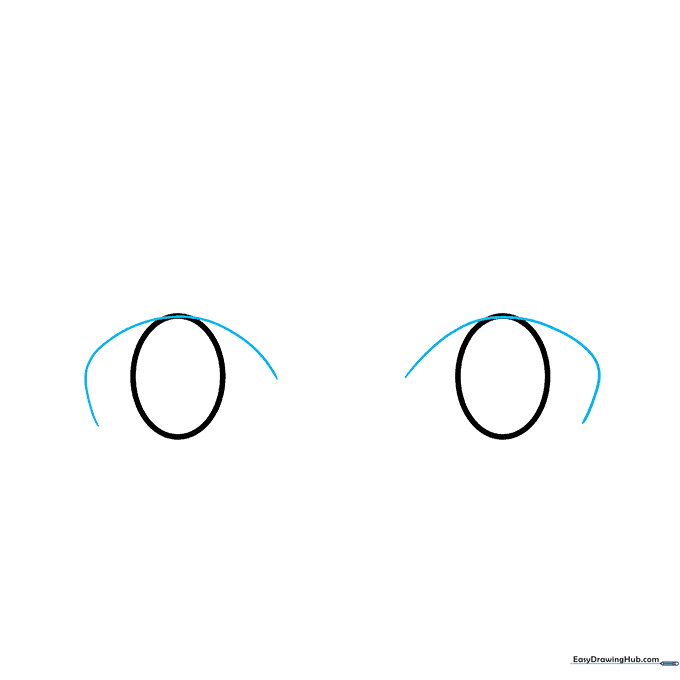
Draw a curved line across the top of each oval. The line should be longer and more dramatic on the outer edge, curving downward. Teacher's Tip: Think of this as the 'eyelash line'—the more curve you add, the more personality the character will have.
Step 3: Adding Eyelash Detail
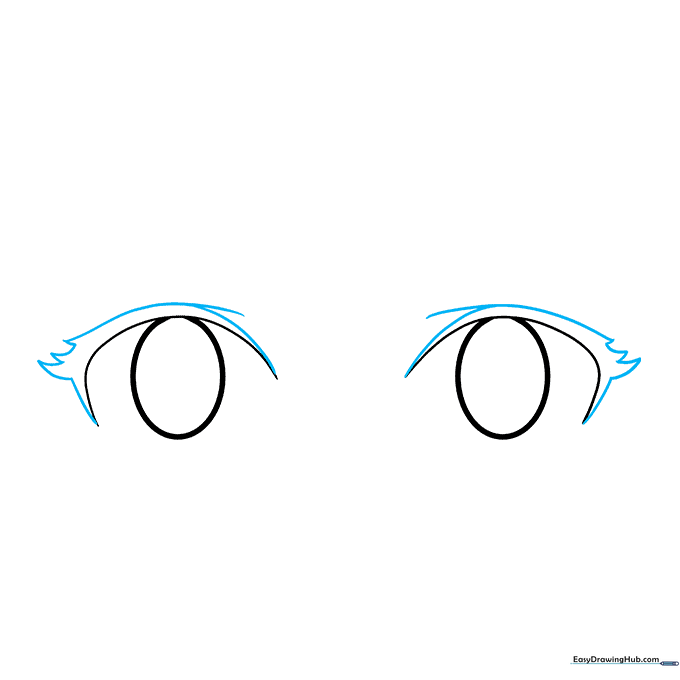
Thicken the upper outline and add jagged, pointed strokes at the outer corners to represent lashes. Add a small, subtle curve above the eye to define the eyelid crease. Teacher's Tip: Use short, quick strokes to make the lashes look sharp and intentional.
Step 4: Pupils and Lower Lashes
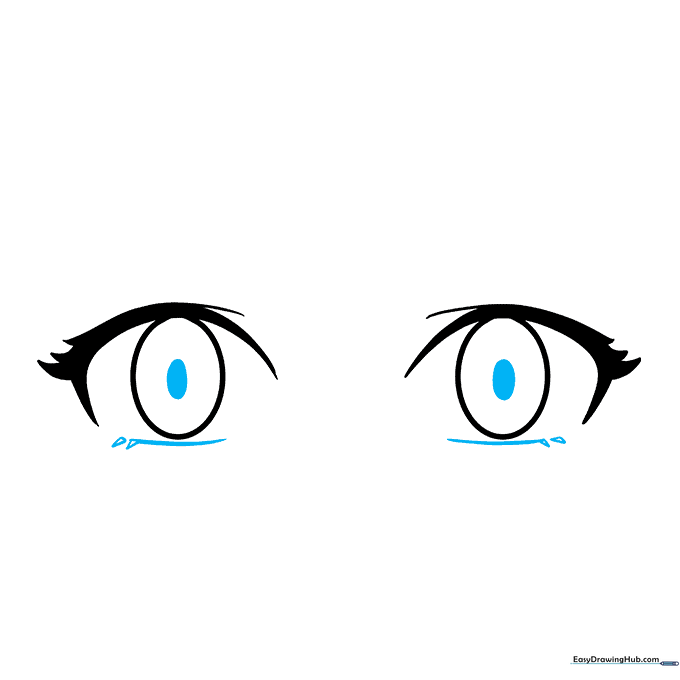
Darken the borders of the eyes and draw a small, solid oval inside for the pupil. Add a curved line and small triangles at the bottom for lower lashes. Teacher's Tip: Don't make the pupils too large, or the character might look surprised!
Step 5: Drawing the Eyebrows
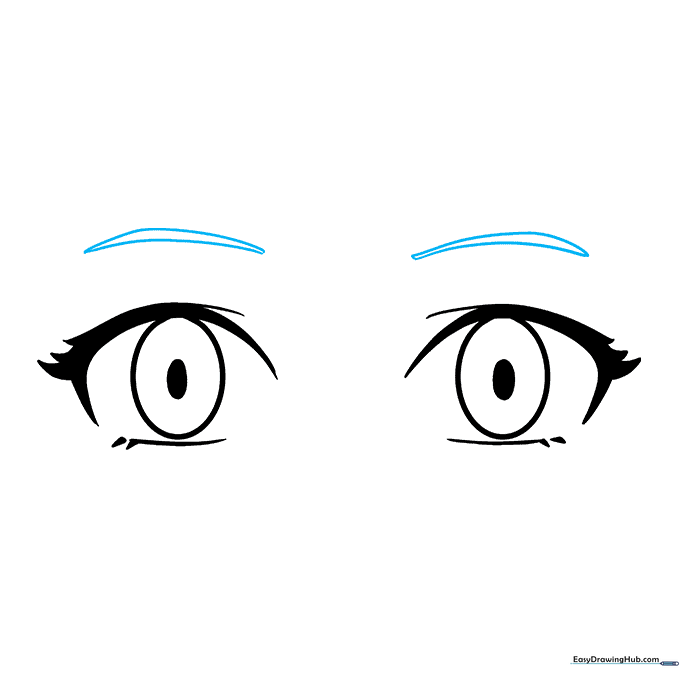
Sketch pointed, arched eyebrows above the eyes to set the mood. Teacher's Tip: Eyebrows are the secret to emotion; angle them downward toward the nose for an angry look, or arch them high for a surprised expression.
Step 6: Adding the Sparkle
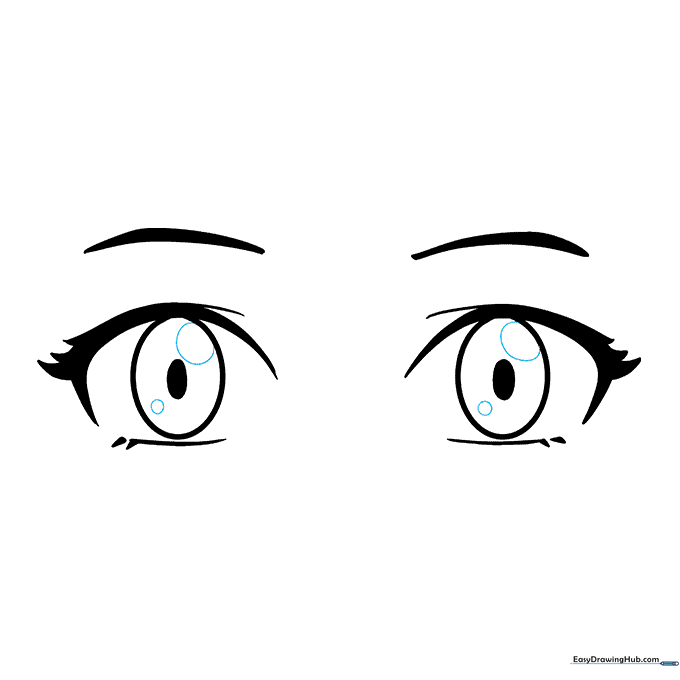
Draw a small circle and an oval inside the iris of each eye. These represent light reflections. Teacher's Tip: Leaving these shapes white while shading the rest of the iris is what gives anime eyes that signature 'sparkly' look.
Step 7: Final Shading
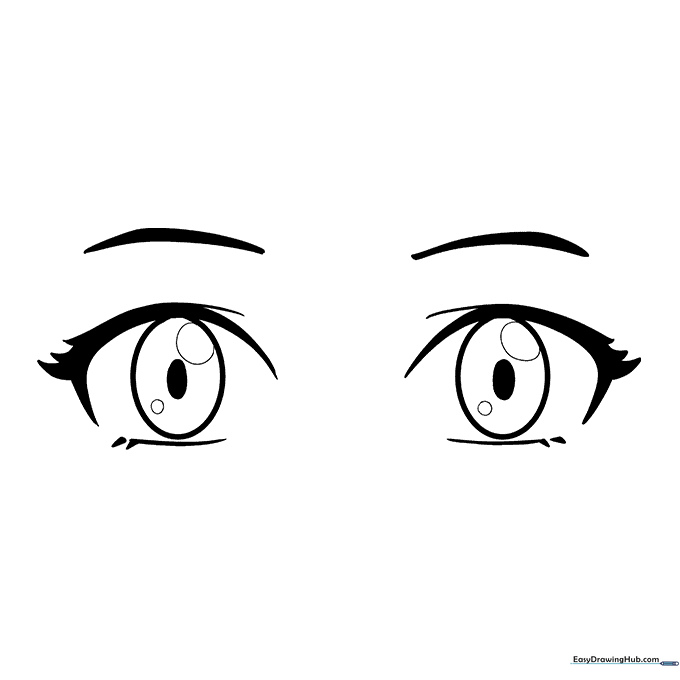
Finish your drawing by shading the iris and darkening the upper lash line. Teacher's Tip: Use a blending stump or your finger to smooth out the shading for a polished, professional look.
More Tutorials


